
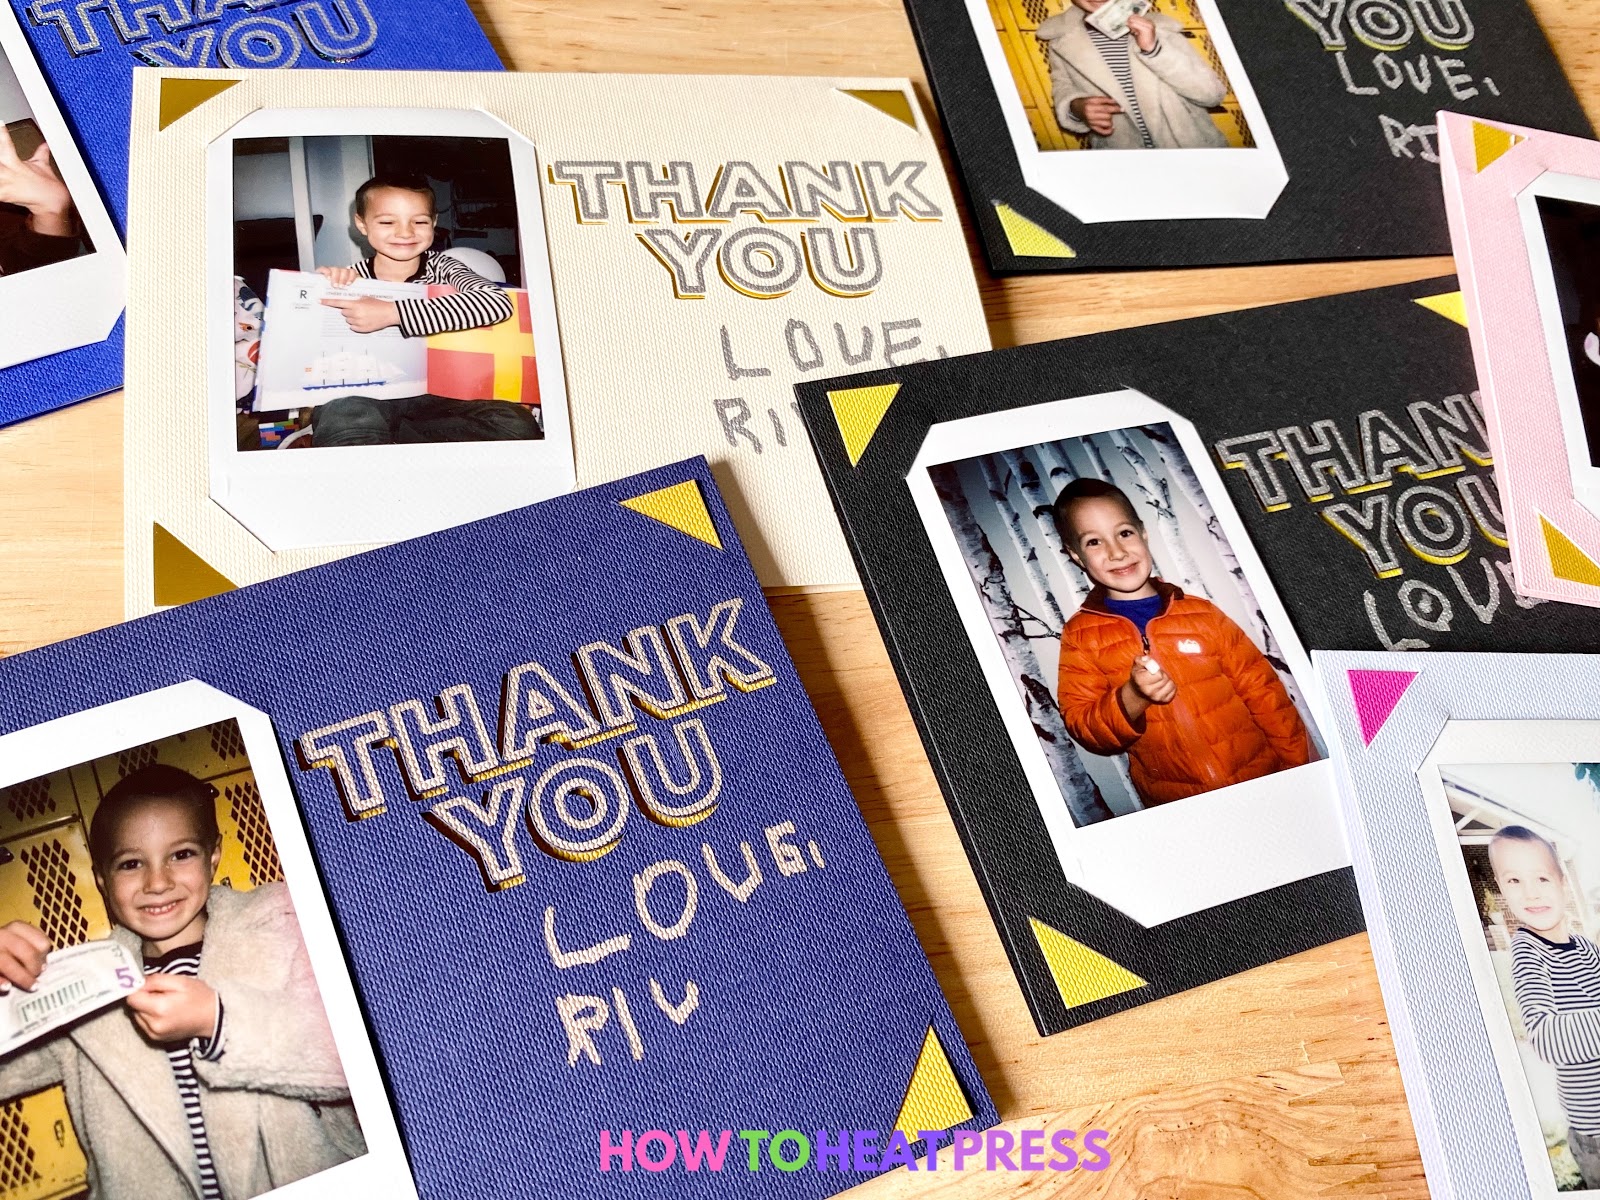
DIY Thank You Cards

Receiving a thank you card for a thoughtful and generous gift warms everyone’s heart. What’s even better is a DIY thank you card that’s handmade! This tutorial will show you step-by-step how to create your own photo thank you cards so your loved ones can feel your gratitude more deeply.
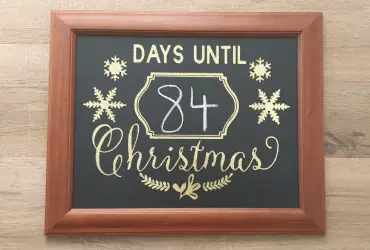
While these homemade cards were designed for saying ‘thank you’ this same technique has lots of uses. You could make birthday cards wearing fun hats, mothers day cards featuring sweet-faced children, a thoughtful Christmas card, or friendly greeting cards. There’s never a wrong occasion for a DIY card! If you want to get crafty but your kiddo is too young to sign the paper cards they could add a handprint, stickers, or do some watercolor on white cards.
DIY Thank You Card Tutorial

The Cricut Joy is the perfect cutting machine for making cards. That being said you could absolutely make something similar to these cards with nothing more than an Xacto knife and some cardstock.
To make these cards I needed the following materials:
–Cricut Joy (you could use any cutting machine)
-A variety of Blank Insert Cards
–FujiFilm Instax Photos
I have young children and teaching them to see and express gratitude is a huge priority for us. After my oldest turned 5 I wanted to get him involved in writing thank you notes to the folks who made his birthday special. Because he’s just learning to write I figured he could sign every card and pose with his presents in the photos so that he’s involved in the process.
Create DIY Thank You Card Design
I’ve got screenshots below to show you every step I took in Cricut Design Space to create my DIY thank you cards. If you’d prefer you can watch the video below and then scroll down to see more about completing the cards.
These were the most important elements I envisioned on my DIY cards:
- A place to hold the little Polaroids
- The words “Thank You” drawn by the Cricut and cut out to showcase a fun accent piece of cardstock
- Space for my son to sign the card
- Minimalist design so the photo is the star of the show
To start with I found a “Thank You” card template in Cricut Access. You could also choose any font you’d like. Another option would be to search for a free SVG as there are so many out there!
It might be faster to start from scratch but I liked that this design featured the drawn words as well as the cutout shadow. It didn’t, however, have space for the photo or for my son to sign so I needed to customize the design. I’m going to shrink the words “THANK YOU” and add cut lines that will hold the photo.

First, I moved the drawn layer that says ‘thank you’ off to the side. I did this because I’m going to use the ‘slice’ tool and it will only slice two layers. Be careful not to change the size of it, just move it.

Next, I inserted a square from the ‘shapes’ tool on the left-hand side of Design Space. I unlocked the square and made it into a rectangular shape the exact size of my card – in this case, 5.5” x 4.24”. I placed the rectangle on top of the “Thank You” cut section including the diagonal cut lines in the corners.

Then I selected the rectangle and the card and clicked ‘slice’ in the lower right-hand corner of Design Space. Next, I separated my sliced layers as you see below. The only layers I need are the two on the right – the letters that will be drawn and the cut layer including the shadows for the letters and the diagonal lines that the background paper will be held by.

After that, I deleted all of the layers I didn’t need I realized I needed to clean up the lines on the right-hand side and bottom of the image. The slice tool is my go-to for getting rid of anything unwanted! I added squares, unlocked them, covered the lines I didn’t want, and sliced. Then I deleted it all so just the words and diagonal lines remained.
As you can see below the words are still too big to make room for the photo and signatures. This time I repeated the rectangle/slice step but only put the shape on the words, not the diagonal lines.

I was able to separate the ‘thank you’ shadow from the diagonal lines (and delete the extra layers) and match it up with the drawn words. Now I can resize the letters so they fit where I want them on the card.

Here’s the basic card with the background card mounting cuts and lettering. You can see there’s room for the photo to go on the left and for my son to sign the cards below the words Thank You.

Instead of gluing the pictures to the cards, I decided to make cutouts to mount them. That way if people want to put the picture on their fridge or elsewhere it will be easy to remove. Another option would be to use colorful washi tape to attach your photos.

I measured the photo and added a rectangle to my design in the same size, 3.375 inches x 2.125 inches. It is placed right where I want the photos to be on my completed cards. This shape is just a place holder so I know where to add cut lines for mounting the card. I’ll need to make sure to delete it before sending it to my Cricut Joy. Note: I zoomed in, the actual size of the project didn’t change.

Then I added a line using the ‘shapes tool’ to each corner so I’d have cuts in the cards to hold the photos. I made the lines just slightly longer than the edges of the photo to account for the thickness of the actual photograph. Once I’d placed my first line I used it as a template for the others and used copy and paste plus the ‘flip horizontal’ tool at the top of the toolbar. I changed the photo placeholder to purple so you can see the cut lines more easily.

Now that all of my cut and draw lines are in place I can delete the photo placeholder. Next, I selected all of the layers and hit the ‘attach’ button in the lower right-hand corner. This makes sure everything cuts on the mat in the same positions as I’ve designed them on the canvas. Below you can see my completed DIY thank you card design:

Draw/Cut Blank Cards
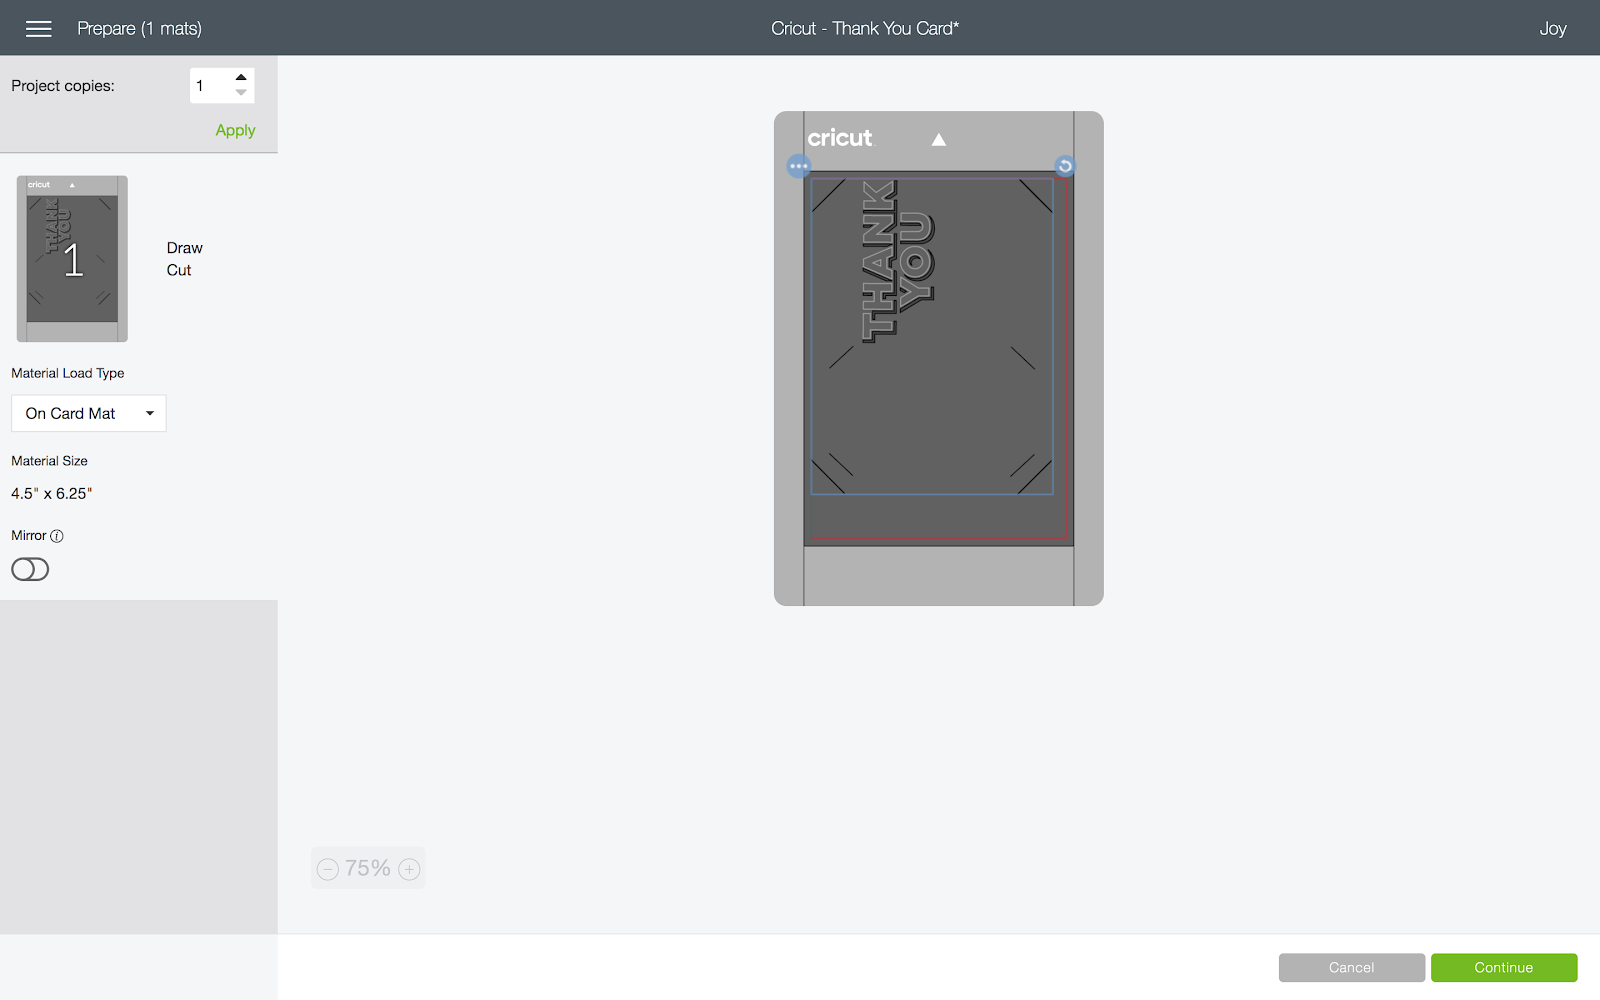
Now that the design is ready it’s time to draw/cut. Once I clicked ‘Make It’ I was able to select “On Card Mat” and then adjust the design to cut the way I wanted it to.

When you’re getting the preview as you see below you can actually move the design around. If that’s news to you, don’t feel bad, I’d been using a Cricut for a while before learning this trick! As you can see below the design is not oriented correctly for the fold of my card. If I cut it now I would end up with a hinge at the bottom of the card instead of the top.

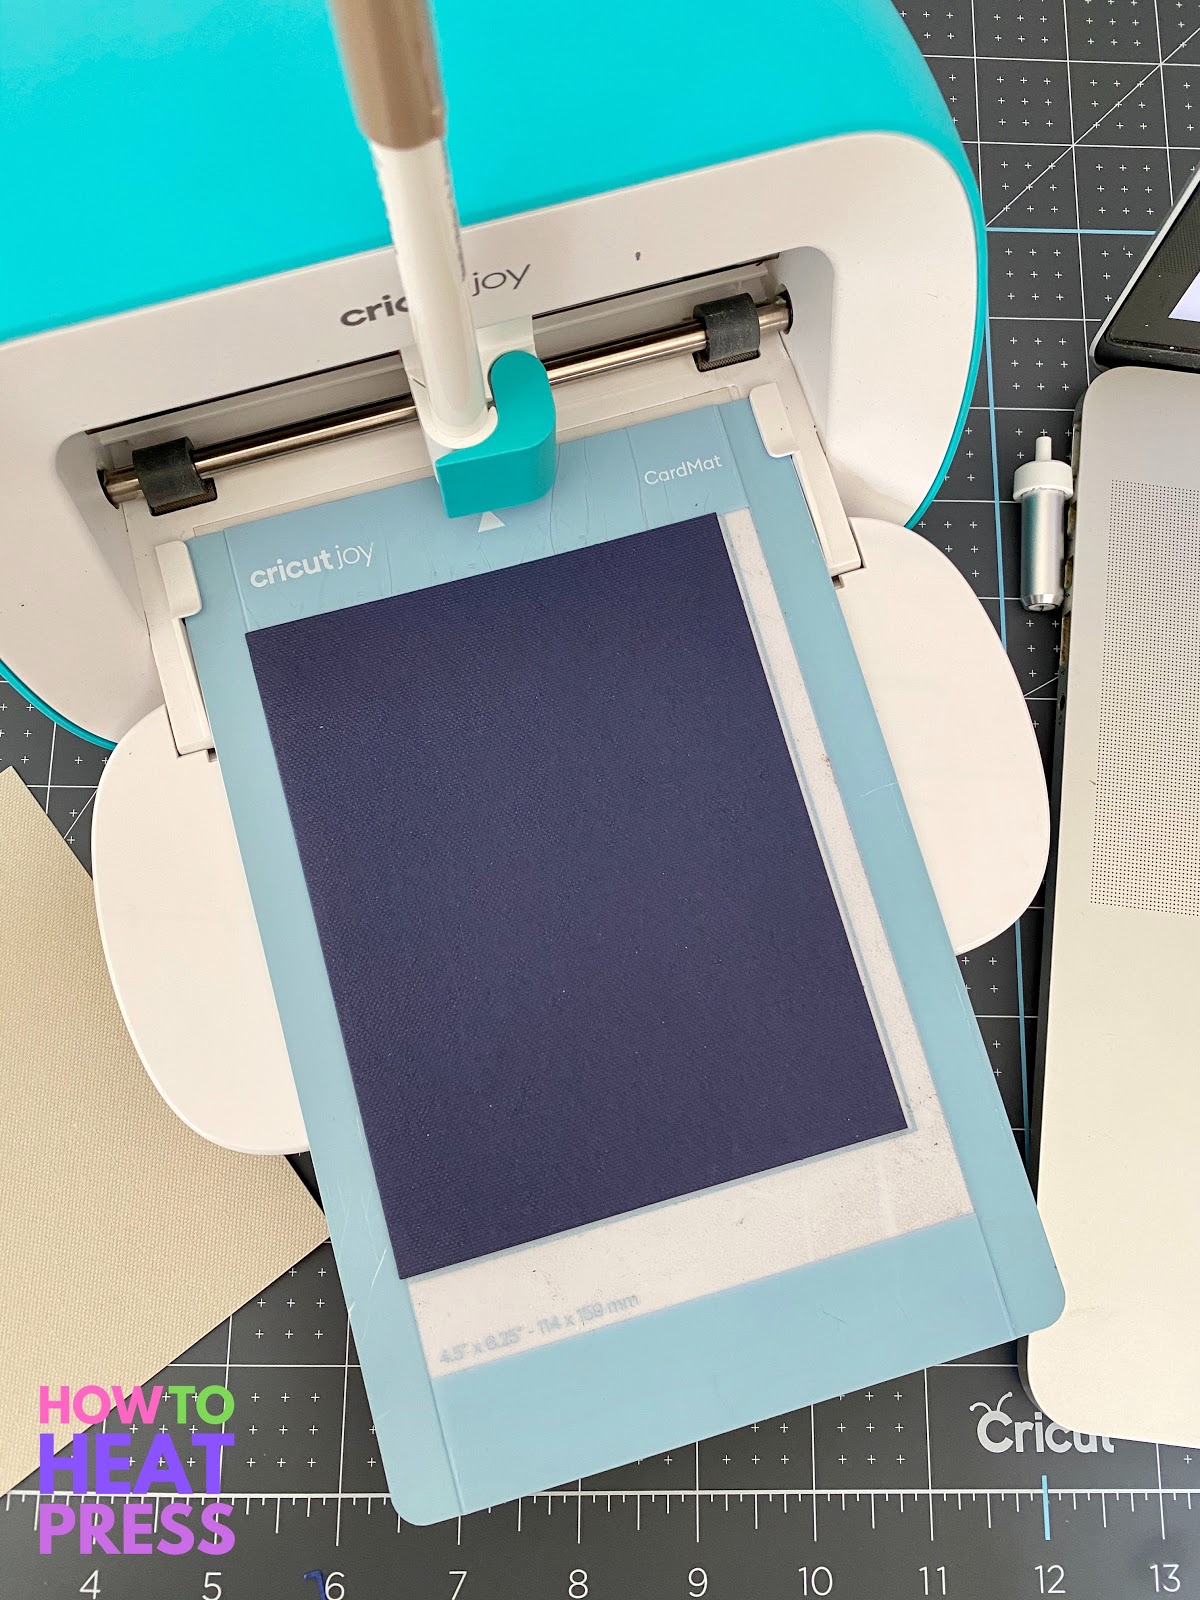
I used the rotate tool (the arrow in the blue circle) to make sure the card would cut with the fold above the words, not below them. I loaded my card mat with a blank card and got started with the drawing and cutting.

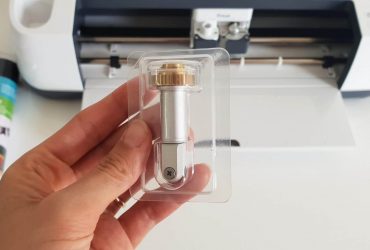
The Joy prompted me to make sure my pen was loaded first. For this project, I chose to use metallic markers with the 1.0 mm point. I used either silver, copper, or purple depending on the base color of each card.


After the writing was done the Cricut prompted to change to the fine point blade to complete the cuts.

After unloading my completed card I needed to use the Xacto knife in a few places to remove the cutout letter shadows. It’s likely I need to sharpen or replace my blade to avoid this step in the future.

Assemble DIY Thank You Cards
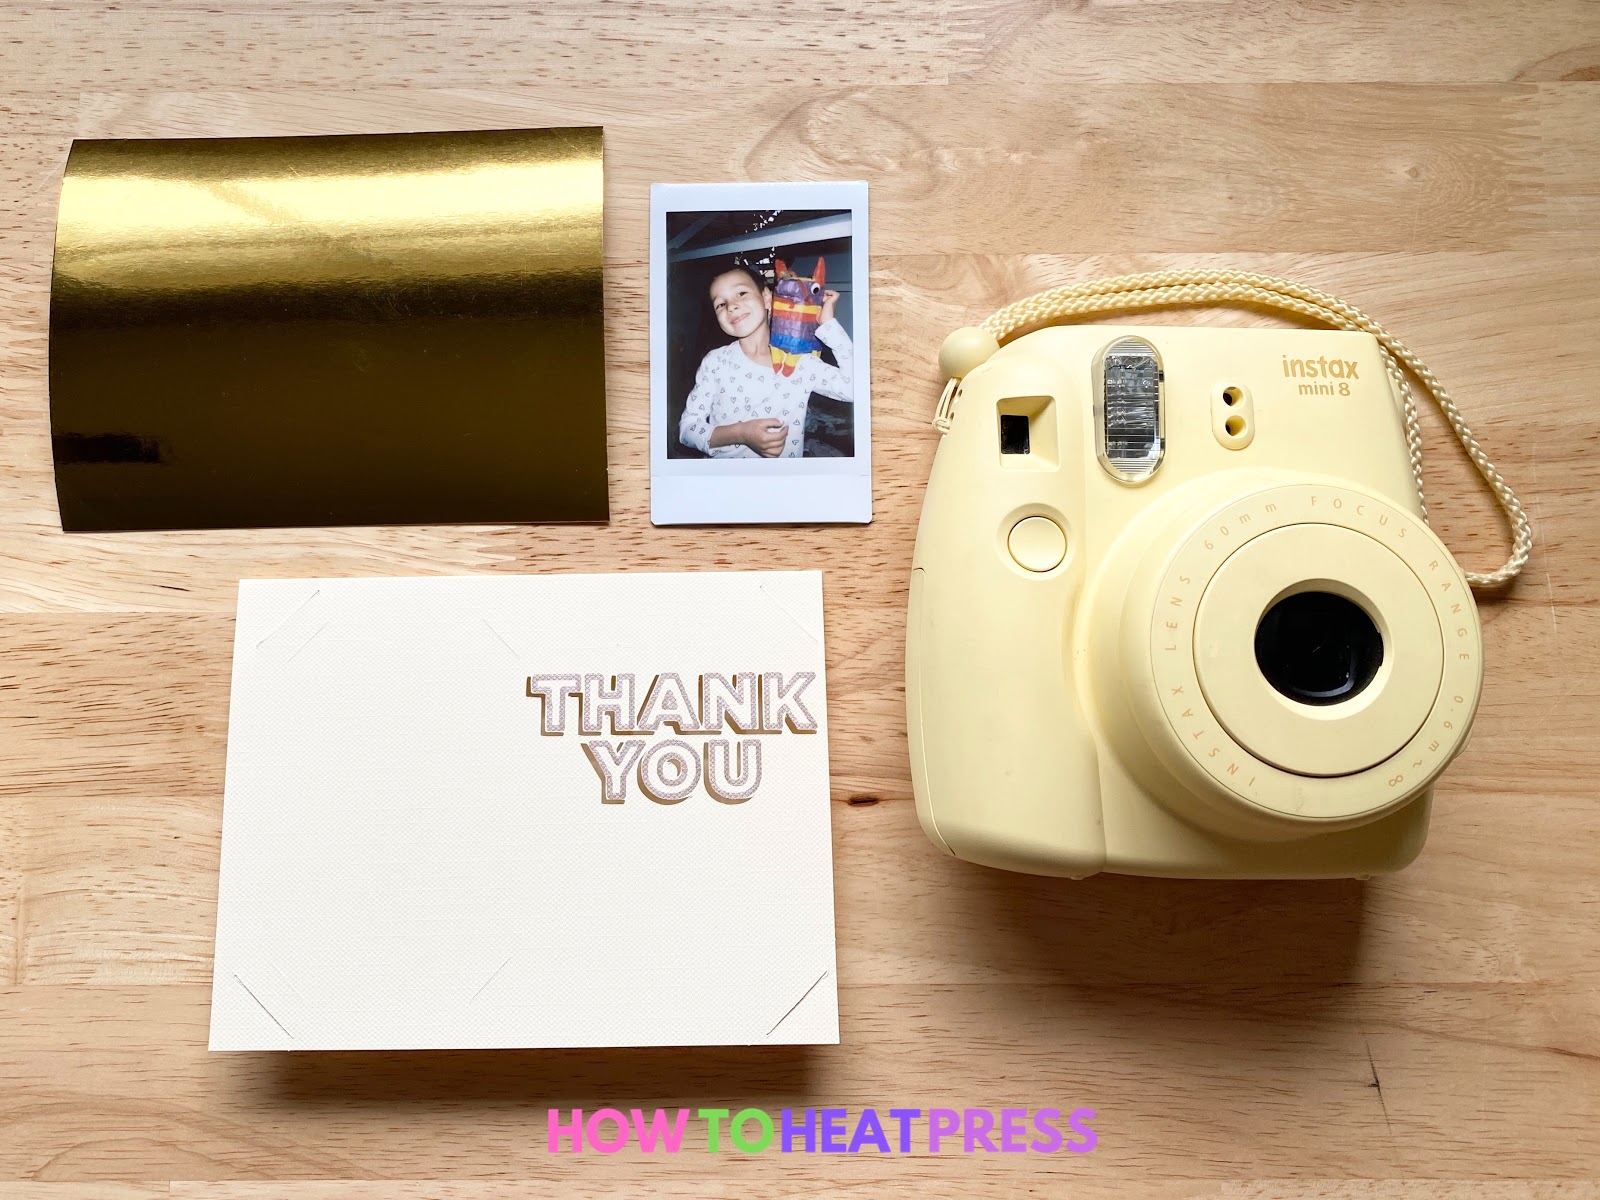

With my cards drawn and cut it’s time to finish the card making process. For the photos, I asked my son to pose with each of the gifts we were writing cards from. On a side note – Pinatagrams (shown in the pictures above and below) are a super fun gift. They come in a clear bag with a shipping label on it so you can see that it’s a Pinata which makes it feel like the most fun gift ever!
First, insert the photo into its special spot. I made the cut lines stick out just a tad bit wider than the rectangle to account for the thickness of the photo and I love the way it turned out.

Next, mount the background paper. If you’re not using insert cards this is a great way to use fun paper scraps. Cardstock is going to hold up best but you could try out thinner patterned paper or construction paper if that’s what you have on hand.

Now my cards are ready to go, just waiting for a little love from my newly minted 5 year old!

Customize with a Handwritten Note
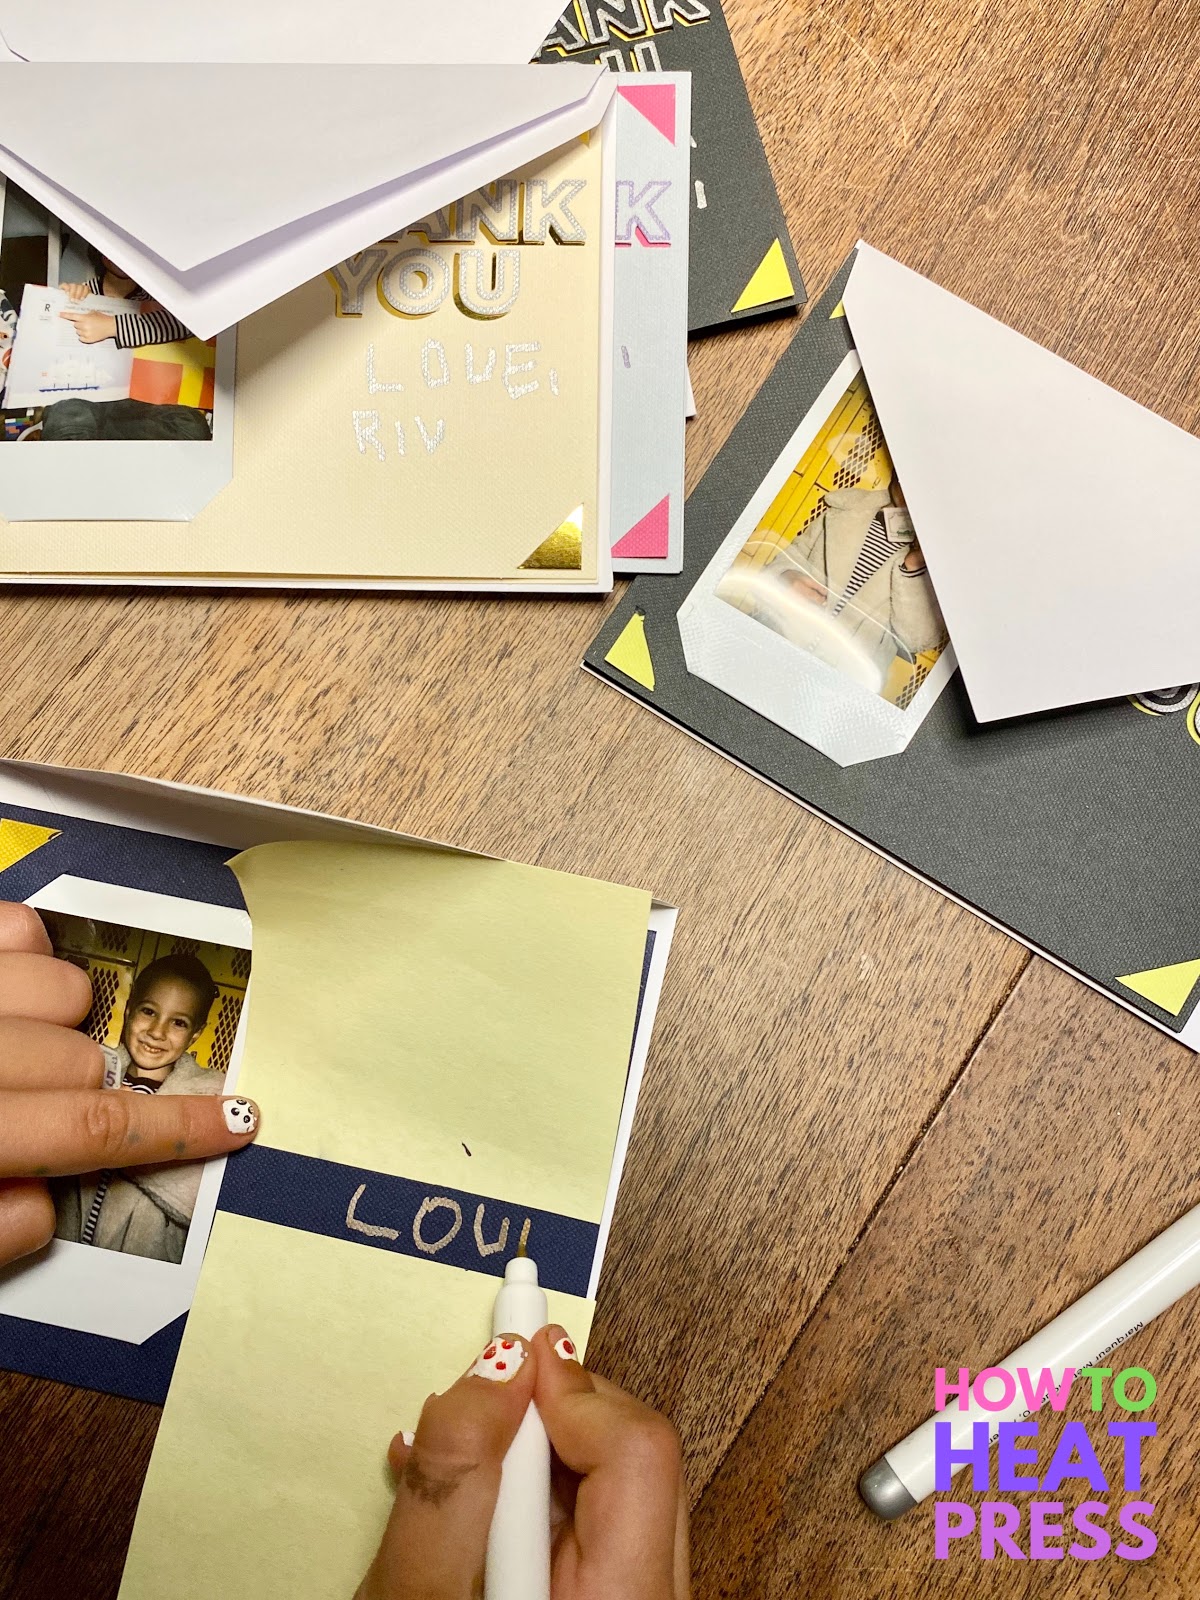

As a former teacher, I know that getting kids to write things in the place and size you’re imagining is a challenge. Sticky notes to the rescue! I placed stickies to frame the place for him to write ‘love’ and then repositioned them for him to write his name. He used the same markers that the machine used to draw the words “Thank You”.

The finished products turned out pretty cute! I wrote them a personal note inside and then Riv helped with addressing the envelopes. We used the same sticky note technique for him to write the name of each recipient on the front as well as his name on the back and I finished off with the addresses and our return address.

In the end, I was thrilled with how the experience went with my son. Taking the photos was a fun process and he enjoyed coming up with poses. He was giddy to have his pictures on the cards and really liked customizing them with his name. We had a lot of time together to talk about the folks in his life who had loved on him for his birthday. I’ll absolutely be repeating this for all future gifts!
I’m also imagining taking lots of Polaroids at the next birthday party to include in the thank you notes. The same could be done at a baby shower or to make place cards for a special event. The little photos are just so charming and really make this type of handmade card special.

One last note – these little Fujifilm Instax cameras are fantastic. If you’ve been wanting one you should definitely go for it! Mine was a gift from a dear friend when I made a big move back in 2016. Her note talked about making new memories and enjoying the adventure. I think of her fondly every time I use it to capture our adventures!
UPDATE: I have received thank you notes for every DIY thank you card we mailed! They’re a real hit with everyone. I encourage all of you crafters to take on this easy card craft as one of your next DIY projects!
How do you get your kids involved with thank you notes? What other DIY thank you card ideas do you have? I’d love to hear in the comments!
(Please note: This post contains affiliate links. Read our full disclosure policy here.)
Just want to say thank YOU so much for this post…..I just bought a Cricut joy and i am looking forward to using your tutorial for my own soon-to-be 5 year old’s birthday. You also explained the design space app so clearly. Thanks!!!
Hey Lauren – thanks for the sweet comment about my DIY thank you cards! Happy early birthday to your little one, hope it’s an amazing birthday!