Layering HTV – How to Layer Glitter, Neon, & Metallic Heat Transfer Vinyl!
Layering HTV – Everything You Should Know
The challenge: Heat Transfer Warehouse sent out the same t-shirt decoration supplies to a handful of bloggers to see what we would come up with. (Check out the results of the Halloween HTW HTV design challenge here!)
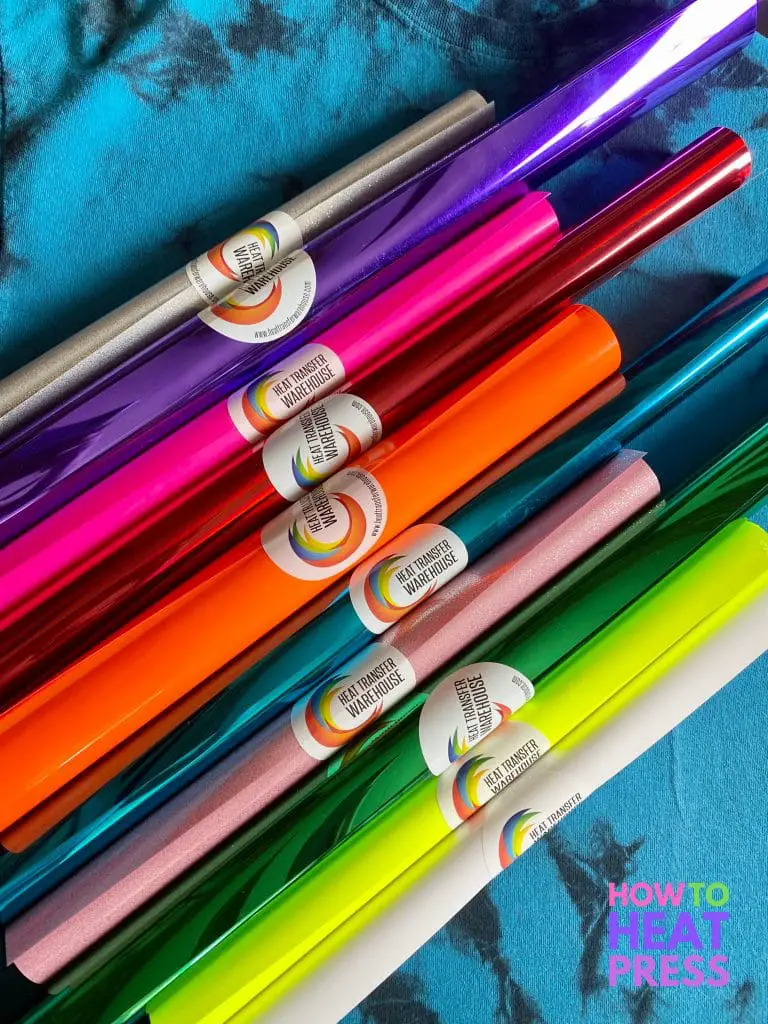
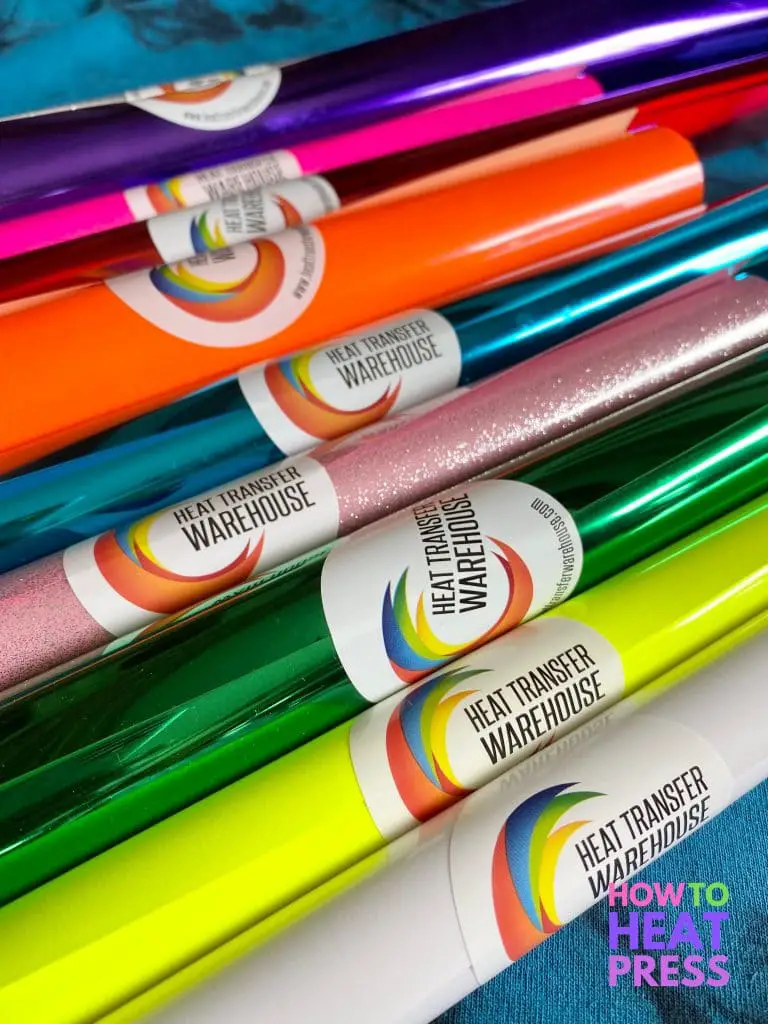
We got an awesome teal and black tie-dye shirt and a bunch of HTV including some DecoFilm Soft Metallics, Siser Sparkle, and WalaKut Express Neon colors. The only rules were we needed to use only the HTV sent and at last one color of each type. Because there were so many amazing colors I knew this would be the perfect project to showcase layering HTV. Read on to use this step-by-step tutorial and find out how to layer HTV so your projects turn out perfect!
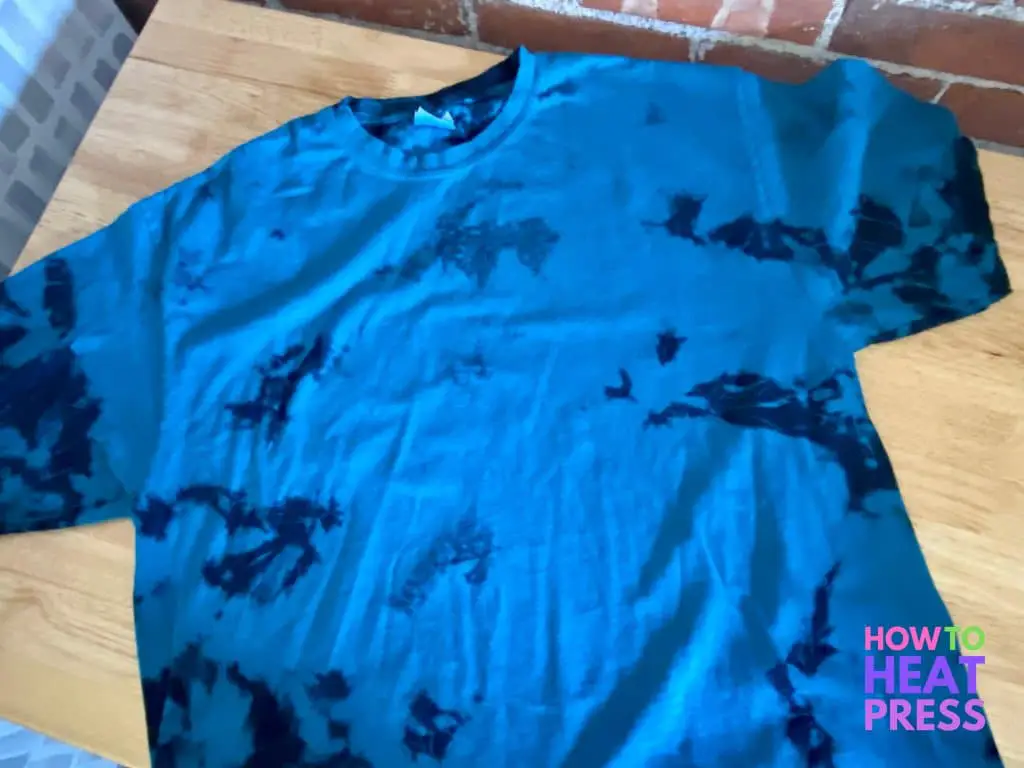
For all the tips on how I created my layered HTV mountain scene keep reading, and if you want a quick overview check out the How to Layer HTV video here:
Choosing a Design for Layering HTV

SOURCE: DESIGN BUNDLES
Obviously, if you’re planning to layer your design you need to choose SVG files with multiple colors. Layering your heat transfer vinyl is a great way to upgrade your DIY project to a more professional level. It’s wise to start thinking ahead based on what type of HTV/iron on vinyl you’re going to use.
You need to find out if your HTV can be layered as the first layer, second layer, or final layer only. A good rule of thumb is that solid colors and stripflock can be layered (used as a bottom layer, middle, or top) but metallics and holographic vinyl cannot. The big exception here is Siser Sparkle – it’s a beautiful, smooth to the touch glitter vinyl that can be layered! This can make for some really fun designs with solid colors or patterns on top of glitter HTV for a background.
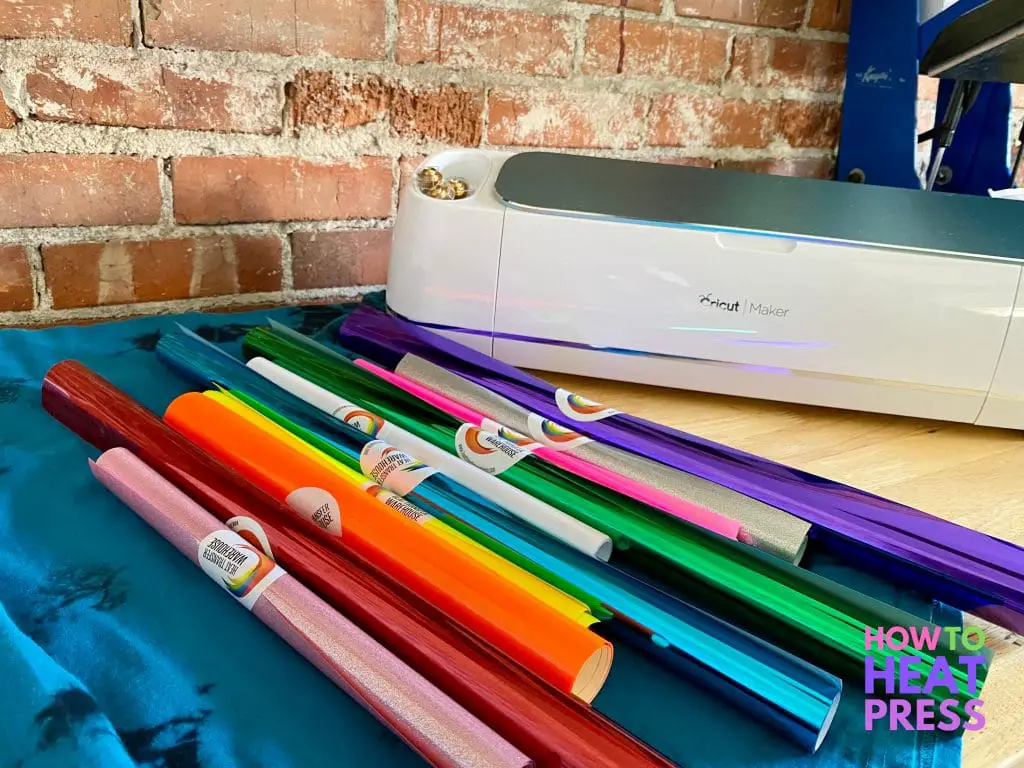
I love a fun challenge like this but have to admit being pretty stumped to start with about what to make! The shirt had an opinion and vibe of its own and the HTV was so vibrant. I decided I needed to embrace the party feel and decided to go for a 1980s musical festival look.
My family and I live in Denver not far from Red Rocks Amphitheater (seeing a show or attending Yoga on the Rocks there should be on your bucket list if you haven’t already!). The venue is incredible and the energy of shows there is unmatched, rain or shine. I ended up choosing a mountain landscape layered design but amped up the colors and texture with the fun HTV from Heat Transfer Warehouse.
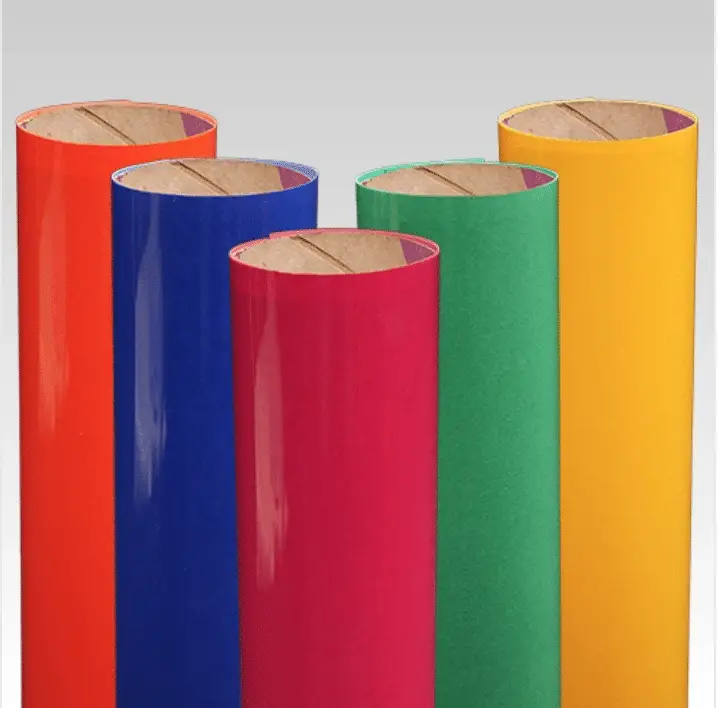
Best Heat Transfer Vinyl for Layering HTV
|
WALAKut Express |
|
View On Heat Transfer Warehouse |
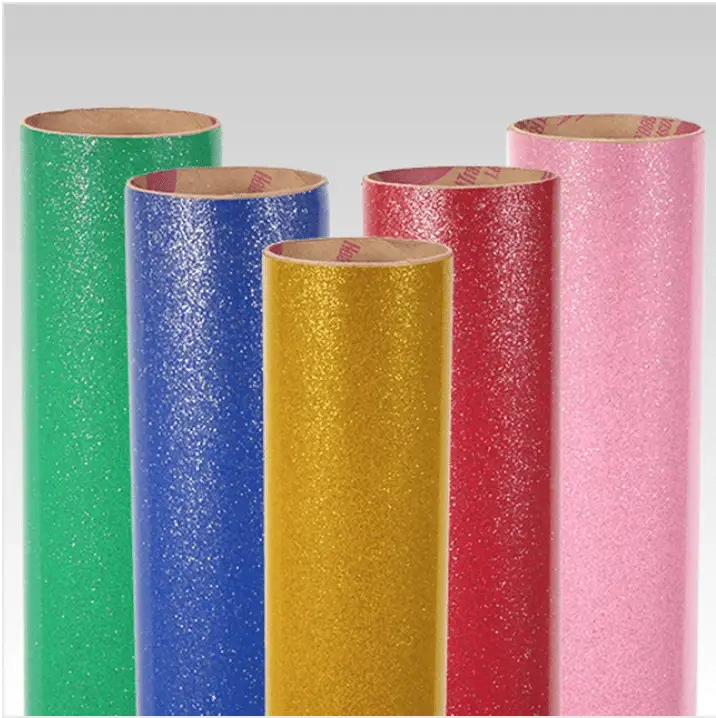
|
Siser Sparkle |
|
View On Heat Transfer Warehouse View at Amazon |
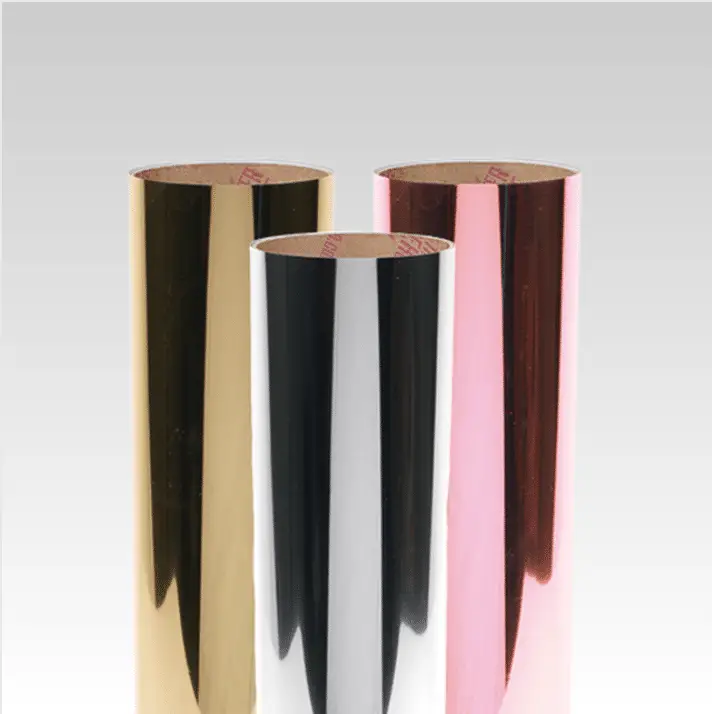
|
DecoFilm Soft Metallics |
|
View On Heat Transfer Warehouse |
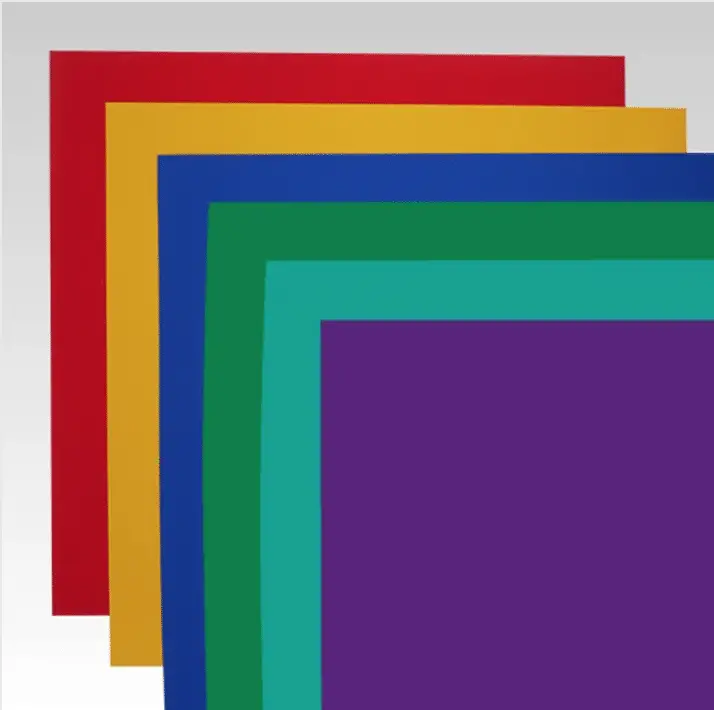
|
Siser Easyweed |
|
View On Heat Transfer WarehouseView On Amazon |
|
Specialty Materials HTV |
|
View On HPN |
 |
FireFly Craft Heat Transfer Vinyl |
|
View On Amazon |
|
StripFlock Pro |
|
View On Heat Transfer Warehouse |
Preparing the Design in Cricut Design Space
I purchased the original mountain landscape design from Design Bundles. The volume of layers (mountains, trees, clouds, snow) immediately made me think I could make use of almost all of the HTV I was given for the challenge.
The design was available as a high-resolution EPS and JPEG vector file – but not an SVG. In order to make designs with HTV you need cut files in .svg format. I attempted to convert the JPEG but kept losing layers in the process. At one point I was close to abandoning the project and looking for another but decided to reach out to the designer, Alex Hariyandi, via the chat function on Design Bundles. He was so helpful and emailed me a copy of his mountain landscape in the SVG format I was looking for. I’m not sure that all designers are as responsive as Alex was but it’s great to know that’s an option when purchasing through Design Bundles!
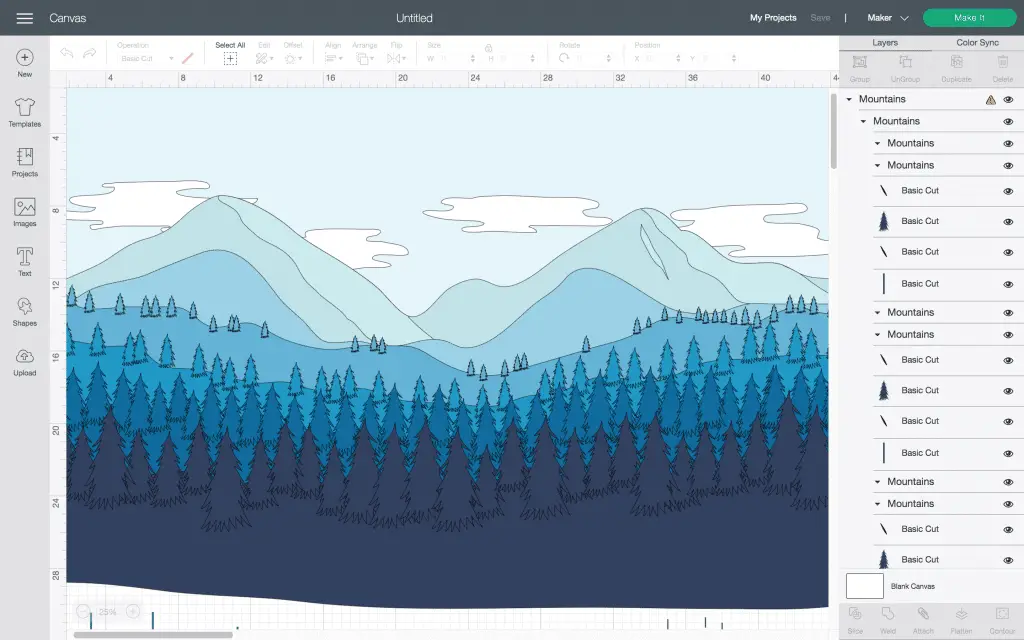
Once I had uploaded my SVG to Cricut Design Space I needed to get it ready for cutting. If you’re using a Silhouette or other vinyl cutting machine you can find more about cutting instructions here.
Welding, Slicing, and Contouring in Cricut Design Space
As you can see – it wasn’t even close to ready as it hadn’t been intended for use as a cut file. The first thing I did was to weld each layer together. You can see that the trees and the ground on each layer were all separate pieces. If I’d cut it out like this I would have had a zillion separate little trees – no thanks. The weld feature allows you to take separate shapes and ‘weld’ them together into one shape.
After welding each piece in each of the different layers (colors) I needed to crop the sections into the rectangular shape I wanted for the shirt. The slice tool is perfect for this. I created a rectangle the size I wanted for the whole design and sliced each layer to be that size. Then I deleted the parts of the design outside of the rectangle. When you’re using slice keep in mind you can only select and slice two layers at a time. In this case, it was a lot of slicing as there were so many layers!
After making each layer the correct size I decided to play with the colors. I laid out my HTV and experimented with orders I liked to see what would really make the design pop. I changed the color of each layer in Cricut Design Space to see what it would look like on my shirt and quickly fell in love. Ultimately, I decided to cut out the sky layer entirely and let the tie-dye backdrop serve as a moody background.
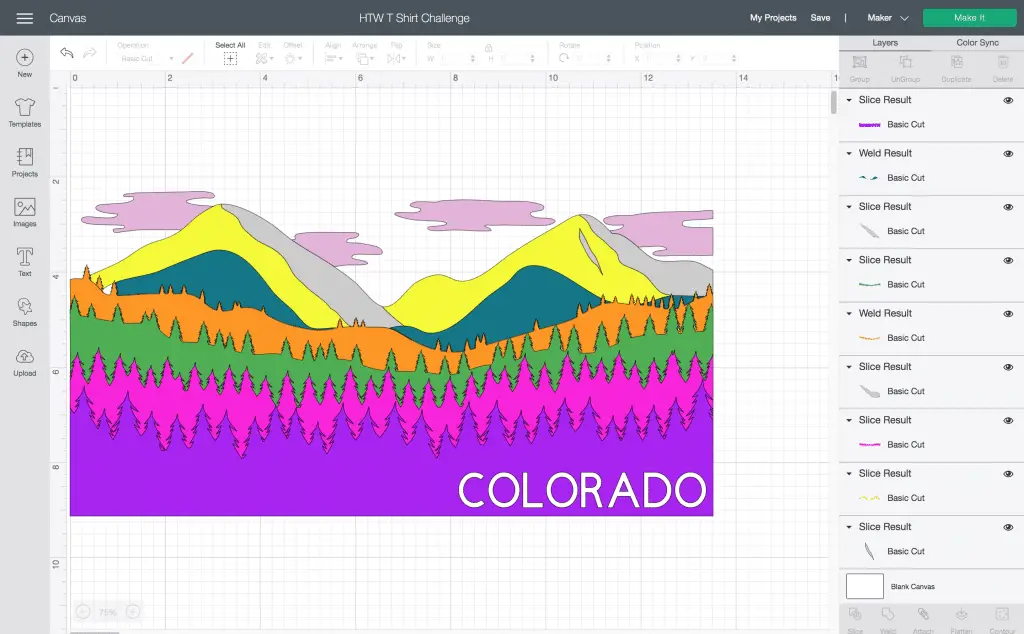
Next, I needed to use my slice tool again to cut out each layer like a puzzle piece. Some HTV can be layered which means this step isn’t necessary. Because I wanted to have the metallics (which can only be the top layer) in the middle of the project I needed to slice my layers into perfectly fitting puzzle pieces. I added the word ‘Colorado’ and sliced it out as well so I could inlay the white HTV for the letters.
After slicing the layers I cleaned them up by selecting and deleting things I didn’t want to be cut. The contour tool is a great one to use when trying to zoom in on and delete all of the tiny little nibs you don’t want in a design.
Cutting and Weeding HTV
I used my Cricut Maker for cutting the majestic Colorado landscape design. It was approximately 13″ x 7″ so I needed to use my large mat to get it all to fit.
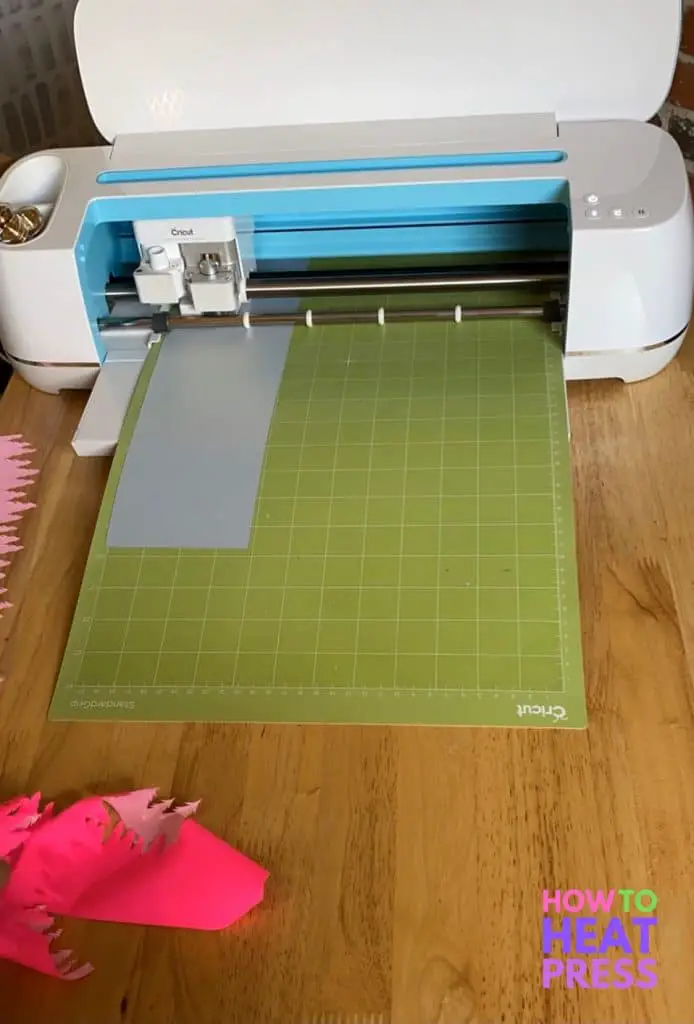
Because I knew there was so much detail in the project I swapped out my fine point blade for a new one. I don’t always change blades before a project (I honestly can’t remember the last time I changed mine before this) but I didn’t have the time nor did I want to waste any materials on a crummy cut.
When you buy HTV from Heat Transfer Warehouse it always comes with very specific cutting and application instructions right on the website. These have been tested and work so it’s always a good idea to go with them over your gut or Cricut’s recommendation. For example – when cutting the Siser Sparkle HTW recommends you use the ‘Everyday Vinyl’ cut setting, not the glitter setting. Siser Sparkle is super thin and the glitter setting will result in cutting right through the transfer sheet – oops!
All three of the styles of HTV used in the project cut and weeded flawlessly on the ‘Everyday Vinyl’ setting. As with all HTV projects the design needed to be mirrored before it was cut.
It’s definitely a sign that my Cricut needs to be calibrated, but I noticed on my first cut that the cut line barely made it onto the vinyl, it was exactly on the edge of the mat. To account for this I just loaded each sheet of vinyl about 1/4″ over the edge of the sticky part of the mat.
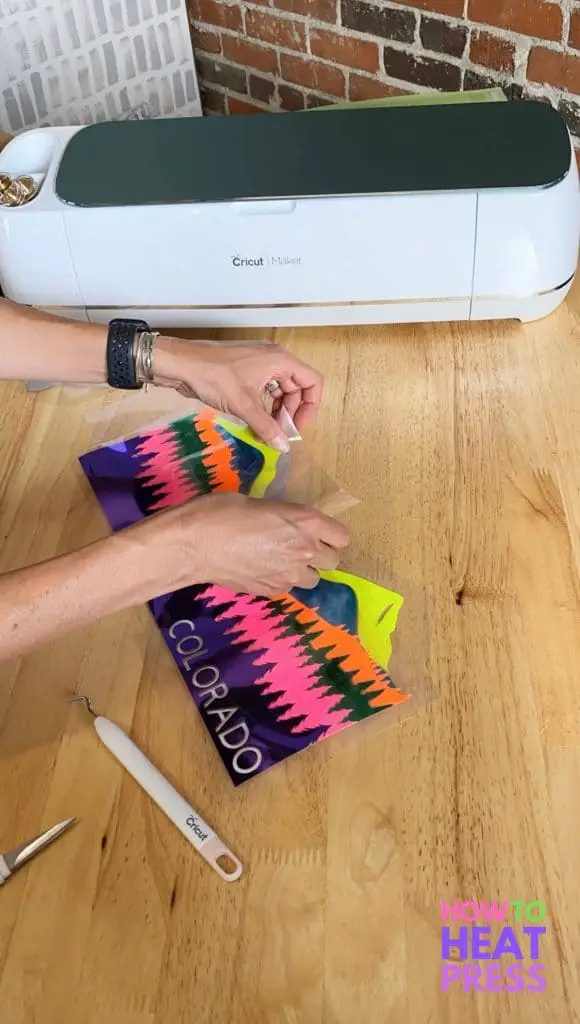
Something to love about DecoFilm Metallics, WalaKut Express, and Siser Sparkle is that they all have a sticky carrier sheet. There were a few spots when I was weeding that things got pulled up where they shouldn’t have and the sticky sheet makes it so easy to just press right back down. It also makes for perfect layering! As you build up your design layer by layer of HTV the sticky carrier sheet helps ensure every layer gets stuck exactly where you want it to go.
Tips for Layering HTV with a Heat Press
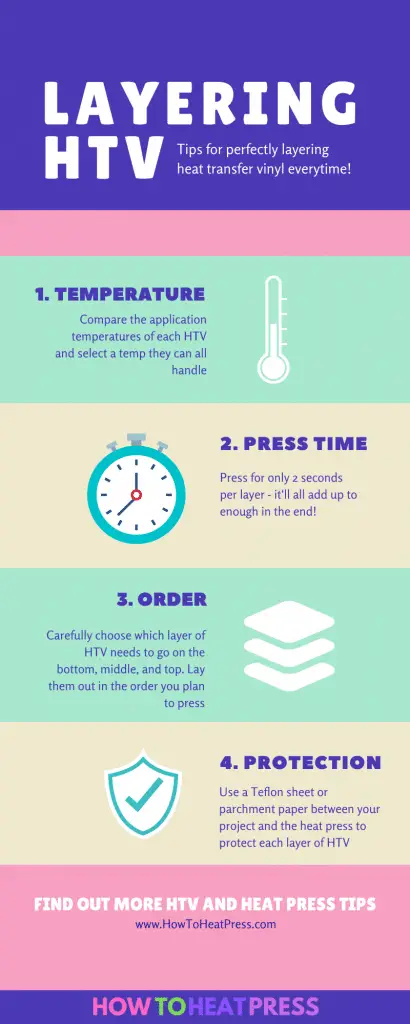
I have this little infographic printed out to help me plan all of my layered HTV projects!
A full-sized heat press is really essential when it comes to doing a project with lots of layers. You can absolutely do this by hand with a smaller hand press such as the Cricut Easypress or iron it will just take you significantly more time and the results might not be as consistent as they would be with a heat press.
I always lay out my layers in the order they need to be pressed. Again, pay attention to the specific layering instructions of each layer – if it needs to be a top layer then obviously you need to press that last. In this project, the WalaKut Express Neon and Siser Sparkle could both be layered on the bottom so it was just the DecoFilm Soft Metallics that had to be a top layer.
If you’re pressing a multilayered garment like a shirt either thread it on the heat press or put a Teflon sheet or parchment paper between the front and back so make sure they don’t accidentally get stuck together.
Keep in mind that every type of HTV has a specific temperature it should be pressed at. Know that they are typically a bit forgiving so don’t worry if your temperature varies a bit.
For example, in this case the HTV I was using presses at the following temperatures:
- WalaKut Express – 250° F-302° F for multi-layering or thick cotton, 5 seconds, warm or cool peel
- DecoFilm Metallics – 302°F – 320°F, 7-8 seconds, Peel Cold – Repress with Teflon for 3-5 seconds
- Siser Sparkle – 311°F, 15 seconds, warm peel
When layering heat transfer vinyl you have to make some compromises because not all HTV has the same pressing instructions. I set my press at 302° F to best accommodate the pressing instructions for each type of HTV in use. Additionally, I planned to press the Siser Sparkle layers at the beginning of my project. I want to make sure they get a cumulative 15 second press time. You can see the pink and silver layers below are Siser Sparkle.
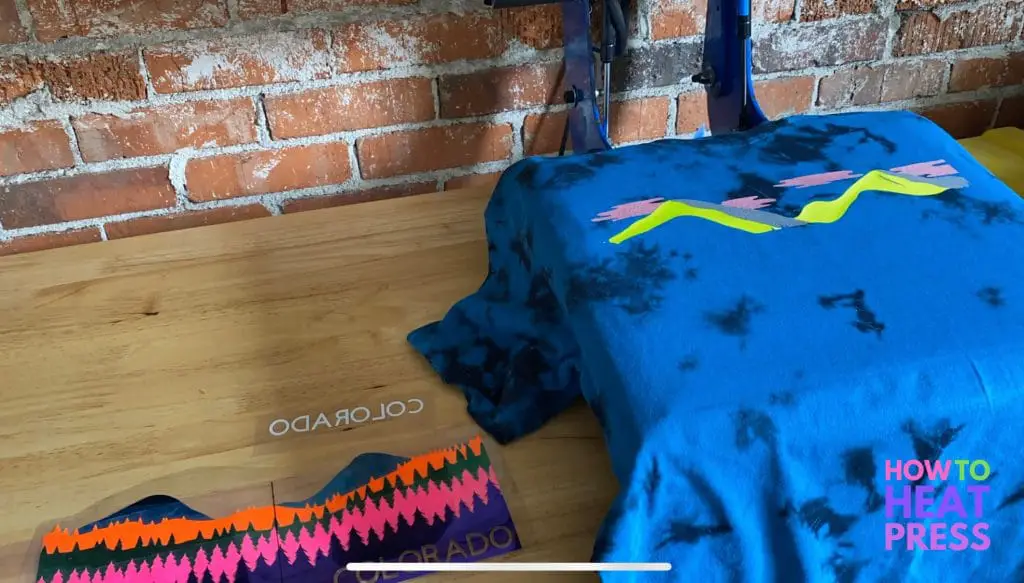
One thing you can’t compromise on when layering HTV is the peel temperature guideline. If it’s a cool peel you must be patient and wait for it to cool otherwise the HTV will get distorted and stretched. Be patient, grasshopper!
The biggest concern in layering HTV is avoiding scorching your layers or giving them too much heat and melting them. To avoid this you need to press each layer for a very short amount of time. In this case, I pressed each layer for only about two seconds. Then did the final press for 5 seconds.
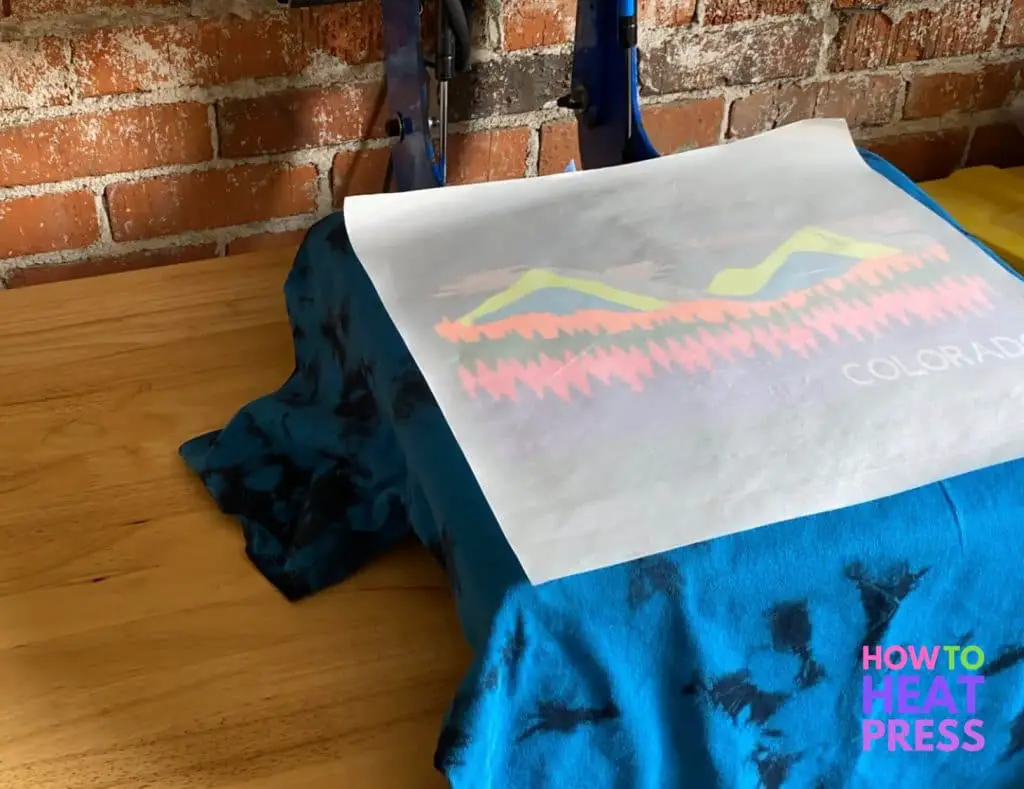
Placement is so important when it comes to layering HTV. You have to be a perfectionist about it otherwise your eye will always let you know you messed up! So find your zen and check and double-check your placement before you apply heat. Sticky carrier sheets are ideal for layering HTV because they will hold each layer exactly where you want it. If your HTV doesn’t have a sticky carrier sheet you can use heat-resistant tape to hold each layer in place as you press. Yes, it’s extra work, and yes you’ll be happy you did it when you end with a perfect project!
Lastly, use a Teflon sheet (super cheap and reusable thousands of times) between your project and the heat press to protect the layers you’ve already pressed from getting melted onto your upper heat platen.
Admire Your Layered HTV Project
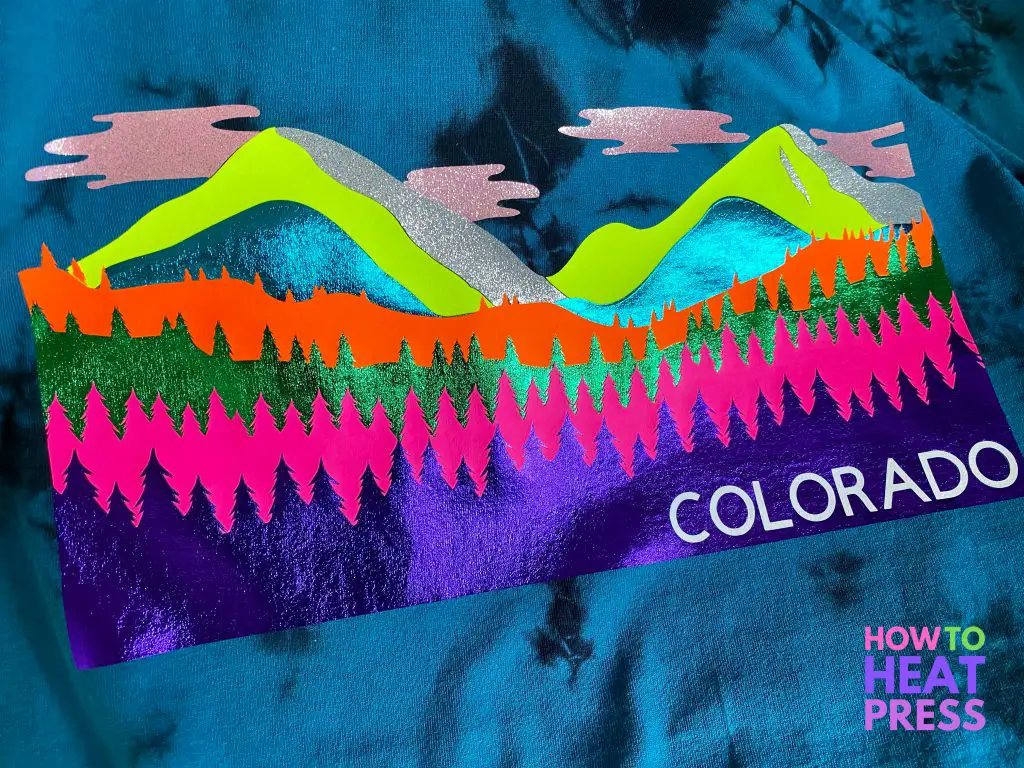
At this point, you should have created a beautiful, dynamic HTV project that you love. Crafters can really upgrade their projects with layered HTV! Keep in mind you can also layer adhesive vinyl for other vinyl projects. Just follow similar steps using transfer tape to make dynamic decals.

If you’re a small business owner then wearing your designs around is amazing advertising so sport your new layered HTV project with pride knowing it’s great marketing!


