HTV Design Challenge – Halloween Theme!
Happy fall everyone! Heat Transfer Warehouse is back at it with another design challenge with a Halloween theme. The rules are simple – use only the materials they send including at least three different types of heat transfer vinyl.
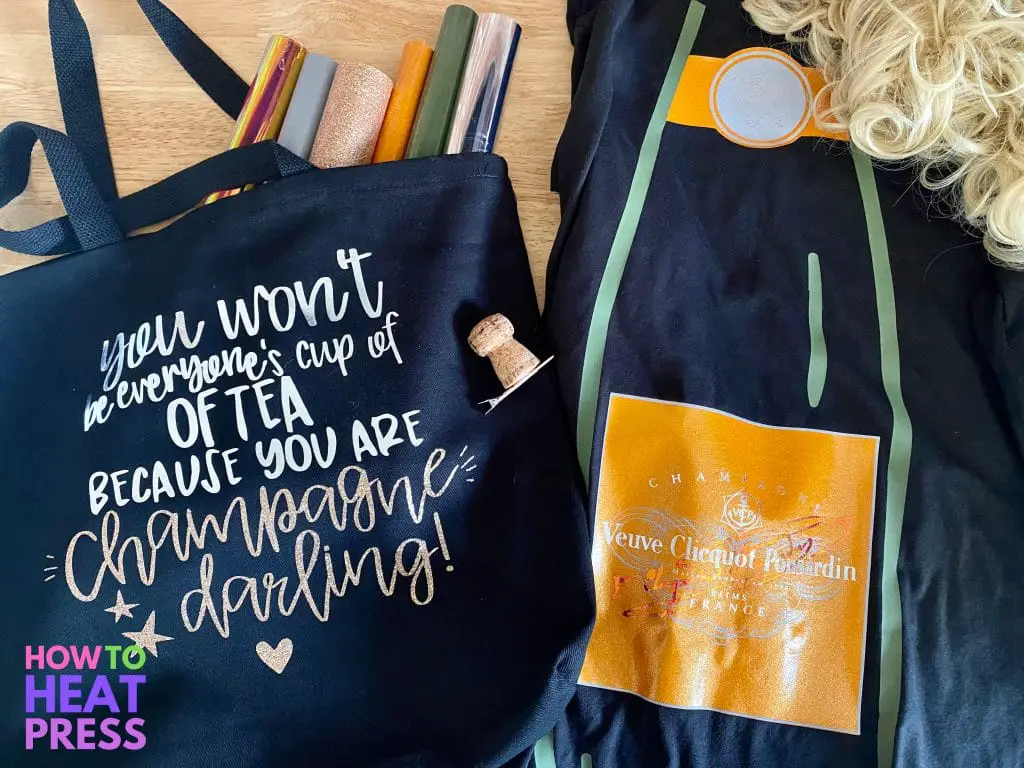
Here’s what I came up with – hope you enjoy it! For more details on how I created my champagne Halloween costume read on : ).
There are a bunch of other crafters/bloggers competing in the challenge too. We all had the same supplies and everyone came up with some very clever projects. Click through to see what everyone else came up with and vote for your favorite!
HTW Design Challenge Supplies
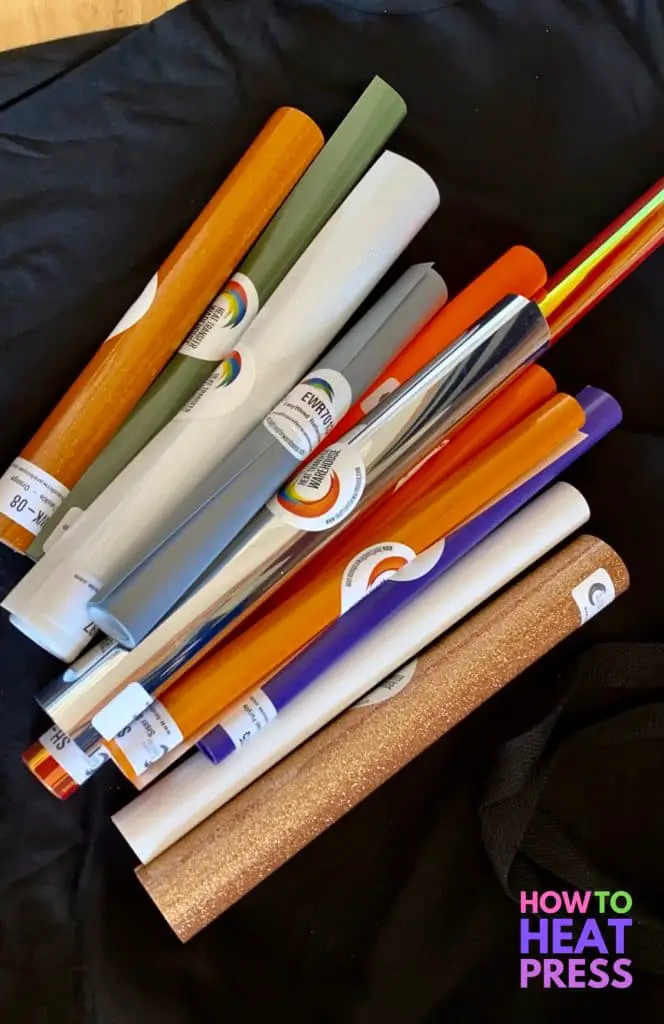
Heat Transfer Warehouse sent out 10 different styles of HTV and said we needed to use at least 3. I was able to use 6 different HTV types in my champagne design.
- 1 black tote bag
- 1 blank long sleeve shirt
- Siser Reflective HTV
- Siser Sparkle Sunset Orange
- Siser Holographic Firelit Pearl
- Siser Glitter in Tawny
- Siser Easyweed Moss Green
- Decofilm Soft Metallics Silver
Halloween Design Choice
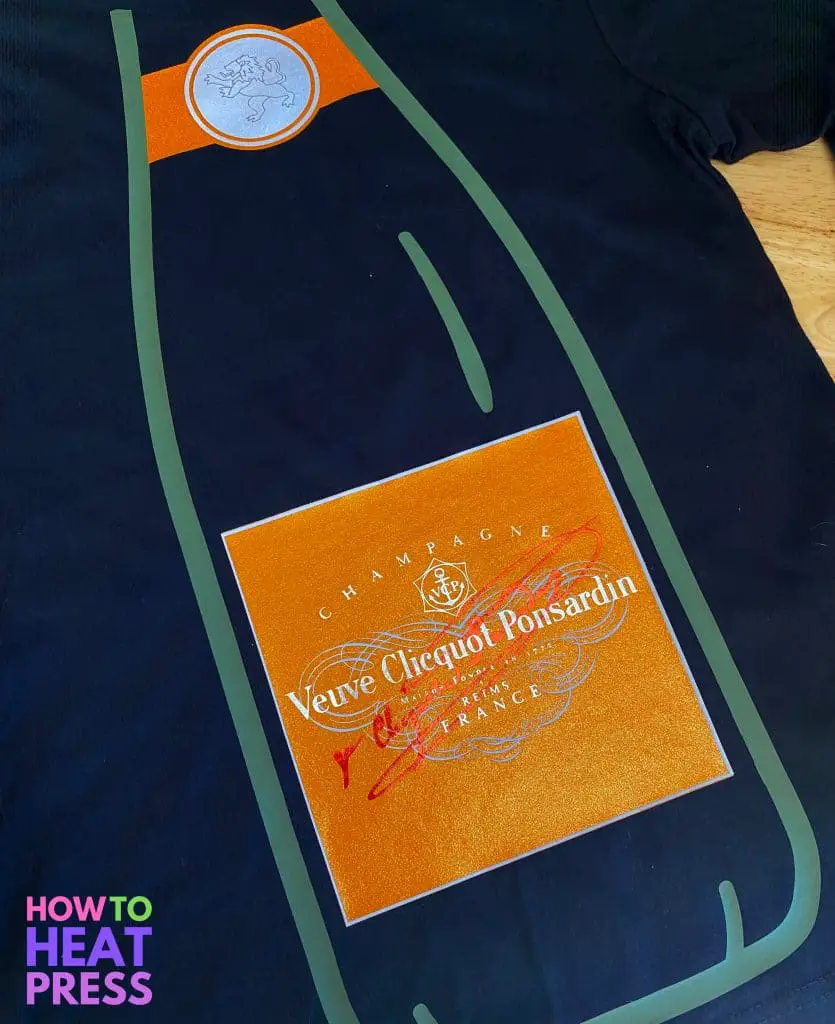
First off, it was super tricky for me to choose a design! I thought about it for a good while before landing on the bottle of Veuve idea. There were a lot of classic “Halloween” colors (hello orange and glow in the dark!). I thought about just a cute all-over pumpkin design of making the shirt into a skeleton but couldn’t quite commit.
I was on a girl’s weekend trip with some other moms recently and at the liquor store we were talking about champagne. We all agreed it brings all of us a lot of joy to take time and celebrate special moments in our lives… and that we rarely buy it. The Siser Glitter HTV in tawny reminded me of champagne and the classic Veuve bottle popped into my head.

Source: Cheers On Demand
It’s silly that the Siser Glitter didn’t actually make it onto the front of the shirt, but I did use it on the back. Fortunately, the color of Veuve’s famous yellow label could be matched with the Siser Sparkle in Sunset Orange. This was a big win because I knew I’d need a base layer that I could build on top of. Siser Sparkle is such a boss options – it’s pretty and sparkly (plus soft to the touch) AND you can layer right on top of it!
Creating the Champagne Logo
First, it’s important to note that I was making this as a Halloween costume for myself – not something to sell. If you’re planning to use or registered trademark on any items you’re going to sell make sure you take some time to look into copyright and trademark issues. It’s a complicated topic!
Source: World Vector Logo
I found a free SVG of the Veuve Clicquot label. It’s important to remember that you may only use this type of logo for personal, non-commercial purposes – so don’t go setting up an Etsy shop with someone’s trademarked logos!
I went ahead and saved the SVG and uploaded it to Cricut Design Space. Next, I found a wine bottle image right in DS that I could edit to make the outline. Below you can see what the original wine bottle image looked like compared to my much less detailed outline. To cut off the neck of the bottle and the label I use the slice tool. That link will tell you more about how the slice tool can be your ‘eraser’ to customize images.
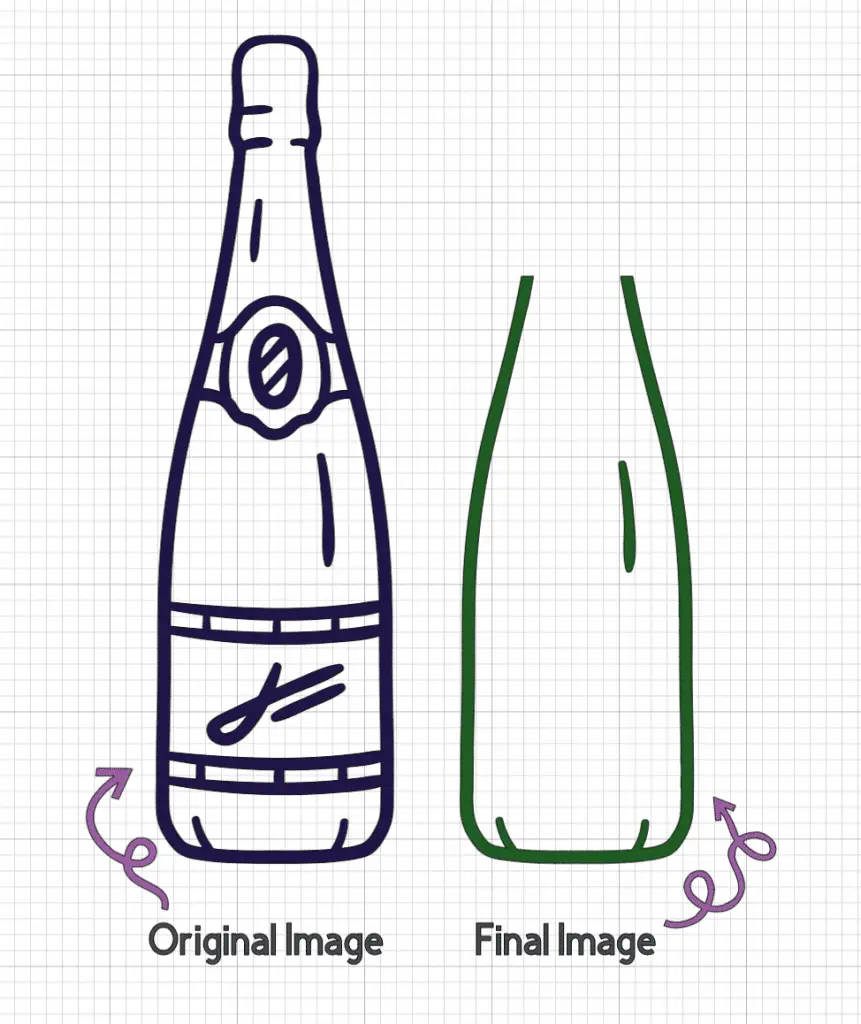
To create the label on the neck of the bottle I again used basic shapes and the slice tool. The original label was a rectangle with a circle on top that I welded together. I added the lion from DS’s stock images because the real Veuve logo would be way too complex for such a tiny area.
As you can see below, I changed the colors in Design Space to match the materials I’d be cutting.
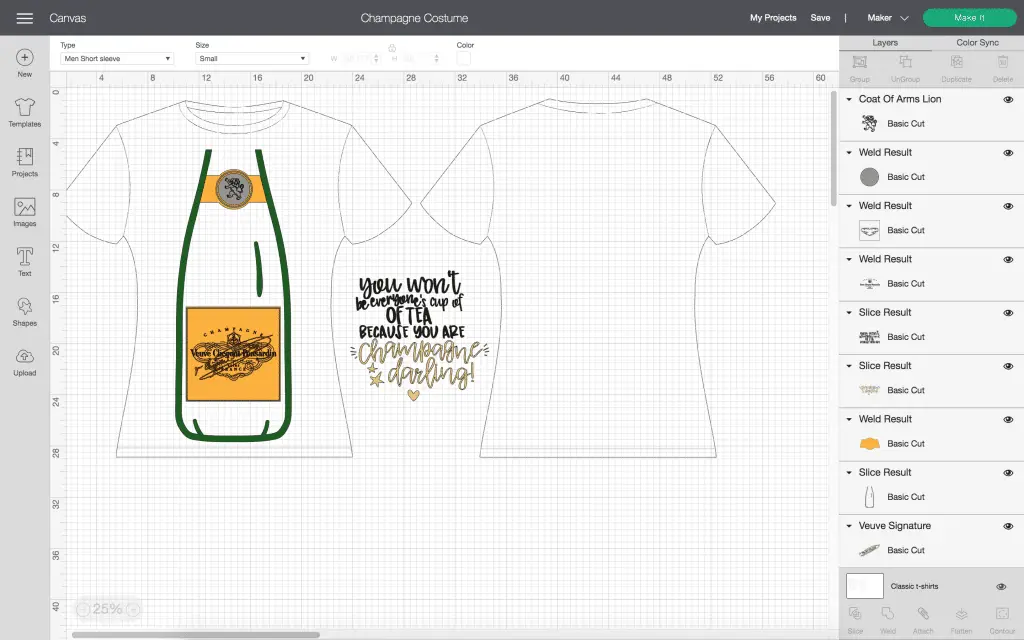
Champagne SVGs
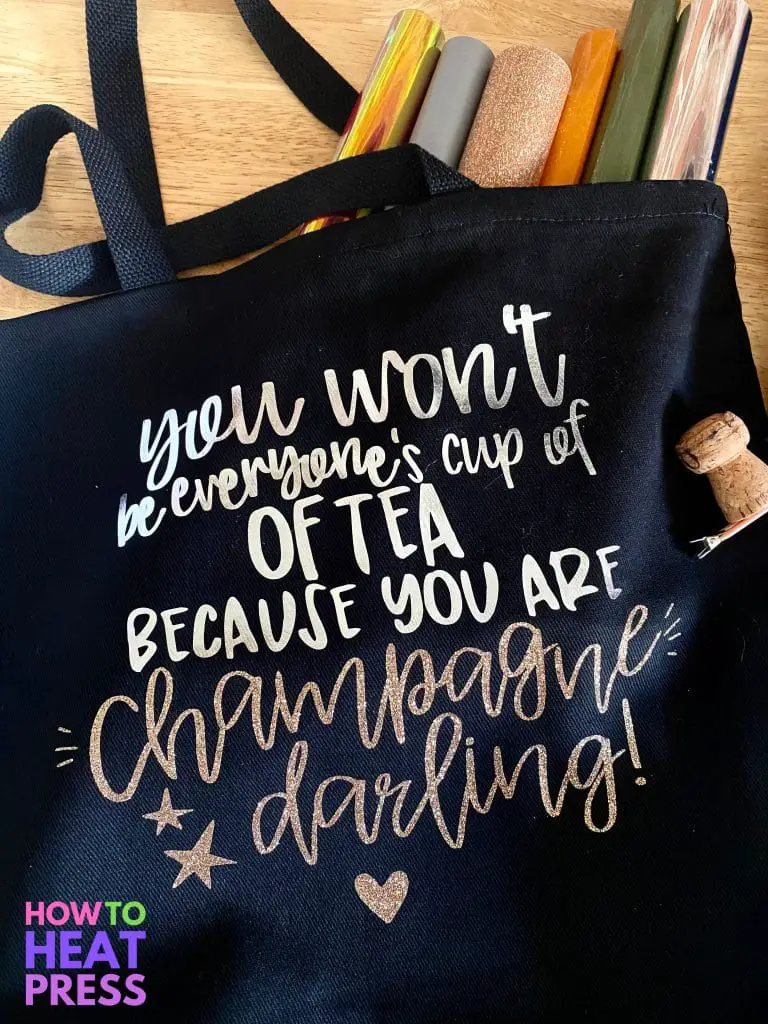
I felt like the little black tote bag was just asking for a funny little SVG! Plus, how cool would it be if your neighbors actually gave out champagne to the grown-ups when trick or treating. A girl’s gotta dream!

Source: Design Bundles
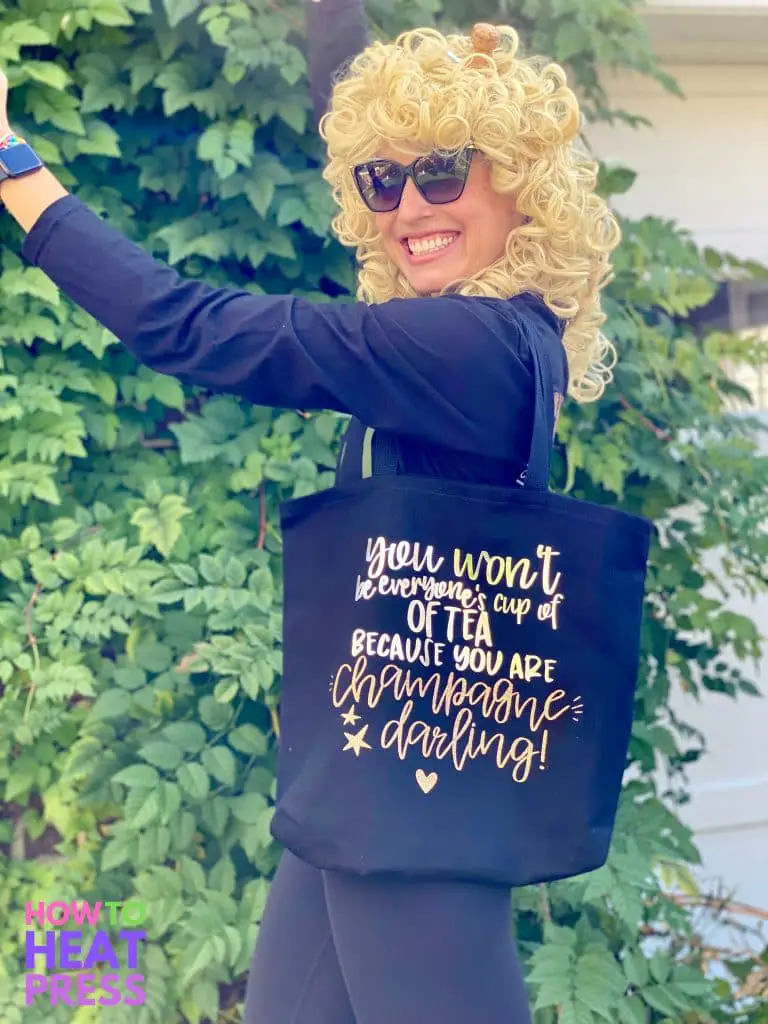
As a real people pleaser, I think I should take the advice given by my new tote bag. I am champagne, darling! Of course I’m not going to be everyone’s cup of tea! Here’s where you can find this funny little champagne SVG.
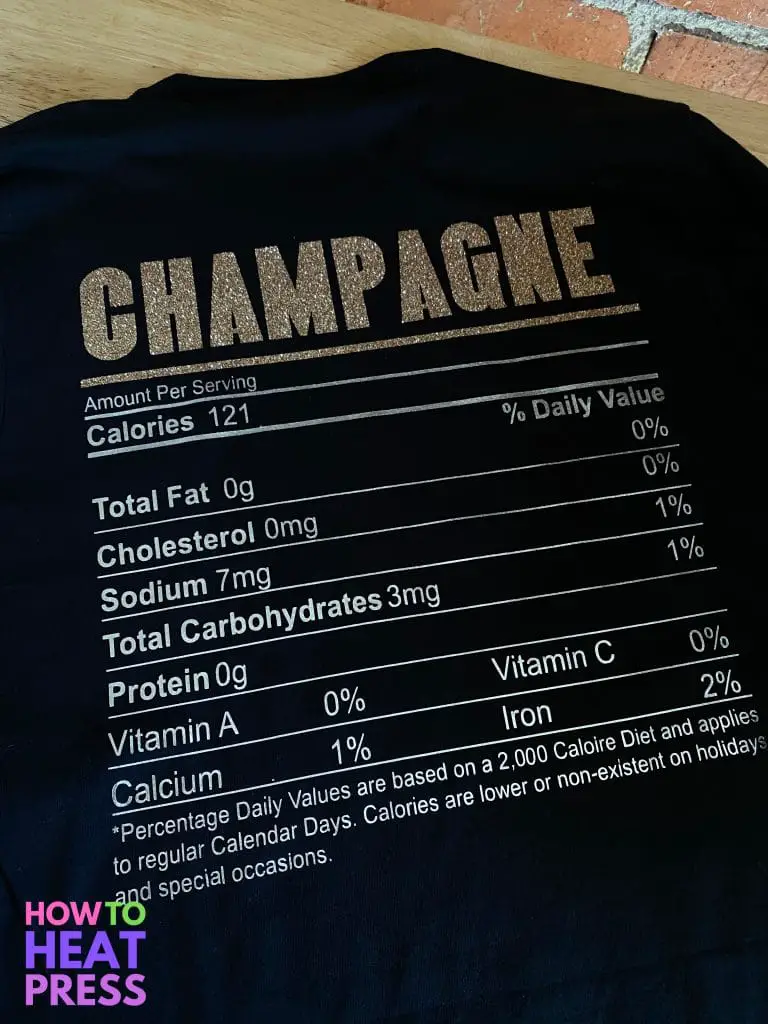
Here’s a screenshot of my champagne nutrition facts uploaded into Cricut Design Space. A couple of things to note about this: first, there’s a typo. If you look at the fine print (the funny part!) the word ‘special’ is misspelled. I let the designer of the SVG know (she’s fixing it). I didn’t fix it in my design but rather switched the ‘a’ and ‘i’ on the actual HTV before pressing it. Easy peasy.
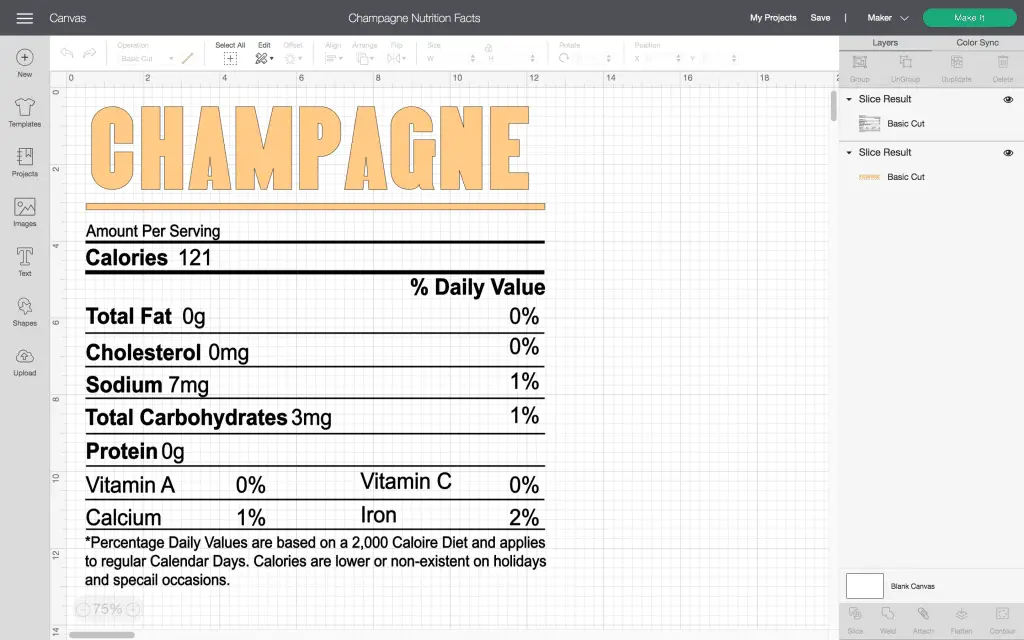
The other thing to note is that I sliced the image in half so it would be two separate cuts. I really wanted to use that beautiful Siser Glitter in Tawny that inspired the whole costume. By slicing my image in half I cut just the word “CHAMPAGNE” with my Siser Glitter. I then used Deco Film Soft Metallics for the rest of the nutrition label.
Process for Applying HTV
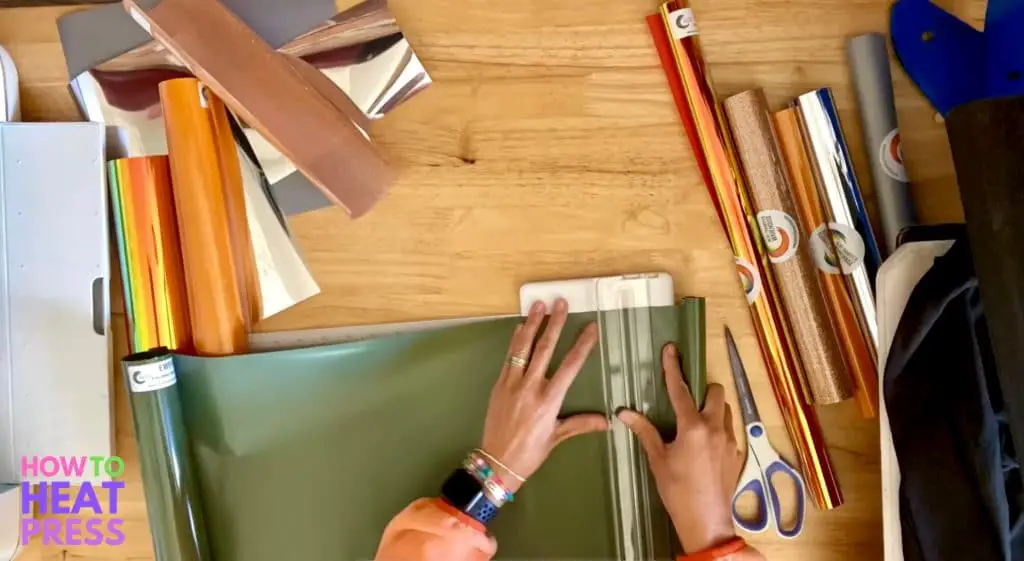
I’m sure we all have different processes for completing our HTV projects. Here’s my outline for a multi-layered HTV project:
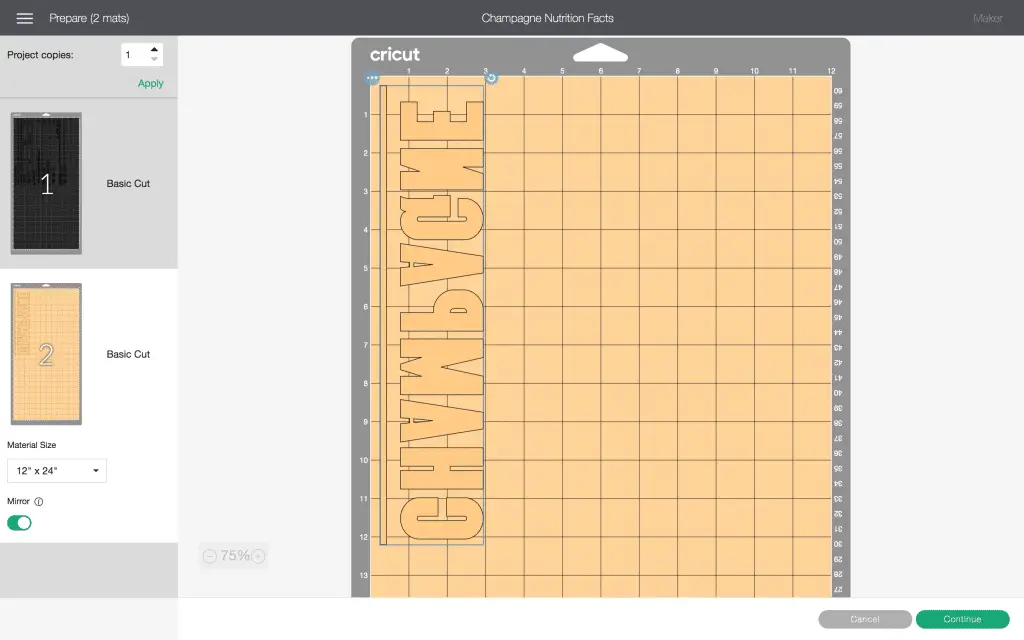
- Get ready to ‘Make It’ in Design Space and MIRROR your image. Always mirror HTV.
- Cut HTV to size. I do this so that I minimize waste. You can look at the mat preview like the one below to see how much material you’ll need. Give yourself a little wiggle room, I cut about 0.5 – 1 inch larger than needed in case my machine is a bit off. So in this case my Siser Glitter in Tawny was about 4 inches x 13 inches.
- Cut each layer and weed simultaneously – There’s no time to waste around here!
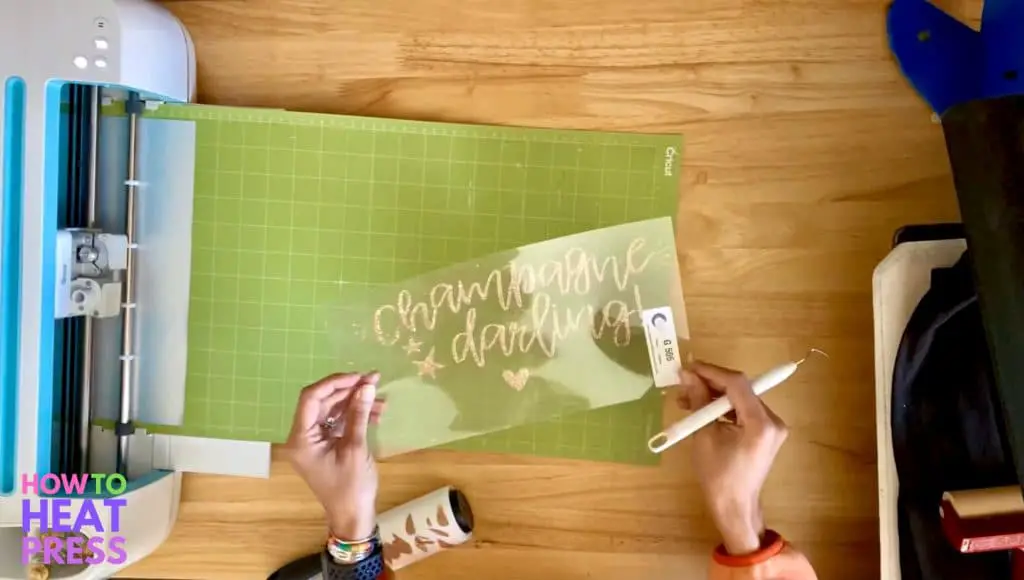
- Plan your pressing. What order do you need to press each layer of HTV in? What are the temps, times, and special instructions for each? I make myself a little cheat sheet like this to help me out:

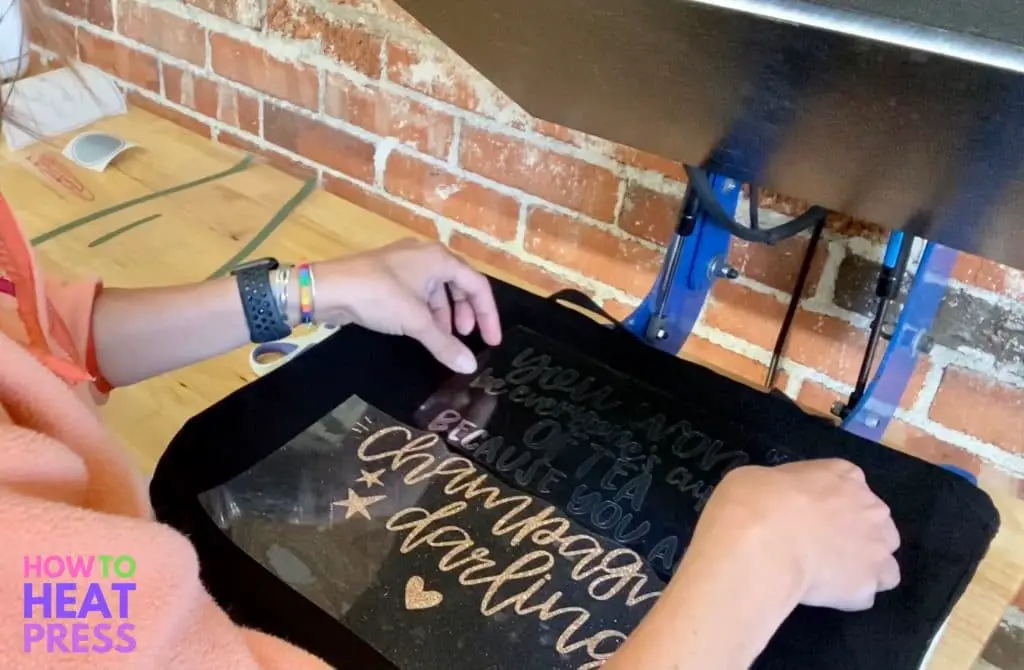
- Be picky about placement, press, peel, repeat. Make it perfect – if you have to reposition something five times to get it right do it. When you’re doing a layered project you have to make sure the first layer is perfect or they’ll all be off.
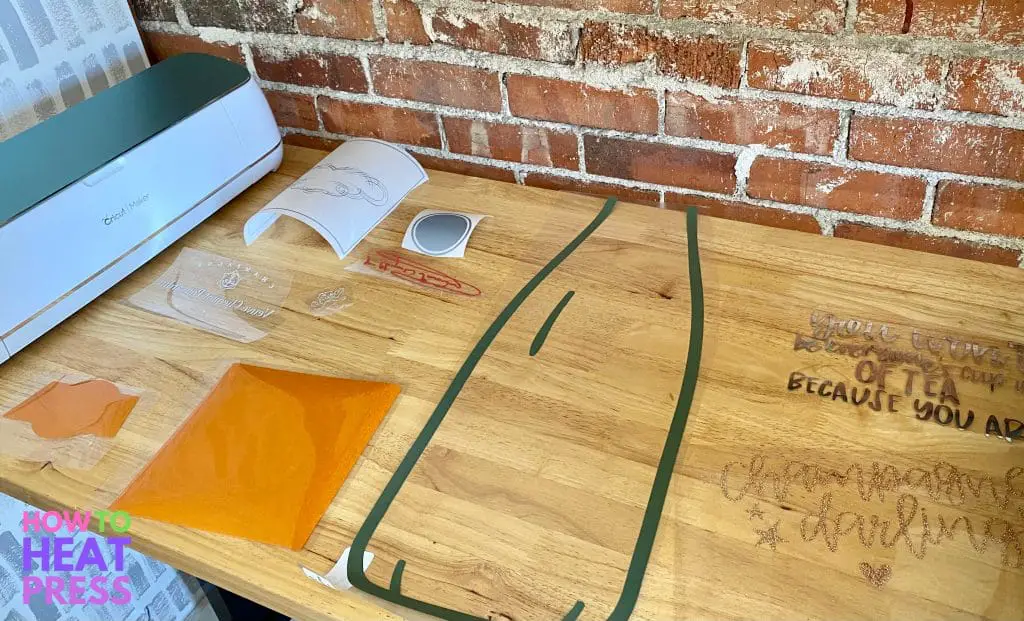
In the pic below I was laying out both parts of my bag design even though I pressed the glitter first. I wanted to make sure the whole design would be level and look nice before I did any pressing!
The Final Result: Heat Transfer Warehouse Halloween Theme Challenge
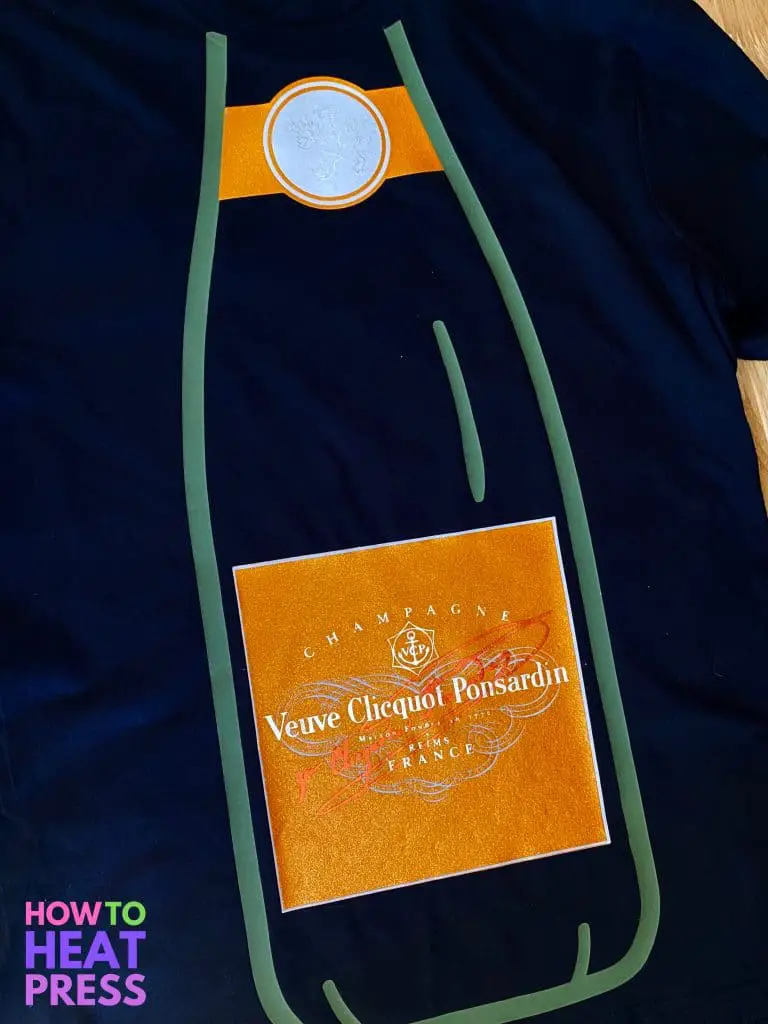
What do you think about my Veuve champagne shirt? I’m pretty pleased with how it turned out. For more details about how I did the layering make sure to watch the video of my process.
Here’s how the back of the shirt turned out, make sure to read the fine print!!!
Rule Breaker: Layering on Top of Holographic Vinyl
Can you spy the red holographic HTV in the picture below? Notice how it’s actually underneath the silver metallic “Veuve Clicquot Ponsardin” label? Notice the problem – you shouldn’t layer on top of holographic HTV. Why not? The trouble is that the extra heat from layers on top of holographic HTV can cause some undesirable texture in the holographic vinyl.
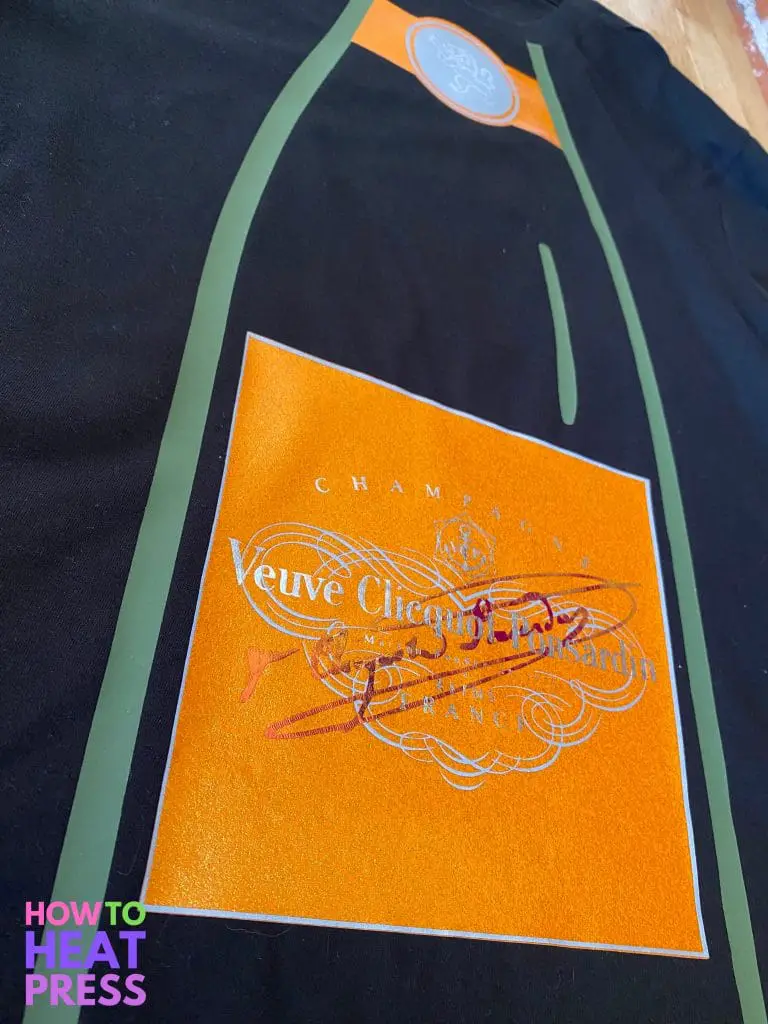
Here’s why I broke the rules – it’s a costume, not something I’m going to wear all the time. I cared more about having that signature in the background than I did about what the exact texture looked like. If I’d had a basic red HTV in the supplies I would have used it. I had to follow the challenge rules and only use the HTV they sent – so I guess I’m a selective rule breaker. Plus, I’m not going to be wearing this all the time so I’m not worried about how the HTV will hold up in the wash.
Would I break the HTV layering rules again? If I needed to – but honestly if I were doing this on my own I’d choose HTV that could be layered correctly for each part of the design.
Open Up the Champagne, Pop!
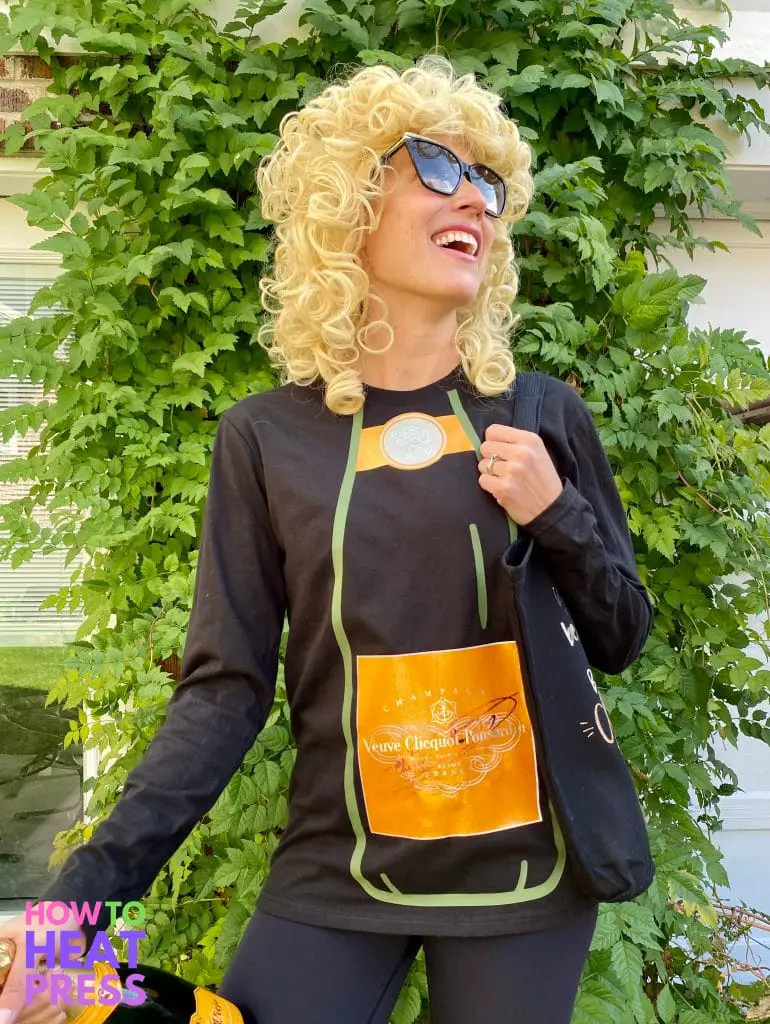
I don’t know, was the wig too much? Hard to tell, but who doesn’t love a moment of pretend! To top it off (haha) I made myself a little champagne cork barrette. Can you see it amid the bubbles of my wig?

DIY Halloween
Hope this gets you thinking about your own Halloween costumes. What will you make?! Whatever it is, I hope it brings you lots of joy and some giggles! Happy Halloween!



That’s adorable! I know another Champagne lover who might enjoy that costume! Not to mention I’ll borrow yours when you’re not using it! Xoxoxo mom
Ha, thanks, Mom! It’s available whenever you’re in the need for a bubbly little costume!