How To Cut Multiple Colors With Cricut Design Space
In this post I’m going to show you how to cut multiple colors of iron-on in Cricut Design Space.
The difficult part of this type of project can be figuring out how to separate, and then cut multiple colors in Cricut Design Space.
Design Space separates the colors OK, but it scrambles them up and places them out of position. I will show you how to cut multiple colors while keeping the pieces in their proper place.
Multicolored Iron-On T-Shirt
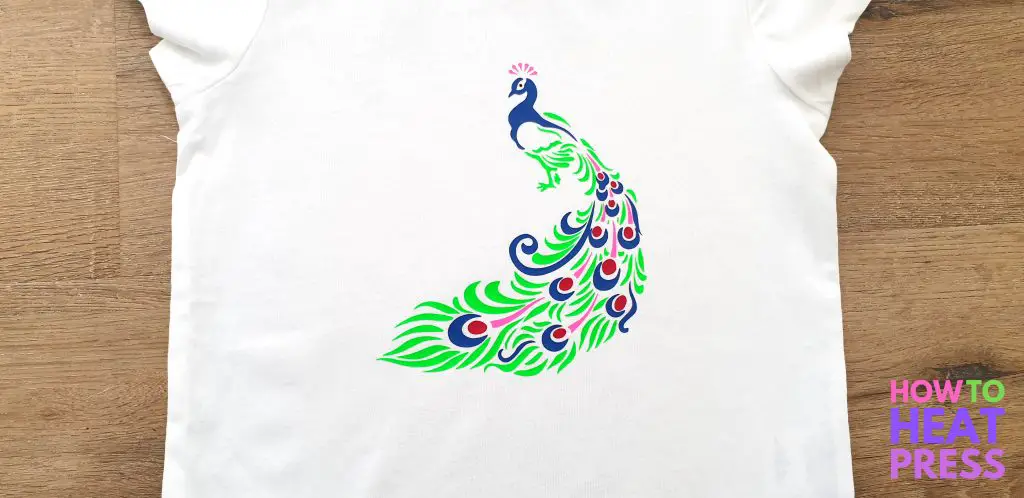
A few weeks ago we visited a friend’s farm with our 2 year old, and they had a magnificent multicolored peacock strutting around outside their home. Ever since seeing it, my toddler has been obsessed with them! So when I came across a cute peacock design, I knew I had to use it to make her a t-shirt.
I’ll show you exactly how I did this project. I had a lot of fun making the t-shirt, so I hope you enjoy reading!
Here is what I used for this project:
The Cricut Maker – I have both the Air 2, and the Maker. Both are more than adequate for this type of multicolored HTV project. Find out which is the best Cricut machine for you here.
The Cricut EasyPress for pressing iron-on vinyl. You can also use a heat press machine, or an ordinary household iron.
And here is how to cut and press a multicolored vinyl project with Cricut.
This process will work for both iron on and adhesive vinyl, but you won’t want to mirror the design before cutting if you are using vinyl rather than HTV. Oh, and you don’t want to heat press adhesive vinyl either!
1. Upload Your Multicolored Design
The first step is to find a design.
I found this peacock SVG that I’m using from The Craft Chop (more free SVGs for Cricut). Create a new project in Design Space and upload your SVG. Then, insert your SVG into your new project.

2. Resize Your Design
Decide how big you want your design to be.
This post from Expressions Vinyl is a good guide for how big your design should be. Because I’m making a t-shirt for my toddler, I decided to make my design five inches wide.
3. Attach Each Color To The Mat
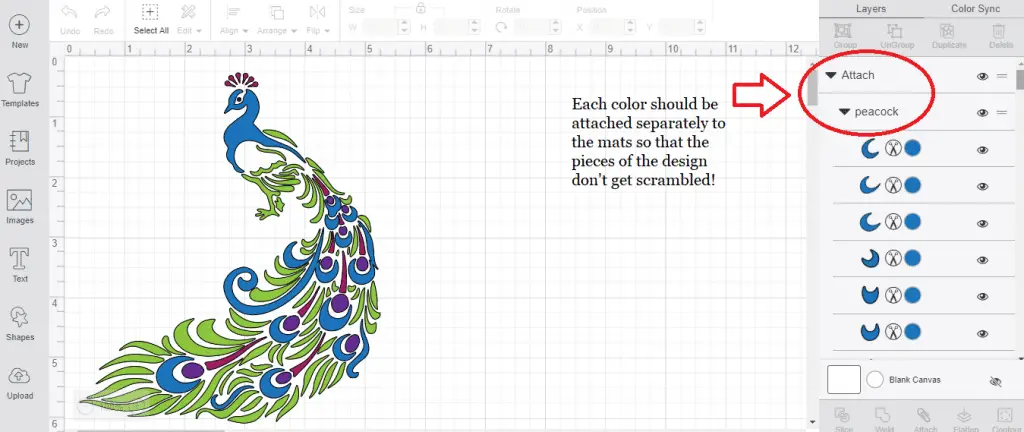
Cricut Design Space automatically separates the colors of the design onto different mats. However, the pieces all get scrambled up!
The different layers in this design need to be cut exactly how they are shown on the canvas, so that I’ll easily be able to press them later.
To do this, I need to attach each color to the mat. This holds their position so that they are cut with the same placement. I first selected all the blue parts of the design, while holding down Ctrl, and then clicked attach. I repeated this with all of the colors.
Now I’ve got four attached groups for the four main colors in my design.
4. Create Weeding Boxes For Each Color
This is an optional step, but if you are weeding really intricate designs like this one, it’s best to use weeding boxes. That way, you won’t accidentally miss a small piece of the design and cut it out!
If you find it difficult to weed intricate designs, also try using a bright light over head, or use the Cricut Brightpad.
In the screenshot below, I have shown how to add weeding boxes for the sake of this Cricut tutorial. If you don’t know how to add weeding boxes around your design, you can check out this video.
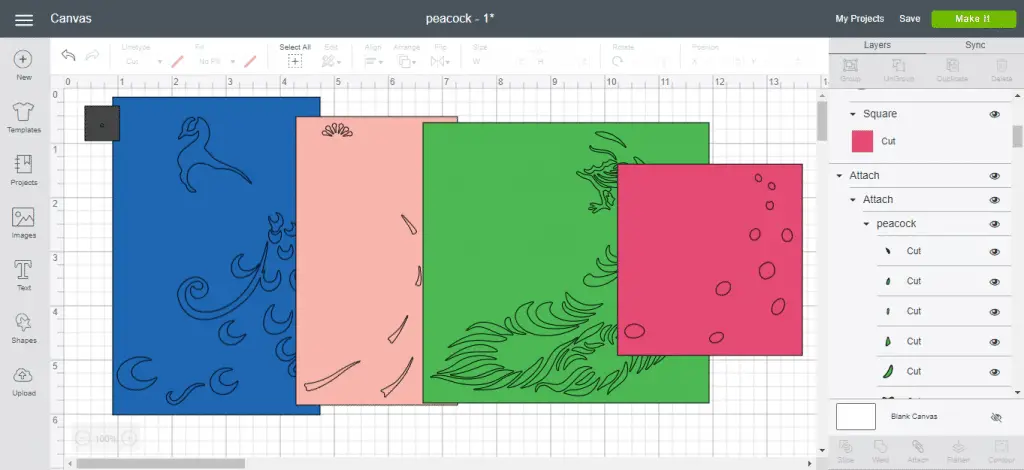
As demonstrated in that Cricut weeding box tutorial, I used the shape tool to make a box around each color in my design.
- I selected one of the colors, held down Ctrl, clicked the weeding box, and attached them both together.
- I moved that box to the side and then changed the color of it to match the HTV I was using (as it defaults to black when attached).
- I did this with all of the color groups, so that they were all attached to weeding boxes.
The weeding box method shown in the video above works especially well for this peacock design, where there are so many intricate pieces. Here is a screenshot showing my weeding boxes around each color:
5. Mirror The Design On Each Mat
Now it’s time to click ‘Make It’ and all your mats will appear.
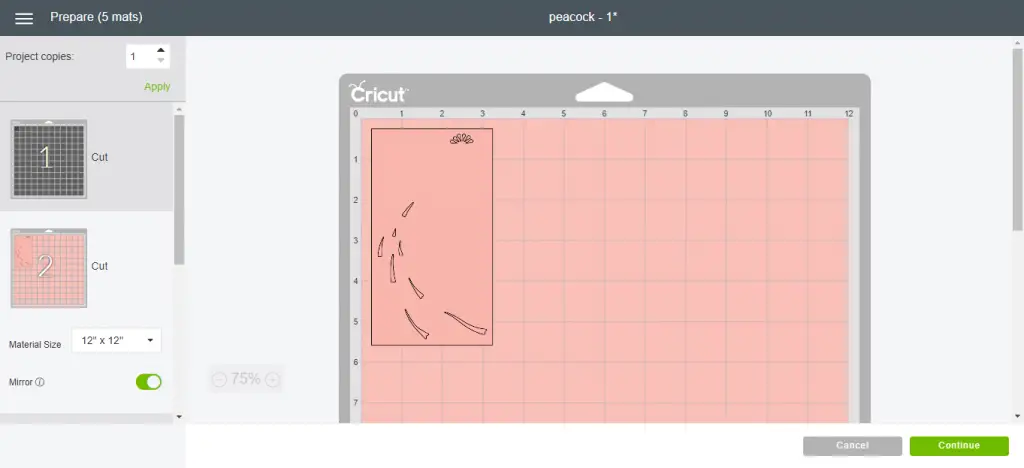
You will need to go through and select ‘mirror’ for each mat (always mirror for heat transfer vinyl). Check everything has attached properly and you are ready to cut!
6. Choose Your Material Setting
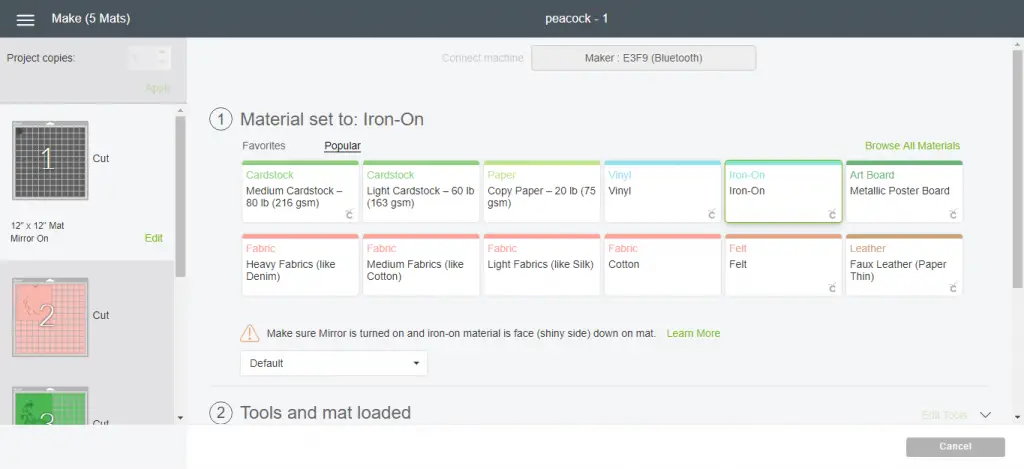
If you have a Cricut Explore machine, set your dial to Iron On. If you have a Cricut Maker, choose Iron On from your material settings.
7. Cut Out Your Design
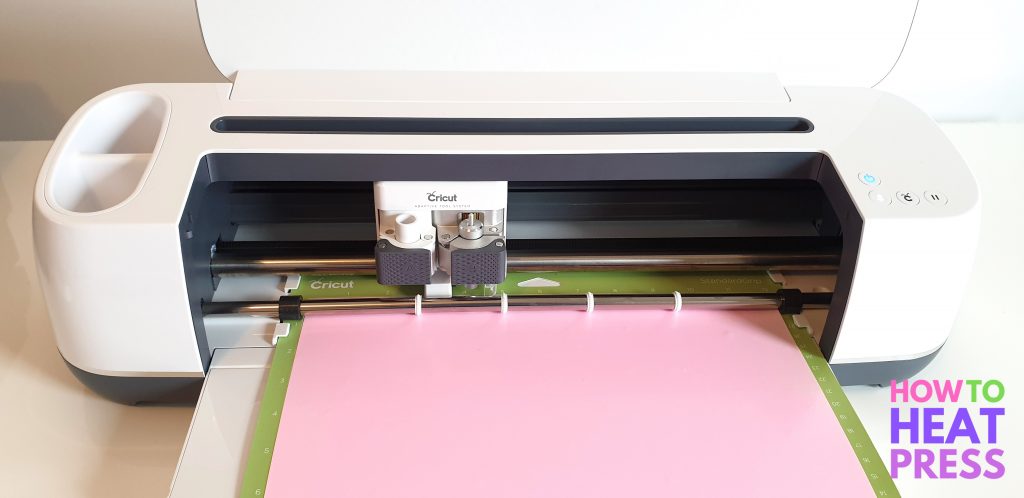
Place your HTV on your cutting mat shiny side down.
Load your mat into the machine, making sure that both sides slip right under the front roller. Once I loaded my mat in crooked and ended up cutting my mat!
If you are cutting out a very small and intricate design, such as this peacock design, I would skip selecting fast mode for this cut!
8. Weed Your Design
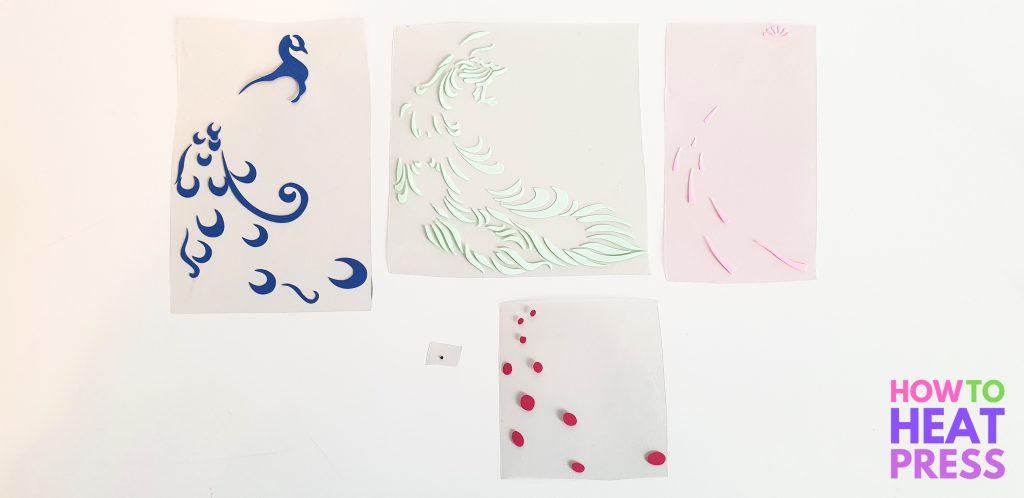
Weeding should be easy peasy with the weeding boxes (more vinyl weeding tips)! This peacock design had some really tiny pieces, so make sure none of them get lifted up with the excess vinyl.
9. Press Your Design
The next step is to press your shirt with an iron, EasyPress, or heat press.
- learn about using an iron for heat transfers
- discover what the EasyPress 2 can do
- check out the best heat press machines for beginners
I set the temperature of my EasyPress to 335°F (for Siser EasyWeed). I pre-pressed my tee first for 5 seconds to remove any moisture and wrinkles.
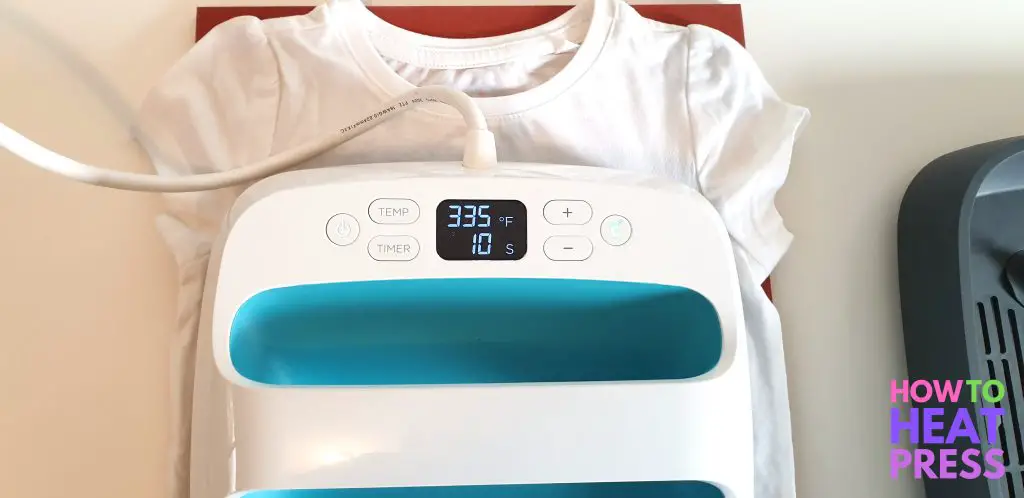
I started by pressing the blue layer first, as this made the most sense. I used the blue layer as a guide to press all the other colors. I pressed on top of a silicon pad, and used a teflon sheet to protect the heat transfer vinyl from melting.
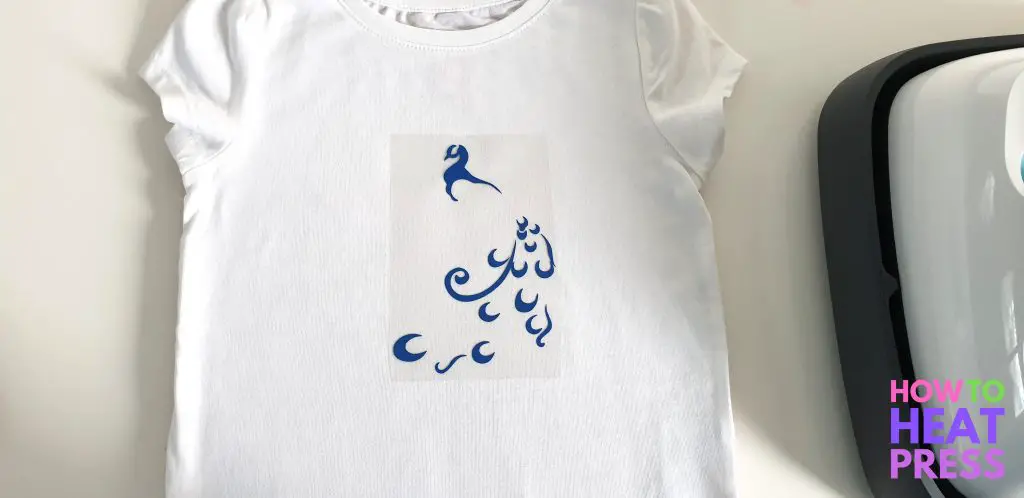
Next came the green HTV layer.
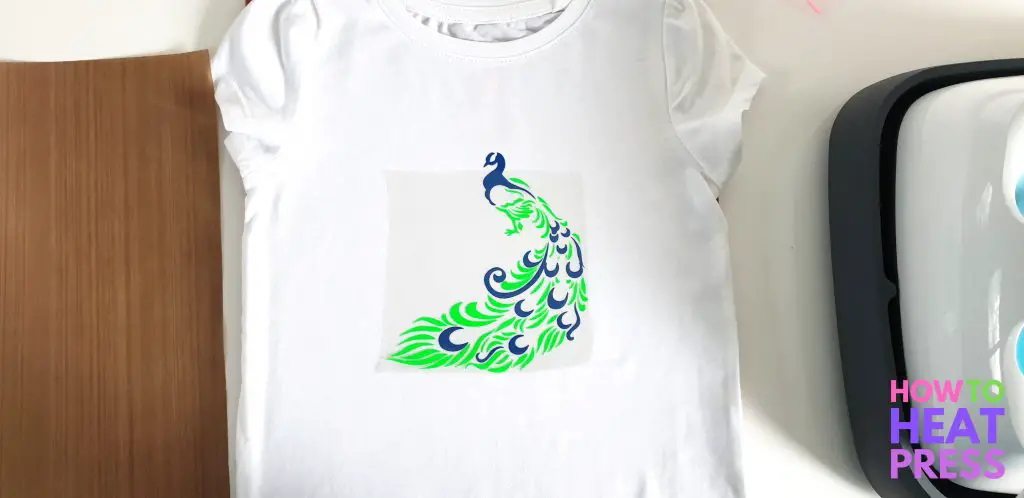
Next, the red layer.
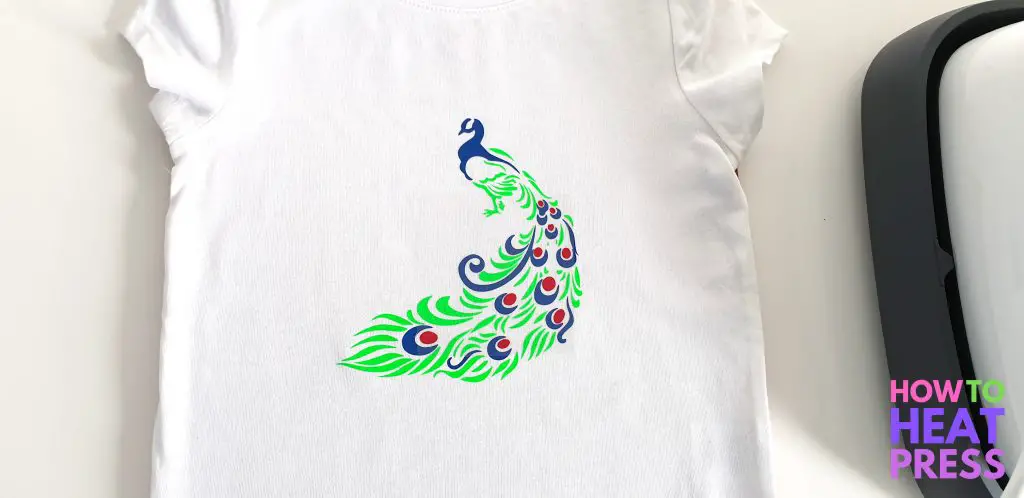
Next, the pink layer.
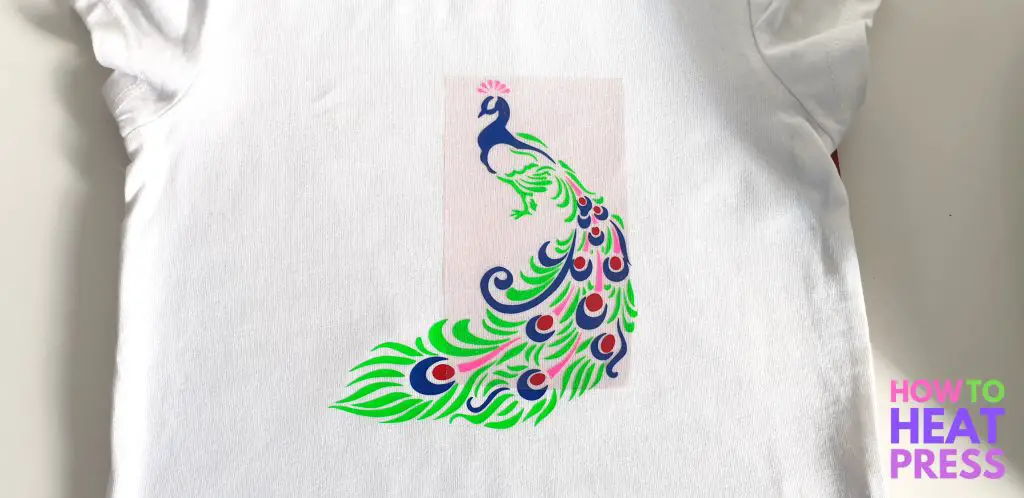
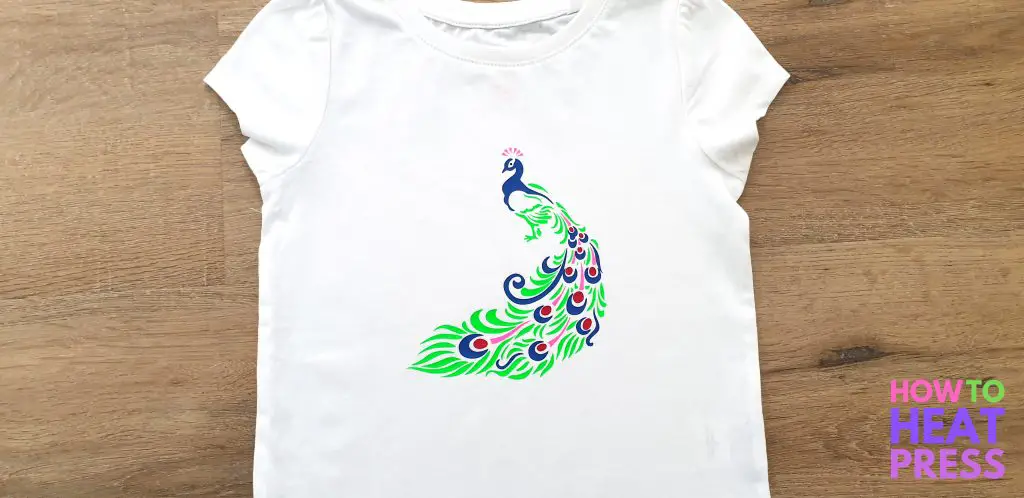
And lastly, I finished off with the black HTV for the eye of the peacock.
Siser EasyWeed Settings
To press Siser EasyWeed with an EasyPress:
- Press either on an EasyPress mat or silicon pad
- Set your EasyPress to 335°F and allow it to heat up
- Pre-press your garment for 5 seconds
- Press design for 10-15 seconds with a protective cover sheet
- Turn garment over and press the back for 10-15 seconds
- Peel carrier sheet hot or cold
To press Siser EasyWeed with an iron:
- Find a stable surface to press on, such as a wooden chopping board or craft table (not your ironing board!)
- Set your iron halfway between cotton and linen and allow it to reach temperature
- Pre-press your garment for 2-3 seconds to remove moisture and wrinkles
- Place a Teflon sheet or some parchment paper over your shirt so that you don’t scorch it or ruin the vinyl that you’ve previously pressed
- Press firmly with your iron for 5-10 seconds, doing it in sections if you need to (don’t slide your iron, you need to mimic the work of a heat press!)
- Peel hot or cold. Carefully remove the carrier sheet and if any part of the design has not adhered correctly then replace the carrier sheet and re-press for a few more seconds
To press Siser EasyWeed with a heat press:
- Wait for your heat press to heat up to the desired temperature (305°F/150°C)
- Set to medium pressure
- Pre-press your garment to remove moisture and wrinkles
- Use a teflon sheet or parchment paper to cover your design
- Press each color of the design for 1 second to tack and then press all layers at the end for a full 10 seconds
- Peel hot or cold and carefully remove the carrier sheet to make sure the vinyl is well-adhered to the garment
How To Make Multi Color Vinyl Decals
So that’s how to make a multi colored vinyl decal with Cricut Design Space.
As I mentioned at the beginning, this works for both HTV & adhesive vinyl. Just don’t mirror adhesive!

We hope you enjoyed this tutorial! Please leave us a comment below if you have questions about this process, and let us know what you’ve been working on!
(Please note: This post contains affiliate links. Read our full disclosure policy here.)


![Top 5 Best Cricut Machines 2025 | Cricut Comparison [UPDATED]](https://www.howtoheatpress.com/wp-content/uploads/bfi_thumb/Cricut-Maker-Turns-One-Hero-1000x667-3a10z7xxxa36kyhxmsxv62.jpg)


When I hit attach it’s changing my colors what am I doing wrong?
Hey Brandi – sorry to hear it’s getting you down! Any chance you were hitting weld (which would take multiple layers and make them one) instead of attach? That could account for the change in colors.
Do I heat each color separately or do I lay them together and then heat it?
Hey Kim – you can press all HTV layers all together ONLY if it’s all the same HTV. Same temp, pressure, and time. Also, you need to make sure there are no carrier sheets overlapping. Here’s a video where I pressed 5 different colors at the same time.
Do you cut a template of the multicolor design first?
Hi Melissa, I’m not sure what you mean by a template. You could certainly cut one to make everything is set up correctly but it’s not necessary. The biggest thing is making sure your Cricut is on the correct cut setting for the material you’re using so you make sure it cuts all the way through. Good luck!
Hi there, you mentioned when using the easy press to have a protective sheet, what exactly would that be? Parchment paper as well? Just curious because I am going to be doing a multi color design for my husband and don’t want to mess it up.
Hey Christy, great question. Yes – parchment paper is a great way to go! It won’t stick to the HTV or the heat press. Another option that’s super cheap is to get teflon sheets. You can use them over and over and they’re nice and smooth so they’re quiet to work with compared to crunchy parchment. Hope the design for your hubby turns out great!
This is probably the best explanation I’ve seen so far! And I was actually able to do it on my design! Thank you so much!
Great, thanks Courtney!
When you heat press the different colors, are you putting anything extra down to protect the previous press? Like a towel? I am trying to figure out what you would put down to cover all the design for when you do the black eye, for instance. THANKS!
Hi Molly, no you don’t need to protect the previous layers, but you don’t press each layer as long as the last layer! The initial layers are just pressed to do the transfer, and then on the last layer you do a complete press (depending on the time required for your HTV).
Hi, what brand of transfer tape do you use? Do you have a link?
Hi Lacey, I use the Cricut Standard Grip for a lot of things, or the Strong Grip for some vinyls (like this chalkboard vinyl project). Or if you want a large roll, this Craftopia Transfer Tape is pretty good 🙂
Does designs like this work on any Cricut.?
Yes, at least for the Explore Range and Maker. The process would be different on the Cricut Expression or other earlier Cricut models.
When you press the colored vinyl design on, do you press it with the vinyl down and carrier sheet up? Is the carrier sheet considered the clear plastic backing on the colored vinyl?
Hi Cheryl, yes that’s right. And if you’ve mirrored your design when cutting, it will apply the original way up.Not so important with this peacock design, but more so when cutting and pressing text.
Help I can’t find the peacock svg on the website you listed
Hi Terri – here is the link to the free peacock SVG file. Let me know if you have any other problems.
My sister loves peacock. Thank you so much. I am gong to make her a pillow.
Haha yes it’s a fun design!
Still learning myself with my cricut and all types of vinyl! Your post has given me inspiration to possibly see my future as I keep practicing and learning! The tip about the weeding box is one of those tips I did not know about if I get into any designs that require layering or colors! Thank-you so very much. My future looks bright with the cricut and vinyl crafts!
Awesome thanks Linda ?
This is a waste of material.
Hey Alice, yeah you’re right that there is vinyl wastage in this design – like all designs really. Sometimes you’ve gotta do what you’ve gotta do to make a cool custom tee though! Amiright!?
Do you have a better way you suggest doing it? That does not waste so much material.
Hi Katie – I hate the wasted material too! If you don’t attach everything Cricut will sort it and save space, but then (in my opinion at least) it’s a nightmare to get into order for transferring to the finished project. I do try to save as much material as possible though, so after the Cricut makes its cuts I will cut out and save whatever I can before weeding the design. Hope that helps!
Thank you so much for posting this! I just got a Cricut & was unsure how to begin with using vinyl & this helps IMMENSELY!! Thanks!
Thanks Michelle, I’m glad it helped – Naomi.