How To Weld In Cricut Design Space | How To Unweld On Cricut?
How do you weld and unweld in Cricut Design Space?
If you are a Cricut Design Space beginner, then using the weld tool may be a little confusing. But trust me, using the weld tool is VERY SIMPLE! After I show you a few basic principles on how to weld with Cricut, you’ll have no problem at all!
If you only want to know more about unweld in Cricut, skip ahead now!
How To Use Weld In Cricut Design Space
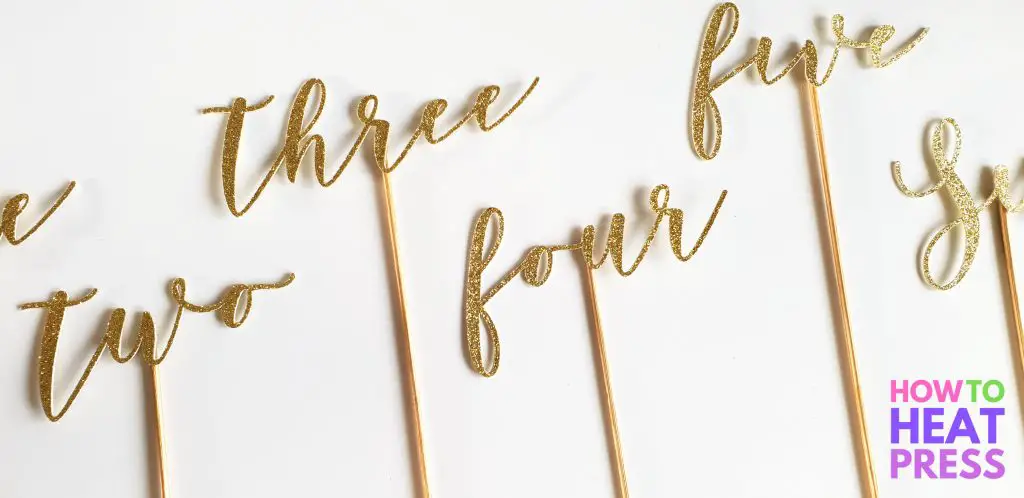
I used the weld tool to make these wedding table numbers as well as custom place names.
Knowing how to weld in Cricut opens the door to many more projects. It will be a tool that you will use often.
What Does Weld Mean In Cricut?
The weld tool can be found in the bottom right corner of Design Space, beneath the layers panel. It’s right there, alongside the slice, flatten, and contour tools.
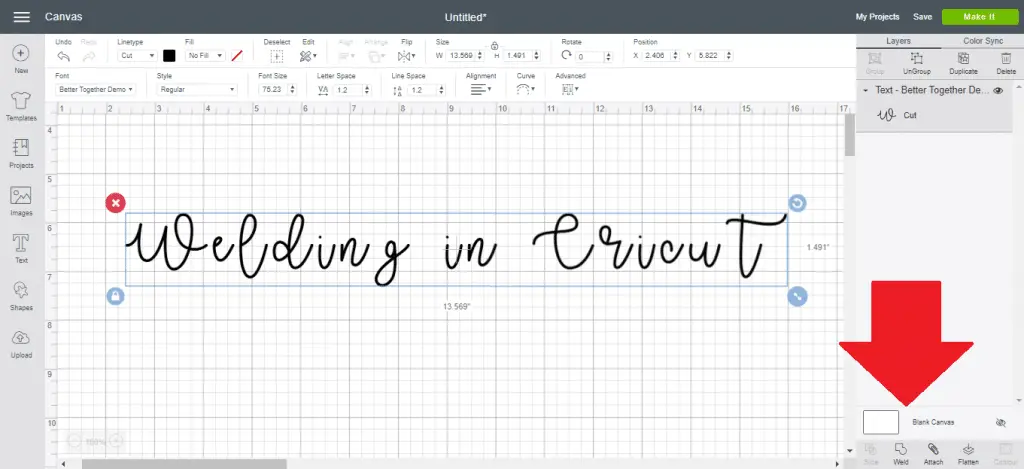
What does weld do in Cricut Design Space? It allows you to:
- Merge multiple shapes and layers into one complete single-layered image
- Remove cut lines from multiple shapes and cut them as one large image
- Connect script and cursive text so that it cuts as one word rather than individual letters
How To Weld In Cricut Design Space
I’ve got a step-by-step weld tutorial below (with screenshots at each step), but here is a summary of what you do:
1. In order to use weld, any shapes or text that you would like to weld together must be overlapping or touching each other.
2. Then, select the layers you will like to weld together by clicking a layer, holding down ‘ctrl’, and selecting another layer. With both layers selected, click ‘weld’. If you are welding all the layers on your canvas, you can click ‘select all’ in the top bar to select all the layers, and then click weld.
3. As welding multiple layers together makes it into one image, it will be cut out on one mat, in one color. So, once you have clicked weld, all of your layers will become the same color.
The weld option will not be available for you to use until you have multiple layers selected.
Thanks to Expressions Vinyl for that video tutorial on how to use the weld feature in Design Space.
How To Weld Letters With Cricut
To weld text, you will first need to make sure all the letters are touching.
1. Decrease the letter spacing until the letters are all touching, OR, click ‘advanced’, and then ‘ungroup to letters’, and manually move the letters.
2. Once they are all touching, select everything and click weld.
Birthday Cake Topper Using Cricut Weld
Here is how to connect cursive letters in Cricut.
Below is my project in Design Space. I’ve got the word ‘thirty’ in the font ‘Sprightly’, which will be a cake topper for a birthday cake. I want to cut this out as one big word, rather than individual letters, so I will need to weld the letters together.
1. First I’ll need to start by decreasing the letter spacing. This option is up the top, and to the right of font size.
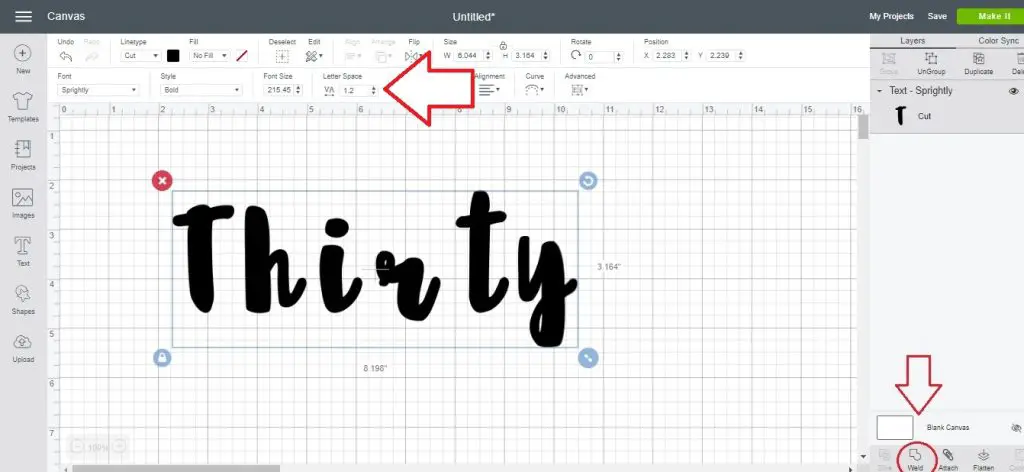
2. If after decreasing the letter spacing you still have some big gaps, you will need to manually move the letters. Click ‘advanced’ and then ‘ungroup to letters’. Move the letters closer together, so that they are all touching.
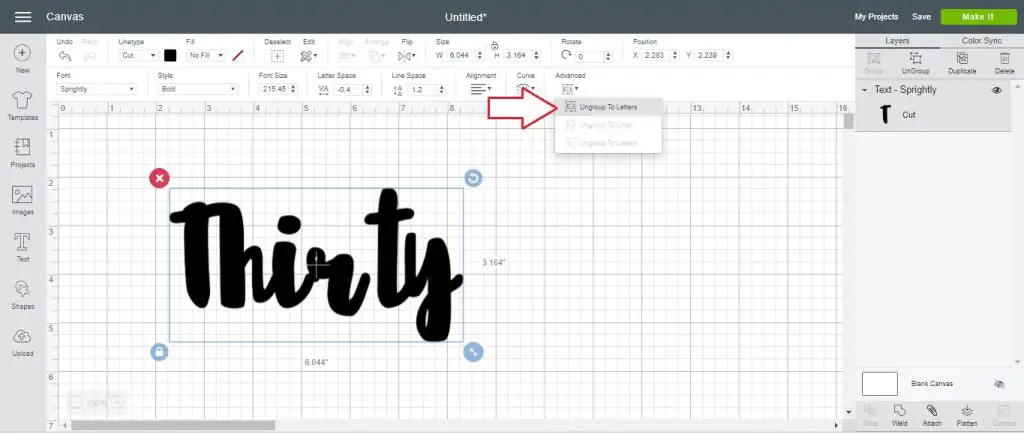
The letters are all touching now and so I am ready to weld. You can see in the layers panel that if I were to cut this out without welding it, then it would cut all the individual letters out, instead of one word. So the word needs to be welded together. Select all and click weld.
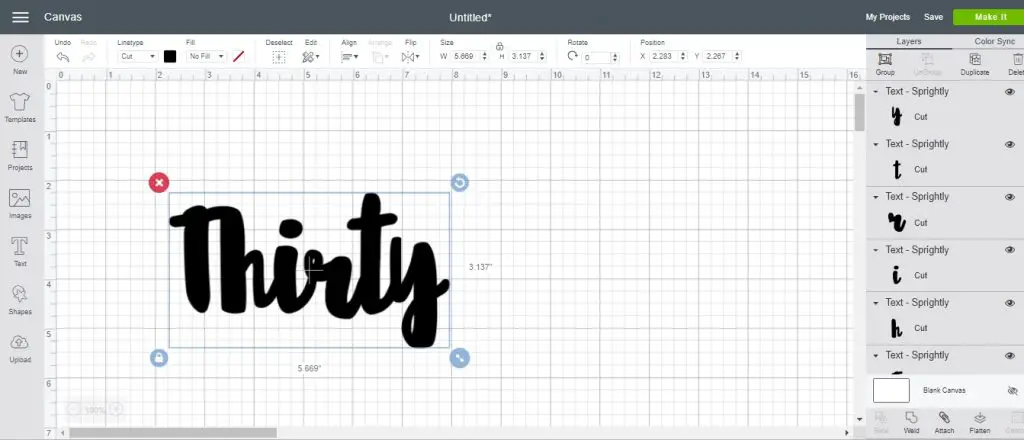
Now it is welded together. You can see this in the layers panel where it shows ‘weld result’ and only shows one image to be cut (no longer individual letters).
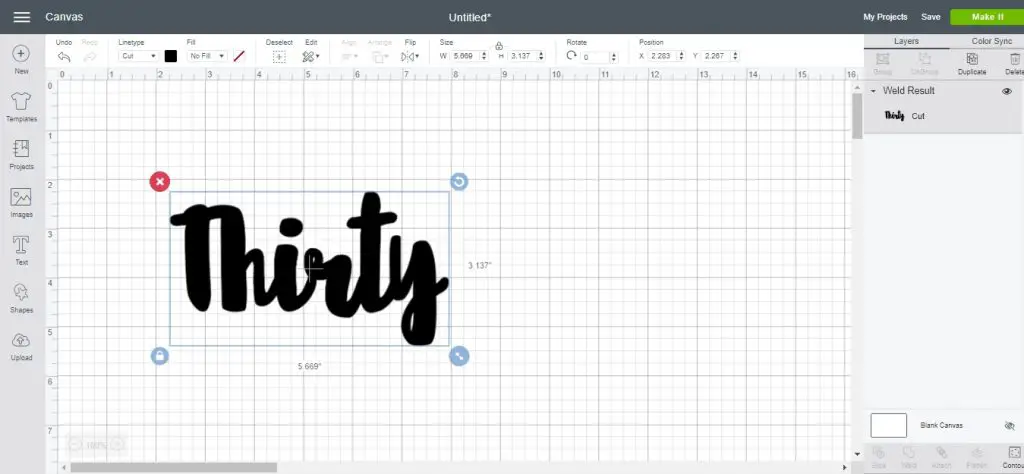
Once you weld a word together, it will cut exactly the way it shows on the canvas, as one single-layered image.
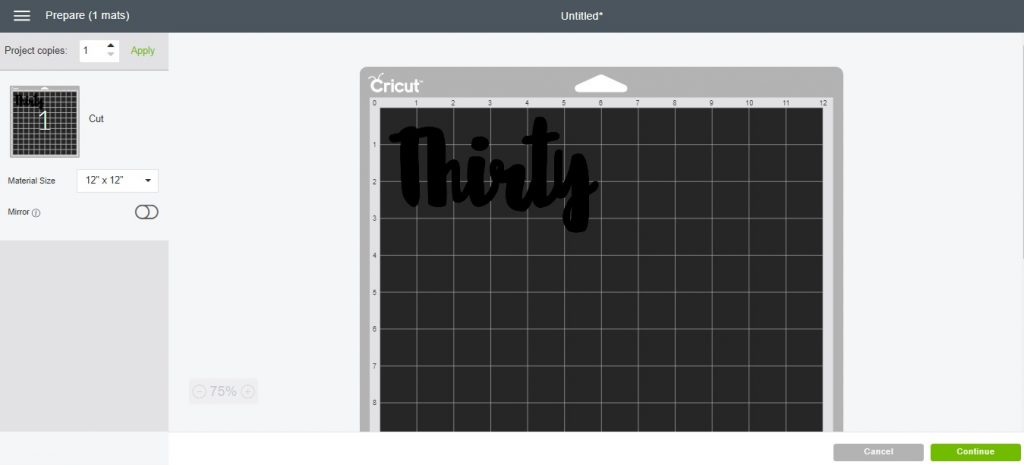
That is how to cut letters with the Cricut Explore Air 2, and the Cricut Maker. It works the same for both machines.
How To Weld Shapes With Cricut
Let me give you an example of welding shapes now.
Here I’ve used the shape tool to create three circles which I have moved into position. If I were to cut it now, it would still cut out three separate circles (shown in the layers panel). So I need to weld it together to make one big shape. This is super easy…
I clicked ‘select all’, and then ‘weld’!
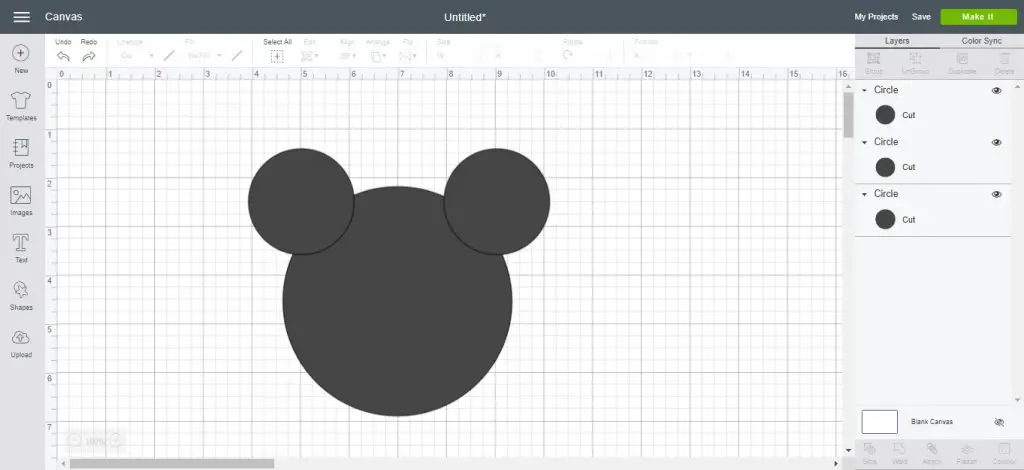
You will see now that where the circles overlapped, the cut lines have disappeared. There are no longer three circles but one single-layer image. In the layers panel to the right, it shows ‘weld result’ – one big image.
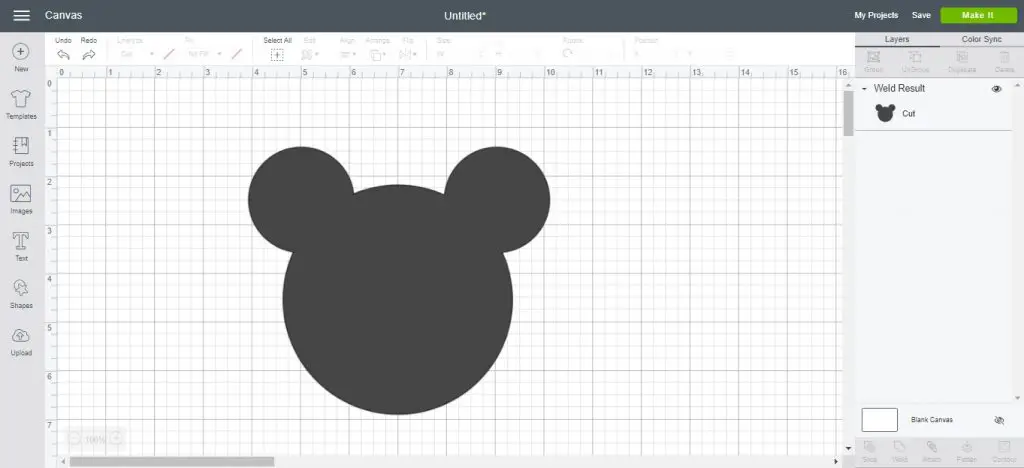
That’s really all there is to it. You can now make all kinds of Cricut shapes and cut them out as one welded image!
Cricut Weld Project Ideas
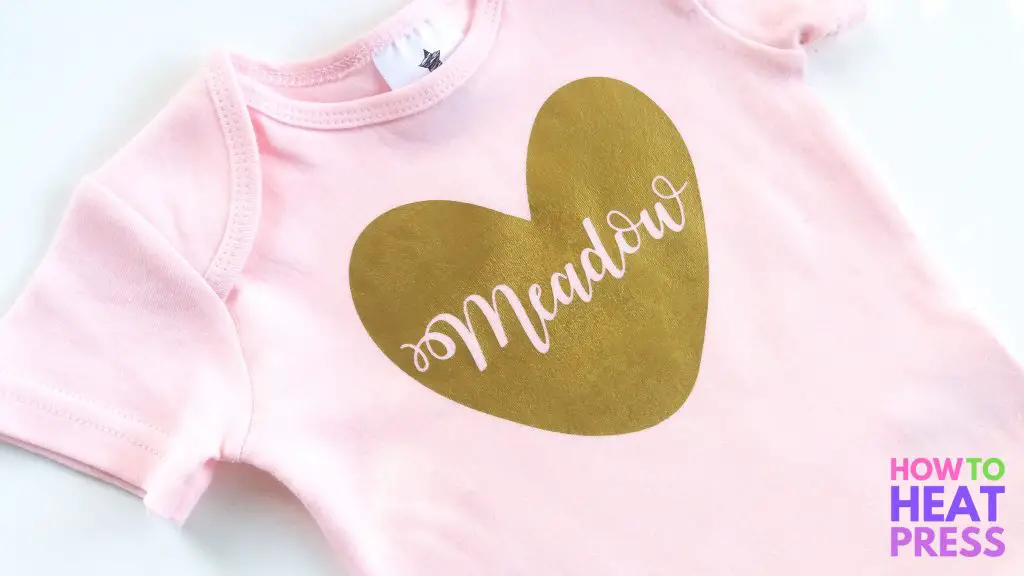
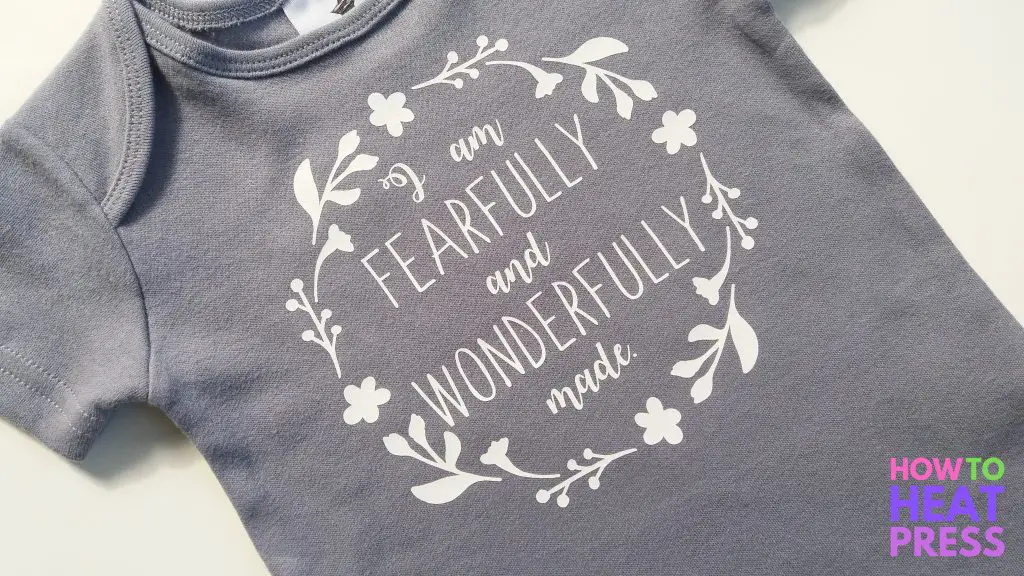
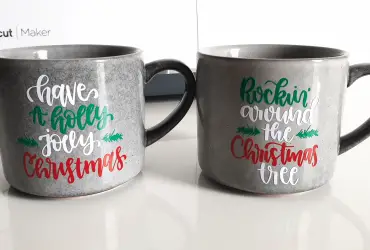
I used the weld tool and the Cricut slice tool for this baby onesie
Here are some ideas for what you can make using weld:
- Wedding cake toppers, etc
- Designs for shirts
- Create wall art
- Birthday cake toppers
- Combine shapes for custom designs
- Decorate throw pillows
- Wall decals with adhesive vinyl
- Create vinyl labels
- Make stencils
- Custom greeting cards
How To Unweld In Cricut
A lot of people want to know how to unweld on Cricut Design Space, however, there is no way to do this with Cricut.
If you weld shapes or text together, you need to be absolutely sure that everything is in the correct position, because at this stage there is no way to unweld something in Cricut Design Space.
HOWEVER, you can of course, always undo an action immediately after you do it. If you weld something, and then click ‘undo’ immediately, it will unweld. But this works only if you click ‘undo’ immediately after using the weld tool as your last action.
If you weld something, carry on with your project for half an hour, and then try to undo, it won’t work. If you do click undo, it will instead undo all the other actions you’ve been doing in the meantime. So you need to be sure when you use the weld tool, and if you change your mind later, you’ll likely have to start again.
It is likely that you will be able to unweld in Cricut Design Space at some point in the future.
If you have any Cricut Design Space welding problems, let me know in the comments below and I’d be happy to help you out!
(Please note: This post contains affiliate links. Read our full disclosure policy here.)



I am still having trouble welding: can you please help me ?
Hi Lisa, you could email us at [email protected] and tell us a little more about your problem 🙂
You can unweld by using ctrl Z
Yes, thanks for that. I should have put that in there as the keyboard shortcut for undo!