Cricut Window Cling – Make Custom Window Clings – Review
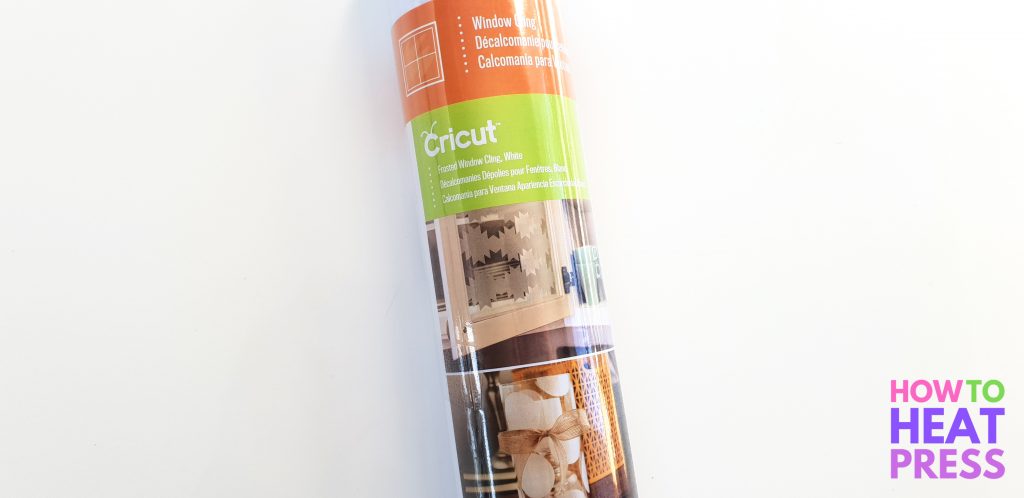
Cricut Window Cling is such a cool product!
We’ve been playing around with it this week, and think it’s something you must try out. It’s really easy to use, and one of those projects that can be done in no time at all… just cut your design and stick in on the window!
Here’s everything you need to know about Cricut Window Cling, and we’ll share the first two projects we did with it.
Cricut Window Cling
Cricut Window Cling vinyl is used to create static decals, and works best when applied to glass. It does not have a sticky backing like Cricut vinyl, and it cannot be heat applied like Cricut Iron-On. It attaches to the window simply by static.
What you need to know:
- Indoor use only – including the inside of car windows
- Reusable – can easily be re-positioned again and again
- Very easy to remove – does not leave behind residue
Besides windows, it can also be applied to fridges, whiteboards, and other non-porous surfaces (some painted walls may be suitable).
Window Cling is available in 7 different colors:
- White Frosted
- White
- Black
- Red
- Green
- Purple
- Gold
- Silver
- Halloween Sampler (black, orange, purple)
How To Use Cricut Window Cling
We’ve got two different Window Cling projects to share with you:
- A Christmas nativity scene with Black Window Cling
- Snowflakes with Frosted Window Cling
Here are the cut settings for Cricut machines:
- Place Cricut Window Cling onto the green standard grip cutting mat (backing paper side down, shiny side up)
- Set dial on Cricut Explore machine to ‘custom’
- In Design Space, click ‘browse all materials’, search for ‘window cling’ and select it.
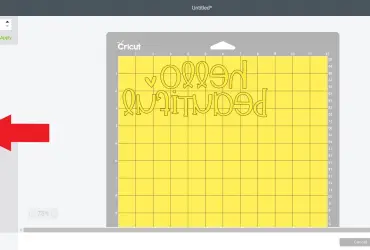
- Mirror your mats if you would like your design or text to be reversed
- You’re ready to load your mat and press CUT
- Lay Cricut Window Cling onto the standard green cutting mat
- In Design Space, select ‘browse all materials’ and choose Window Cling
- Mirror mats if you would like the design cut in reverse
- Load mat and it’s time to press CUT
Nativity Scene Window Clings
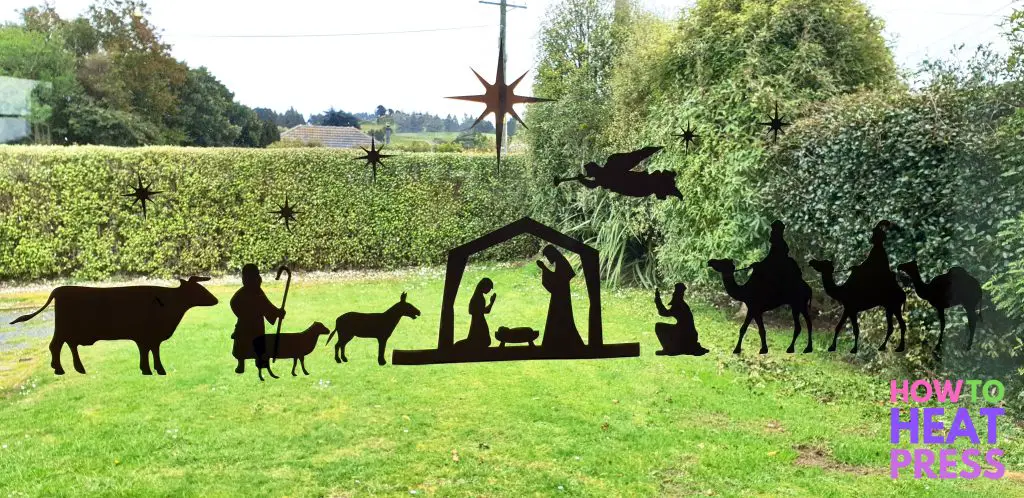
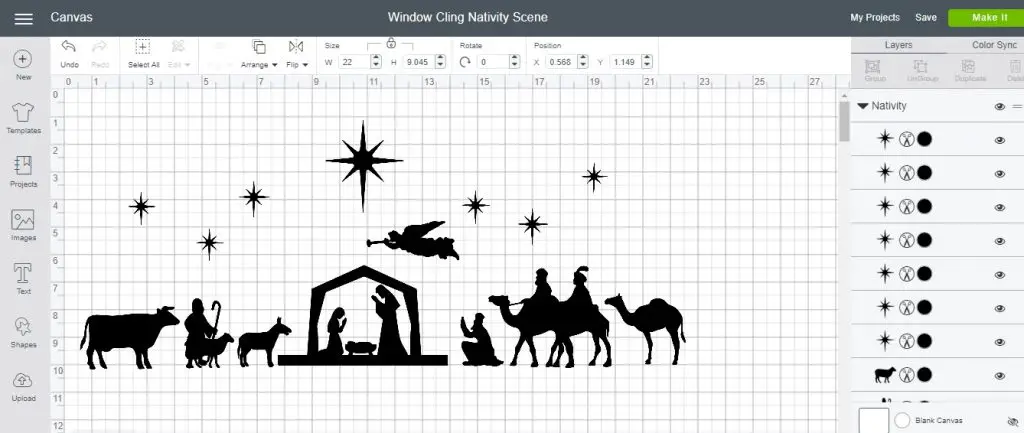
I’ve downloaded a great nativity scene SVG from this Christmas design bundle for these Christmas window decals. This silhouette nativity scene will look perfect in black window cling.
With all the parts of my design grouped together, I can now decide the total width of the finished cut. I measured the window and decided to make the design 22 inches wide.
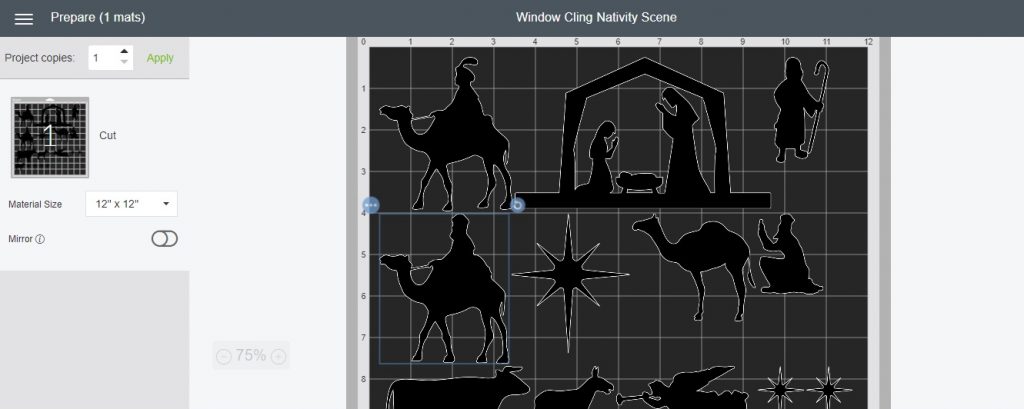
Here’s the mat preview. I don’t have to mirror the mats because there are no text elements and the design will look good either way.
At 22 inches wide, this entire Nativity scene fits onto one mat.
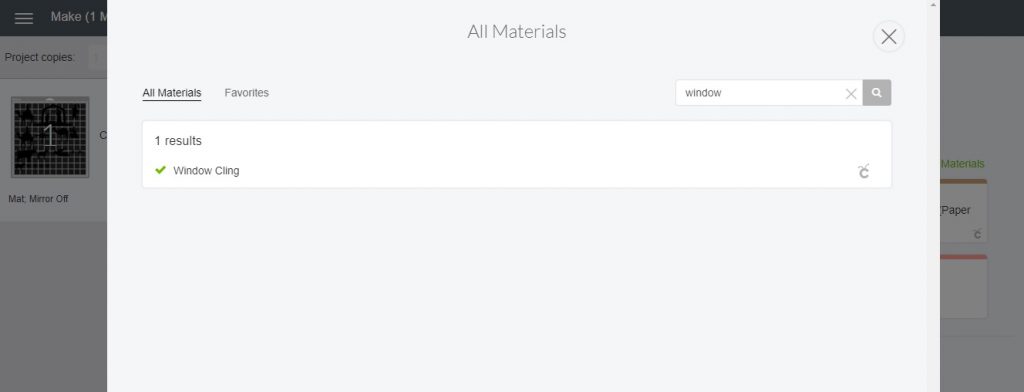
I’ve set the dial on the Explore Air 2 to ‘custom’ and selected ‘browse all materials’ in Design Space. Then I searched for window cling and selected it.
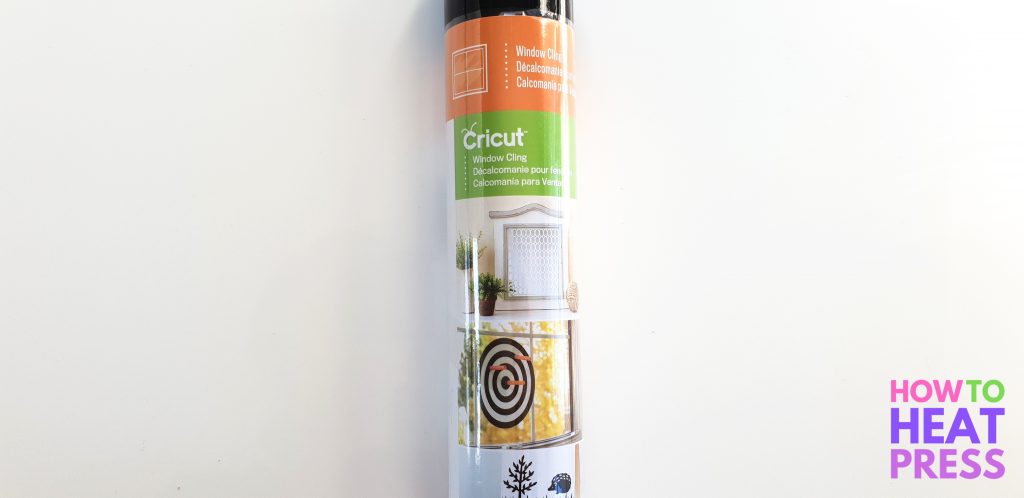
I’m using black Cricut window cling. I was surprised by how much you get in one roll – 12 x 48 inches. There’s plenty left for more projects!
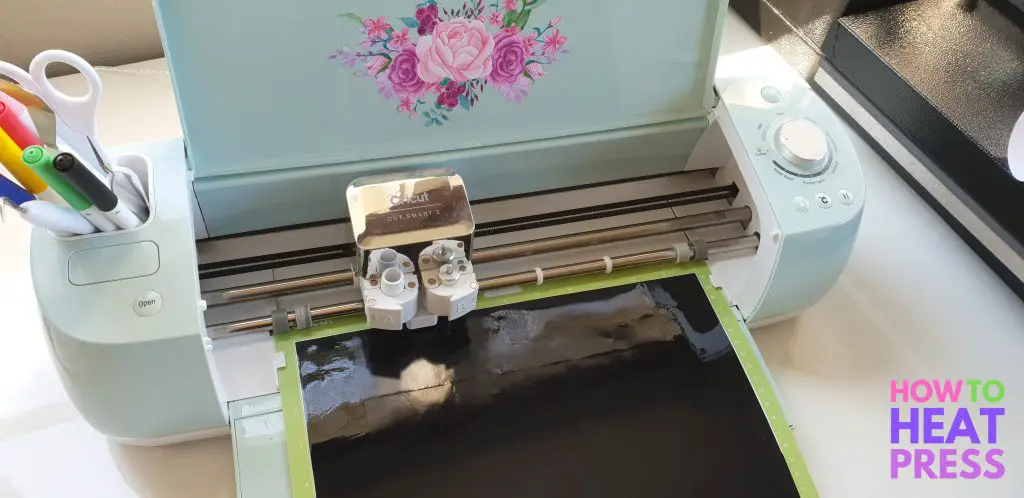
Window cling goes on the Cricut mat with the backing paper facing down and the shiny side facing up – same as any adhesive vinyl.
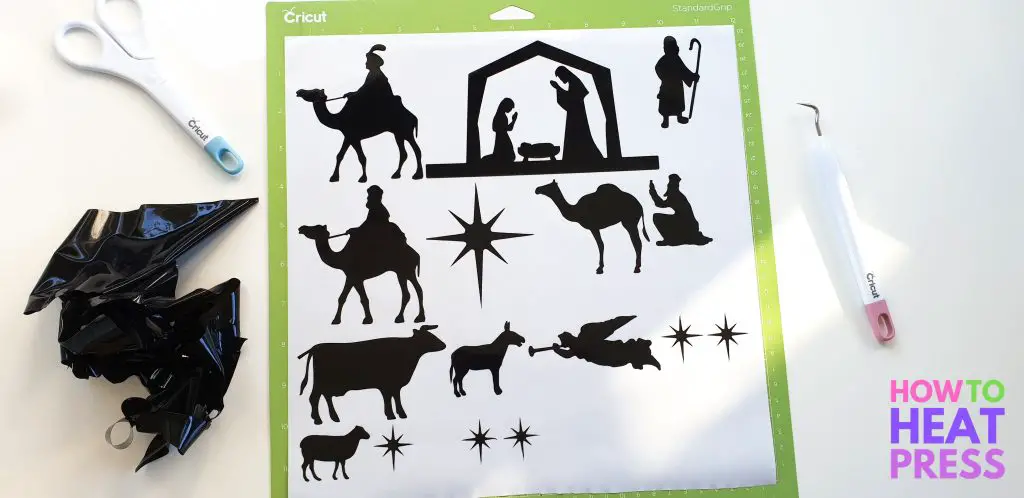
Next, I weeded away all of the excess window cling, and am left with the nativity scene decals. Window Cling is very easy to weed – probably the easiest material I’ve ever weeded by far.
However, I didn’t notice until later that I lost one of my stars in the weeding process – so weed carefully!
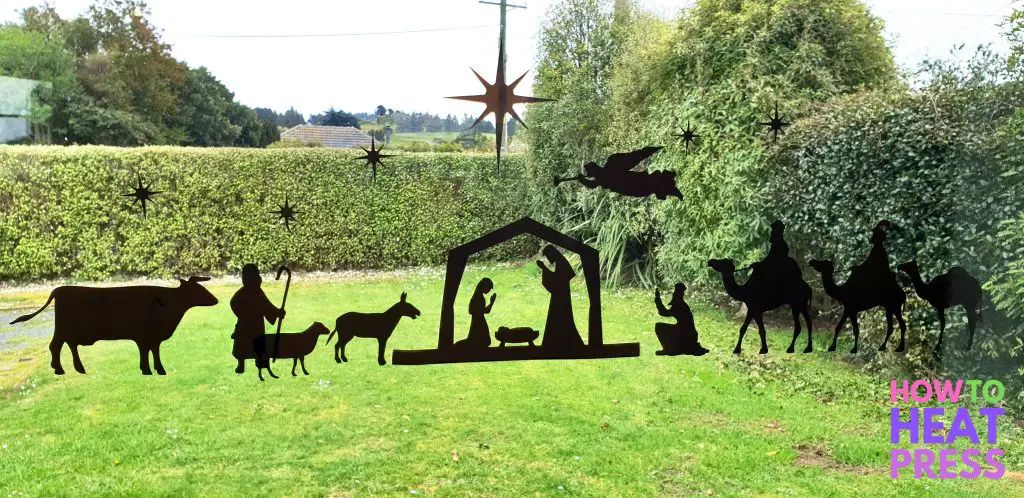
I used the original picture of the nativity scene on my computer as a rough guide for placing it onto my window. Window clings need to be placed on the inside as they won’t stand up to rain, etc.
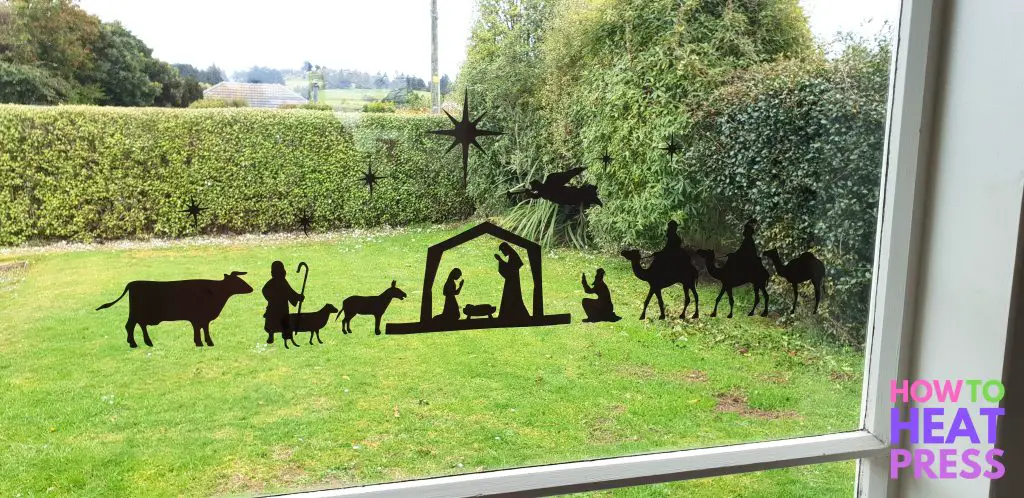
These decals attach to the window by static energy, so you don’t need to peel them off like stickers or adhesive vinyl. They come off simply with no friction at all, and can easily be re-positioned and reused again and again (as long as they don’t get wet).
Christmas Window Decals
For these white frosted window cling decals I’m using:
- these snowflake SVG’s
- Christmas trees from this clipart set
- the font Ciscopic for the ‘Merry Christmas’.
First, I created a mock up of my design in Design Space.
Once I had everything the way I liked it, I selected everything and grouped it together. Then I was able to decide what size I wanted the whole design to be in relation to my window. I always like to do up my design as thoroughly as I can in Design Space so I know I’m actually going to like how it looks.
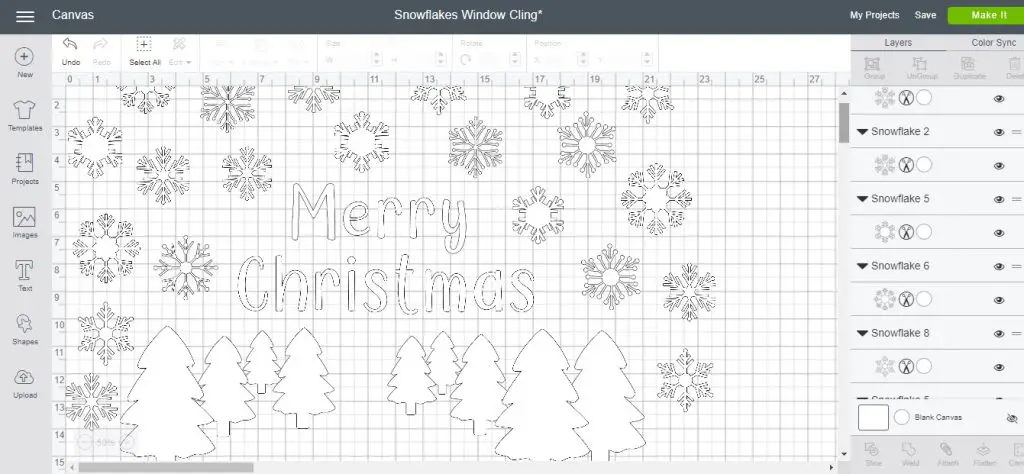
I thought my snowflakes might be too small and intricate for my Explore to cut out of the window cling, but it was totally fine. There were no problems there, and once cut the snowflakes were very strong. I thought they might be fragile and easily broken.
Once I was all done making my design I clicked ‘Make It’ to go on to the mat preview.
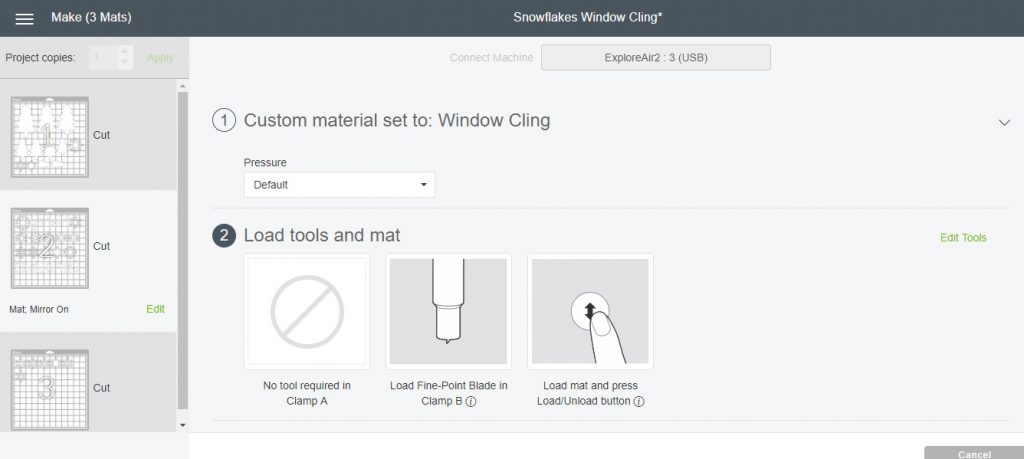
My design is going to take just over two 12 x 12 inch mats of window cling to cut out. Because I want my ‘Merry Christmas’ to be read from the outside of my house, I selected to mirror my mat. This will cut the word out in reverse, which means that it will be read the right way round on the outside of my window.
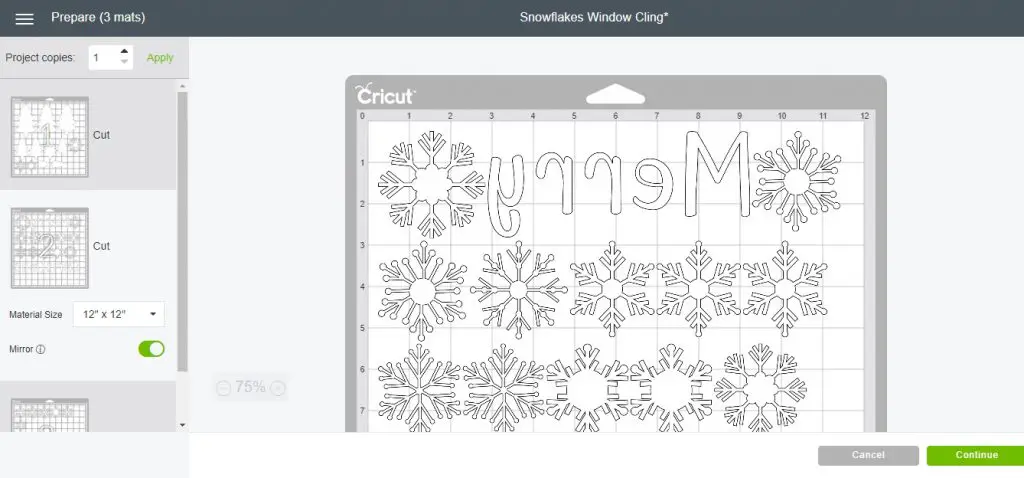
To cut Cricut window cling with my Explore Air 2 I set the dial on my machine to ‘custom’. Then I clicked ‘browse all materials’ and searched for window cling.
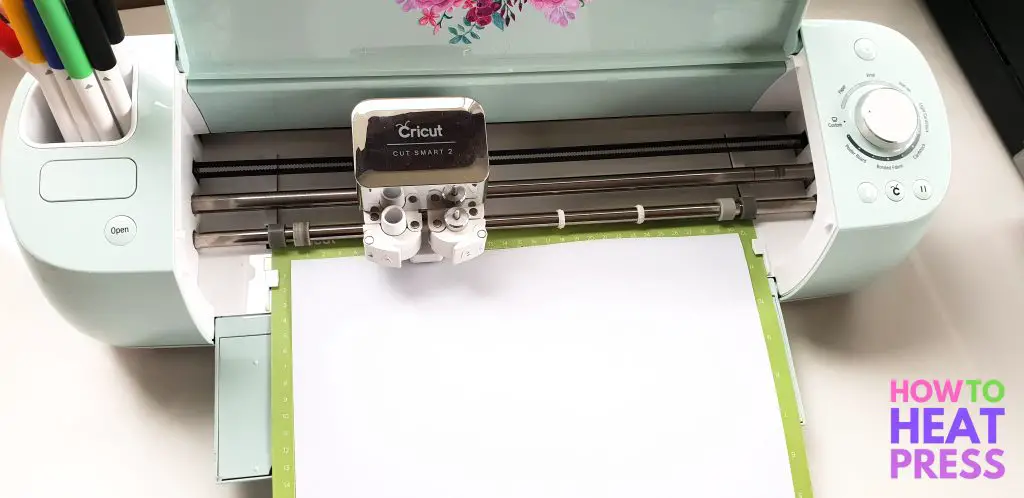
I placed the White Frosted Window Cling backing paper side down onto my standard green cutting mat. Then I loaded my mat into my machine and pressed go.
Next I just peeled away the excess window cling away from the backing paper. This took less than 10 seconds and was very easy to do. It’s quite different to HTV in that there was barely any friction trying to pull the excess material away.
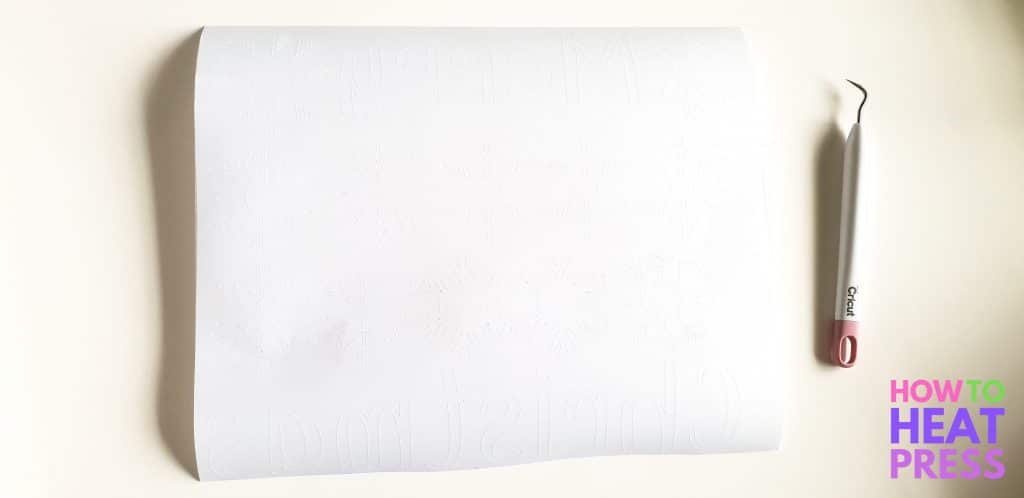
It’s quite hard to see the window cling in the photo below since the window cling is translucent, but here’s one sheet of my design all weeded. I can keep the backing paper to store my decals again when they’re not in use. I’ll be able to reuse these decals again and again.
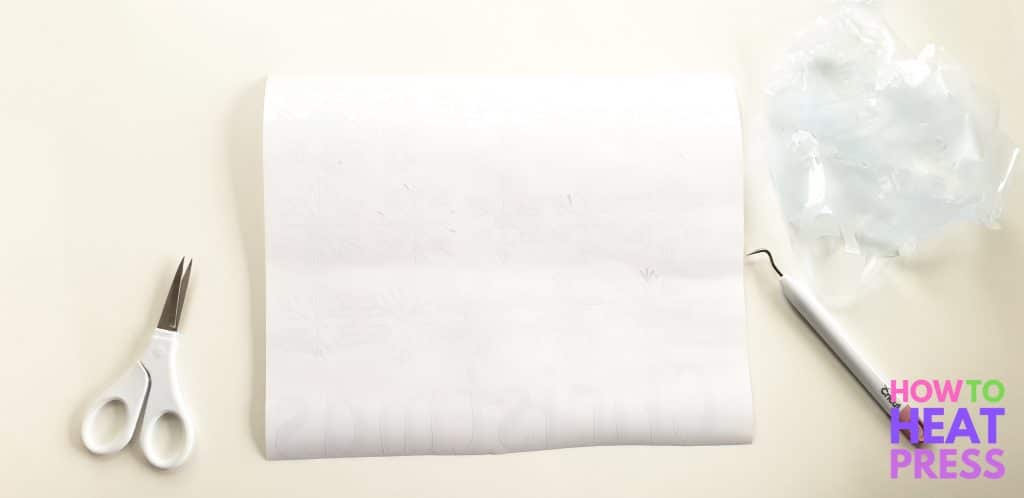
And here are all the decals up on the window.
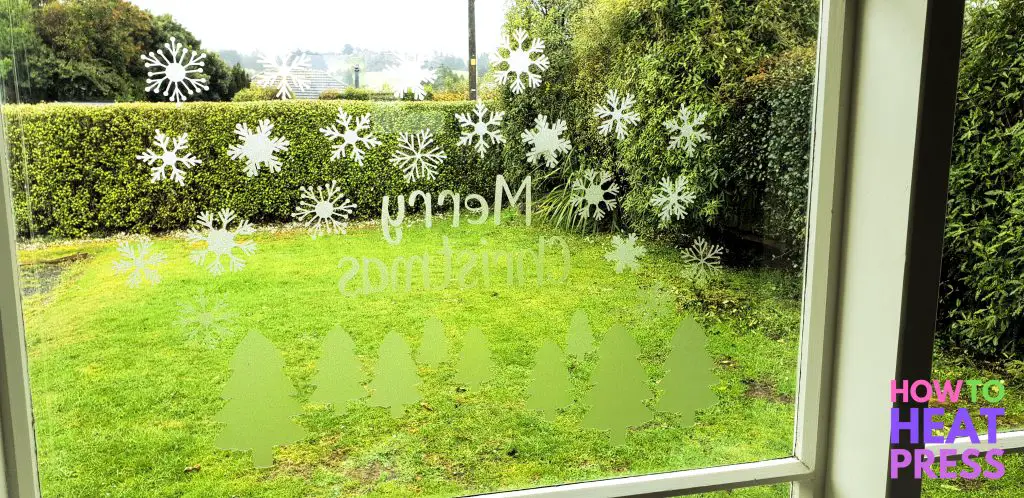
It’s really easy to put the decals on the window and to take them off again. They can be re-positioned again and again without leaving any residue behind (because there’s no adhesive).
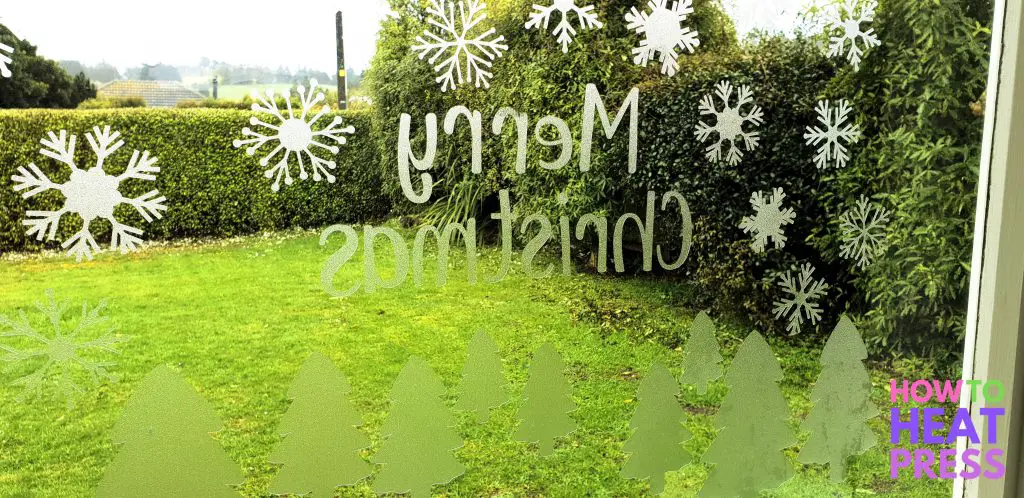
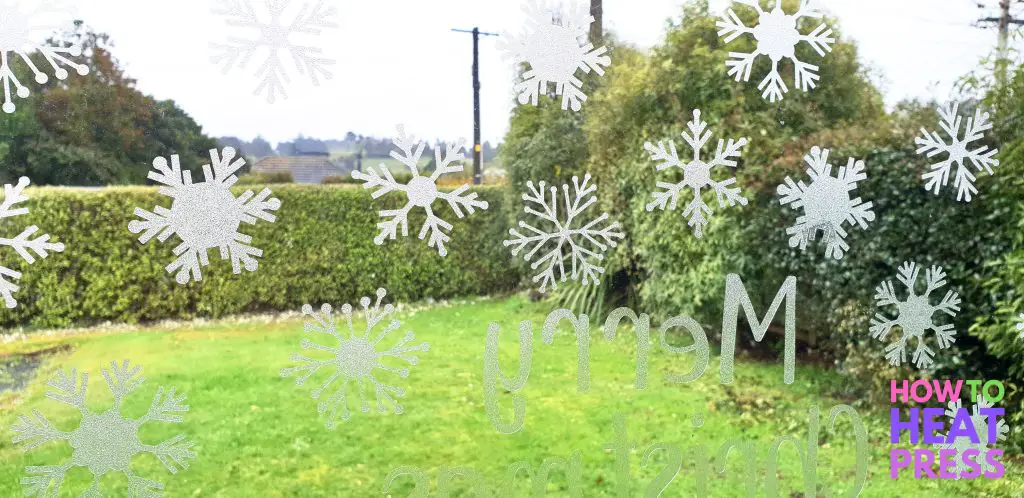
It’s a little hard to see in the photo, but the frosted window cling looks like sparkling diamonds and is so pretty! It’s absolutely perfect for snowflakes!
Cricut Window Cling Ideas
So those are two ideas for what to make with Window Cling, here are some others:
- Seasonal and holiday home decor
- Privacy for windows and doors – with Cricut Frosted Window Cling
- Shop front decorations – seasonal, sales, promotions
- Car window decals – a silhouette of your home state or country, or a ‘just married’ on the back window of a wedding car
- Inspirational quotes on glass picture frames, windows or mirrors
- Pre-school activities – shapes, animal silhouettes, numbers, letters
- Decals for glass containers or vases
- Celebrations – decorate windows for birthday parties, weddings, anniversaries
- Games – tic-tac-toe
- Mirror decals
Let us know what you’d like to use Cricut Window Cling for in the comments section. And, if you’d like more Christmas crafting inspiration, take a look at this ‘My First Christmas’ baby onesie we made using glitter heat transfer vinyl!
Pin this post! 🙂
(Please note: This post contains affiliate links. Read our full disclosure policy here.)


I tried to use Cricut window cleaning NG today to attach designs to my bathroom mirrors. They did NOT cut thru do I couldn’t weed them. I have a Maker. Should I run it thru twice?
Hey Jan, if you’re having trouble with the blade not cutting through you can try a couple of things. First, you can apply more pressure instead of going with the default. If that doesn’t do the trick you probably need to replace your blade.