No-Sew Baby Headbands With The Cricut Maker
Thanks so much to Abigail G for submitting this awesome Cricut headband tutorial!
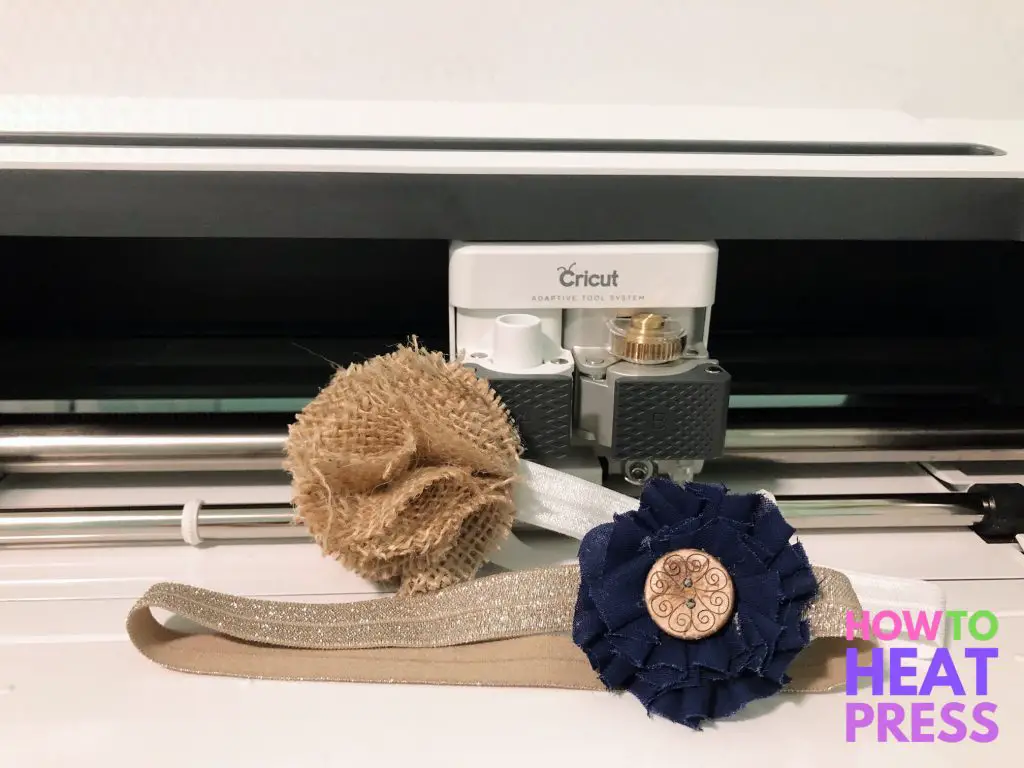
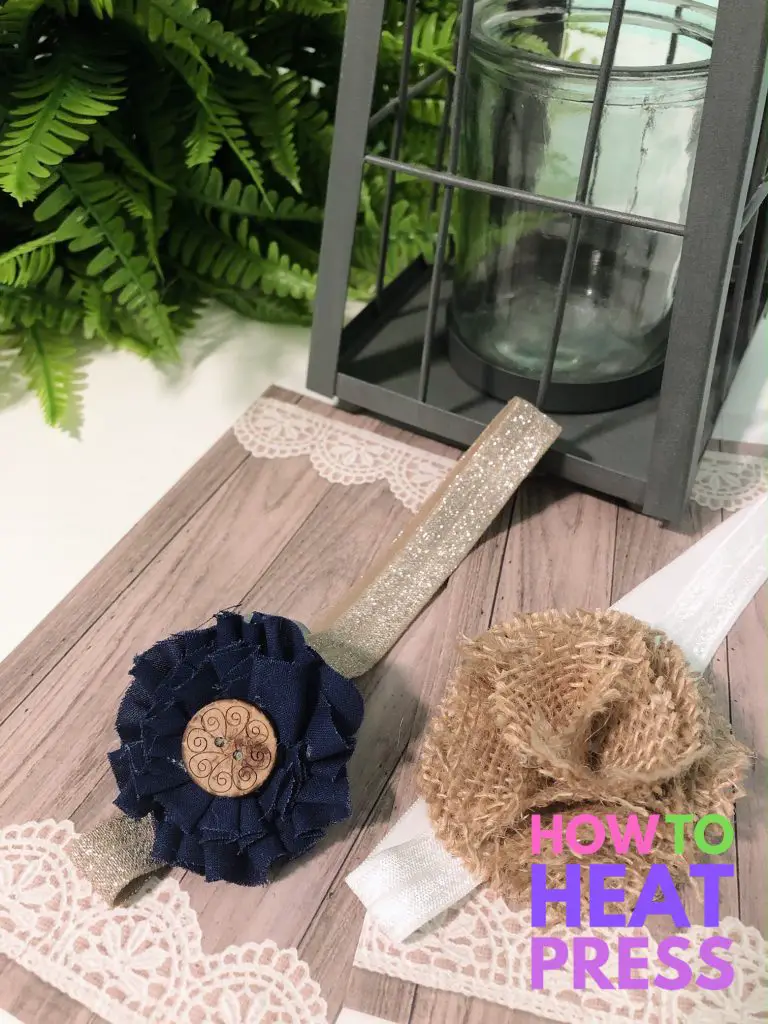
These headbands are simply adorable, and they are a great way to use up fabric scraps that you might find laying around! The Cricut Maker’s rotary blade makes these darling flowers easy-peasy to make.
No-Sew Baby Headbands
Materials:
- Burlap/cotton fabric (any fabric will do, really, just make sure to adjust the cut settings accordingly)
- Hot glue gun
- Cricut Maker and Rotary Blade (this blade is included with Maker machine at purchase)
- Cricut FabricGrip Mat
- ½ inch elastic
Burlap Flowers With Cricut
Step 1:
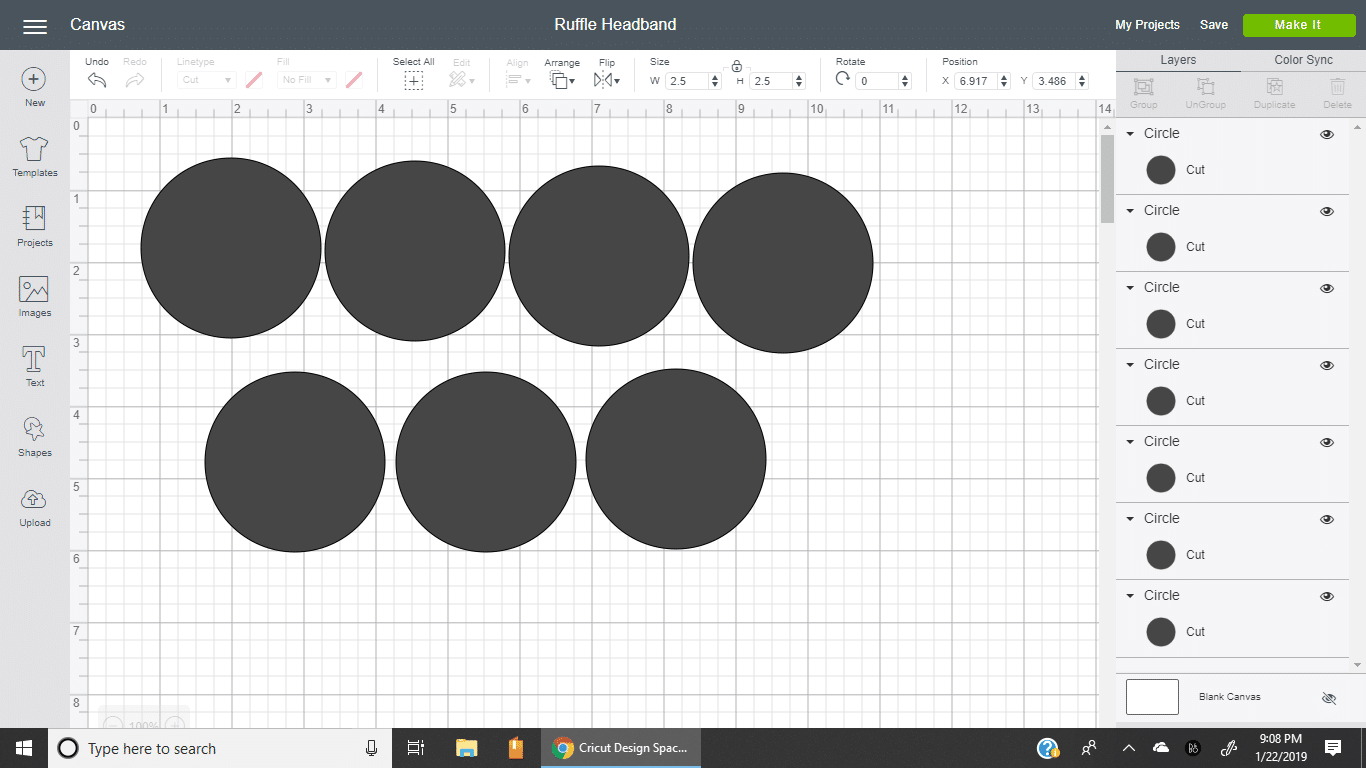
In Design Space (or whatever software you use), create a circle that is 2.5 inches wide, and duplicate it until you have 7 total circles.
Step 2:
Place the fabric on your cutting mat (make sure it sticks well so you don’t ruin your cut!) and let Cricut do the work ?.
Step 3:
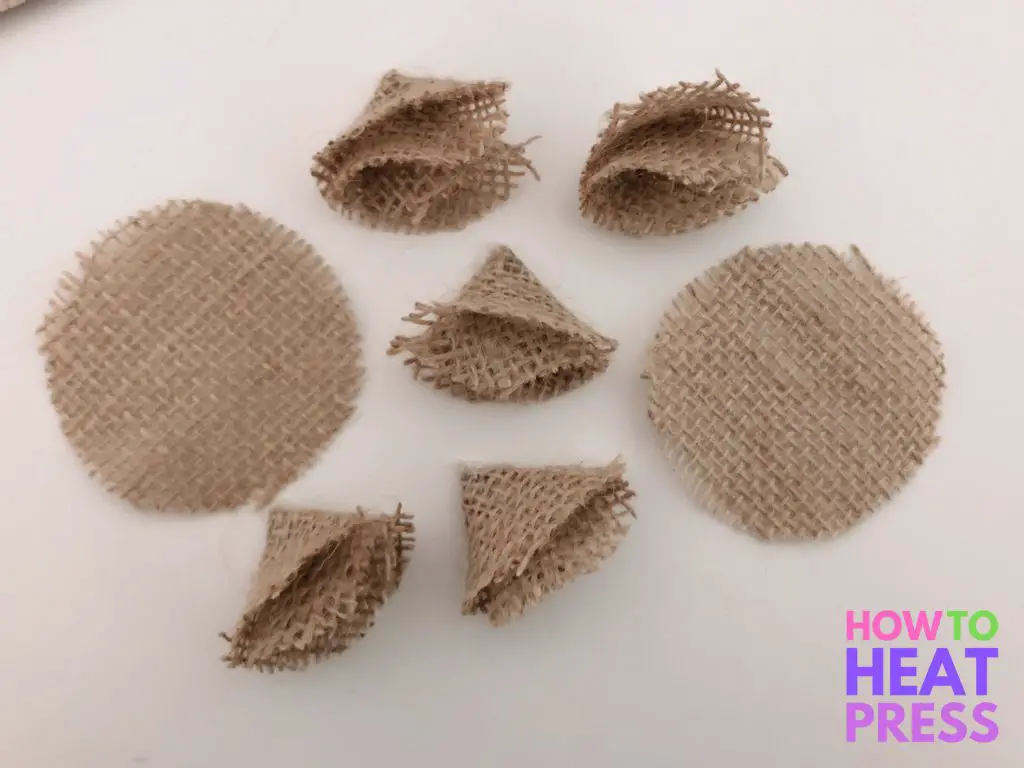
Once you have all of your circles, pick the 5 that have the best edges and set the other two aside. Take one circle, place a dot of hot glue in the center, fold in half and hold in place until it stays.
Place another dot of glue in the center of the folded edge, and fold the semicircle in half again (you will have folded your circle into quarters). Repeat with the 4 remaining circles.
Step 4:
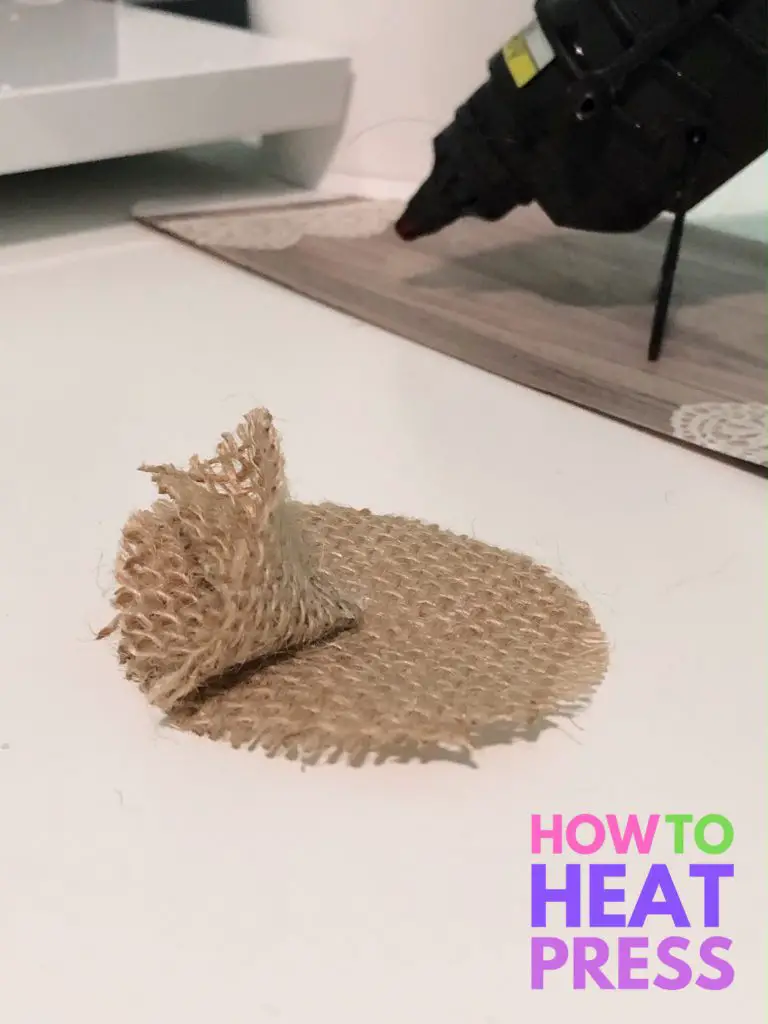
Pick one full circle to be your base. Hot glue one of the petals onto the base (it should take up about ¼ of the circle).
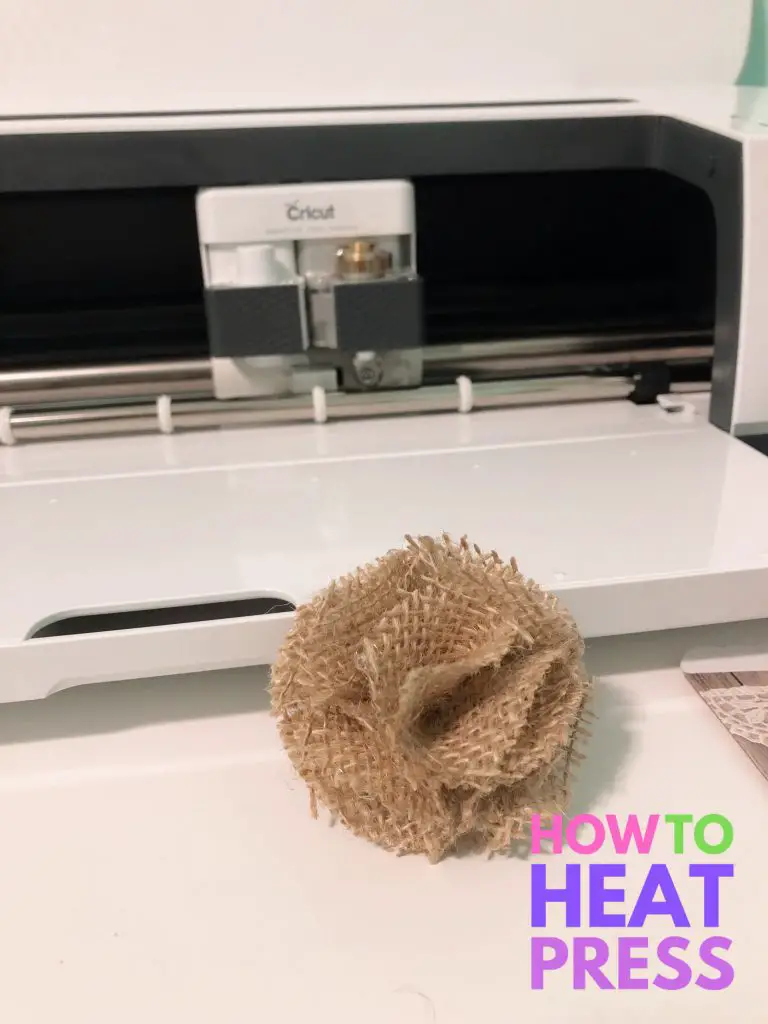
Repeat with the remaining 3 petals around the base, and add the 5th petal to the center. Cut off any frayed edges, and you have completed your flower!
Fabric Flowers With Cricut (Spiral Accordion)
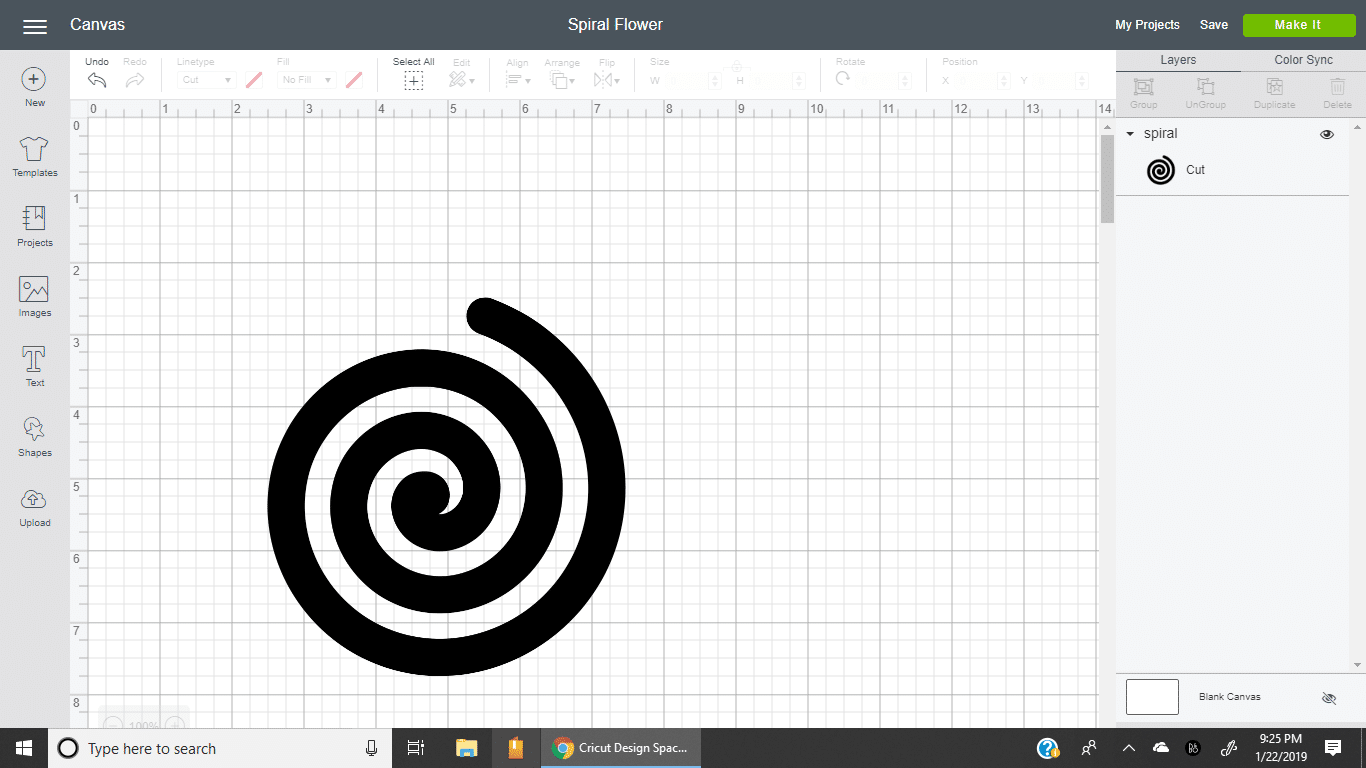
Step 1:
Import a Spiral SVG into Design Space. I resized it to 6.5 inches tall, and that gave me a 2 inch flower. If you want a larger flower, then you can certainly make it larger.
Step 2:
Cut it out with your Cricut.
Be careful not to burn yourself during the next few steps!
Step 3:
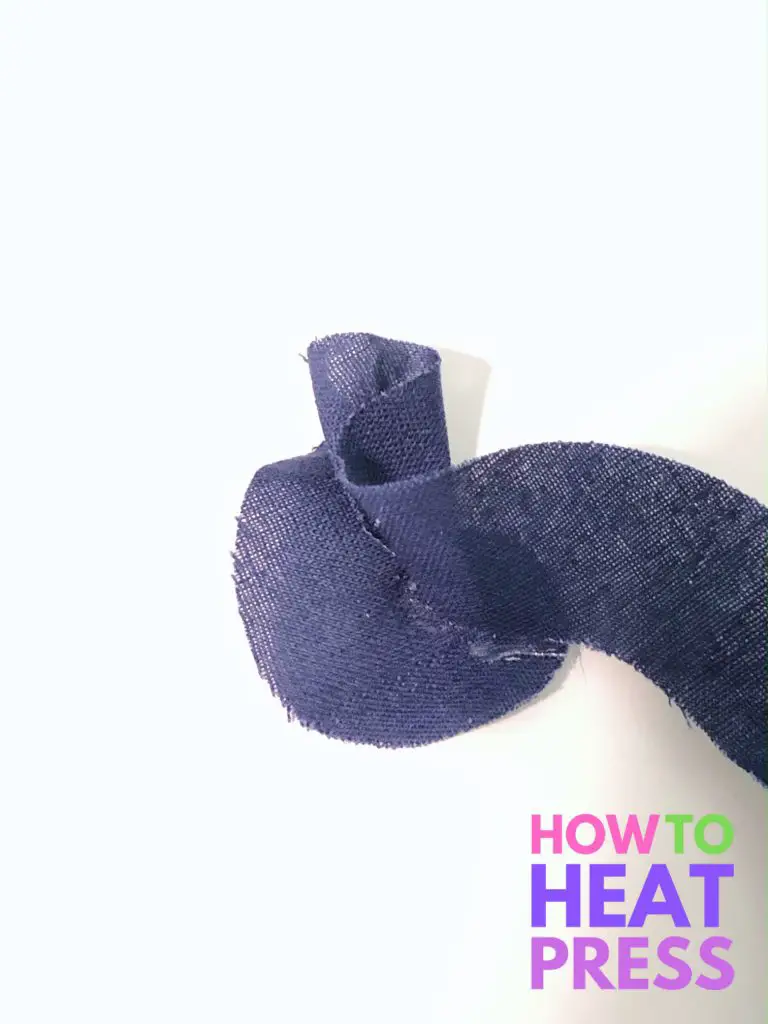
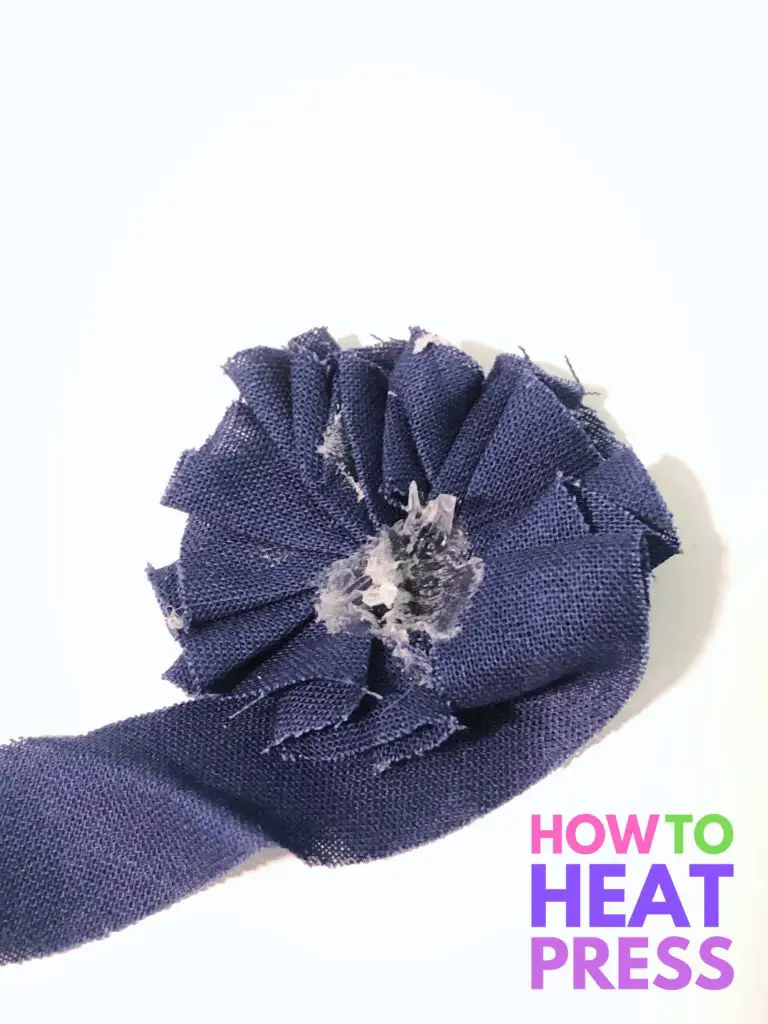
Begin to accordion fold the spiral (2-4 folds at a time), and hot glue them onto the circular center of the spiral. Once you have gone around the circle, begin to fold behind the previous folds and glue it to the back.
Continue accordion folding and gluing in a spiral pattern until you reach the end. Don’t worry if it looks messy; we will fix it later.
Step 4:
Add a button to the center and cut off any frayed edges. Voila!
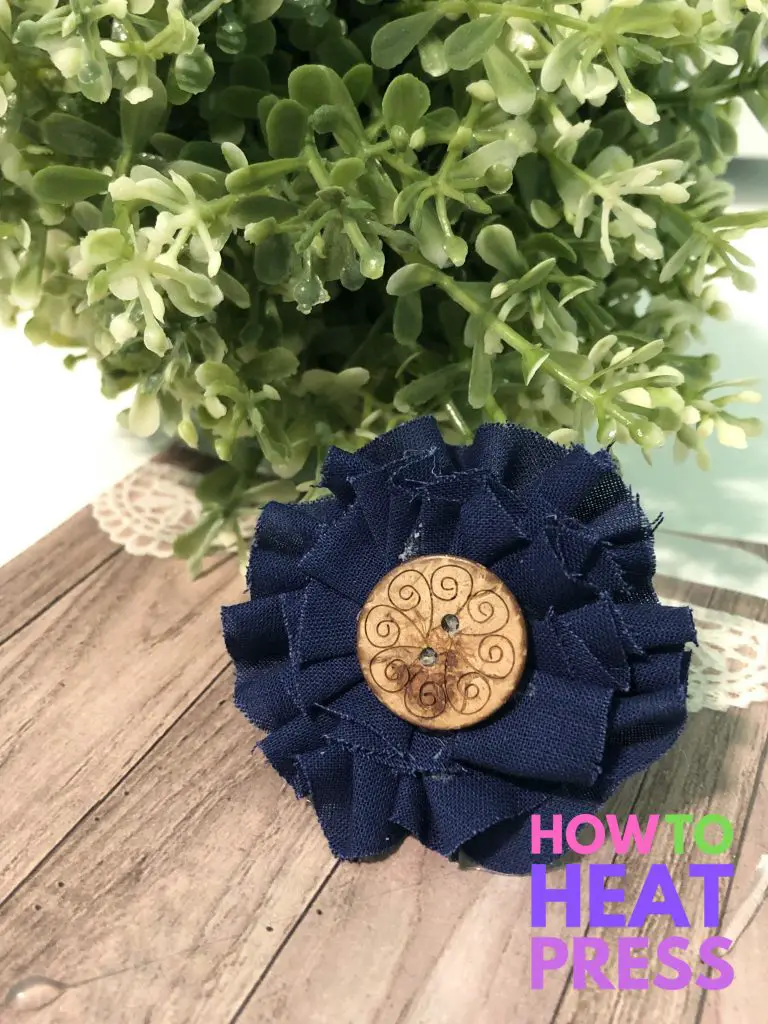
To Assemble (with either flower):
Cut pieces of elastic to fit the infant’s head. I made these newborn size, so I cut them 13.5”. With the elastic good side down, hot glue the two ends together, overlapping a little bit.
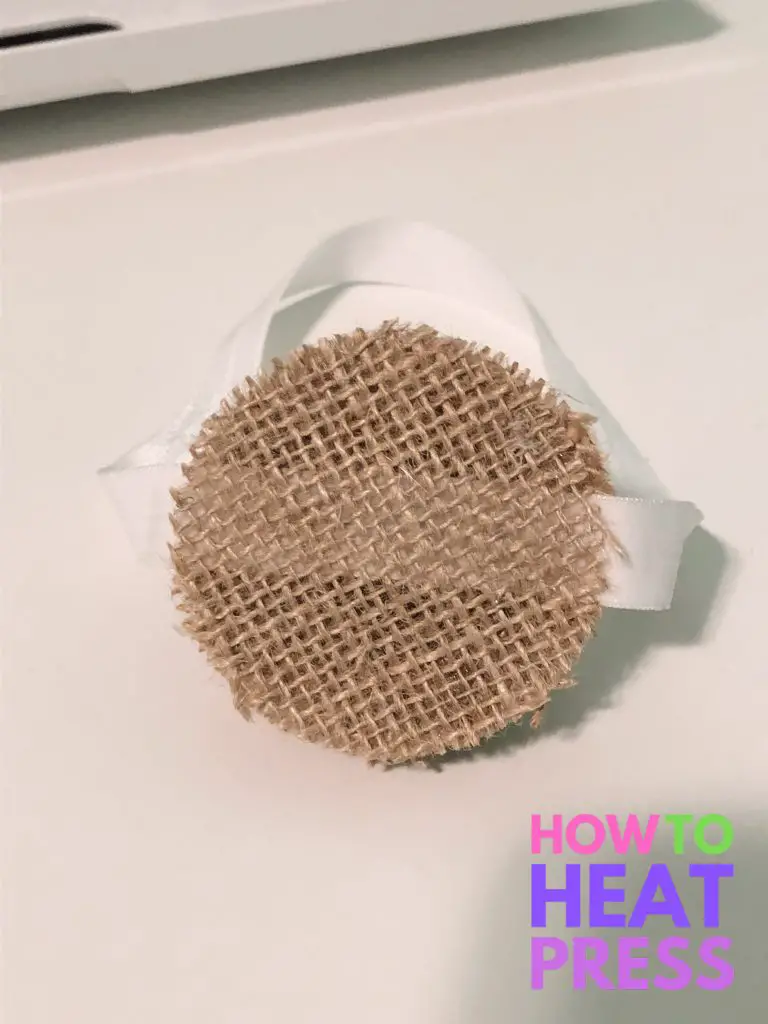
Flip the elastic right-side-out, and glue the flower on. To make it look cleaner, you can add a backing. I used a piece of white felt for the navy flower, and the remaining burlap circle for the burlap flower.
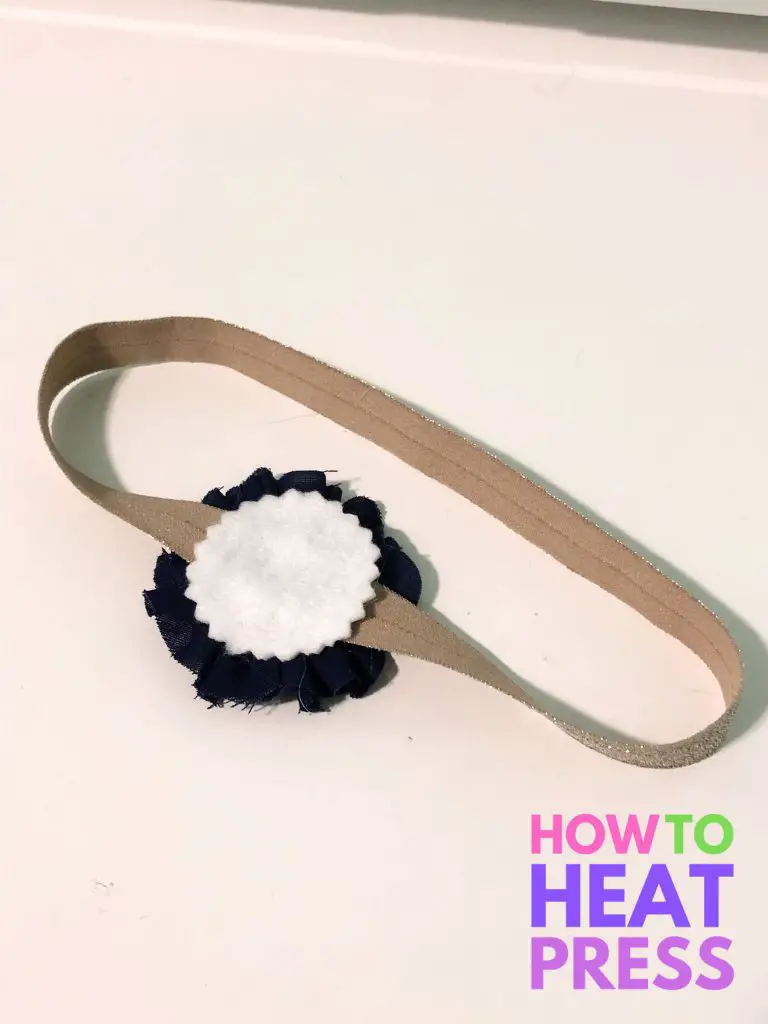
Congratulations – you now have two gorgeous headbands! All for under $10 and made quickly, thanks to Cricut.

Thanks for reading – please leave any comments or questions down below!
(Please note: This post may contain affiliate links. Read our full disclosure policy here.)

