Cricut Infusible Ink Project – The Blank Cricut Tote Bag & EasyPress
We’re using the Cricut Blank Tote Bag for this Infusible Ink Project – let’s decorate it!
My parents recently bought a camper and they are super excited to do it up and get it on the road. So, I decided to make them a camper themed tote bag for Christmas using Cricut Infusible Ink!
Cricut Infusible Ink Project Idea
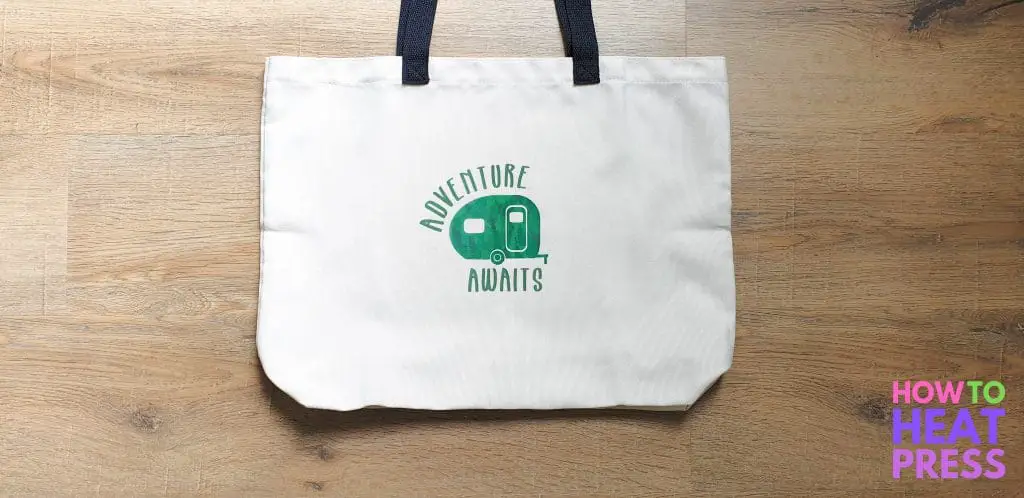
For this project I’m using Cricut Insusible Ink – Jungle Safari pattern (Cricut | Amazon). I’m applying my design to the large blank Cricut tote using the Cricut EasyPress 2.
Other tools & materials needed:
- Cricut Maker or Explore Air 2
- Cricut Easypress or heat press
- Butcher paper (comes with the transfer sheets)
- White cardstock (must not be colored)
- Cricut tote bag or other Cricut blank
- Heat tape
1. Design For Infusible Ink
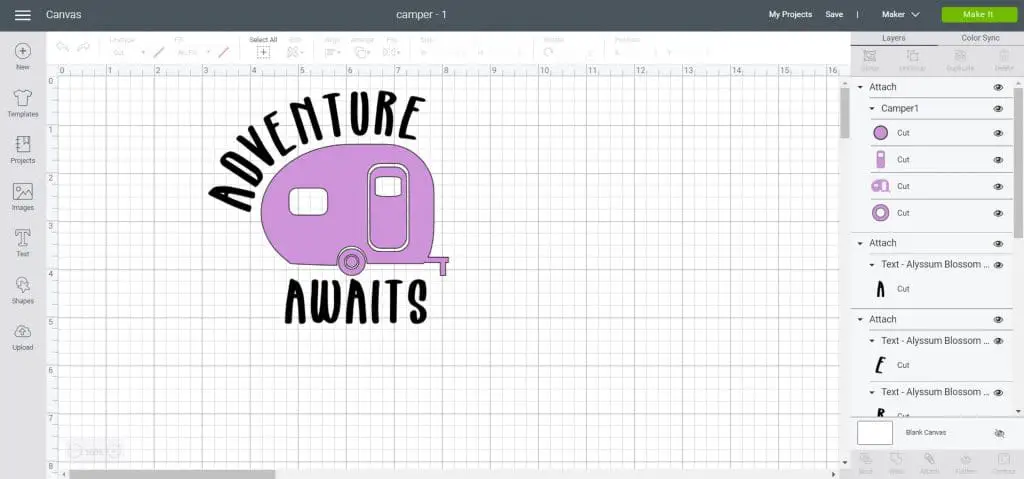
Here’s my design in Cricut Design Space. I got the camper SVG from Creative Fabrica and wrote the text to go with it. Here is another fun FREE camper design from Love SVG.
Make sure your design when cut is not bigger than the size of your EasyPress. You cannot press Infusible Ink in sections, but it must be pressed all at once. Pressing it in sections can create a ghosting effect.
2. Mirror Infusible Ink Design
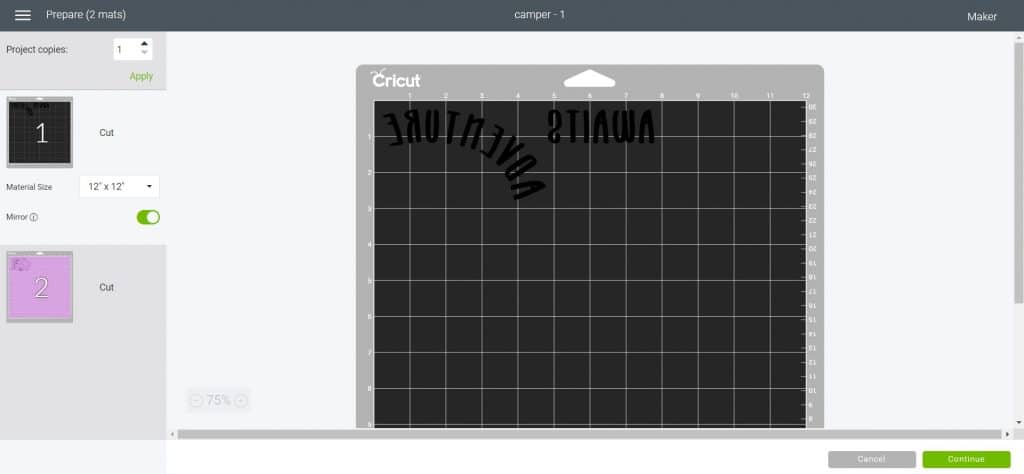
As with Cricut Iron On, you will need to mirror all of your mats when using Infusible Ink Transfer Sheets.
3. Set Material
If you are using a Cricut Explore Air 2, set the dial on your machine to Custom, and select ‘Infusible Ink Transfer Sheet’ from the material options in Design Space.
If you are using the Cricut Maker, simply choose ‘Infusible Ink Transfer Sheet’ from the material options.
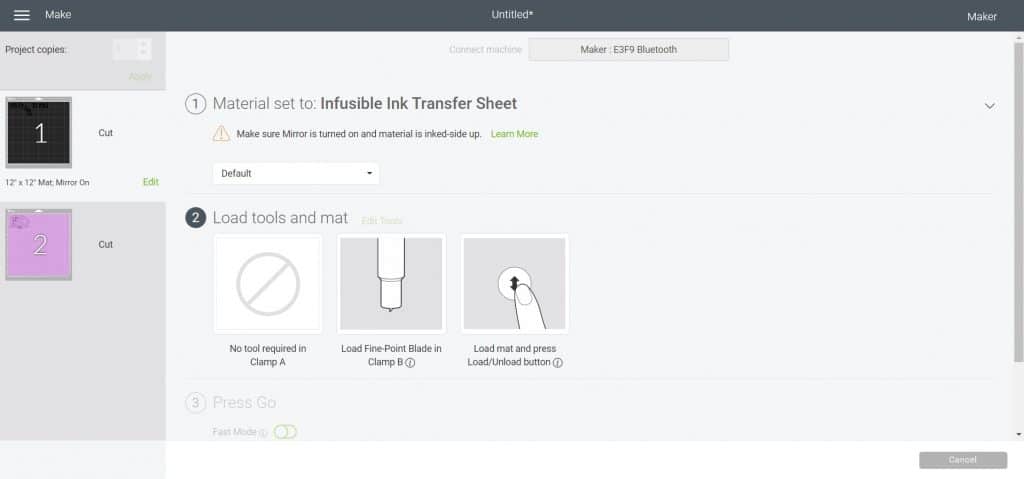
4. How To Cut Infusible Ink
Place the Infusible Ink Transfer Sheet with the colored side facing up on the cutting mat.
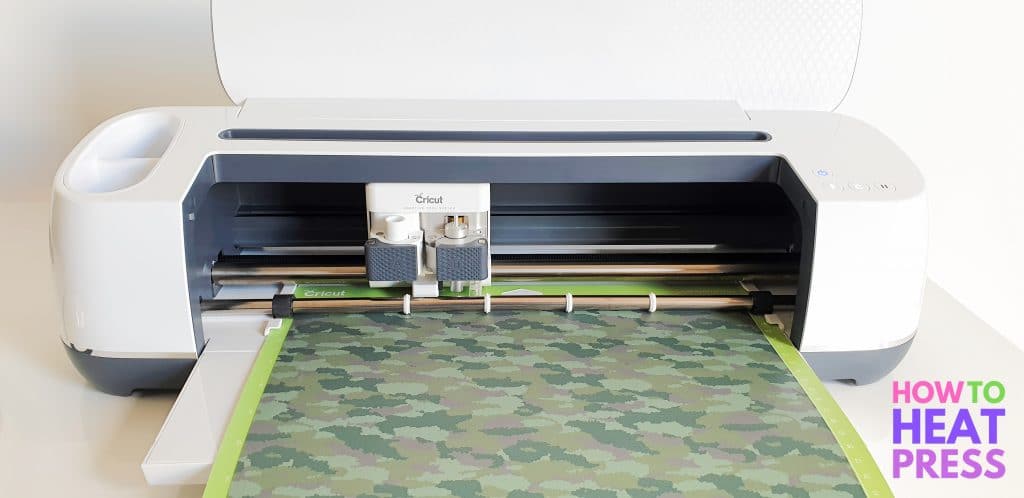
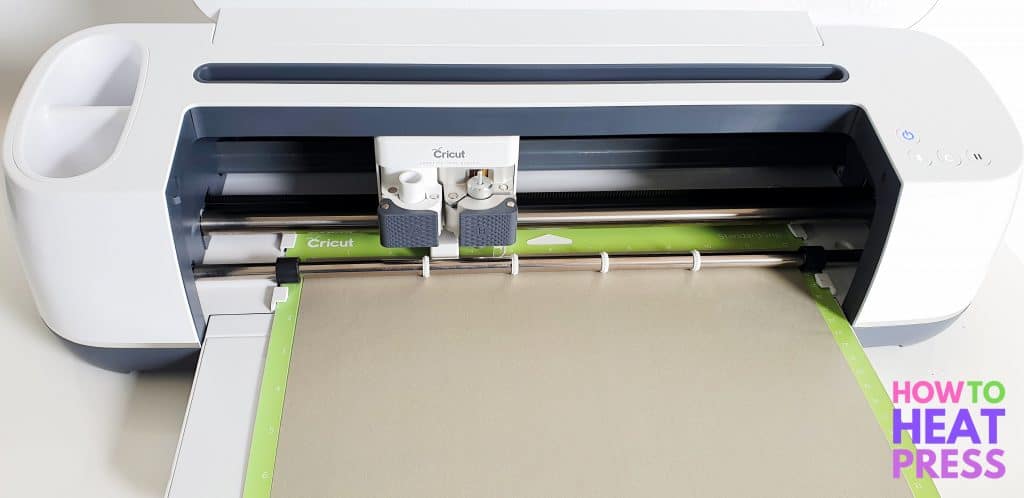
I’m using two different sheets from the Jungle Safari Infusible Ink Pack.
Because my design is quite small, in the end it was a little difficult to see the difference between the two sheets. I could have saved some time, effort, and transfer sheet by doing it with the same sheet! 🙂
5. Weed Design
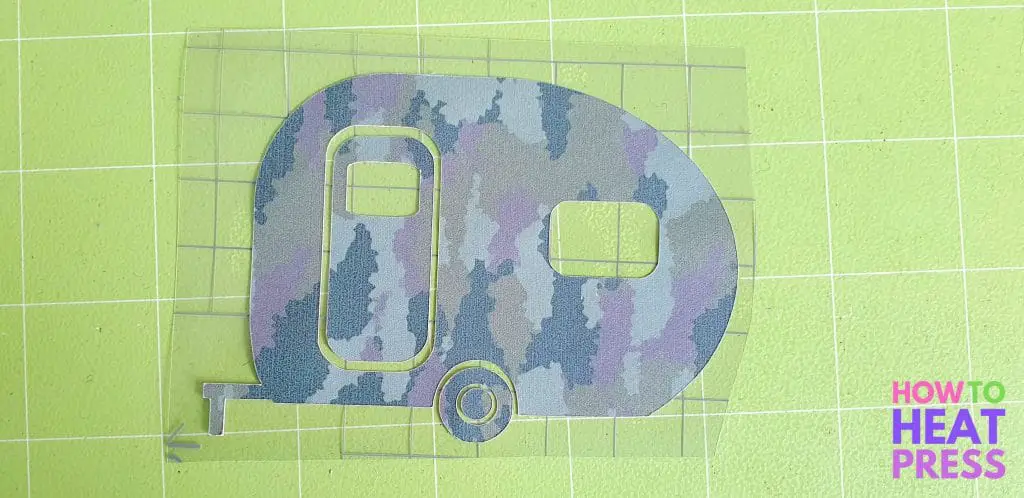
Weed away all the excess material that is not part of your design.
I would recommend NOT using a weeding tool for this, as the Infusible Ink Transfer Sheets are very delicate. The color can easily be scratched off.
Thankfully, it’s not difficult to weed using your fingers. You can roll the transfer sheet and ‘crack it’ to help find the cut lines.
Once weeded, trim the clear liner around the edge of your design. Make sure the clear liner does not exceed the size of your EasyPress.
6. How To Heat Press Infusible Ink
Place your Cricut EasyPress mat on a firm, sturdy surface.
Insert the white (don’t use colored) cardstock inside the tote bag. This will protect your tote bag, so that the ink doesn’t transfer through to the other side.
Put the butcher paper over top and pre-press the tote bag for 15 seconds at 385°F to remove any wrinkles and moisture.
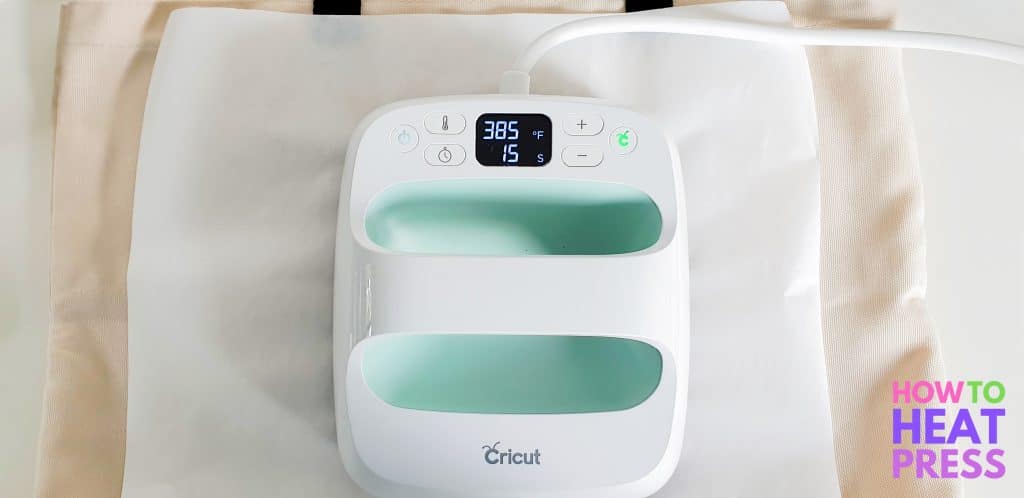
7. Position Design With Heat Tape
You will need to wait for your tote bag to cool completely from pre-pressing before positioning your design on top. If your tote bag is still warm, it may start to transfer the color while you are still positioning it.
Use a lint roller to remove any lint from the tote bag. Place your design colored side down with the liner facing up. Tape it down with Cricut heat tape (or other heat resistant tape), which will prevent any ghosting if you were to accidentally move your Easypress.
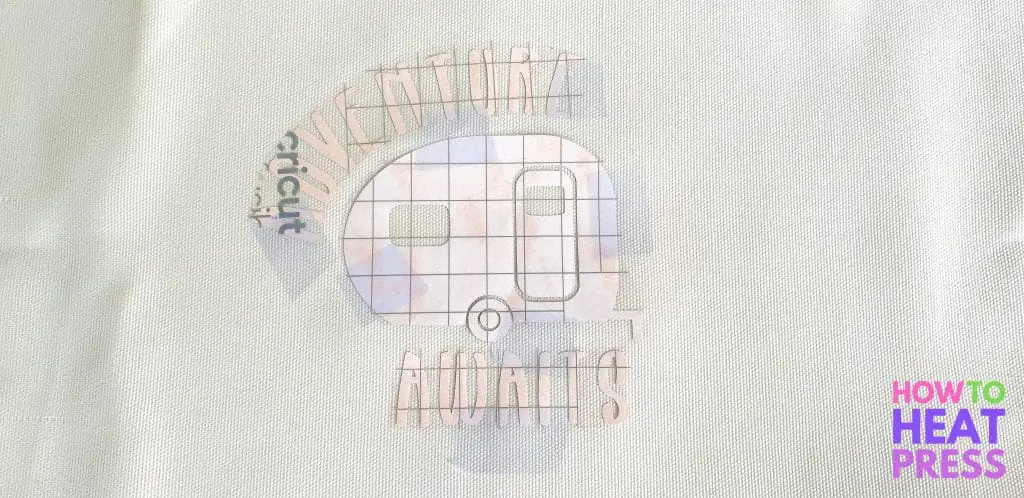
8. Press The Transfer
Place your butcher paper over top of your design.
Here’s how to press your transfer:
- EasyPress 2: Press your transfer for 40 seconds at 385°F using light pressure. Peel once cool.
- Original EasyPress: Press your transfer for 120 seconds at 360°F using light pressure. Peel warm.
Do not slide the EasyPress at all while pressing, keep it perfectly still!
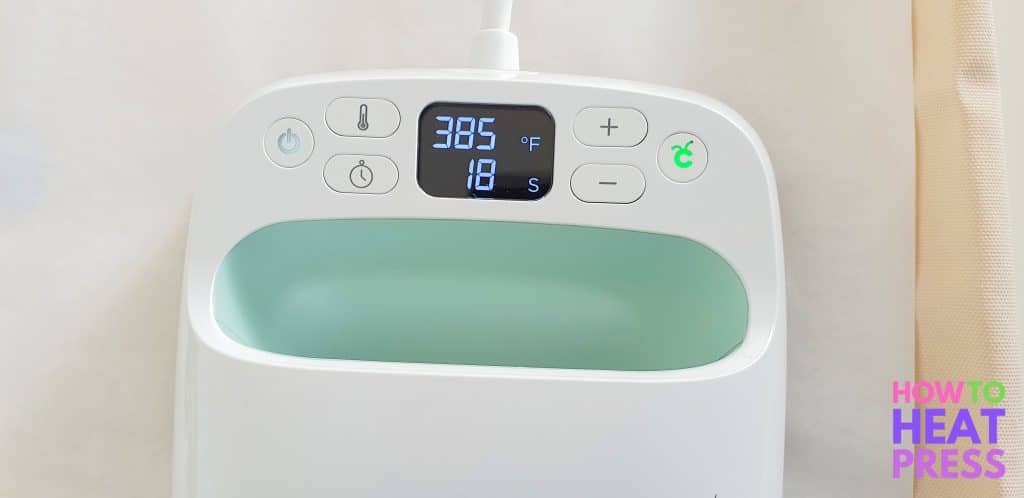
9. Peel Transfer
Once pressed, wait for the transfer to completely cool before removing the paper slowly.
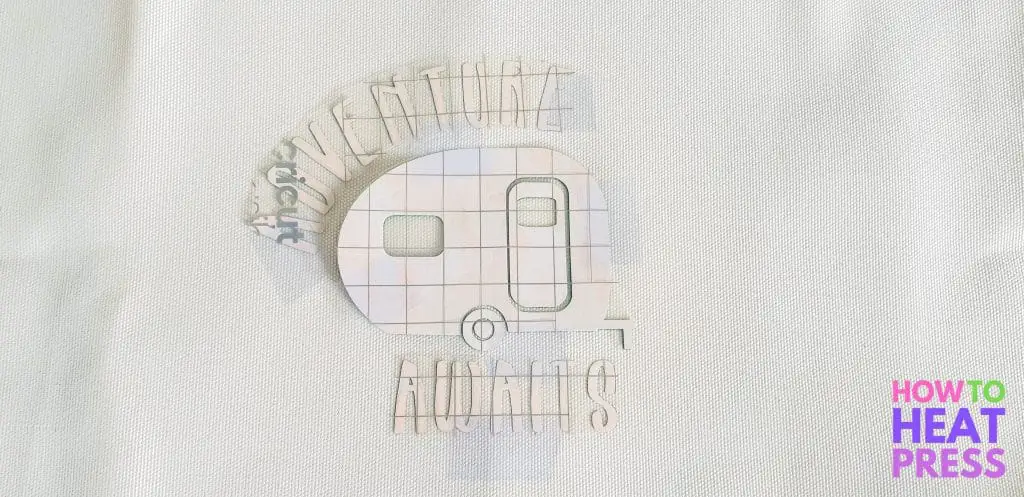
Infusible Ink Project
All done!
As I mentioned, I didn’t realize that the writing would turn out to be pretty much the same color as the camper, otherwise I would have attached everything together and pressed it as one piece!
I now realize you can get a very good indication of the final color from the box. Oh well, it still looks cool!
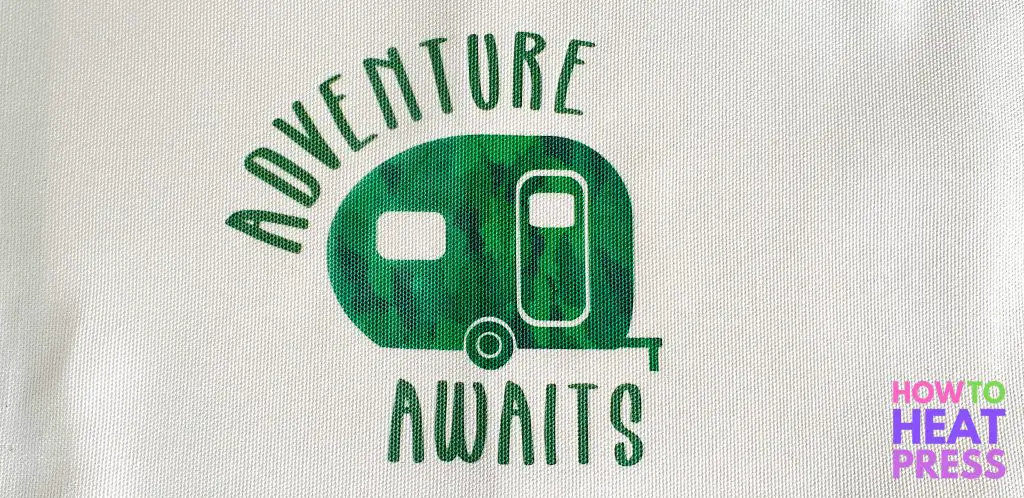
Such a cool Cricut gift idea!

Thanks for visiting and taking a look at this project. For more info, check out our Infusible Ink Review!
(Please note: This post contains affiliate links. Read our full disclosure policy here.)


