What Is Reverse Weeding For Vinyl & HTV? Cricut Mug Project
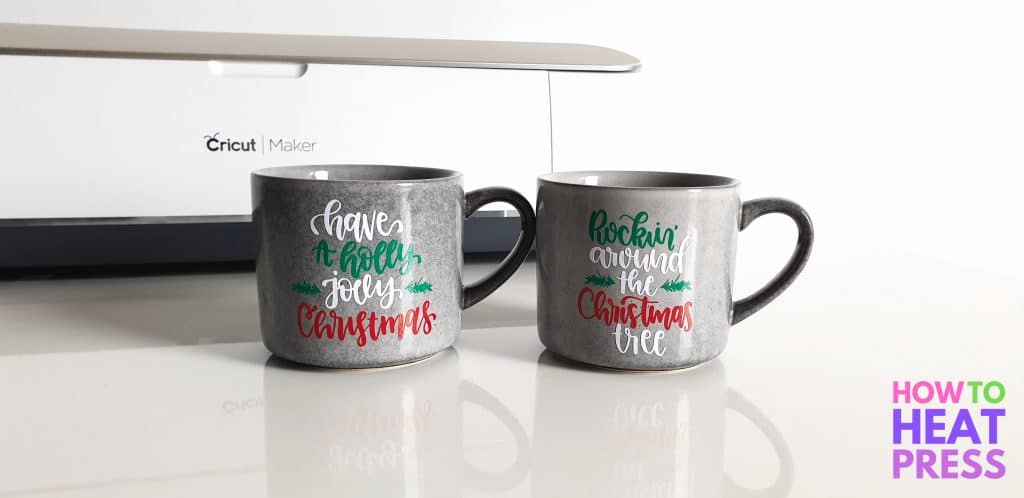
We are using the reverse weeding of vinyl technique for these mugs!
It’s a very useful way of removing excess vinyl, especially from small letters and intricate designs. We’ll show you how to reverse weed while making these adorable custom mugs. They make for great gifts!
Reverse Weeding
What is reverse weeding?
Reverse weeding vinyl is when you weed away the excess vinyl from the transfer tape, rather than the backing paper (which is the usual way).
The transfer tape is applied to the decal before weeding, the backing paper removed, and then the excess vinyl is pulled away from the transfer tape.
We’ll show you with pictures below!
Cricut Mug Project
To start with, we’ve downloaded these free SVG cut files from LoveSVG – Rockin’ around the Christmas tree and have a holly jolly Christmas.
- Extract the folders
- Upload the designs to Cricut Design Space
- Insert the designs into a new project
Once you’ve done that with your SVGs of choice, here is the rest of the process. We’ll be using Oracal 651 vinyl – we really like the range on offer here at Expressions Vinyl.
Prepare Designs For Cutting
Once the designs have been brought into Design Space, customize them the way you want:
- Measure your mug and decide how high/wide you want your designs to be
- Change the colors to the colors of adhesive vinyl you’ll be using
- Weld any words that aren’t welded or you may want to attach pieces of your design together
When you’ve finished customizing your designs click ‘Make It’.
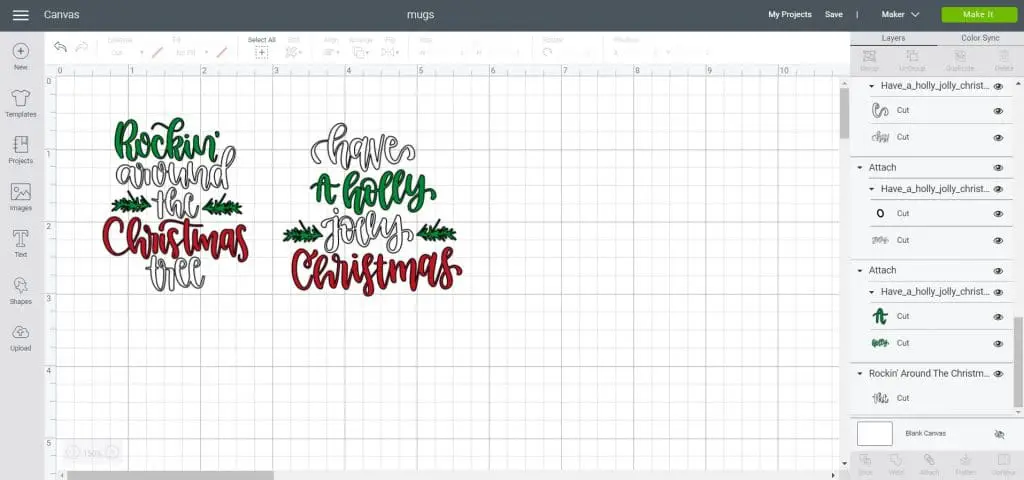
Next, you’ll see the mat preview.
You do not need to mirror your mat for adhesive vinyl, but you’ll need to make sure there are no mistakes and that everything is how you want it to be.
I applied each word to my mugs individually, hence why they are all out of order on the mat. These designs are so simple that applying them word by word doesn’t take long at all!

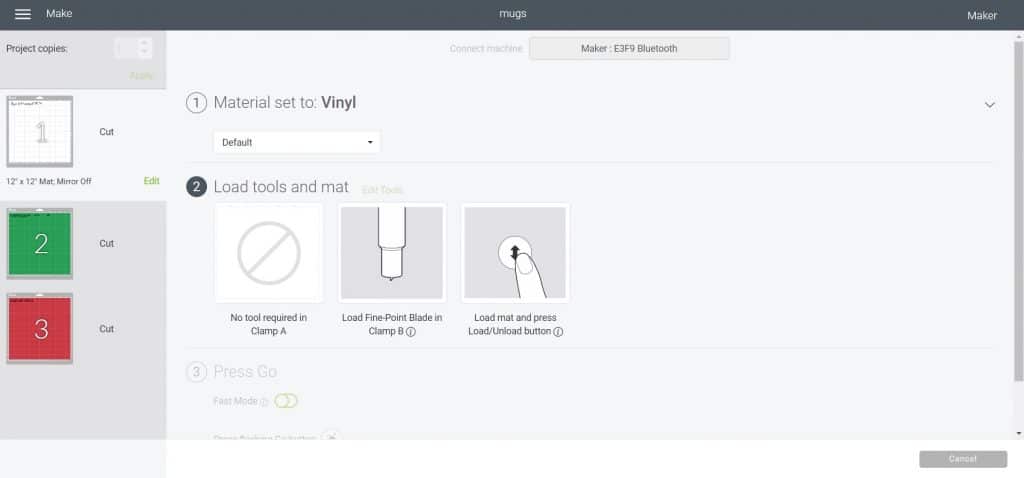
Set The Material
Next you’ll need to connect your Cricut machine and then set your material to vinyl. I’m using the Cricut Maker for this project.
Cut The Vinyl
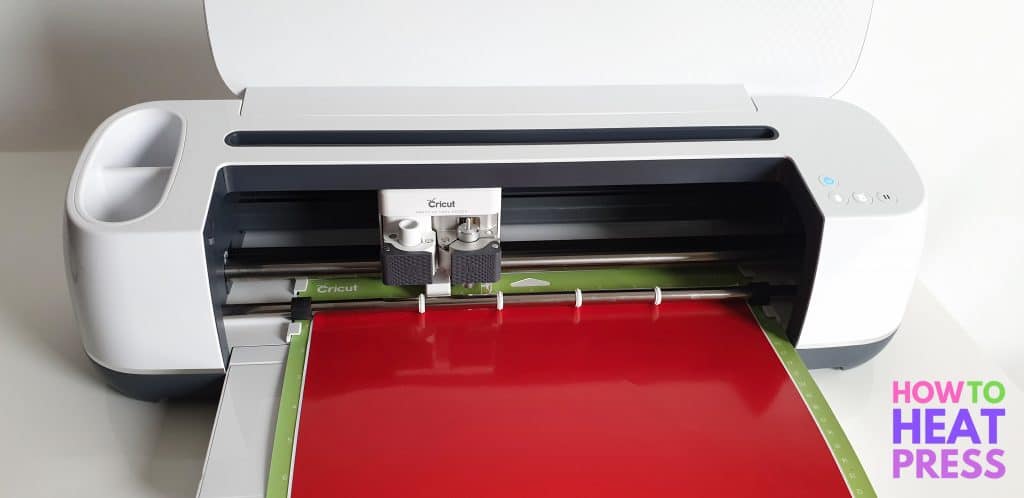
Place the adhesive vinyl color-side facing up (backing paper underneath) on your green StandardGrip mat. Load the mat into the machine and hit the go button.
Reverse Weeding Vinyl
Now it’s time to learn how to reverse weed!
If you separate the words of your design first, like I have, then each piece will be much easier to work with.
Here’s the word ‘Christmas’ that I need to weed. If I were to weed it the normal way I would likely ruin it. The letters are so small that they would lift up along with the excess vinyl.
Reverse weeding is going to make life a lot easier in this instance!
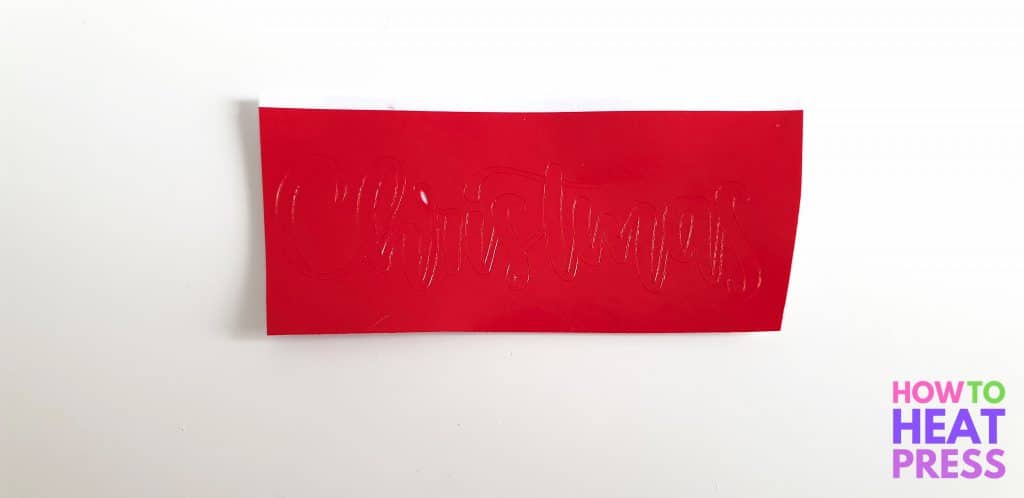
First cut and apply some transfer tape over top of the vinyl.
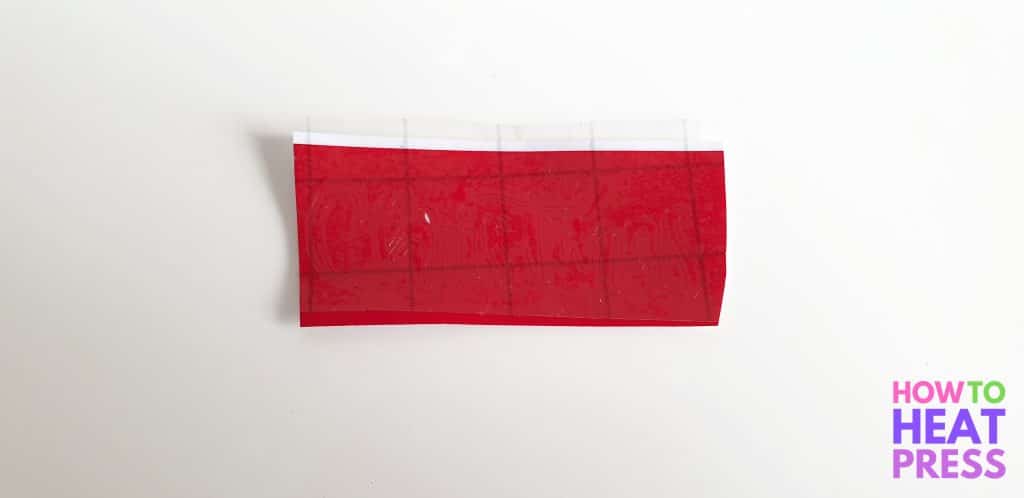
Next turn it over and peel away the vinyl backing paper.
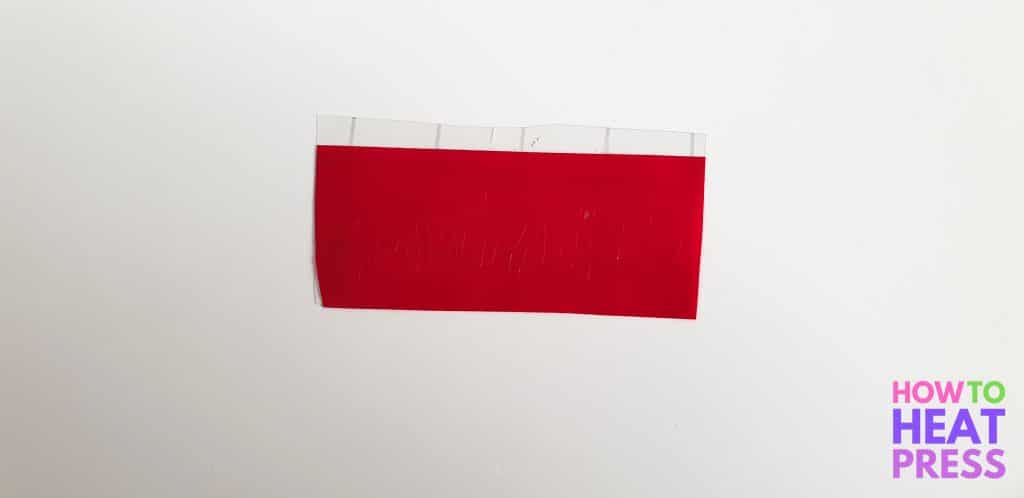
Lift up one corner of the vinyl and pull it away flat against the tape, until all the excess vinyl is removed.
Remove any cavities from the letters. Now only your design should remain on the transfer tape. Cut closely around the word to remove excess transfer tape, as this will make it easier to apply to the mug.
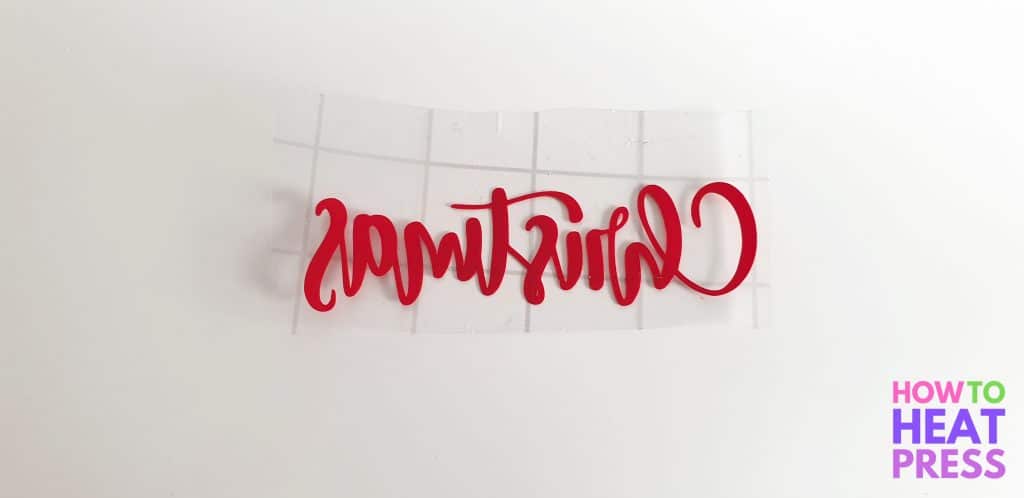
Repeat the process with all the words in the designs!
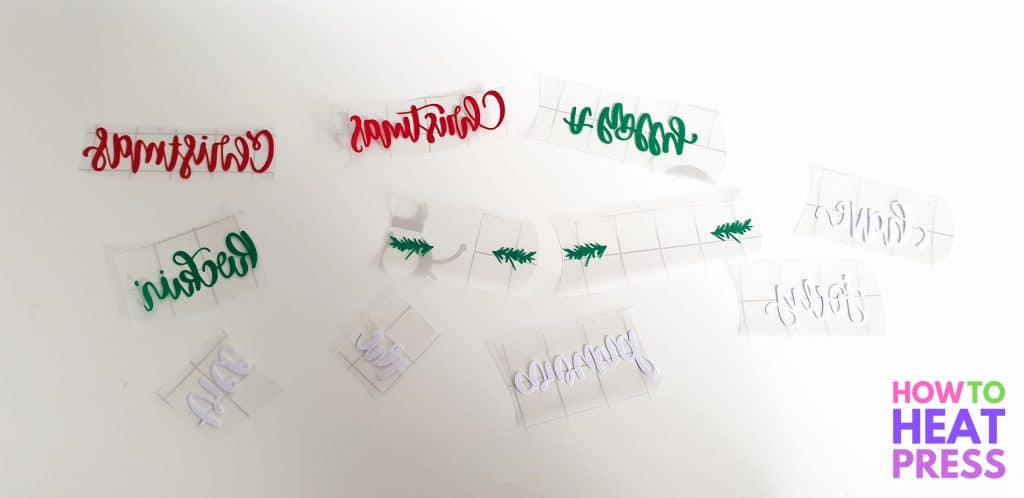
Applying Vinyl To Mugs
Before applying vinyl to any surface, you need to make sure it’s clean. Prep your mugs by wiping them with some rubbing alcohol and then allowing them to dry completely.
Apply each word of the design to your mug using the original SVG as a guide. I like to start with the middle of the design first (‘the’ in the picture below) and apply that word first, and then work my way up and then down, so that I know I’m not going to run out of space either way.
Burnish the design and then remove the transfer tape by rolling it back, flat onto itself. If you pull transfer tape straight up it will likely pull up the design along with it.
Check out our post on applying vinyl to curved surfaces for more tips and tricks.
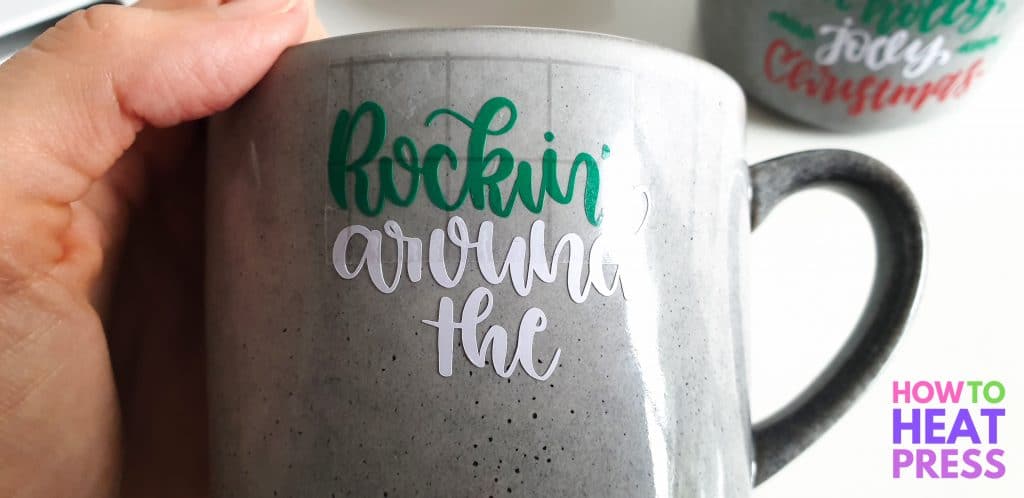
All done. These would make a great Christmas present for a couple, or just keep them for yourself!

I absolutely love this font!

Let me know your thoughts down below!
For more info, check out these other vinyl weeding tips and tricks!
(Please note: This post contains affiliate links. Read our full disclosure policy here.)

