How To Easily Apply Vinyl To Curved Surfaces – Vinyl On Mugs
Wanting some tips on how to apply vinyl to a curved surface?
I still remember the first time I tried to apply vinyl to a mug. I hadn’t realized how different it was to apply vinyl to a flat surface, and the result was a bit of a wonky flop!
I’ve learnt a lot since then, and want to share my tips and tricks on how to apply vinyl on mugs.
How To Apply Vinyl On Mugs
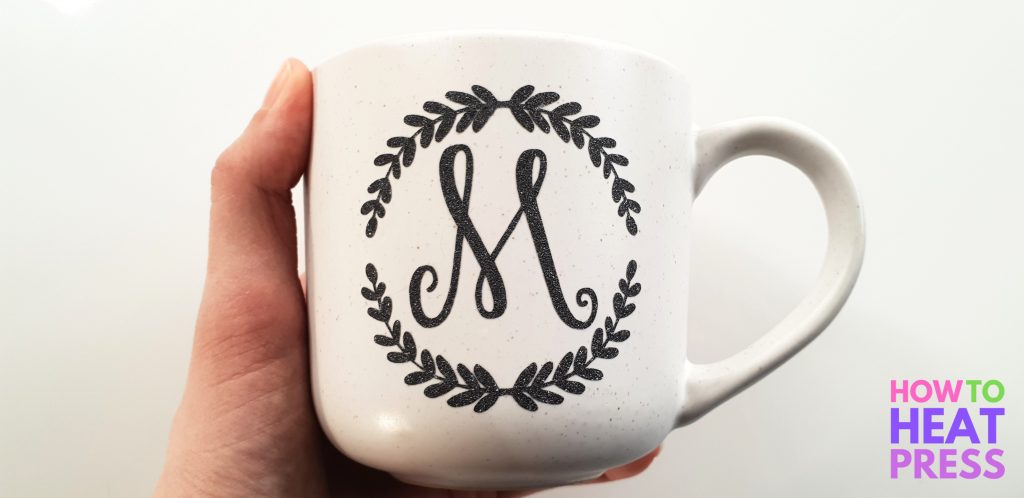
Types of rounded surfaces for vinyl?
- mugs and cups
- tumblers and glasses
- water bottles
- vases
- Christmas ornaments
What type of vinyl to use for cups?
What are we using in this project?
The focus of this post is applying vinyl onto the curved surface of a mug, and so I’m not going into too much detail about cutting the decal.
Consider these posts if you’d like more info on how to cut vinyl with a Cricut machine!
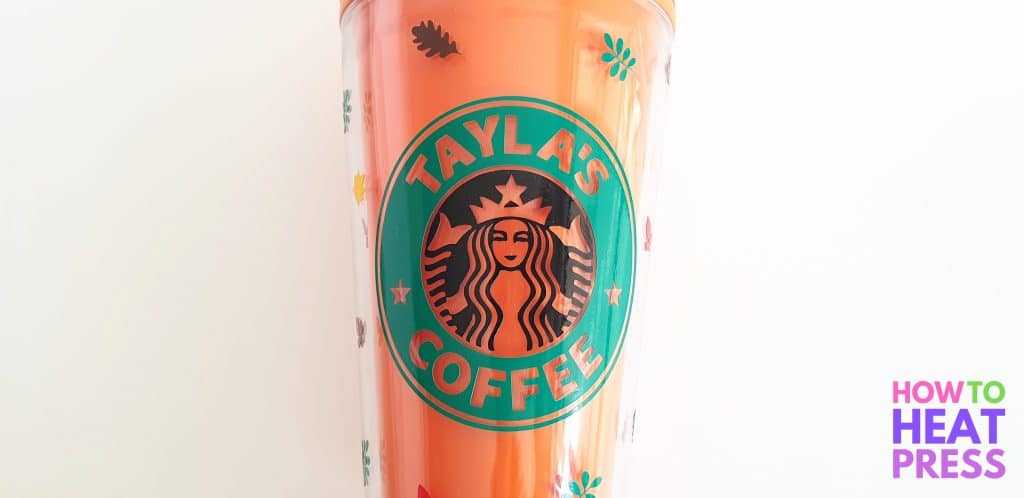
How to personalize a blank Starbucks Tumbler with vinyl
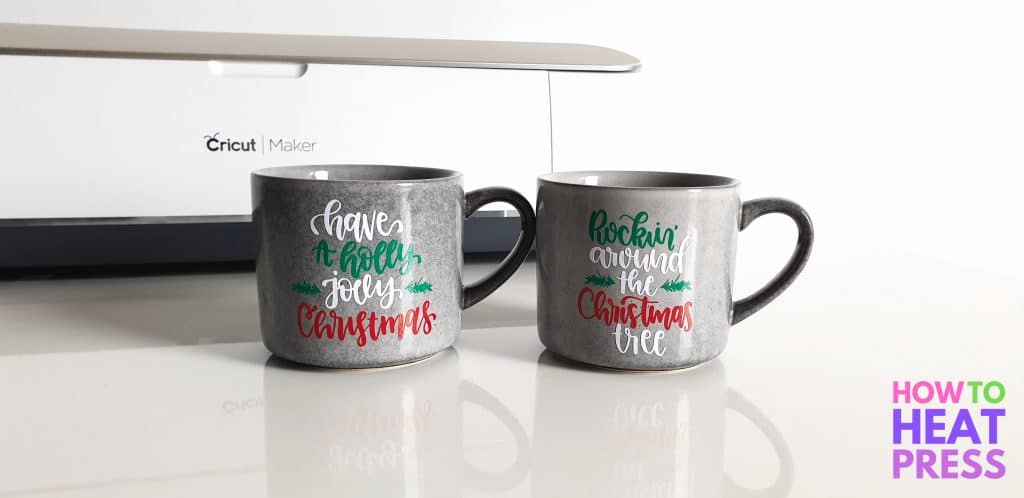
Reverse weeding a Christmas mug decal using the Maker
Cricut Vinyl On Mugs
1. Prepare your mug
Prepare your curved surface by wiping it with rubbing alcohol, and allowing it to dry completely. If you don’t have any rubbing alcohol then simply give it a good hot wash.
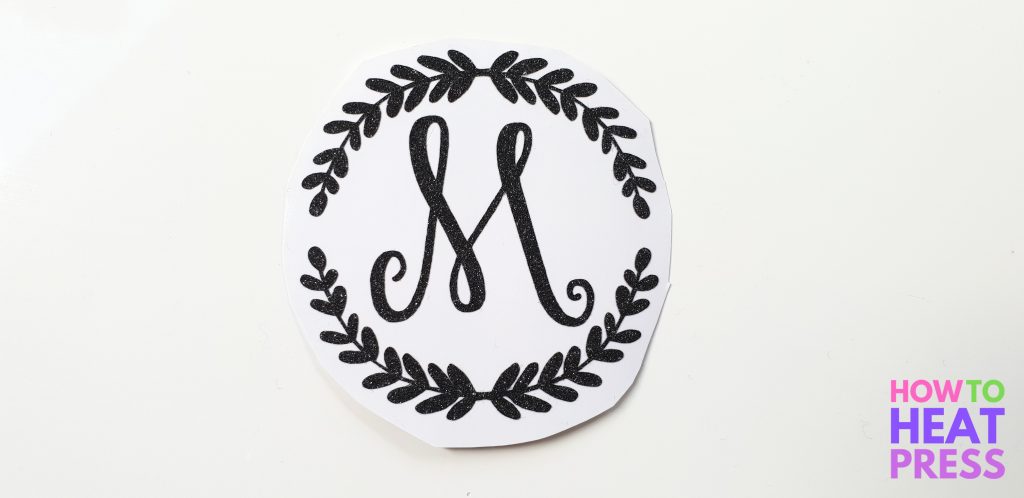
2. Apply transfer tape
Apply transfer tape to the cut and weeded design, and burnish it with a squeegee or a scraper tool. Make sure the transfer tape is going to pick up the vinyl well.
I recommend using standard Cricut transfer tape for a project like this, not the strong grip or light grip.
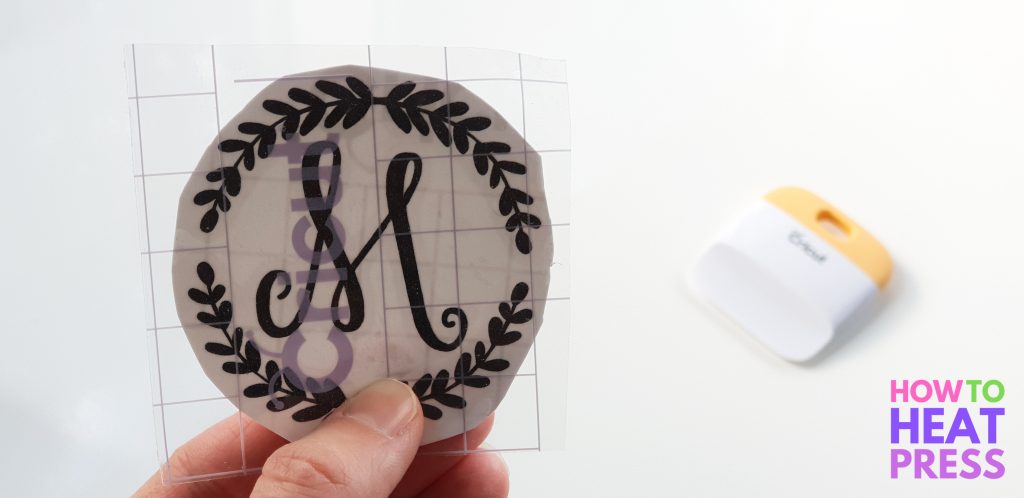
3. Cut away excess tape
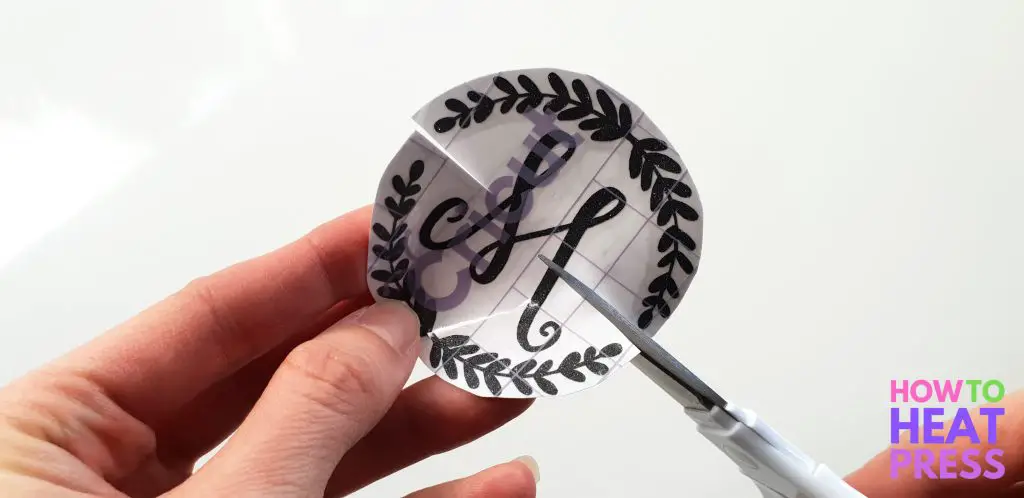
Once the transfer tape is applied, cut away the excess tape as close as you can around the outside of your design. This will make it easier to apply.
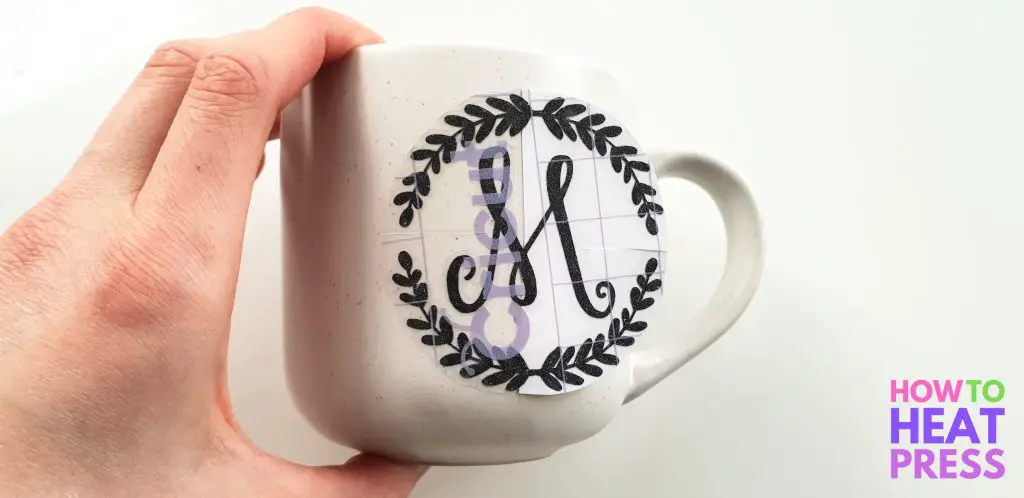
Depending on the specific design, take some scissors and make slits in the top, bottom, and sides of the backing paper (and transfer tape). As you’ll see later on, cutting slits will make your design much easier to apply.
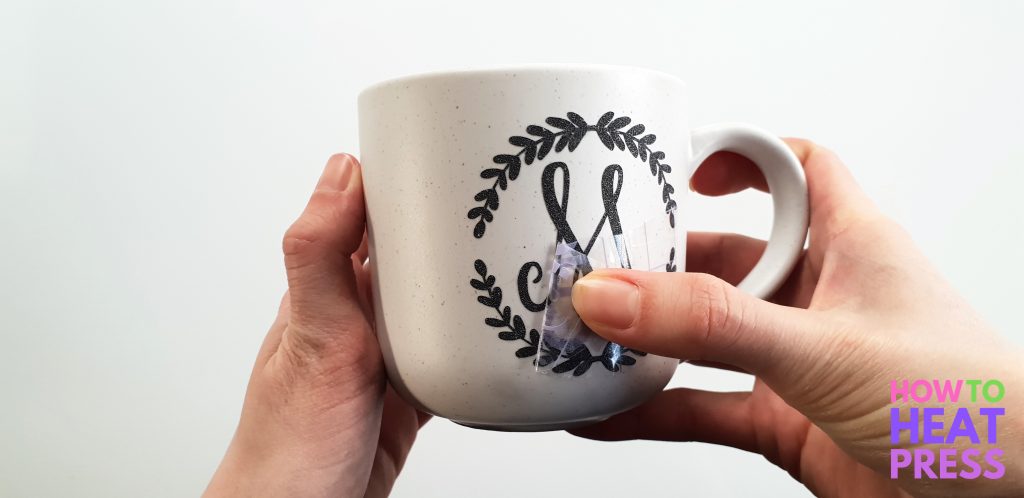
As you can see with my monogram design, I wasn’t able to make slits in the top or bottom of my design (because of the frame), but I made a slit in each side.
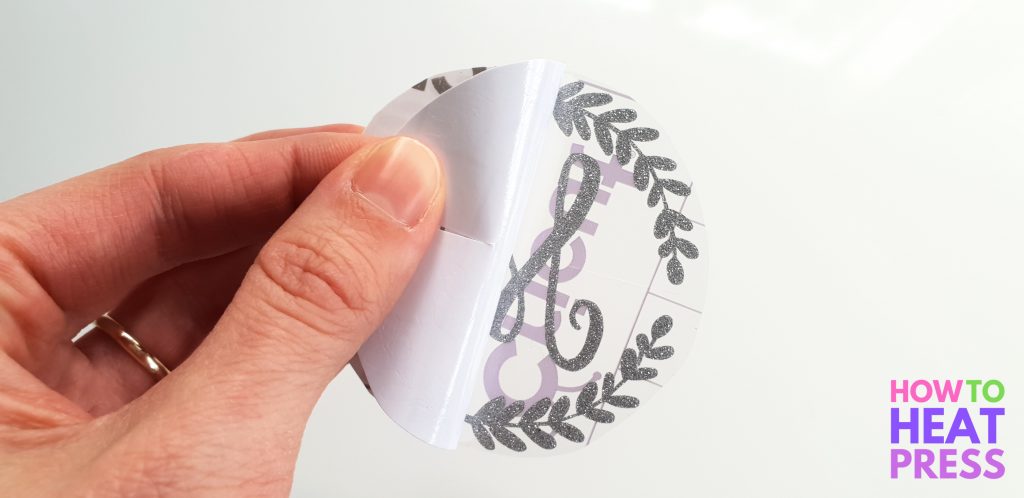
4. Remove backing paper
Peel back half the backing paper and cut it off, leaving half behind.
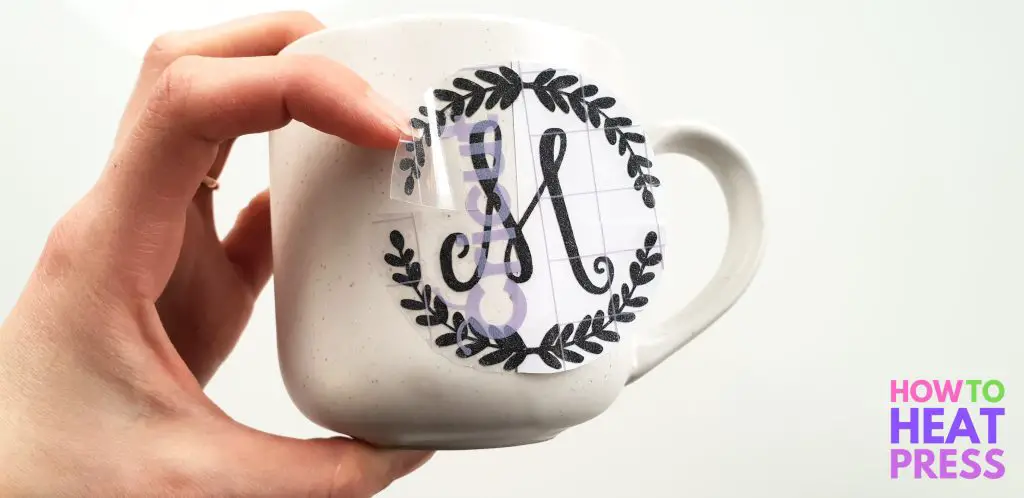
5. Position the design
Position the vinyl decal onto the mug and start by pressing it down the middle to secure it in place. Press from the middle first, and then slowly out to the edge.
Depending on your design and where you have cut your slits, press your design down in sections.
With my design, as I have cut a slit on either side, I could secure one quarter down first, and then work on the second quarter. This is much easier than trying to get one whole side perfect at once!
6. Apply the vinyl decal
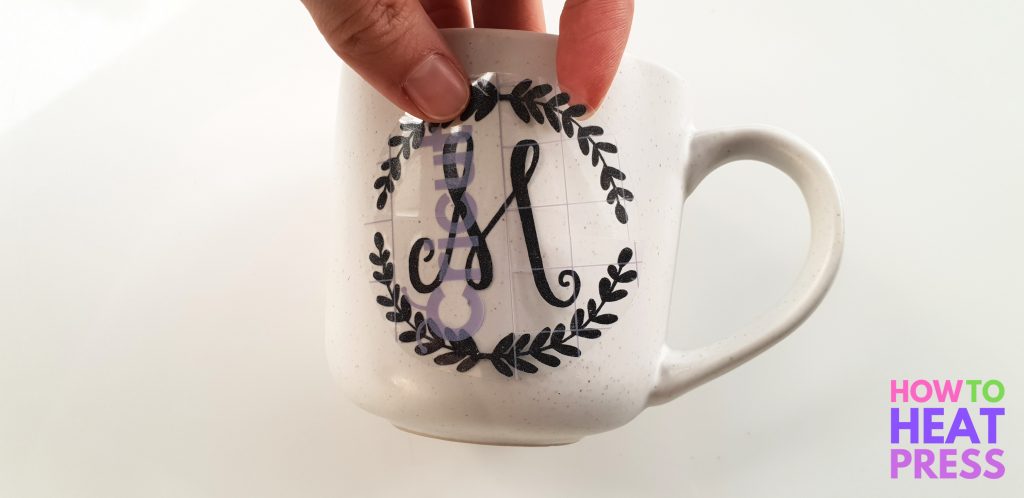
Now you have one side completely done. To start on the other side, remove the remaining backing paper.
7. Press design
Once again, focus on one section at a time, and press from the middle out towards the edge.
8. Burnish the decal
Use your burnishing tool or scraper to ensure it is completely stuck down.
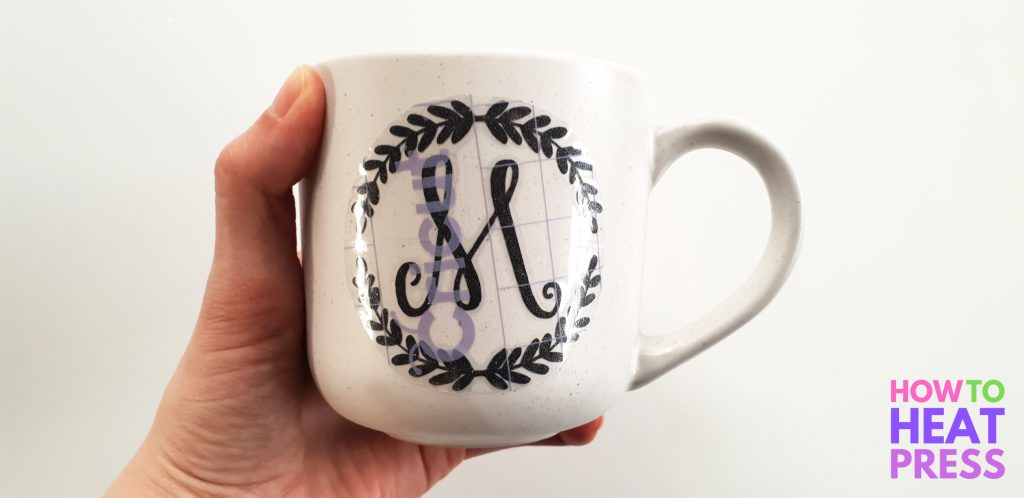
9. Remove transfer tape
As you have slits cut in the transfer tape, this will allow you to easily rip it off in sections. I was able to remove half of my design at a time (which is especially helpful if parts of your design are small and intricate).
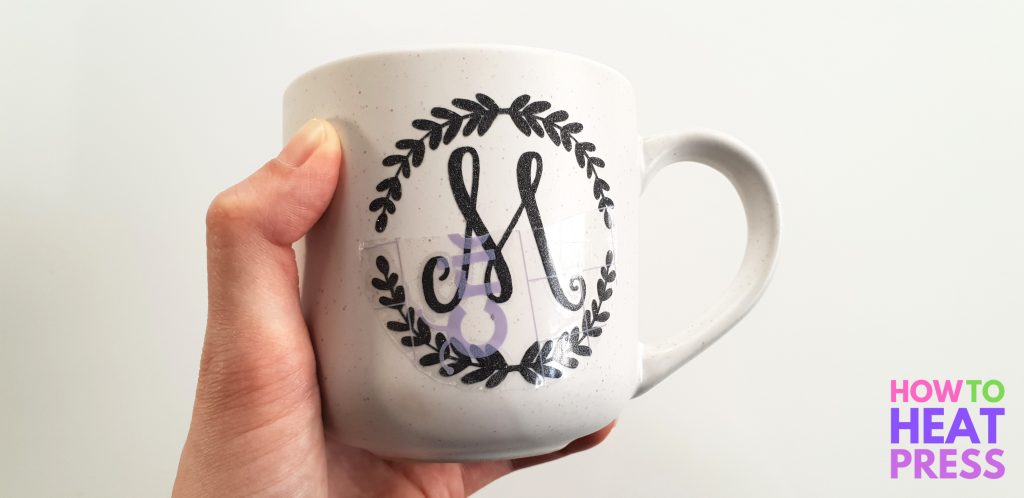
Remove the transfer tape by rolling it back onto itself. Do this nice and slowly, making sure every part of your design has stuck properly to the mug. If any part of the design has not adhered, roll the tape back and place and burnish it again.
10. Leave to settle
Now you’re all done – easy peasy!
Leave the vinyl to cure for at least 24 hours before using and washing your mug.

Vinyl Decals For Mugs
What rounded surfaces have you played with?
Here are another couple of ‘vinyl on round surface‘ projects we’ve shared on the blog!
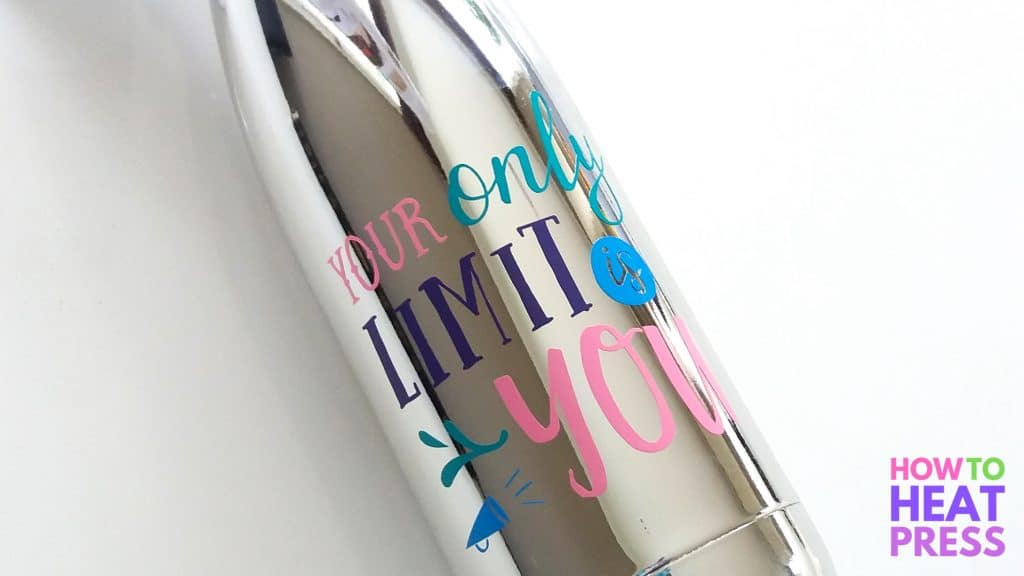
Applying vinyl on a stainless steel water bottle – using Oracal 651
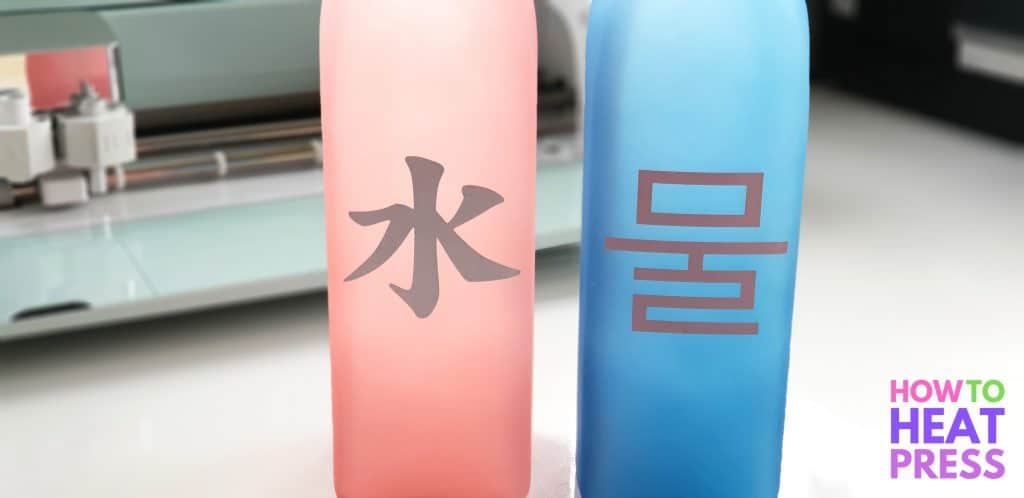
Applying vinyl on glass bottles – using Cricut Metallics Vinyl
This video also has some tips on applying vinyl to a curved surface.
How To Seal Vinyl On A Mug
It’s not absolutely necessary to seal the vinyl on your mug or tumbler.
While you should handwash your custom vinyl mugs, even unsealed decals will last a long time in the dishwasher. Seriously, I have mugs with unsealed Oracal 651 on them that have been through the dishwasher over 100 times and still look great!
However, if you wanted to be safe, or if you were selling custom mugs, you should use Modpodge to seal the vinyl on the mug.
Let us know what you’re working on in the comments below!
Pin this post!
(Please note: This post contains affiliate links. Read our full disclosure policy here.)


I’m trying to put a Starbucks logo style image on a mug. How do I cut the slits to a design that is a full circle?
Hi Diana – in that case you unfortunately can’t use the slit method. I’d definitely peel and cut back 1/2 of the backing so you’re only needing to get one side of the design flat at a time. Hope that helps!
I have struggled with vinyl on curved surfaces for a while now, and I thought I had read all the tips and tricks. Cutting slits in the transfer tape is a game changer. I’ve been super successful with this, even with super light grip repositionable vinyl which can be a nightmare. Thanks so much!
Yes cutting slits is often the only way! I’ve done some huge surfaces in the past, like vehicles with large intricate decals, and it would be impossible without doing this!