How To Make Custom Water Bottles – Personalize Water Bottles
In today’s post I want to show you how to personalize water bottles.
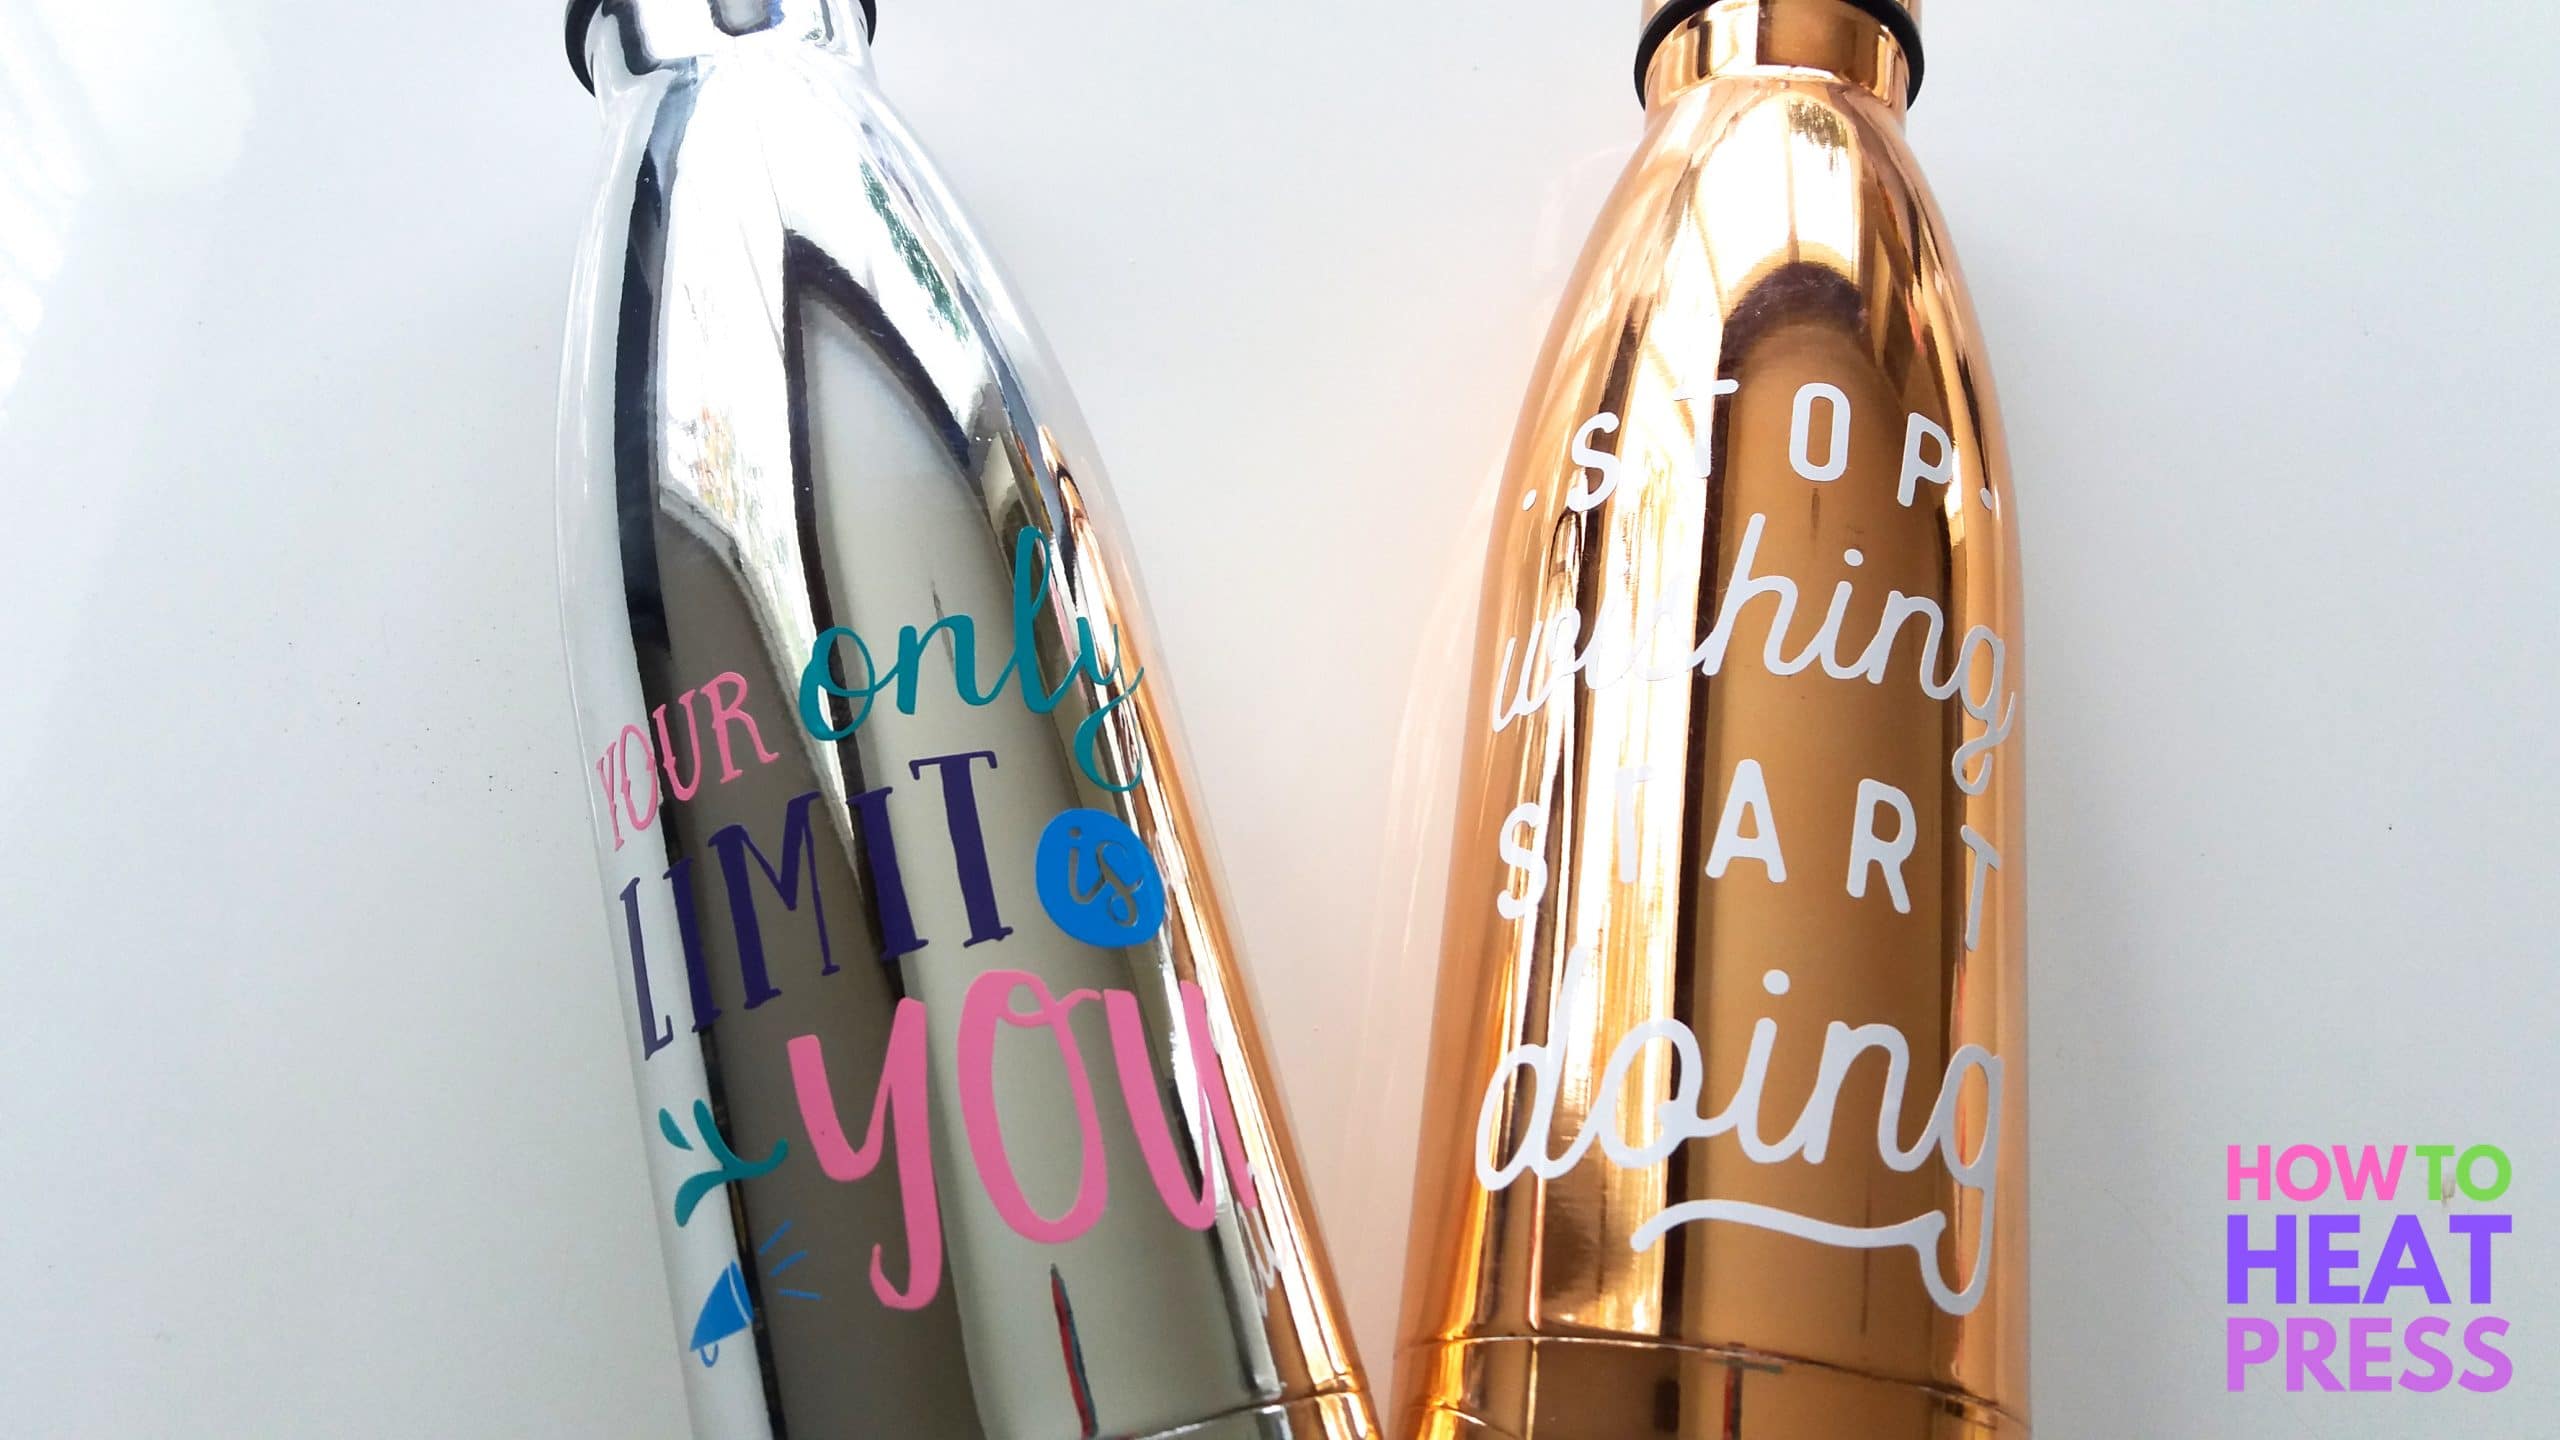
I’m using stainless steel bottles colored copper and silver… they look stunning already, but I want to put a design on each of them to really make them special!
These DIY water bottles make great gifts for friends and family – or, just hold on to them for yourself!
DIY Water Bottles
There is some equipment and materials you will need to be able to complete this project.
What you need:
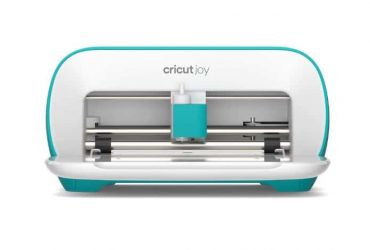
- A cutting machine – I am using my Air 2
- Adhesive vinyl – I’m using Oracal 651 (the best vinyl for water bottles)
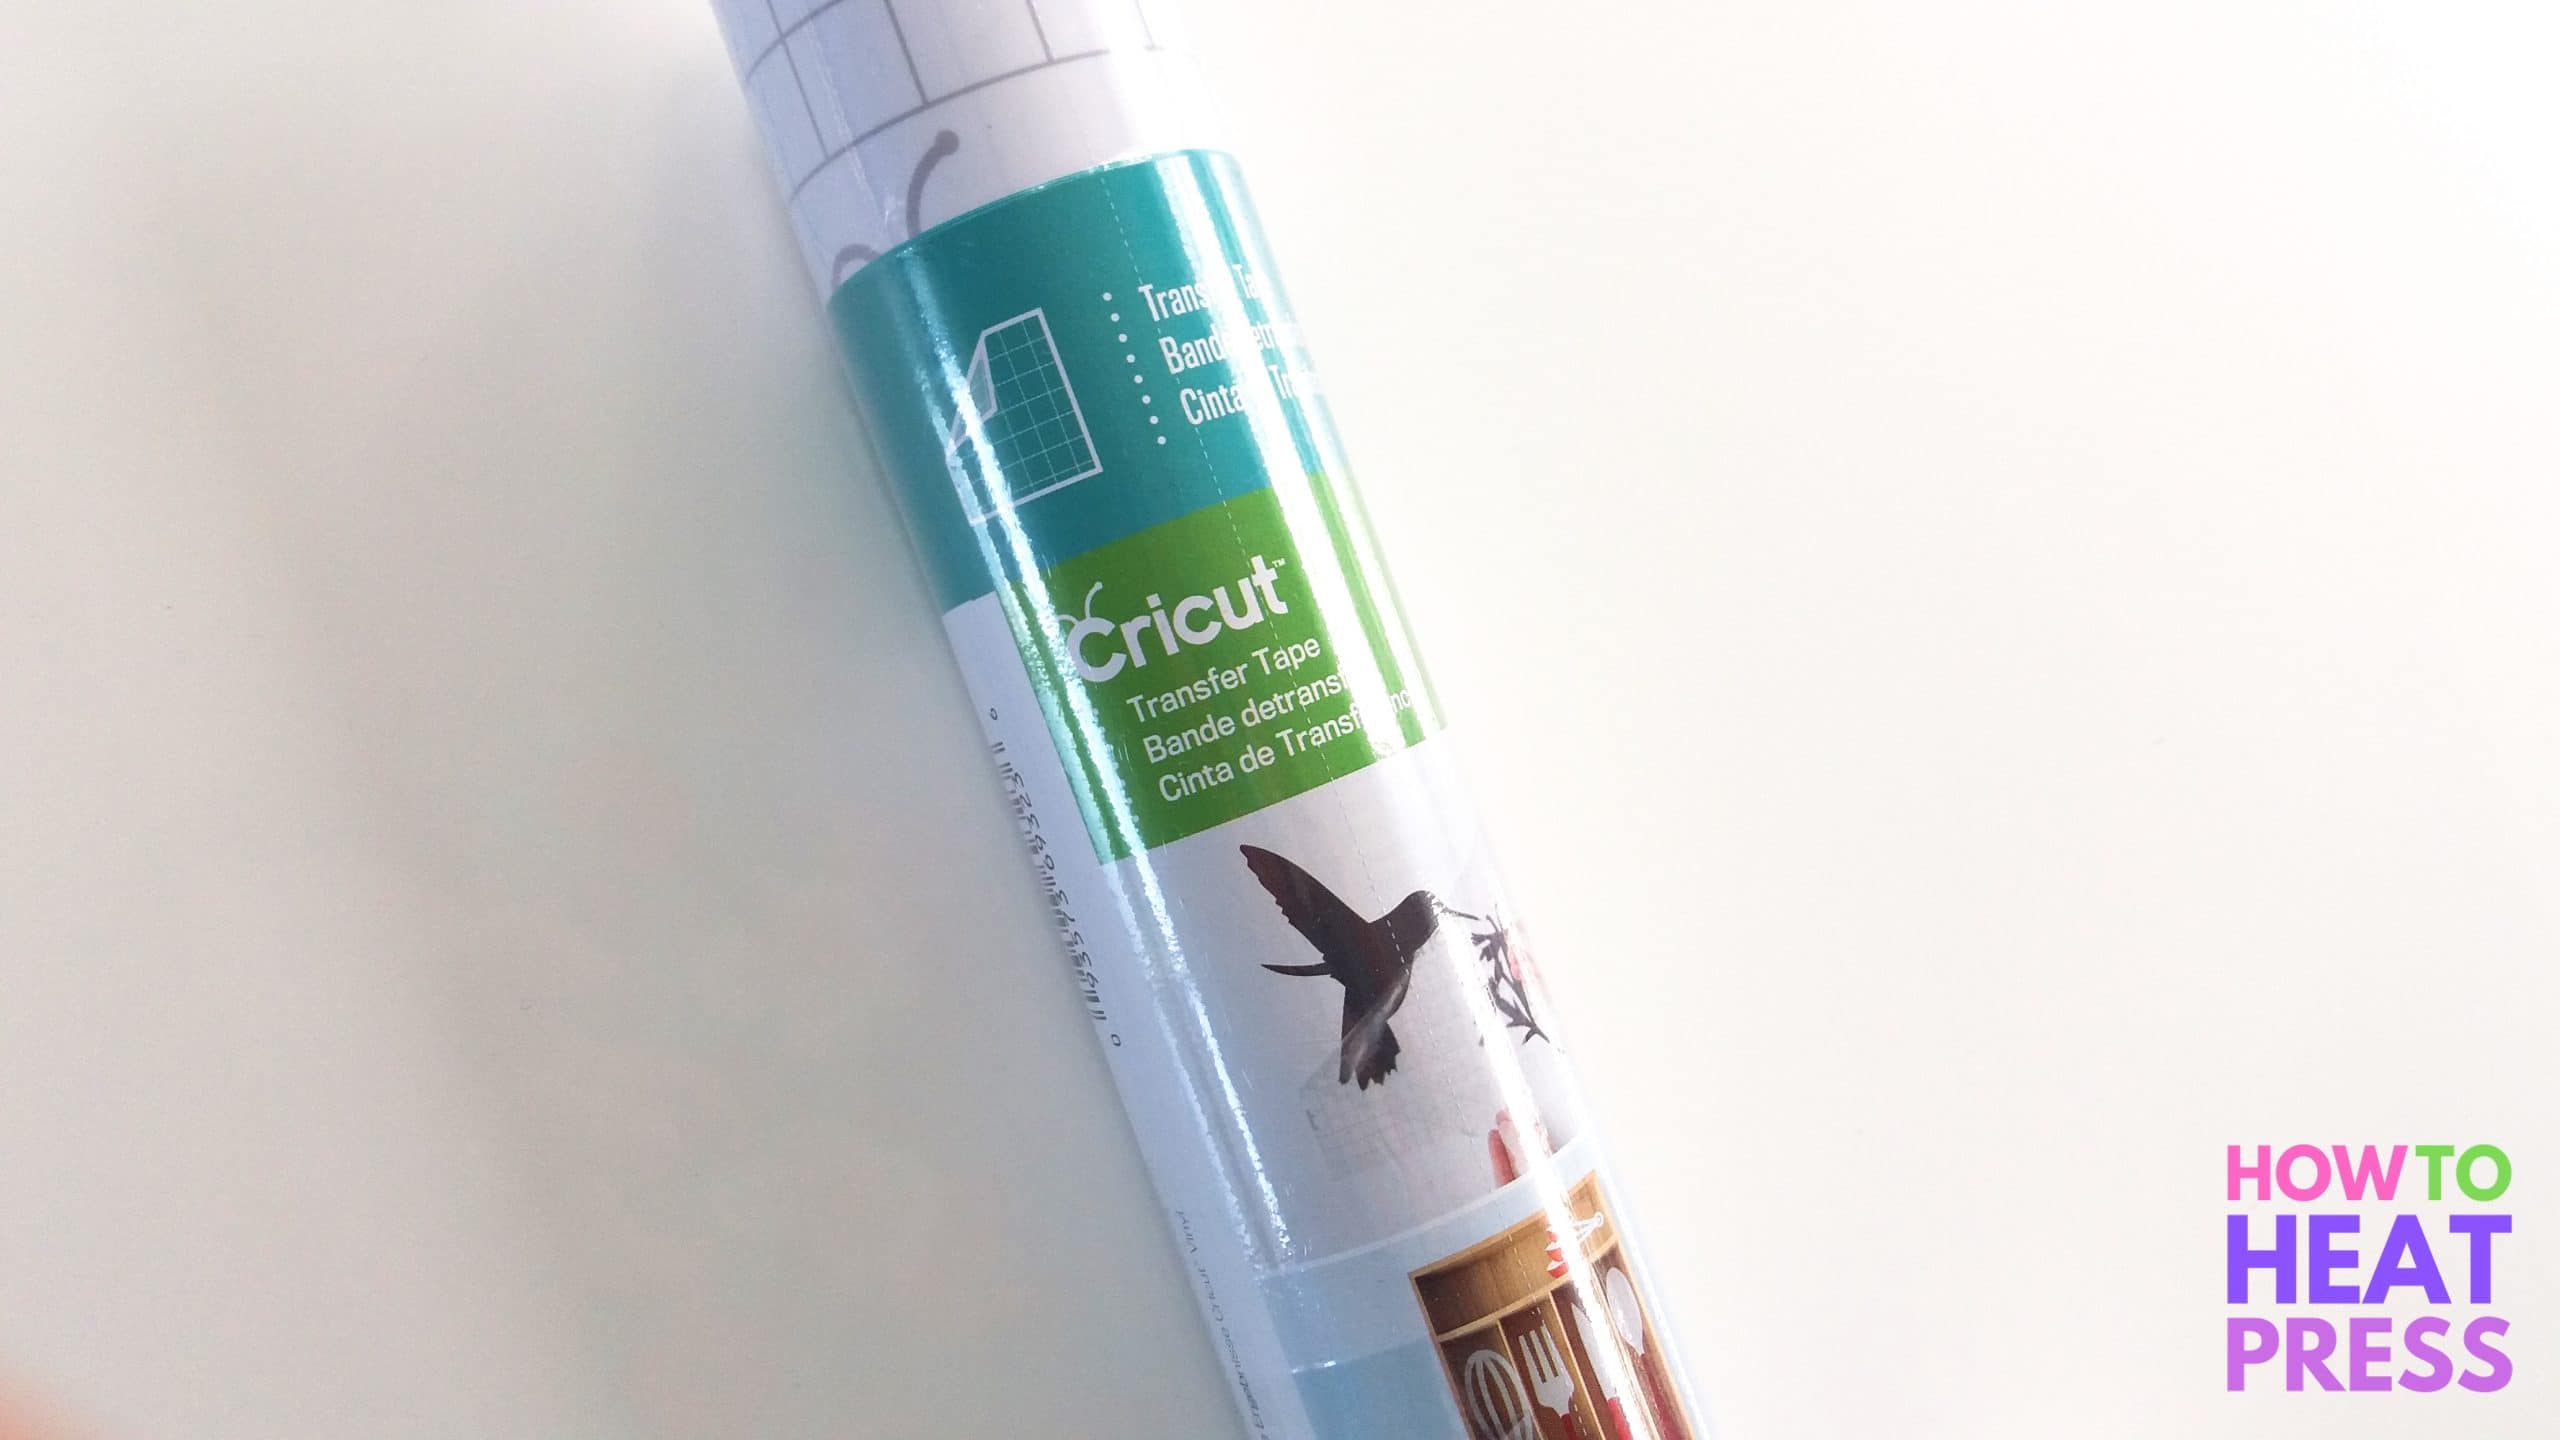
- Transfer tape – I am using this Cricut transfer tape
- Weeding tools – I bought Cricut’s basic tool set and use the weeding tool and scraper for this project
- Blank stainless steel water bottles – find these on Amazon here or pick some up from your local big box store
In this tutorial I am doing a different design on each bottle. I will start with the simplest bottle first, using one color of vinyl, before doing the more complex multi-colored vinyl bottle.
Make sure you clean the surface of your bottles first – this will help the vinyl to stick better.
* The website I got the free SVG files for this project has since gone offline. I’ll link to similar designs from other sites above each bottle, or check out these other free SVG websites.
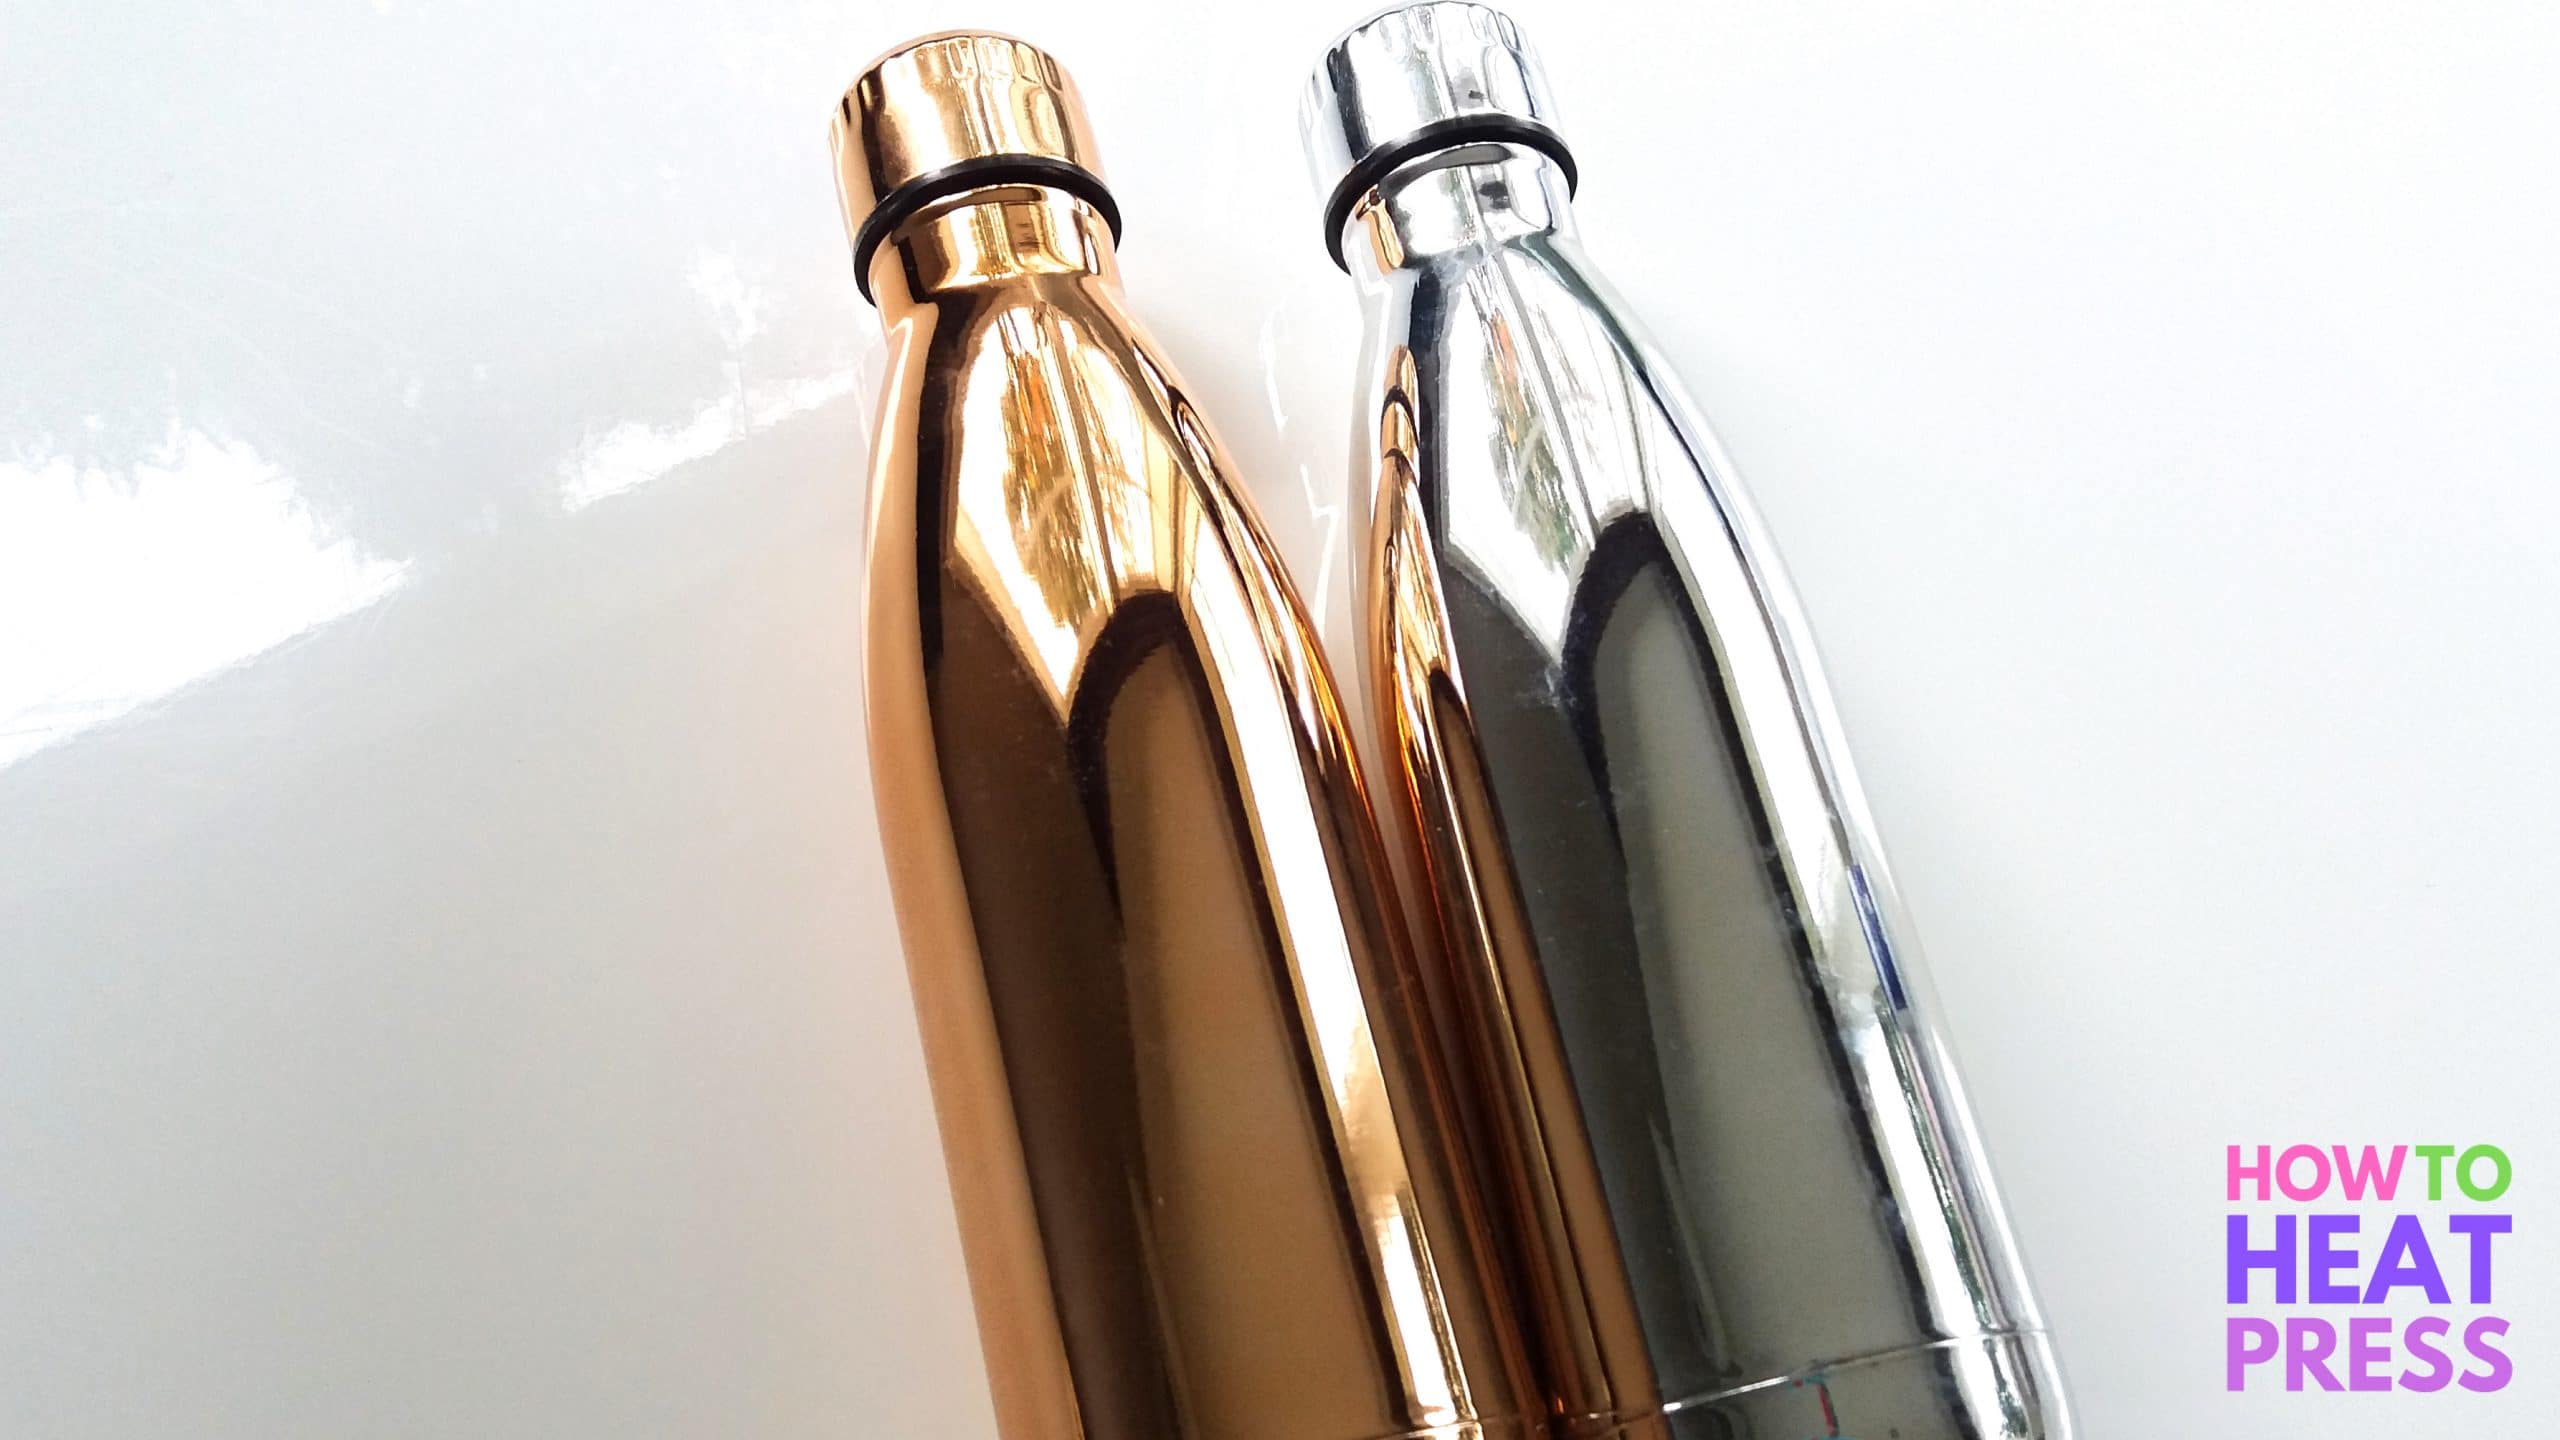
First personalized water bottle
Fot this first water bottle I used a cool ‘stop wishing, start doing’ SVG. As mentioned, this design is no longer available, but here is a similar design to the one I used.
Let’s get into it…
1. Prepare to cut
I decided to cut this design out in one color of vinyl.
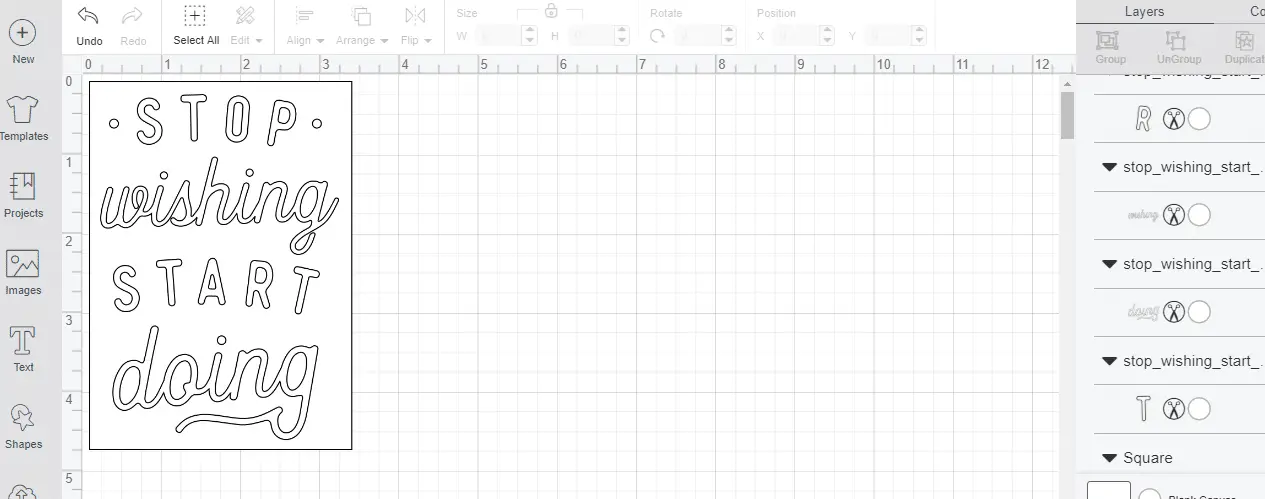
I created a weeding box around it to make weeding easier and faster. To do this, just use the shape tool to create a square. Attach the square to your text while holding down the Ctrl key on your keyboard. Then, you can select which color you want your design to be.
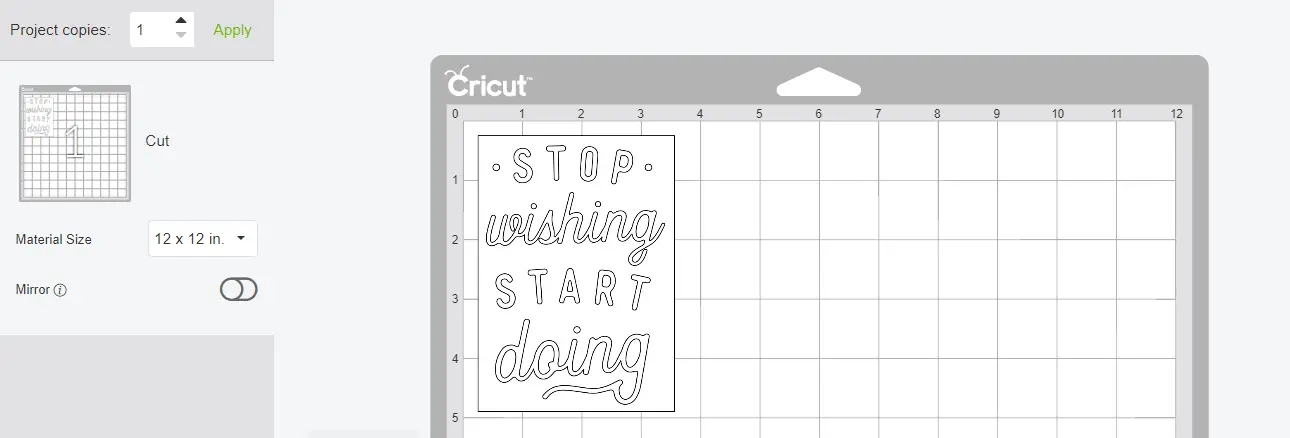
This is what my mat looked like. As I’m cutting my design out in adhesive vinyl I did not select the mirror option. Only mirror heat transfer vinyl designs, which are heat pressed on in reverse.
2. Time to cut & weed the design
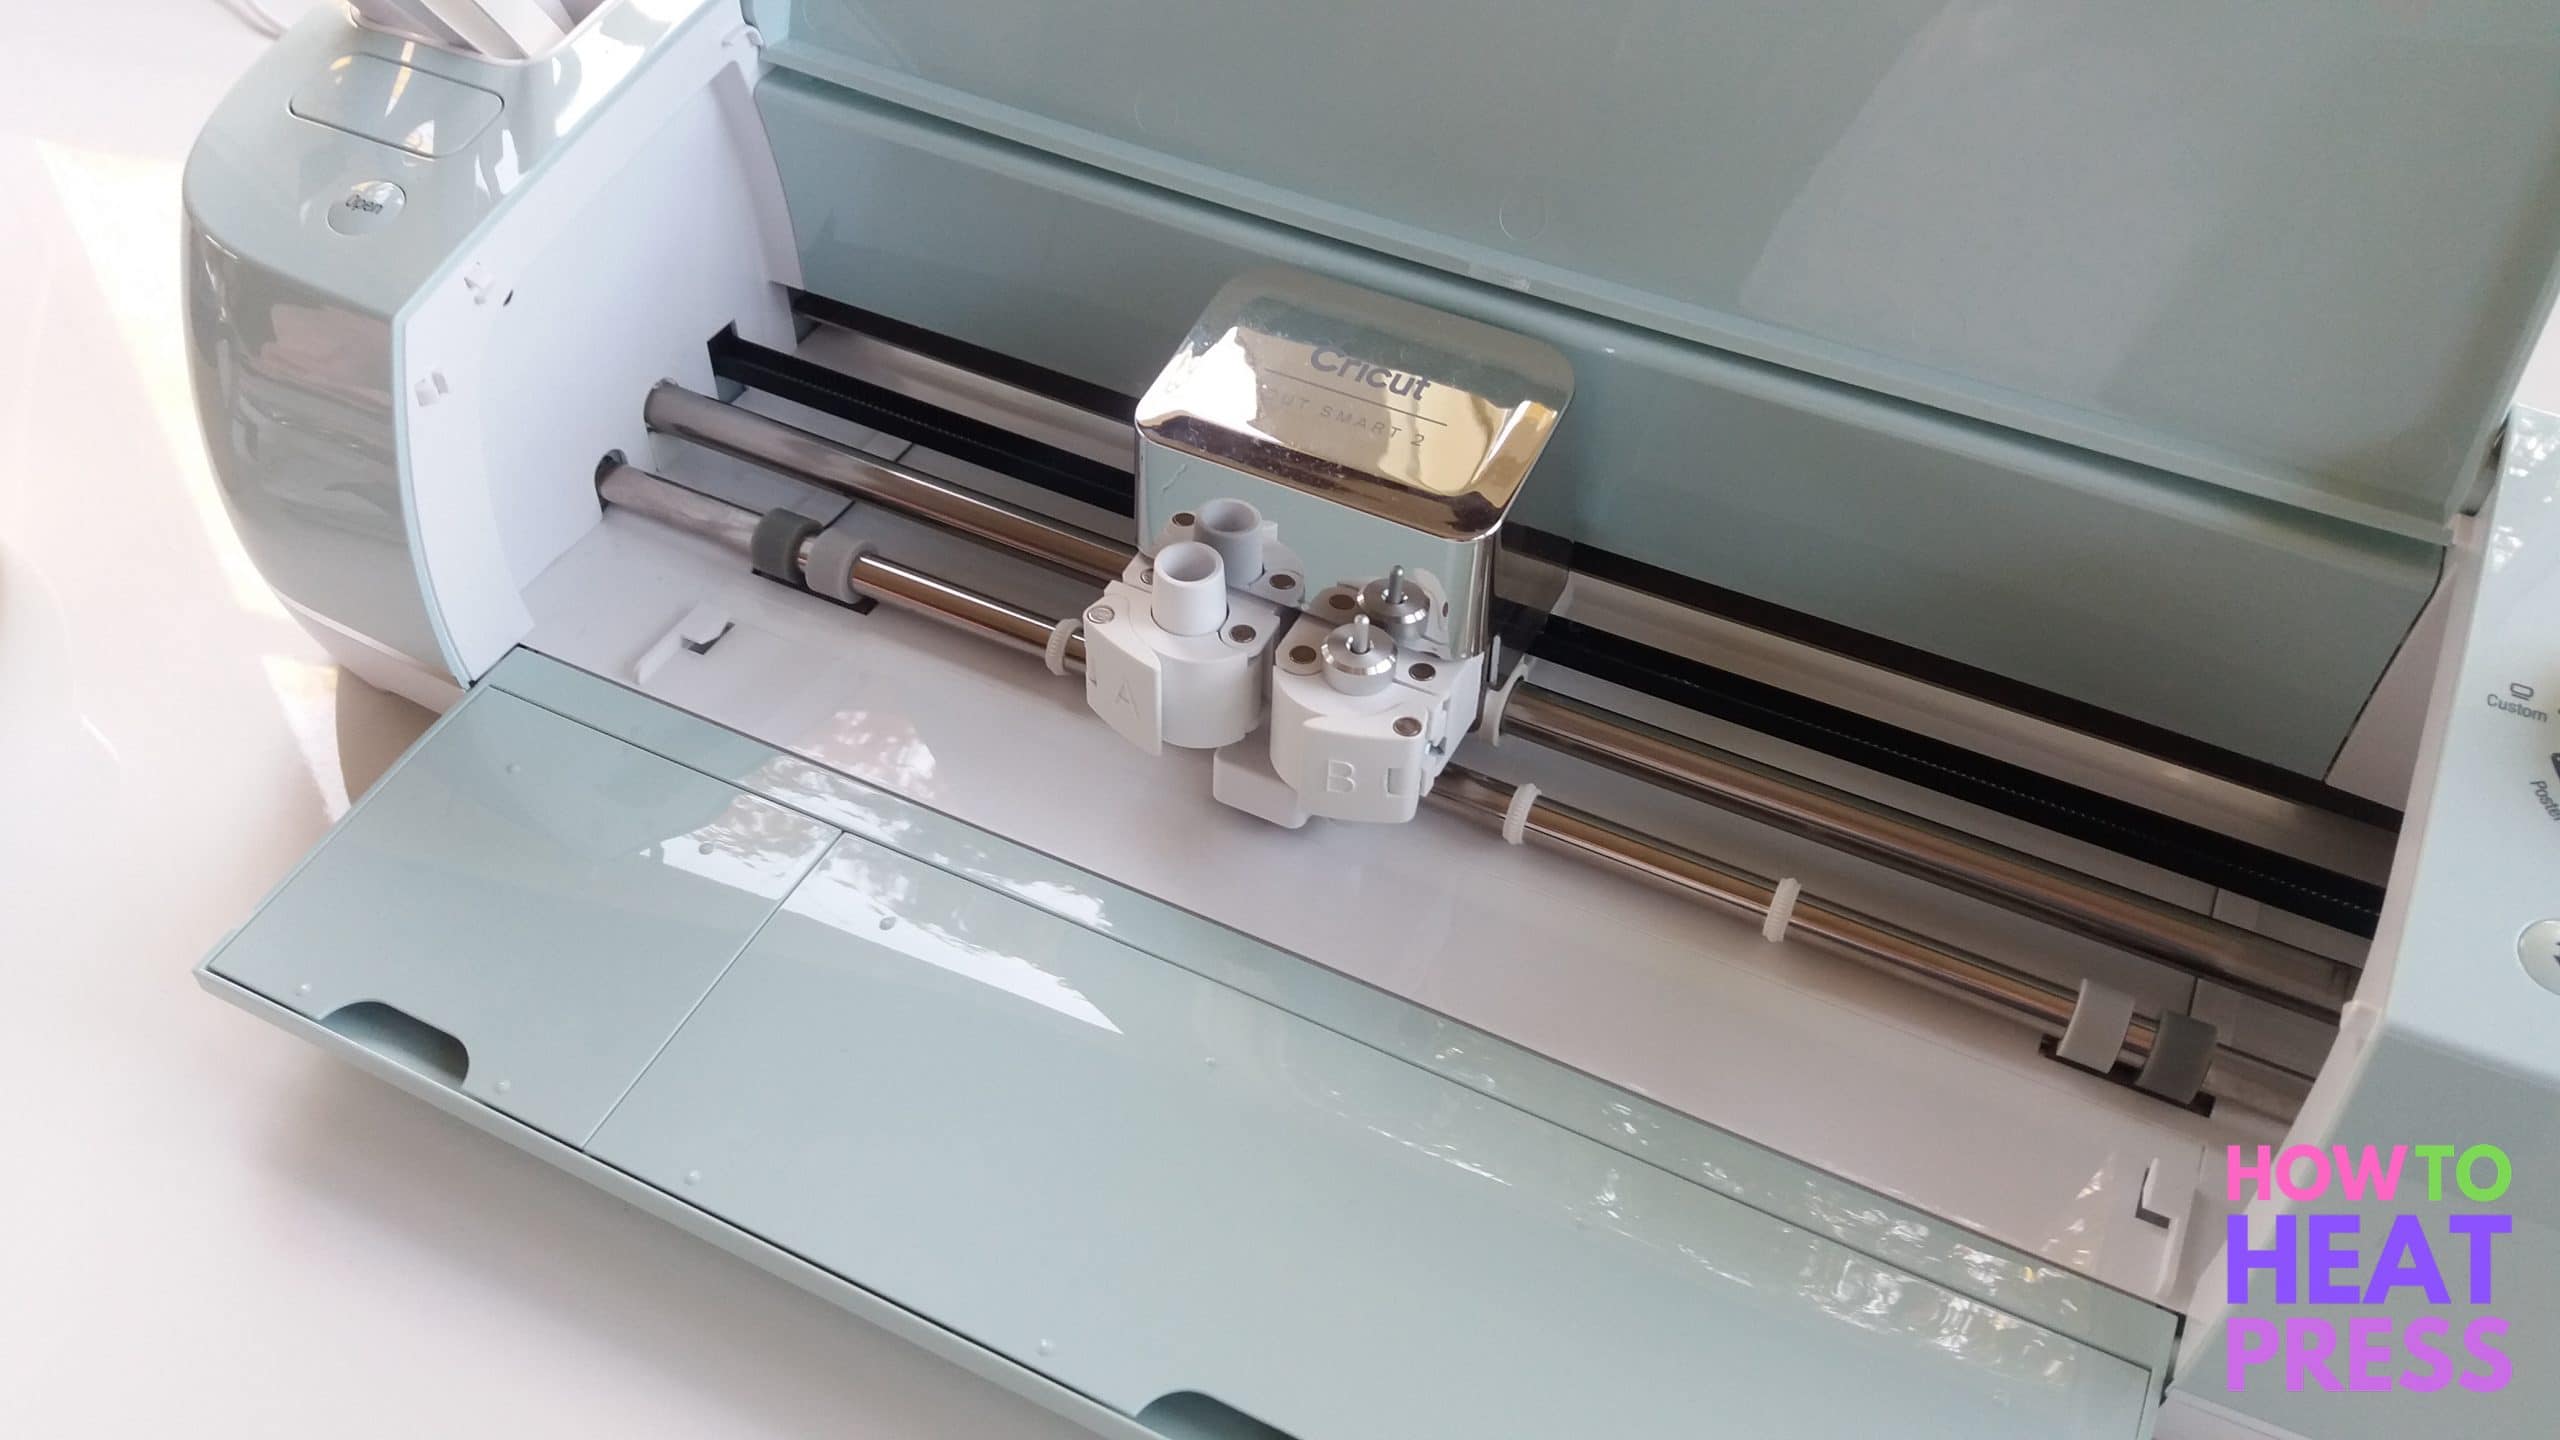
I cut my design out with the Cricut Explore Air 2. This is a very good cutting machine for beginners. It is quite affordable and does everything you are going to want it to do. The Cricut Maker is another option, though it is more expensive.
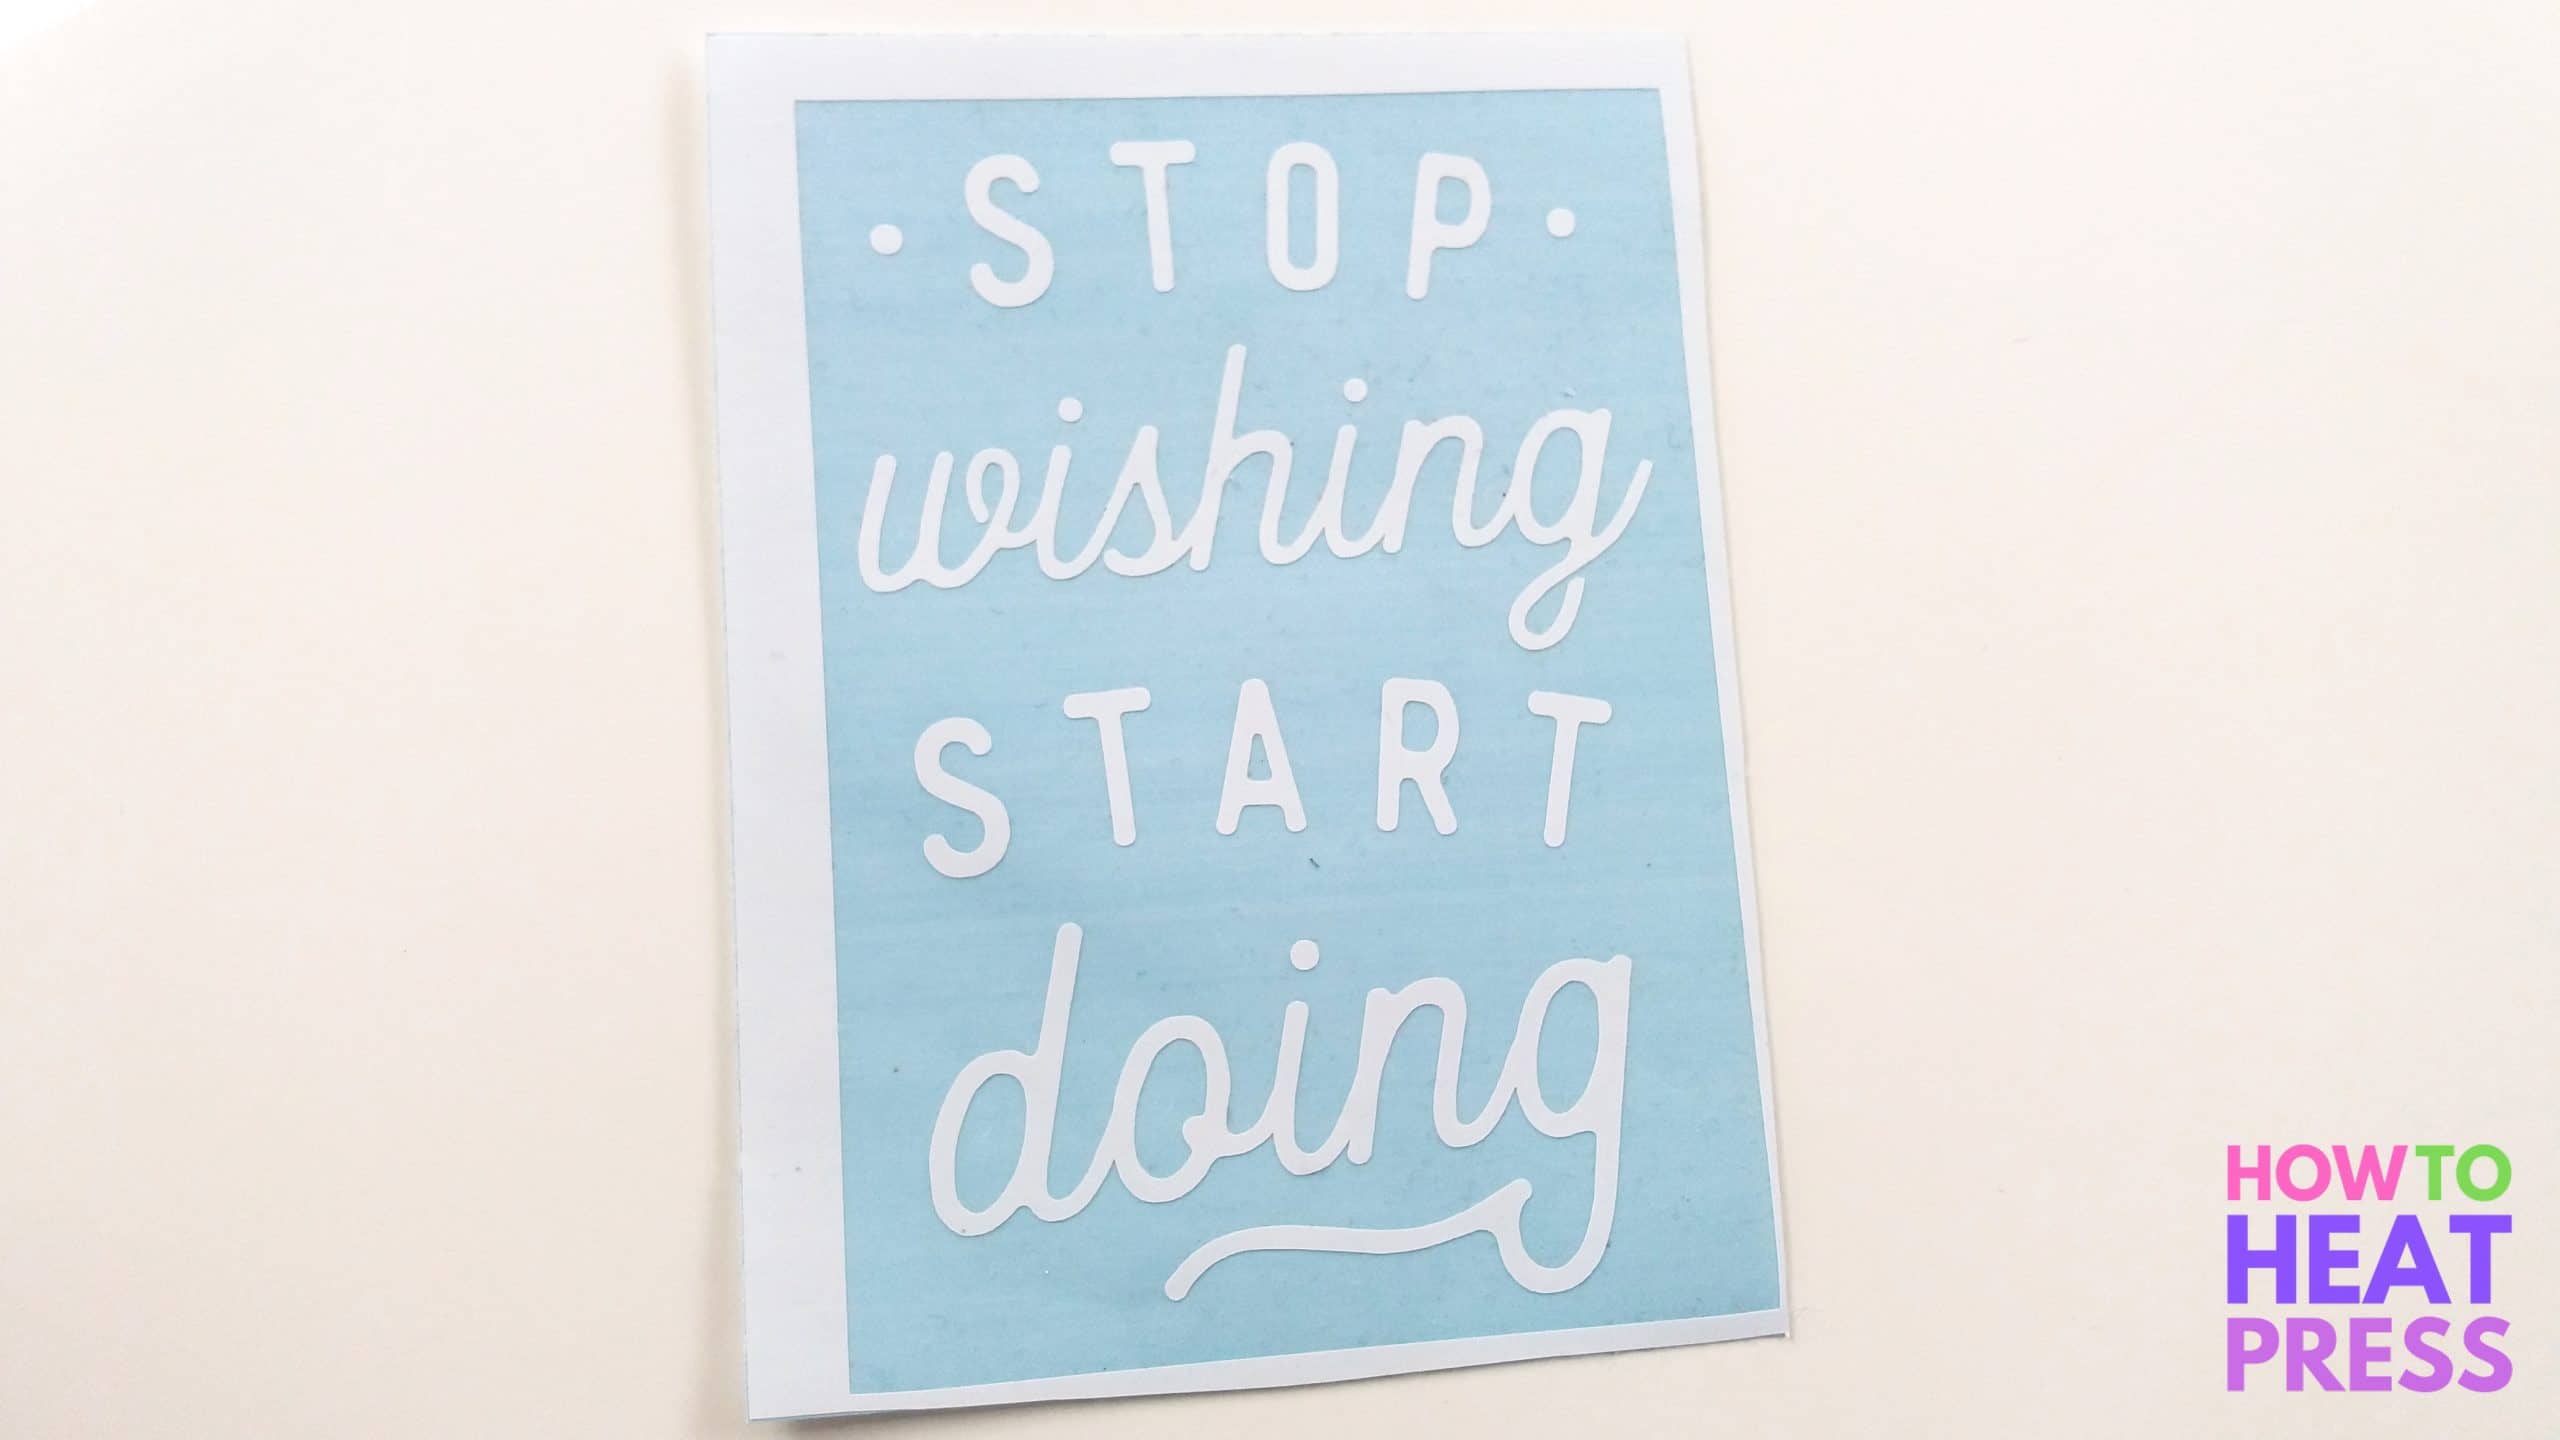
Here’s my design all cut out and weeded. Looking good! The white text is what will be transferred onto my bottle. The blue background is the color of the vinyl carrier sheet.
3. Apply transfer tape & apply vinyl to bottle
Next I used Cricut transfer tape to apply my design to my bottle.
Cricut sells strong grip transfer tape, and you can get light grip transfer tape, but you definitely just want the standard grip for this project.
I remember I once had run out of standard grip tape and I had to do about 15 mugs with strong grip – it took forever! The vinyl did not want to come off the strong grip tape.
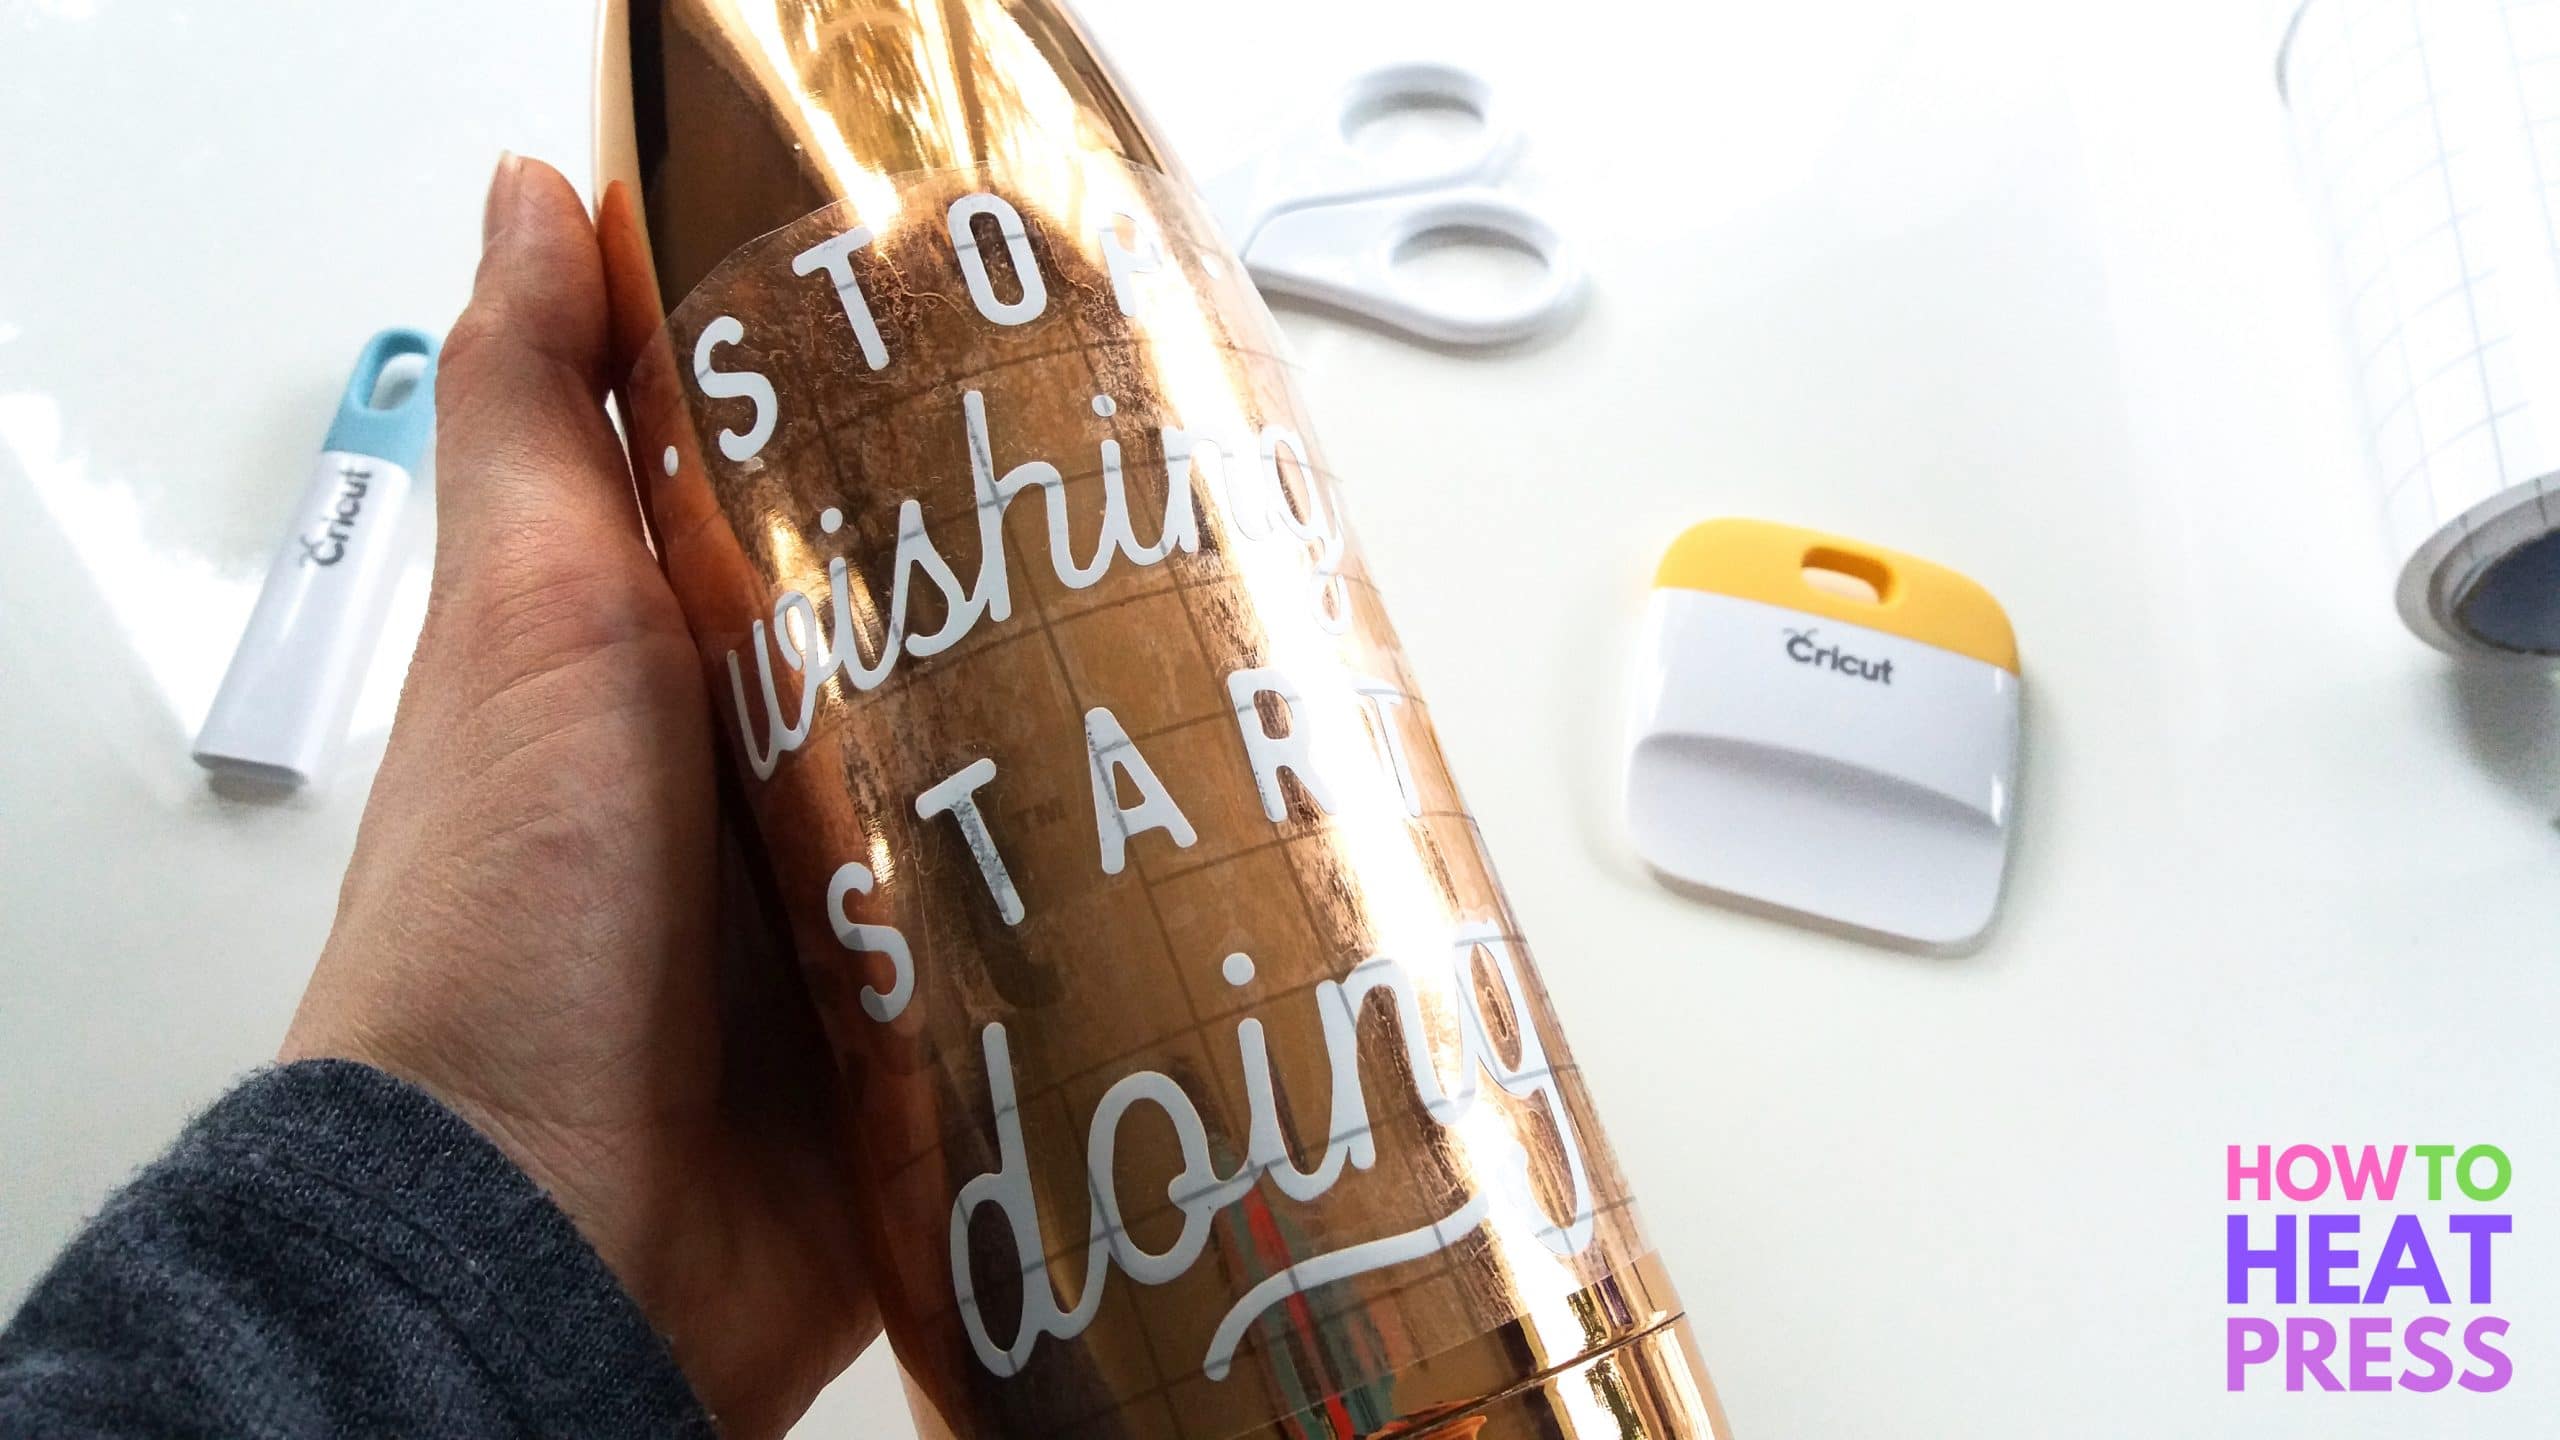
I was actually able to reuse the same piece of transfer tape multiple times to complete both of the bottles! I applied the transfer tape onto the design using my Cricut scraper, and then made sure I cut off any border of excess vinyl – you don’t want any stray bits adhering to the bottle!
The vinyl adhered very easily to the bottle with the standard grip transfer tape. Once again I used my scraper over it a few times to make sure it had stuck well. Then I peeled off the transfer tape at a sharp angle. I peeled it back very slowly just in case any of the vinyl lifted back up.
4. A custom drink bottle!
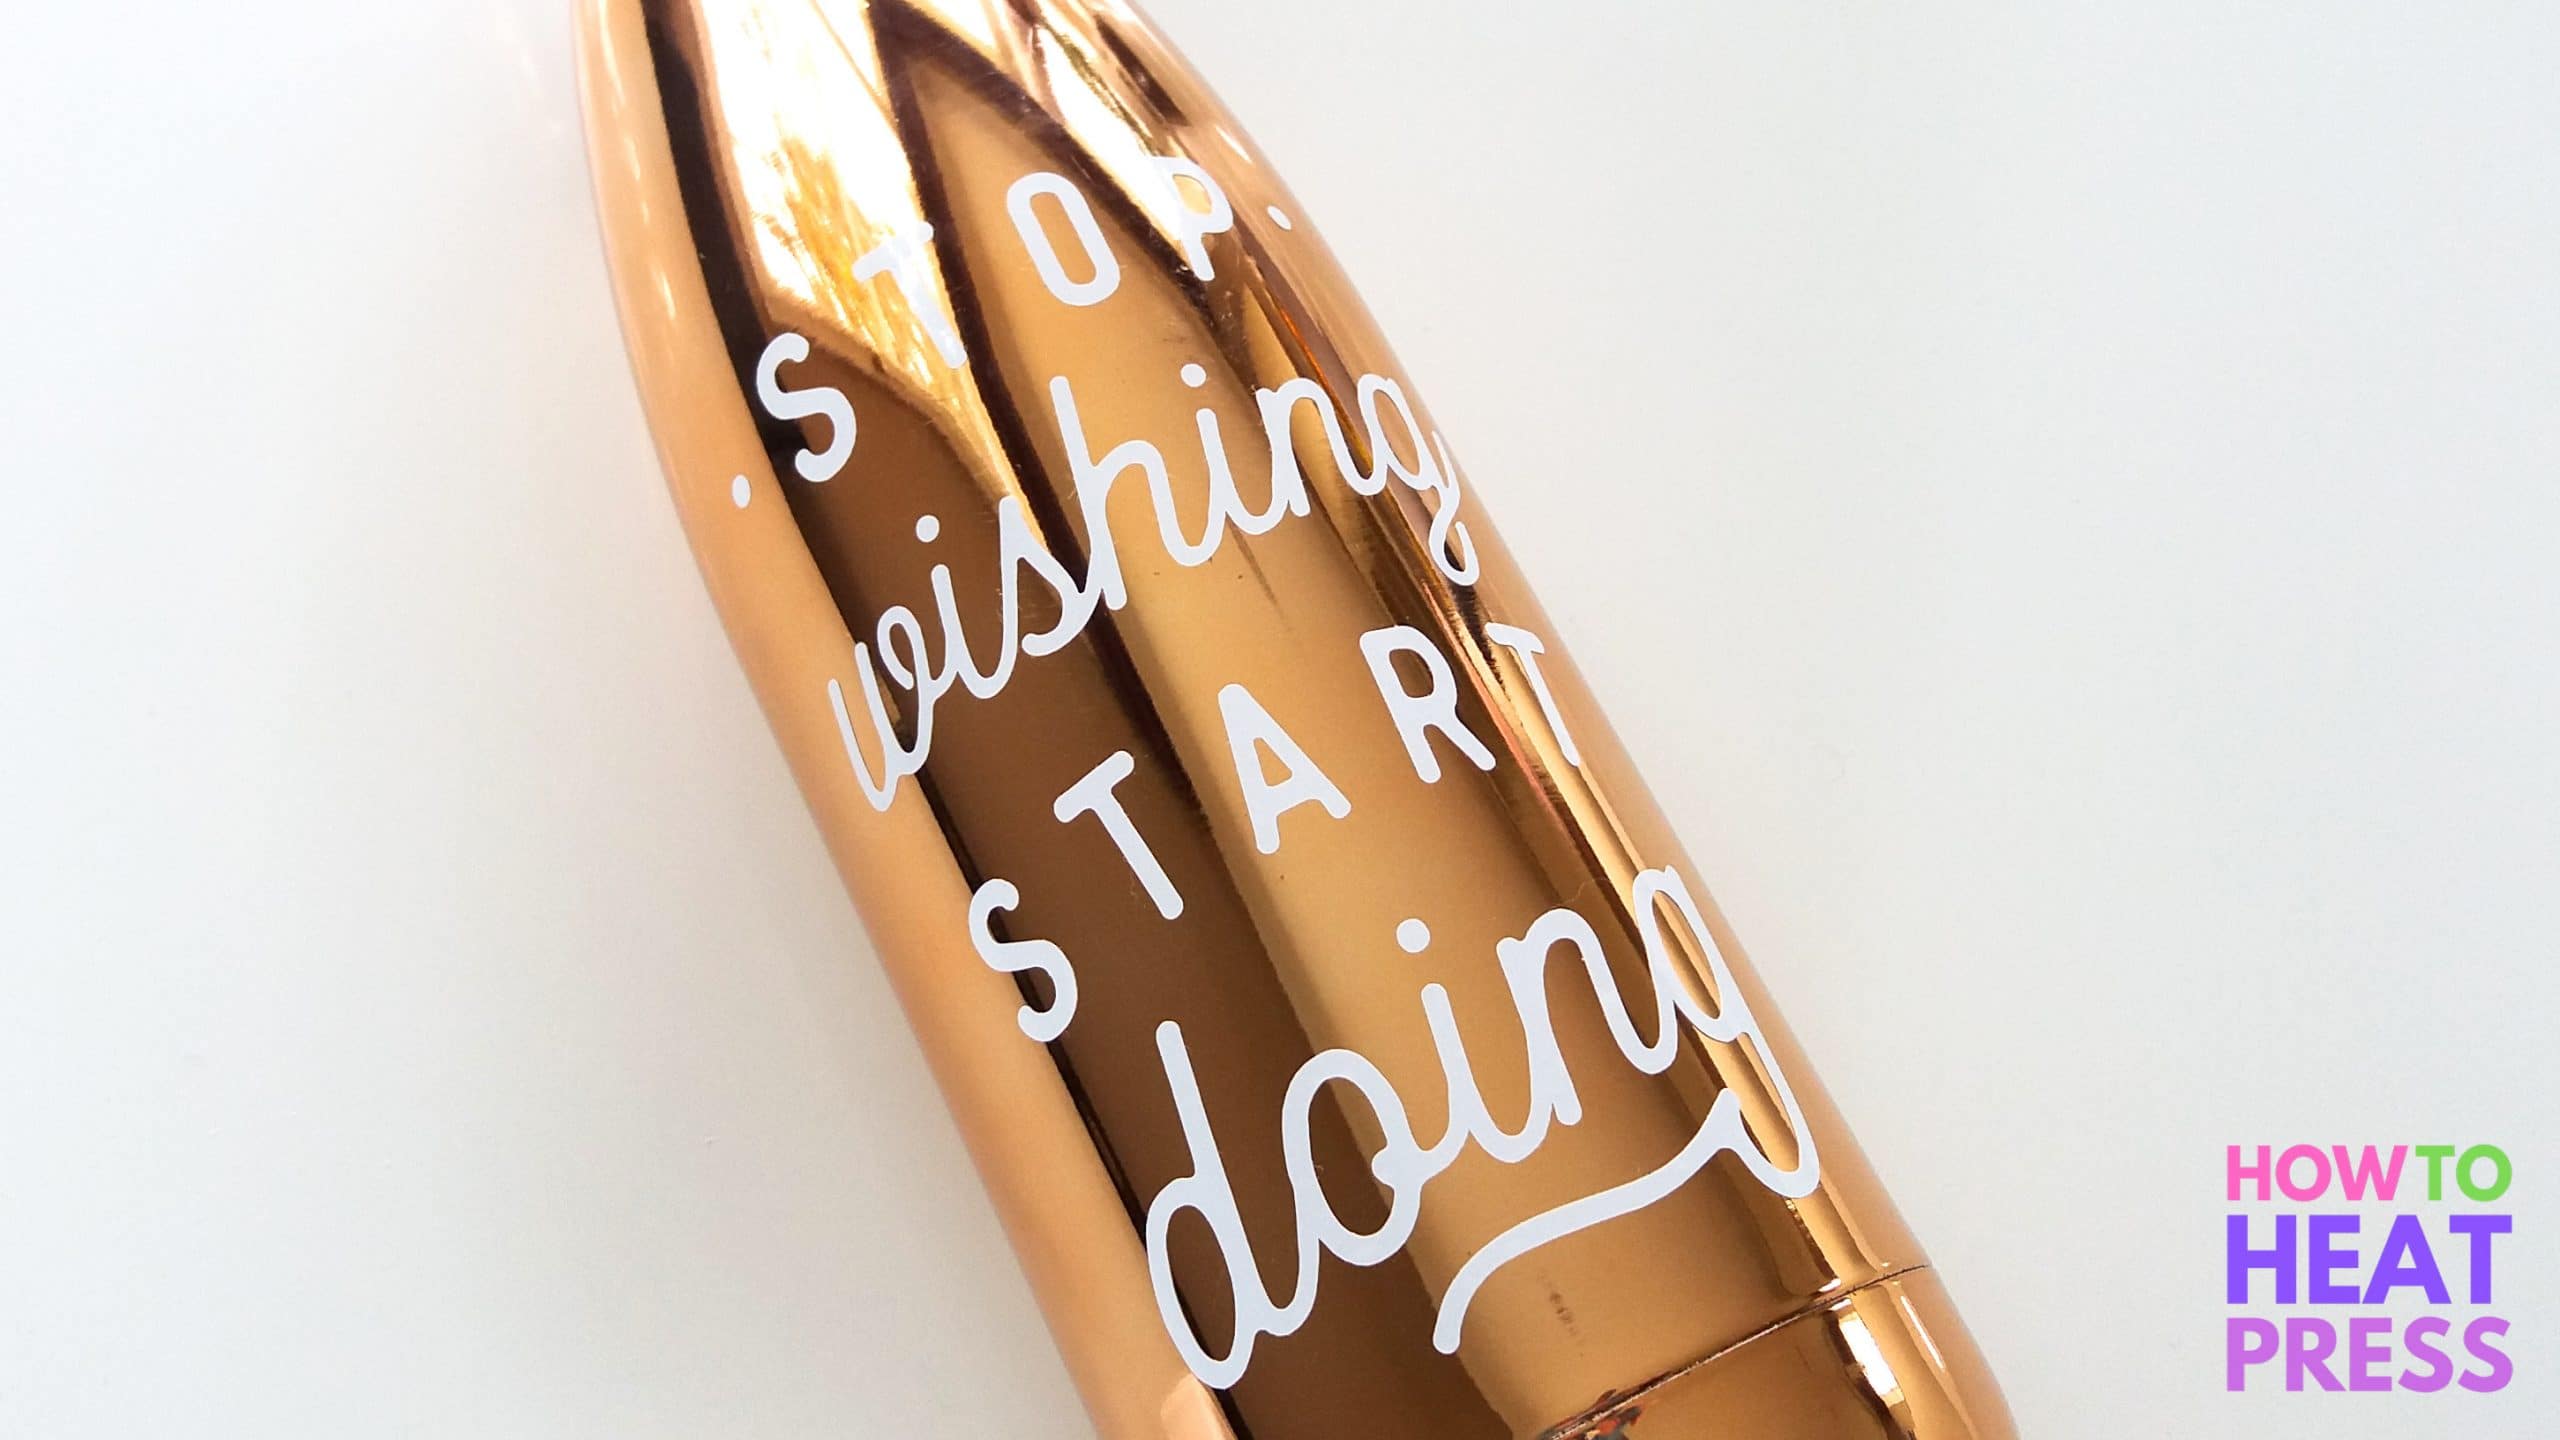
Peel back the transfer tape and there you go – my finished water bottle!
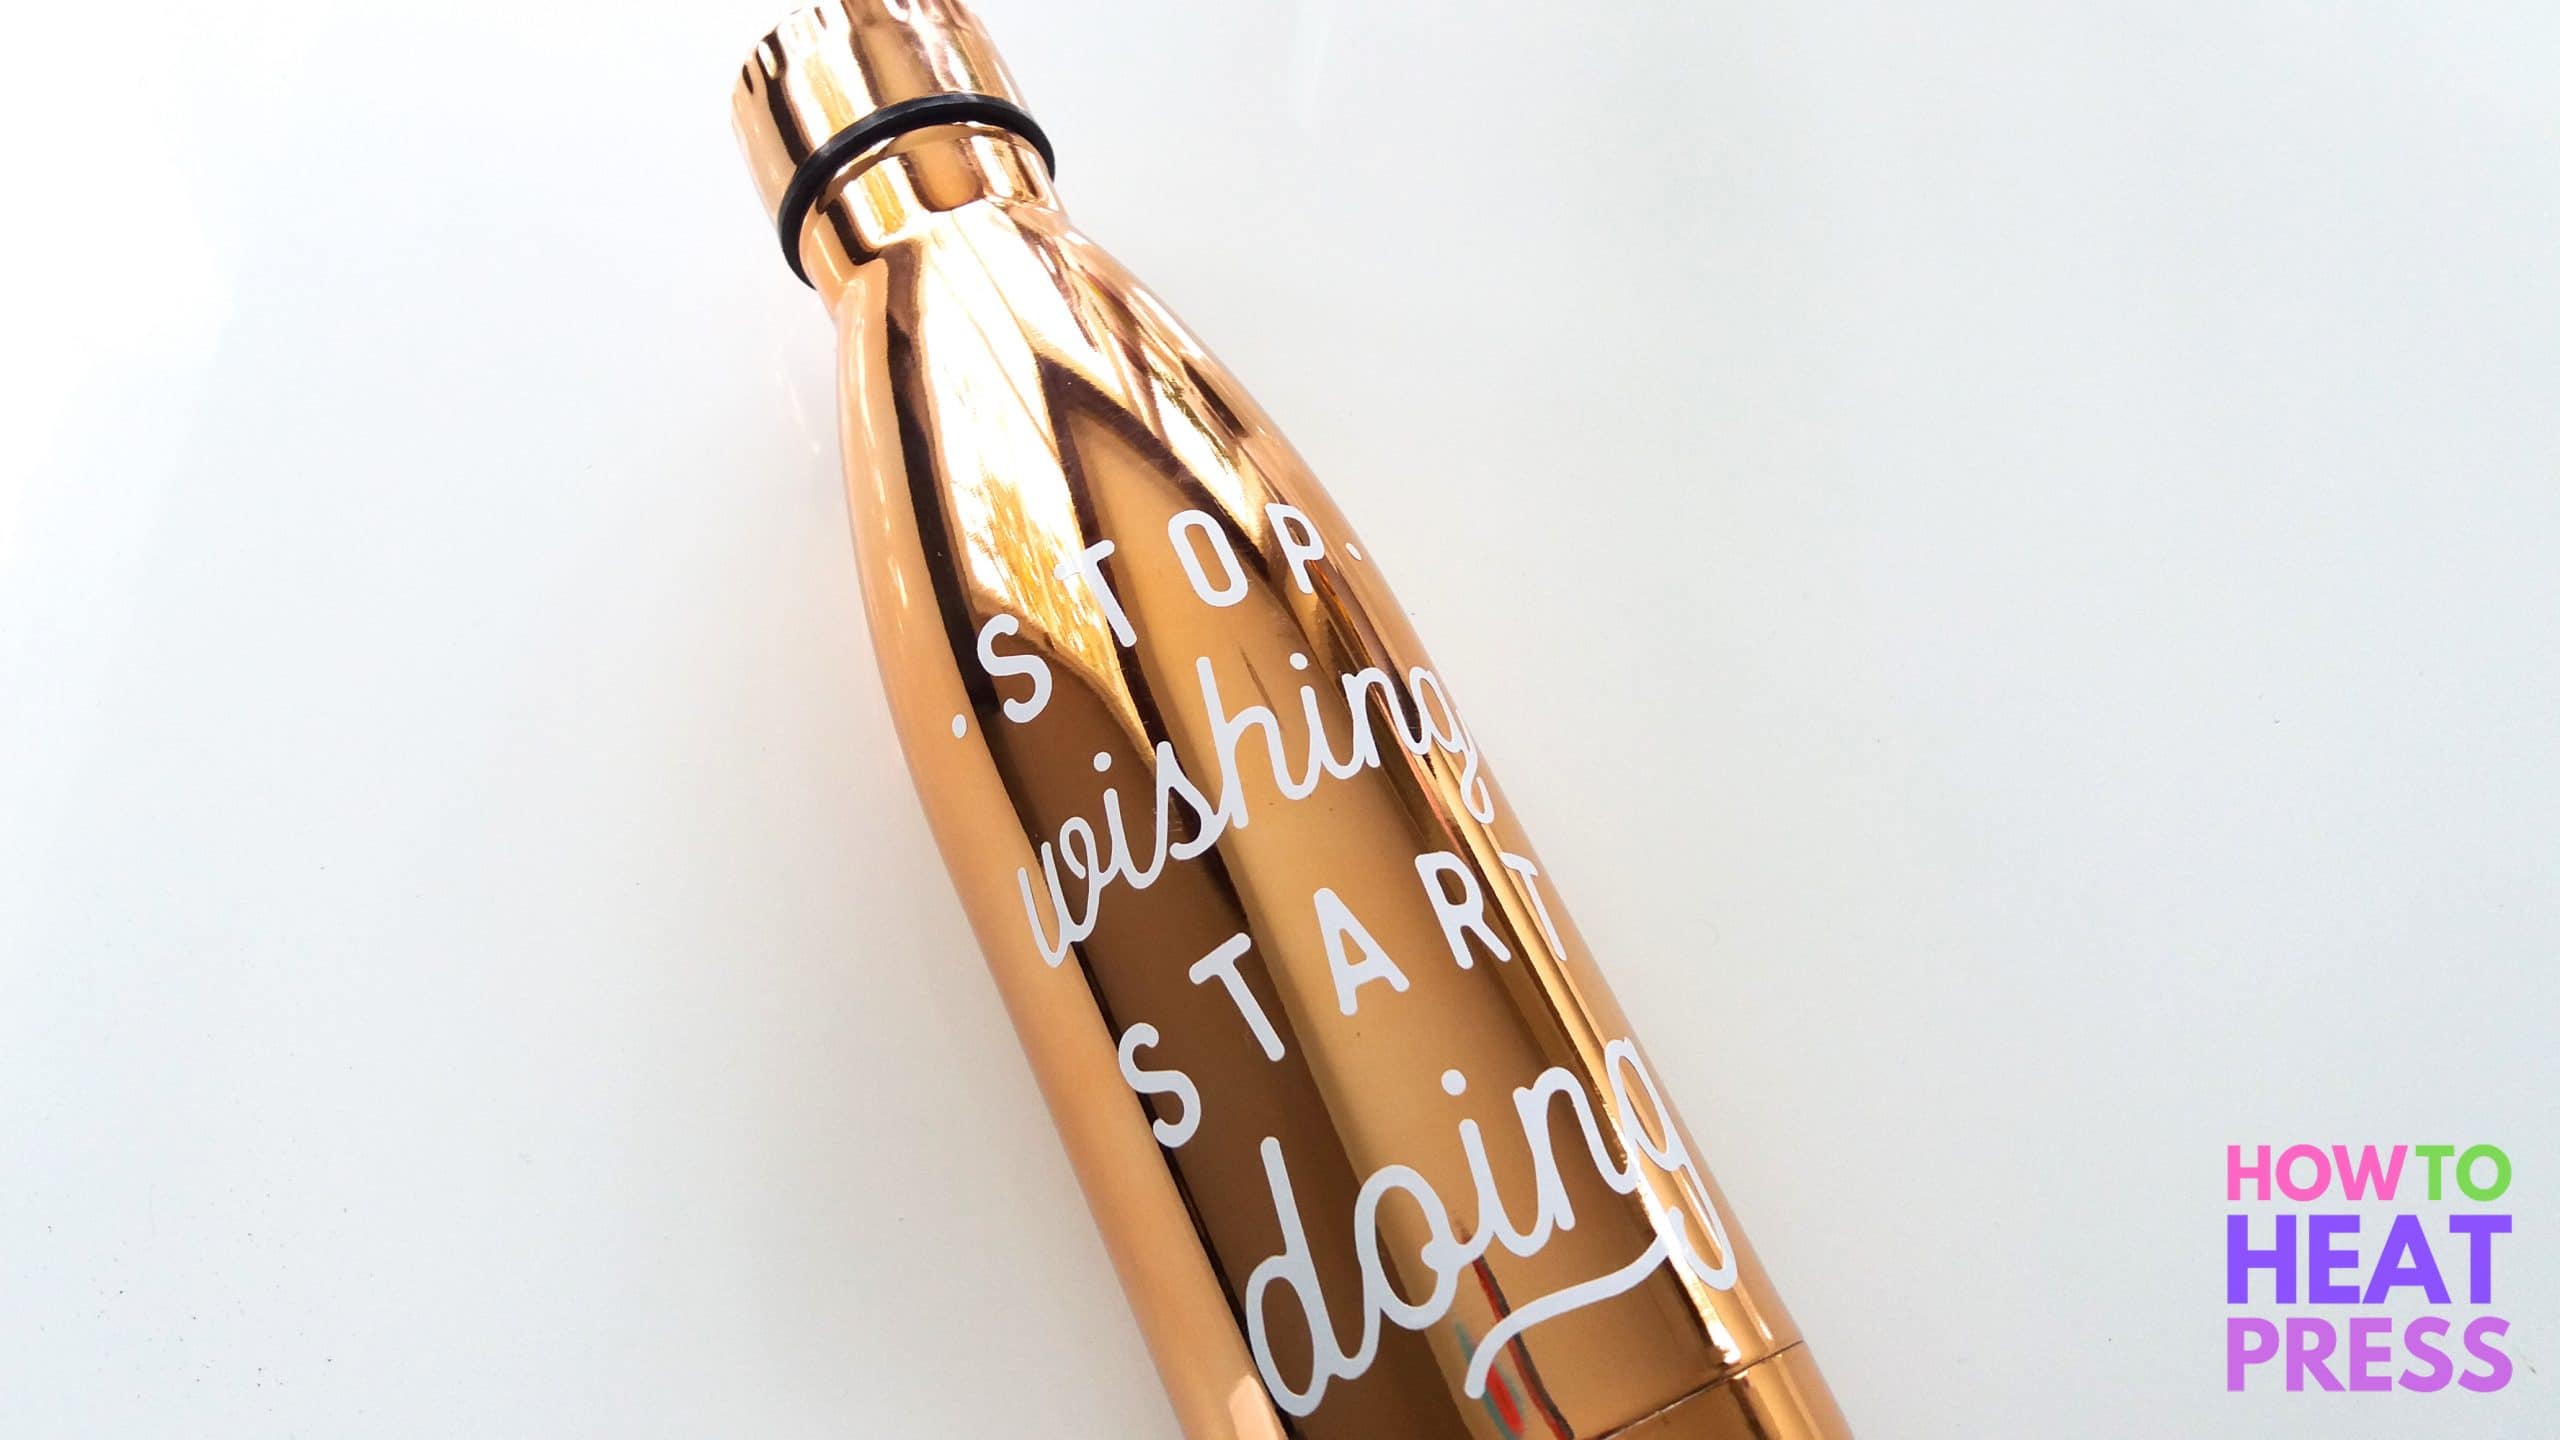
The single color of HTV looks great, don’t you think?
Second Water Bottle Decal
Again, the design I used for this bottle is no longer available, but here is a similar design. I’ll cut this one out in multiple colors of HTV for something a bit different.
1. Prepare design
I cut it in multiple colors of vinyl. I first worked out which color combination I liked best with the colors of adhesive vinyl I had on hand.
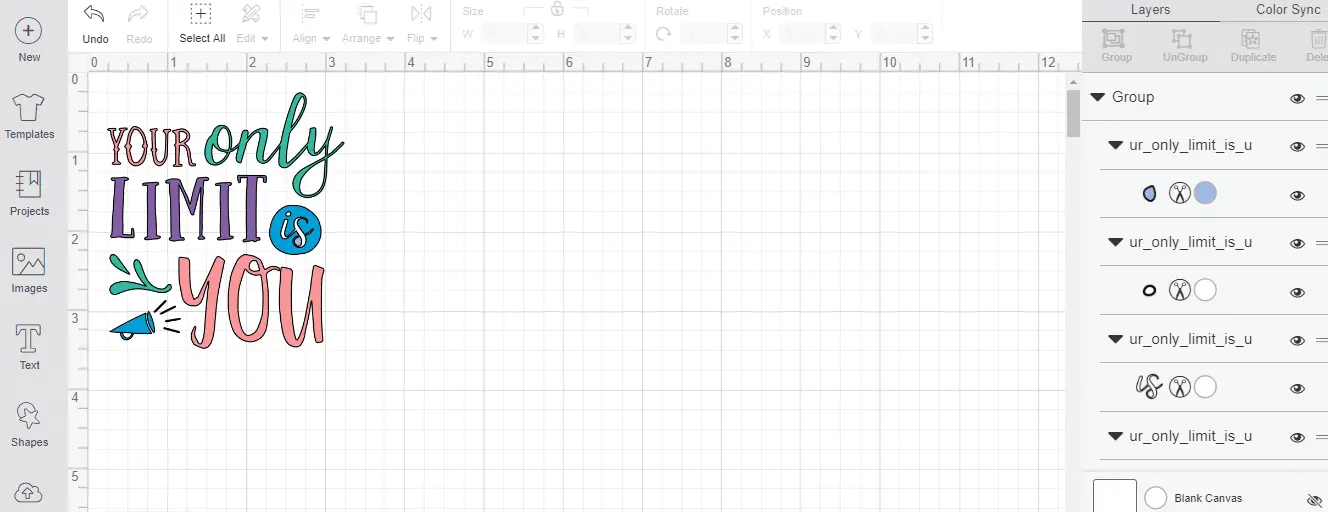
2. Cutting different colors of vinyl with the Cricut
Next, I created a weeding box with the shape tool. I also created two more tiny boxes and positioned them in the top corners of the bigger box. Then, I attached these three boxes together and duplicated them a few times so that I had four in total. I attached each different color of text to a box. The little squares at the top will enable me to perfectly position each color of my design onto my bottle.
You can read more about how to cut multiple colors in Design Space in which I made a peacock t-shirt for my daughter. That was using HTV of course, but the process is the same just without reversing the design before cutting.

3. The different cuts on the mats
Here are what all my mats looked like before cutting.


4. Apply each color of vinyl to the bottle
Once the designs were all cut and weeded, I applied transfer tape to my first color. I used my Cricut scraper to make sure the transfer tape was well stuck to the vinyl. Then I peeled the transfer tape away from the backing paper.
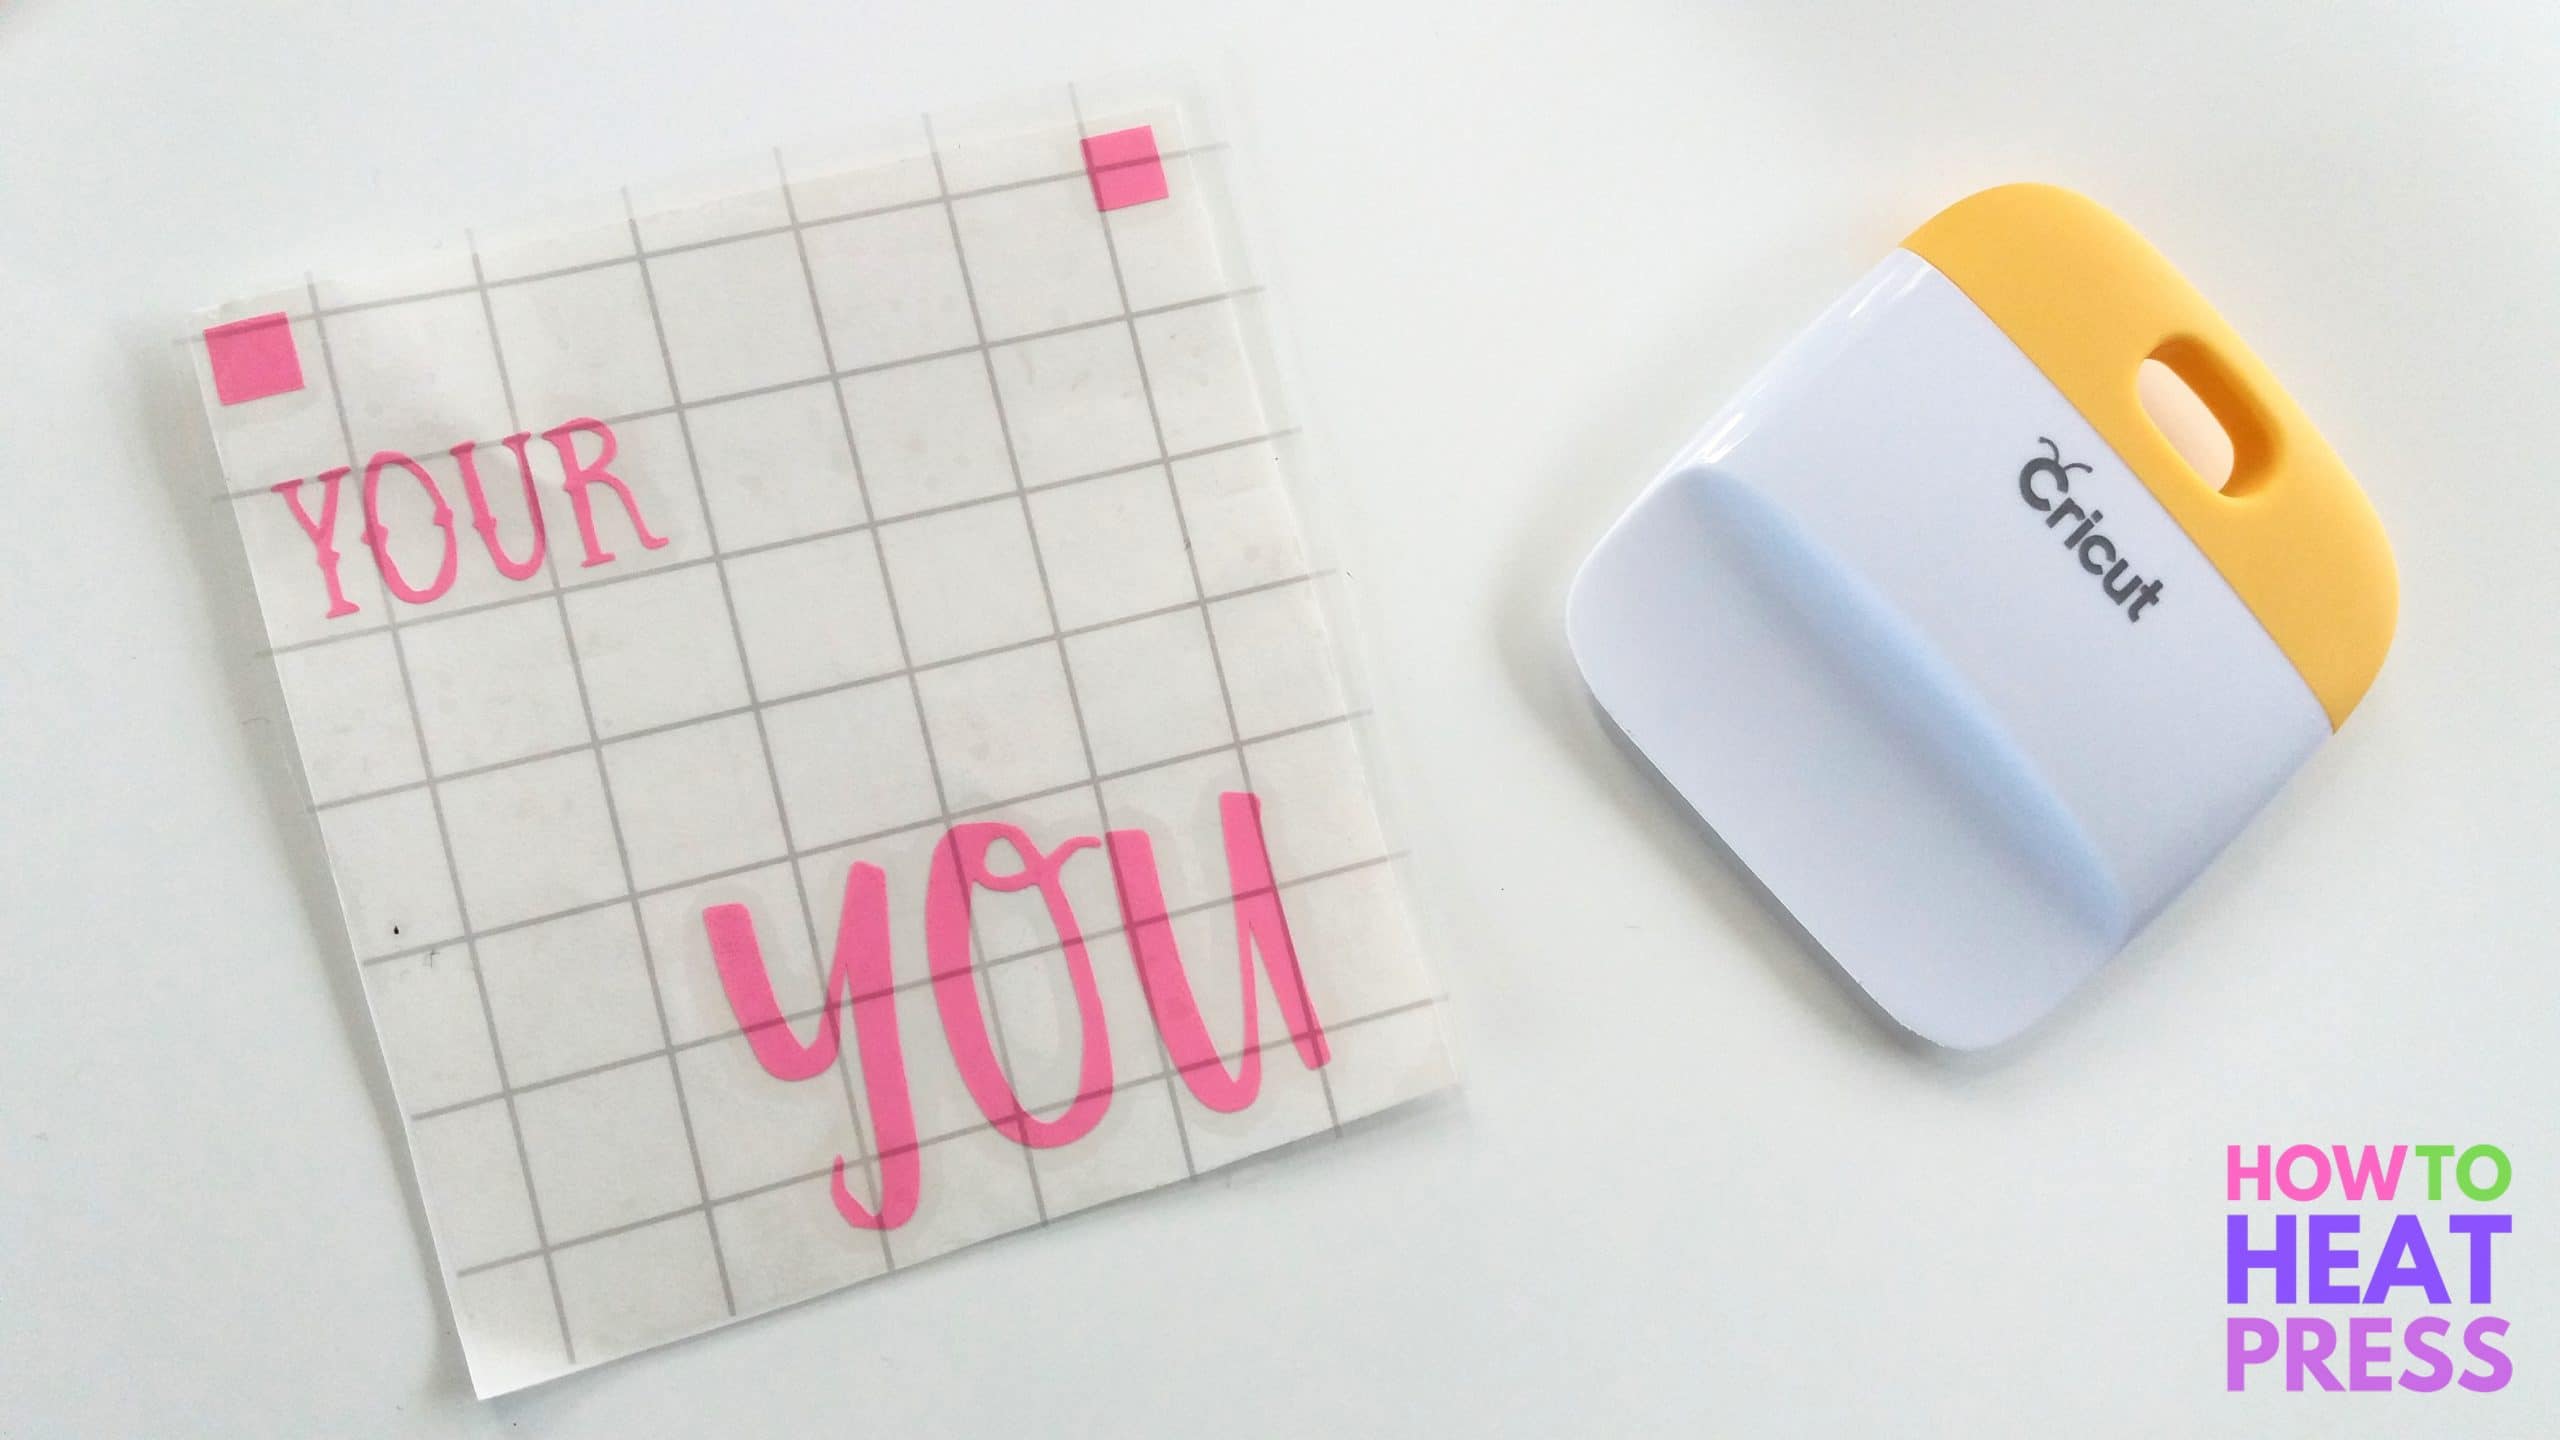
I positioned my vinyl on the bottle and then used the scraper again to make sure it had adhered well. I removed the transfer tape by peeling it back slowly at a sharp angle.
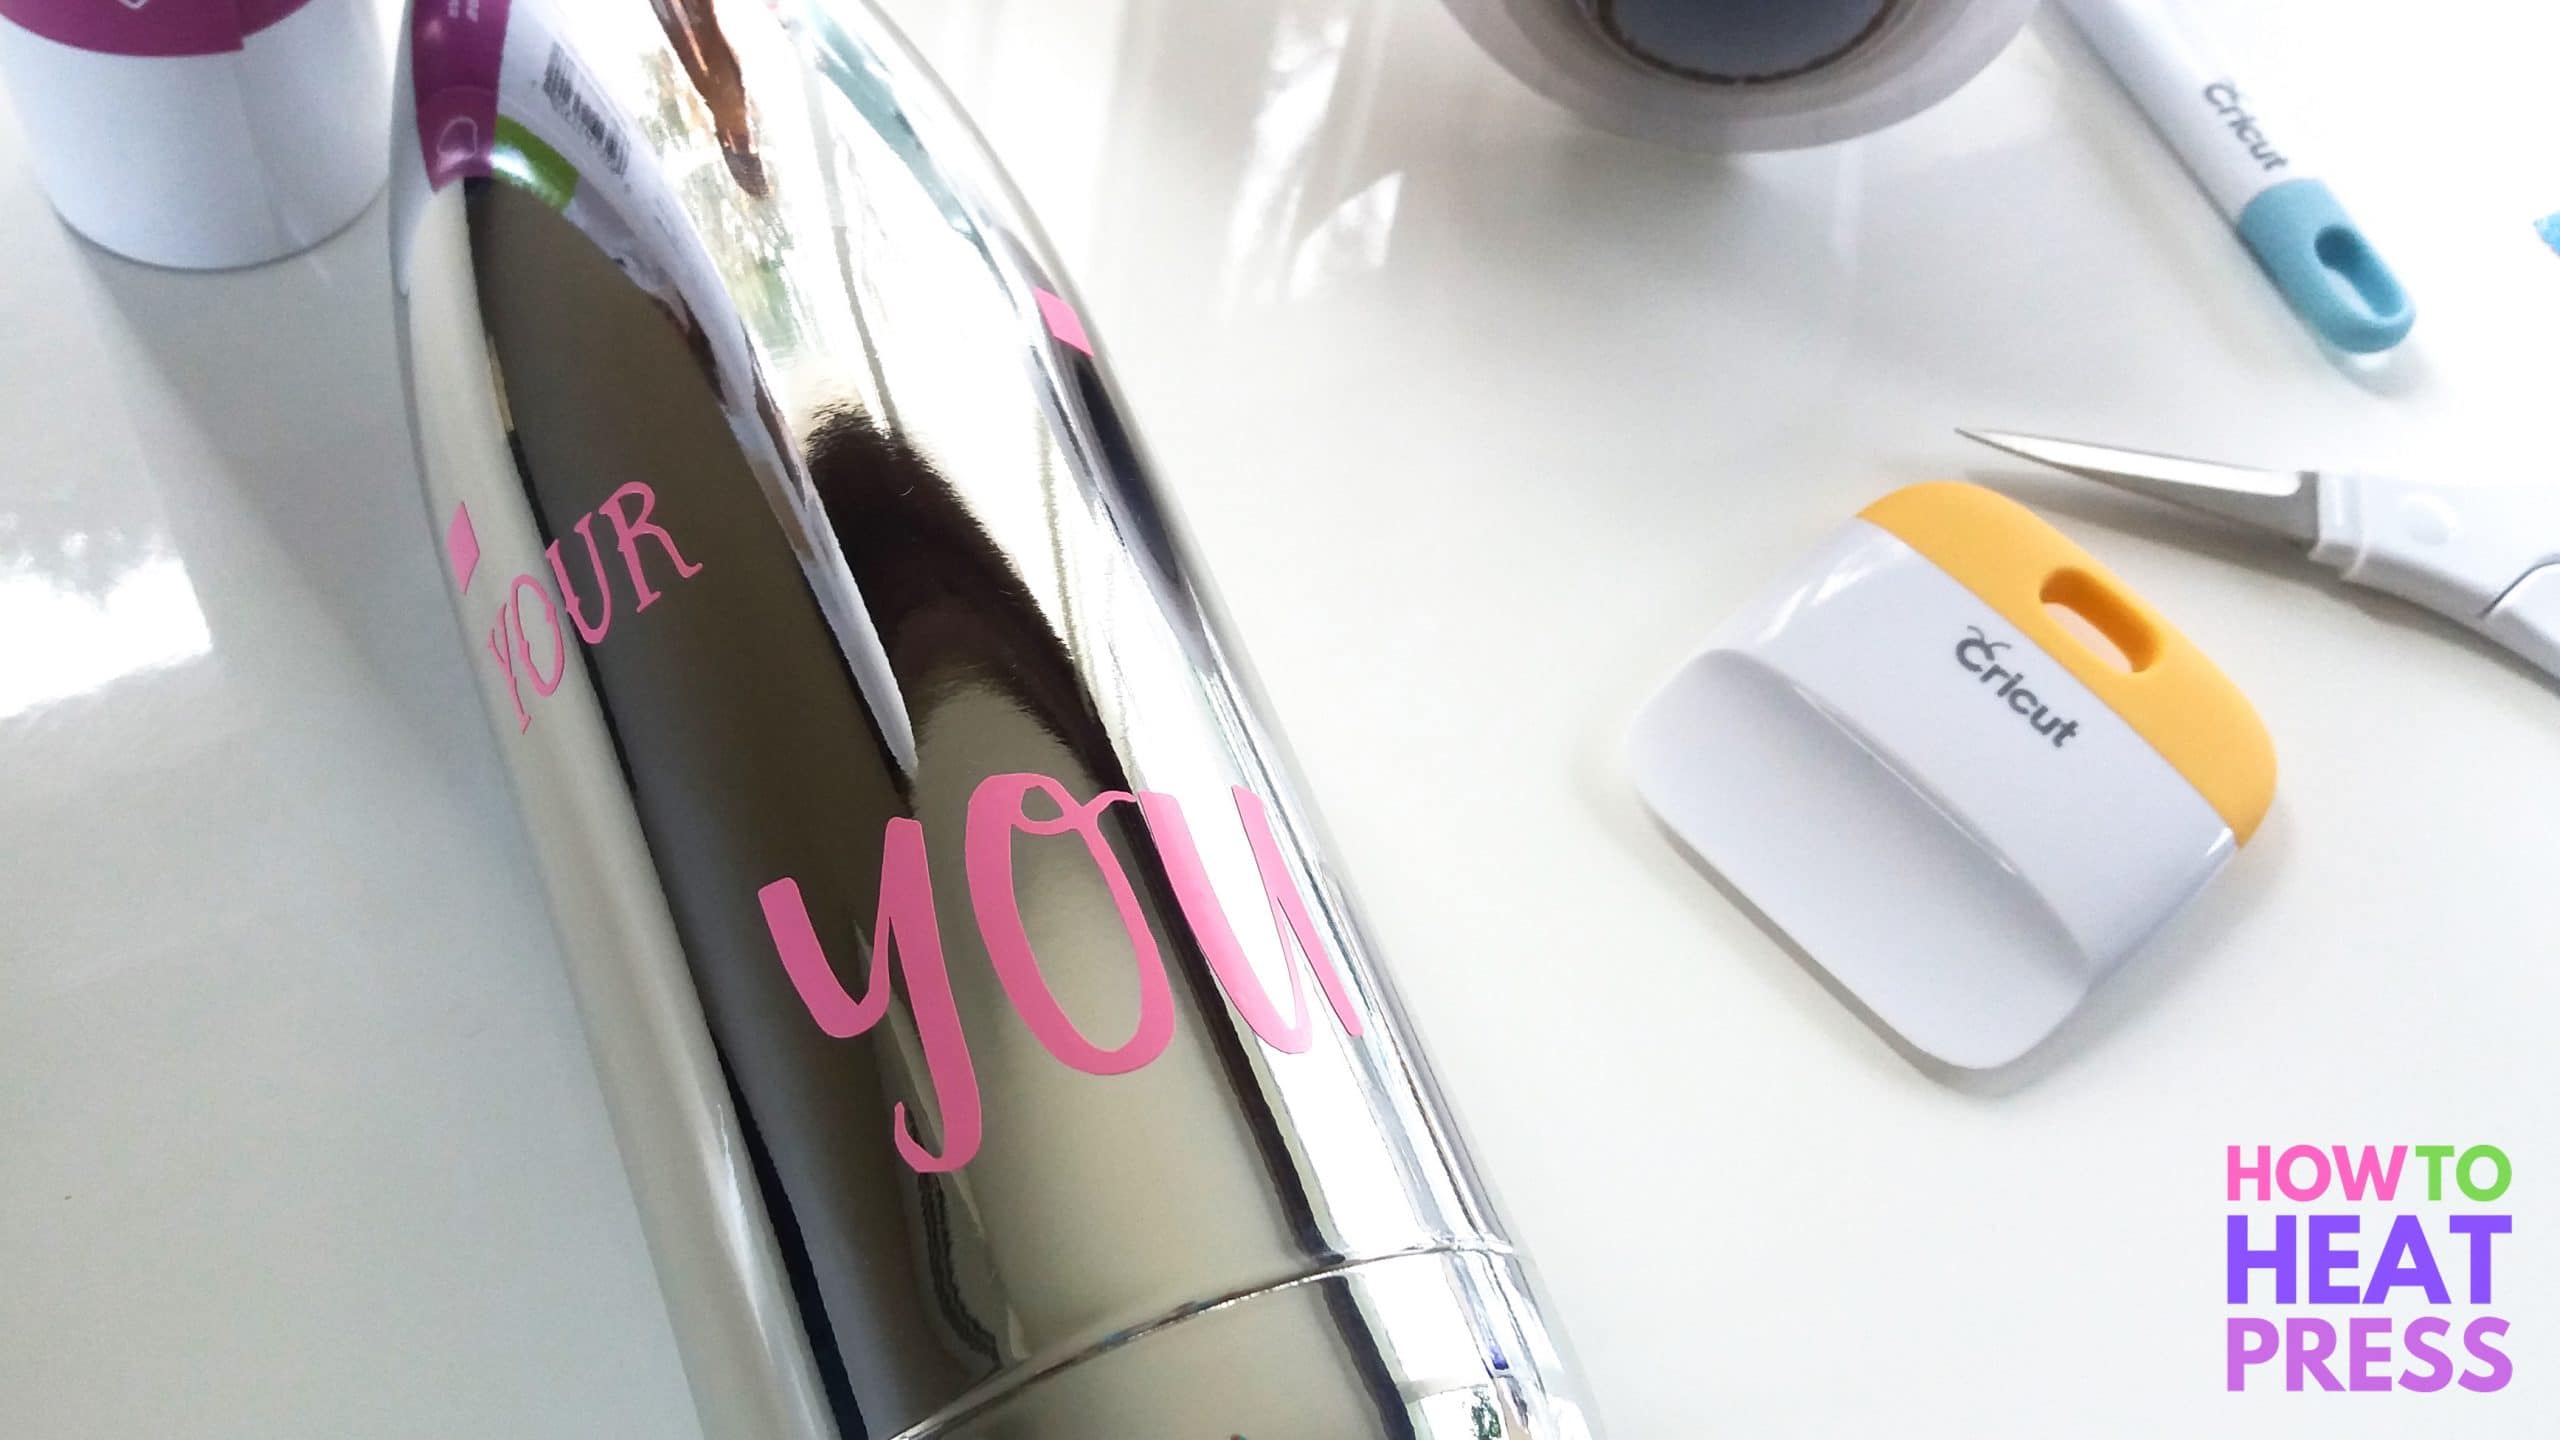
I repeated this process with each color of vinyl. I was able to perfectly position each color of my design by matching up the tiny colored squares. Each time I placed the next layer of vinyl on, I simply put the next squares on top of the previous ones. It is so easy to get things to line up this way!
5. Remove the squares
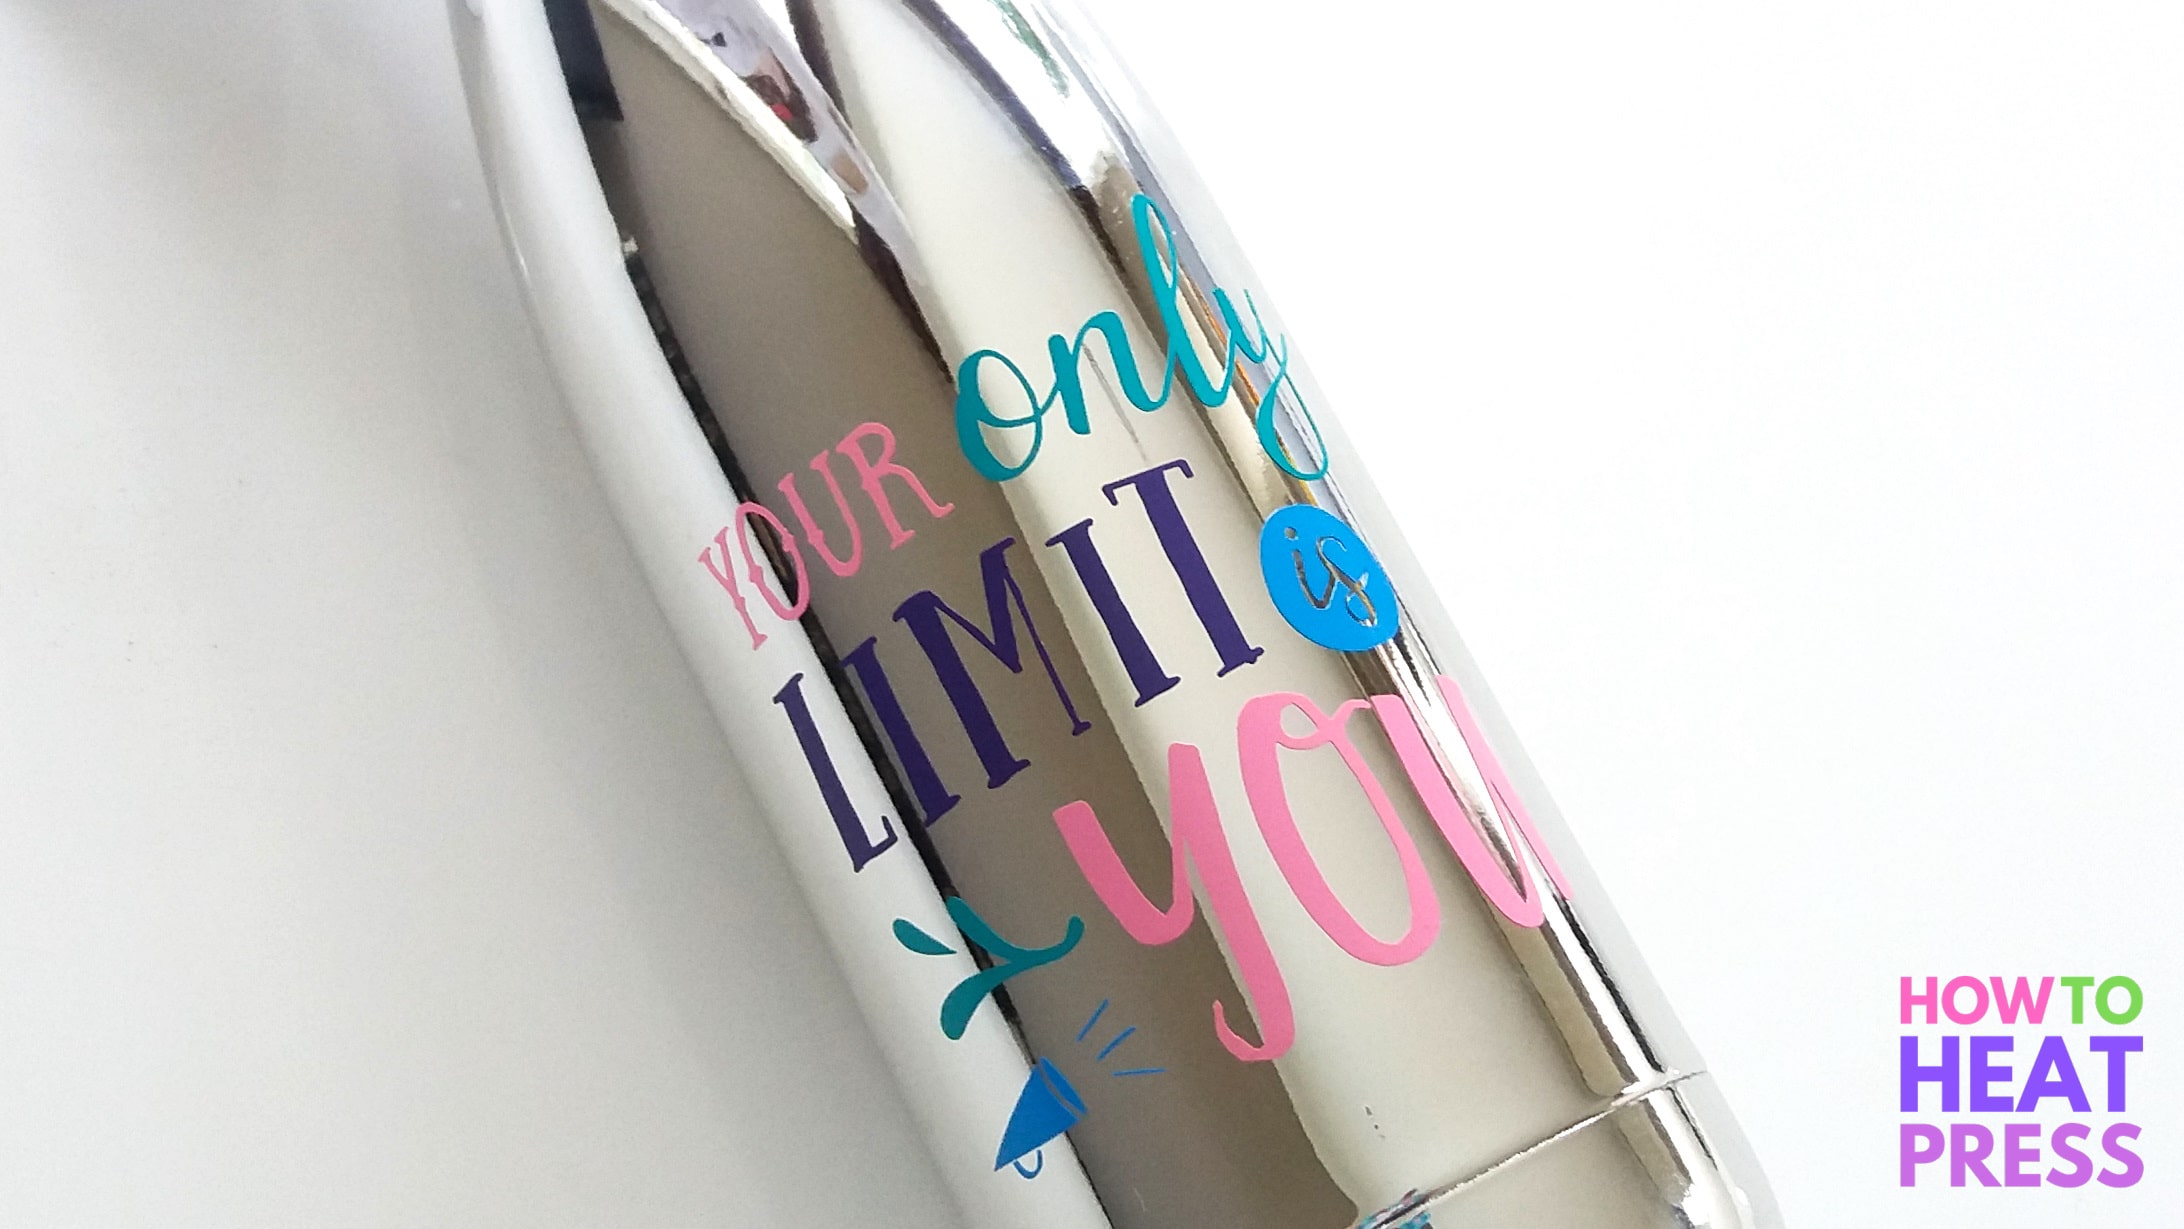
Finally, after applying all my colors of vinyl I just peeled off the alignment squares and I was all done! Can you see something missing from the original design? I think I must have lost it in the weeding process! 😀
Fun Water Bottle Crafts
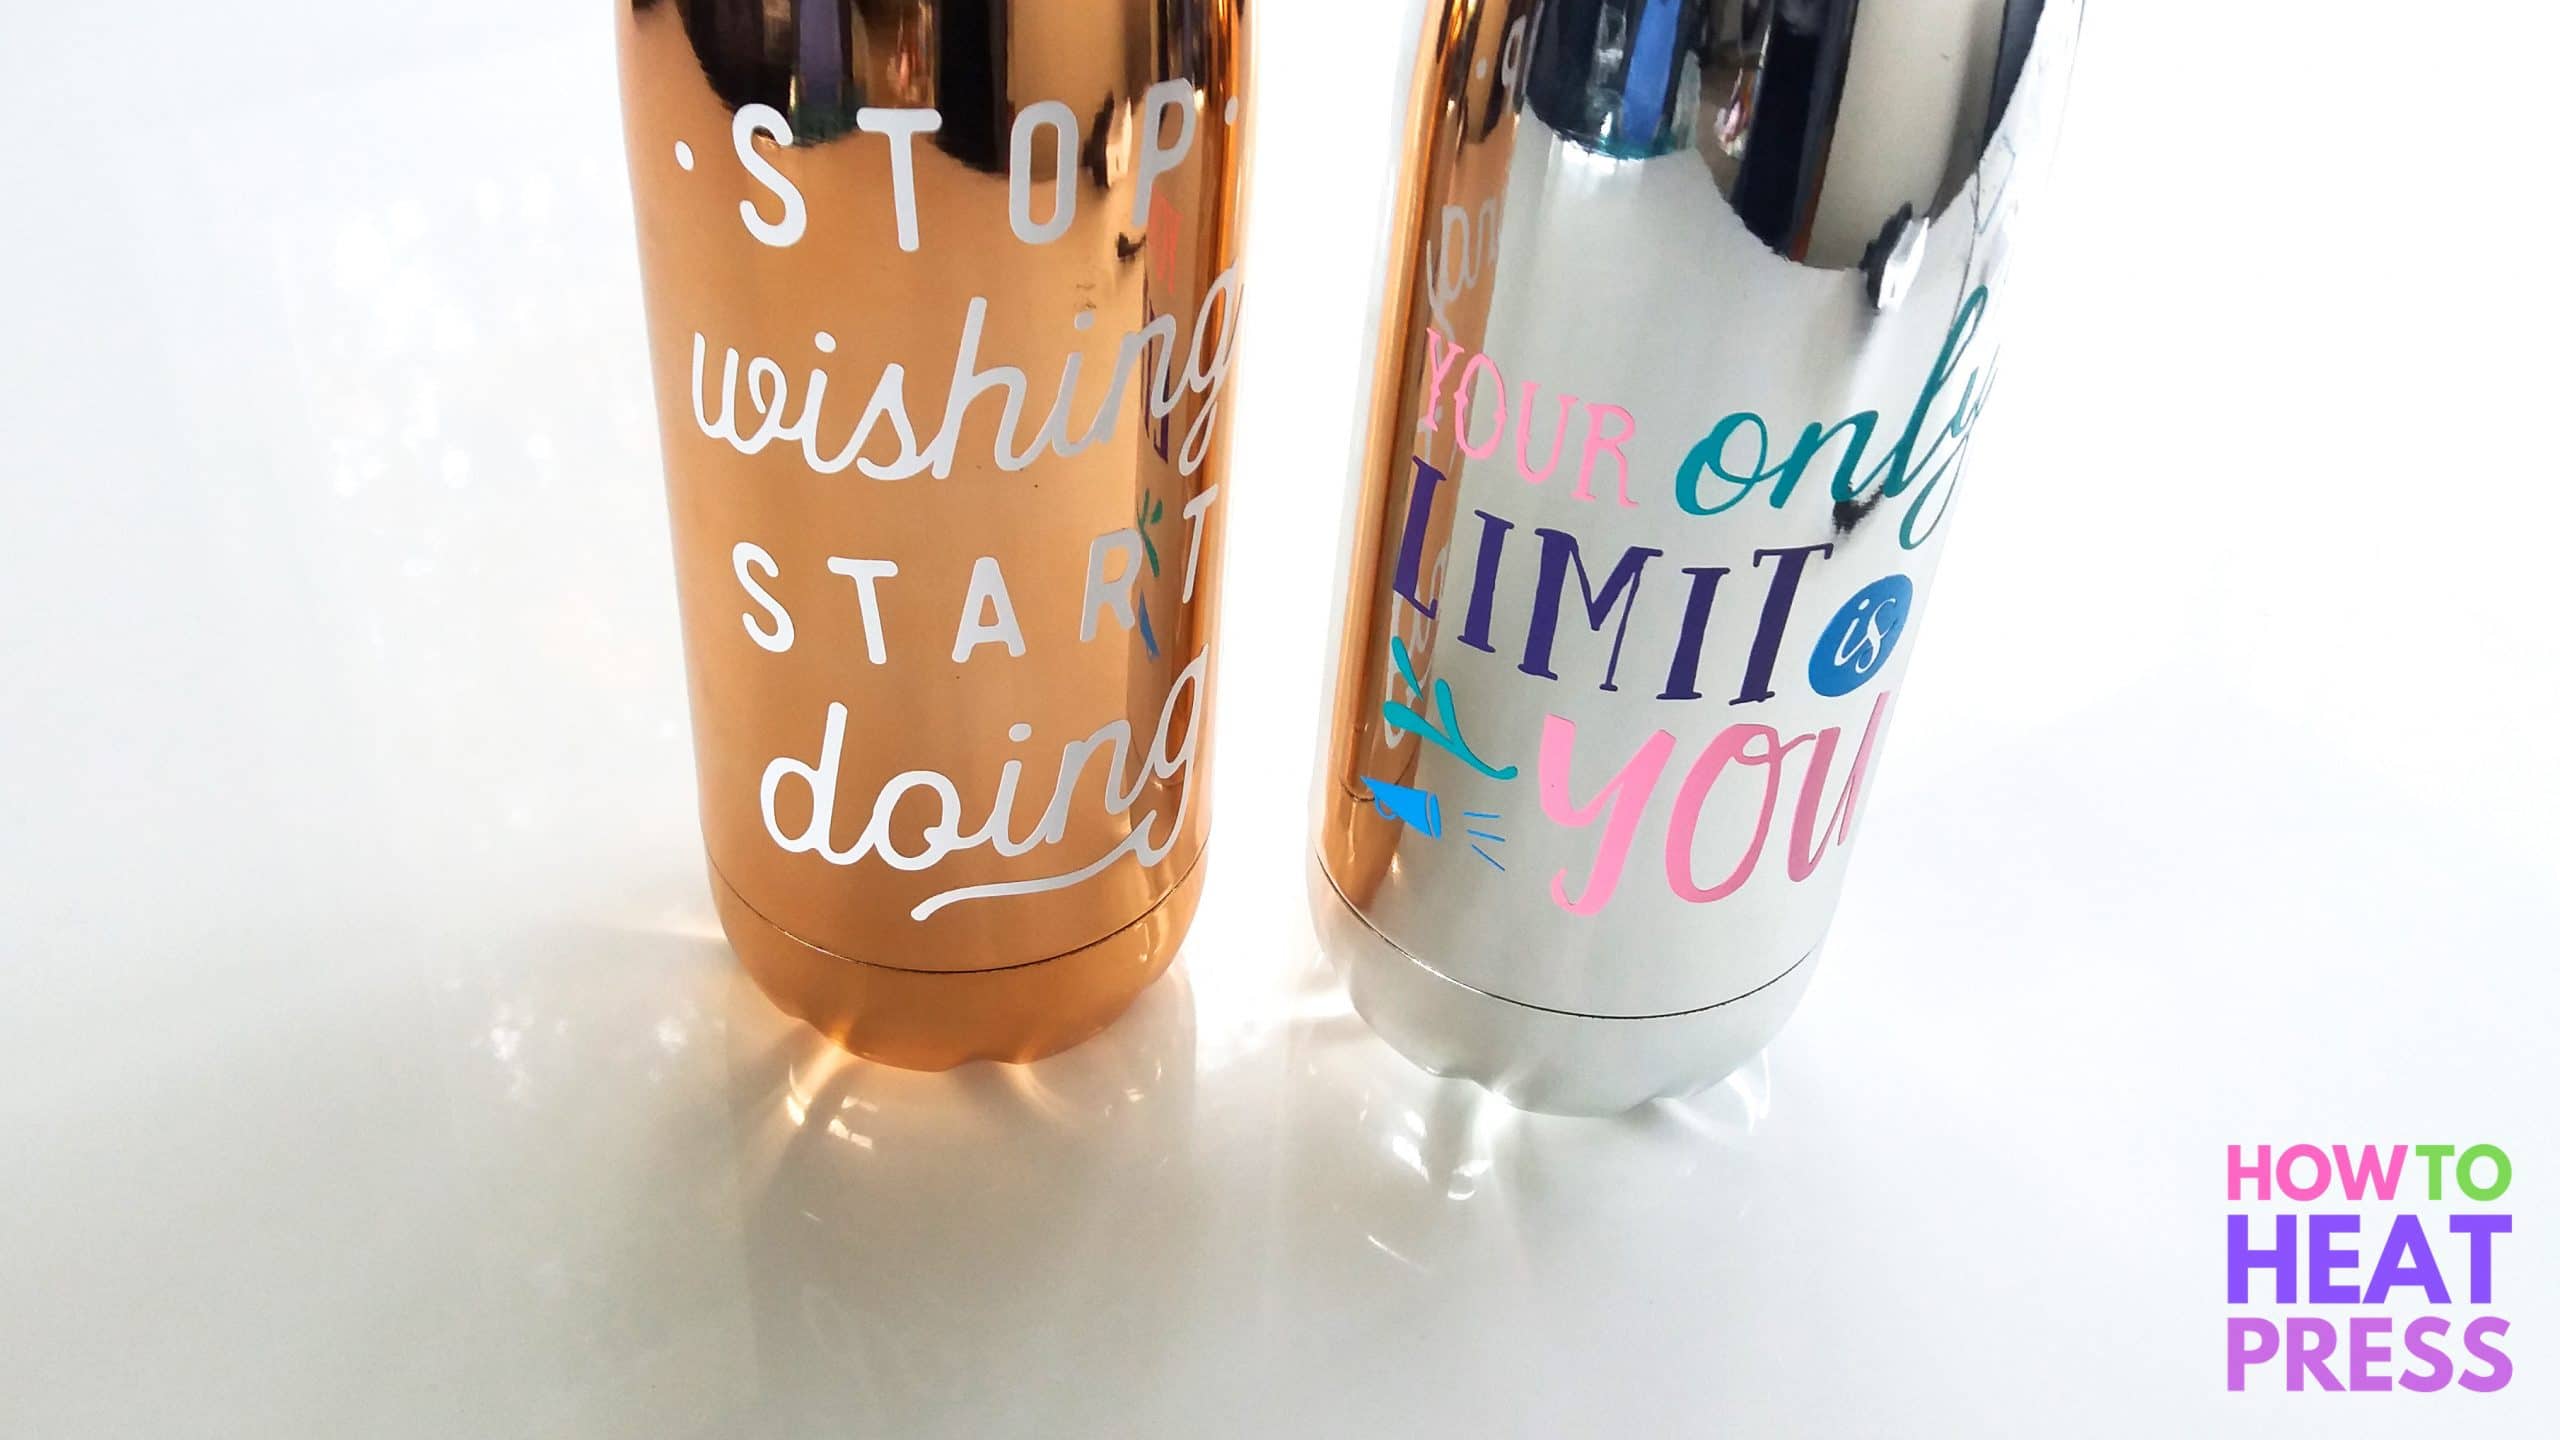
Here is the final result. Do you see why my Grandma almost laid an egg? I think they look fantastic – though anything on shiny polished stainless steel looks pretty amazing. Two great bottles that can be given away as gifts.

Have I mentioned how incredibly hard it is to take photos of reflective bottles?!
How To Seal Vinyl Decals On Stainless Steel
You can use Mod Podge to seal vinyl decals on stainless steel like these water bottles. However, it’s not totally necessary. I’m updating this more than a year after I made these bottle designs, and they are still like brand new. They have been used a lot, and seem to have suffered no wear and tear.
Oracal 651 is permanent vinyl, and it would be dishwasher safe for a time, but it is best to hand wash the bottles.
DIY Water Bottles
So there you have it – a fun and cheap Cricut project that you can make with no trouble at all. If you’ve already got the machine and tools, it doesn’t cost a lot for blank bottles – you’ll be saving money on birthday presents this year!
Use this method to make your own water bottles:
- personalized water bottles for kids
- stickers for water bottle designs
- custom plastic water bottles
Let me know if you give this project a go, I’d love to see the results. Also, check this post for more of what Oracal 651 is used for 🙂
Pin this post!
(Please note: This post contains affiliate links. Read our full disclosure policy here.)

These look fantastic! I’ve tried Oracle 651 vinyl on stainless steel bottles and plastic bottles. However, if the font has thin areas like how you have it in the word “only” on your silver bottle, those thin areas peel off. I hand wash it, but after 1 week it starts to peel off. Do you need to leave the stickers undisturbed for a long time before using it? Any ideas of why they are peeling? Thanks so much
It’s tough when you have very little adhesive on those thin fonts! I’d definitely recommend letting it adhere for at least 24 hours and always using a scraper/squeegee to really adhere the design. You can always do a layer of epoxy on top of your bottle as an extra layer of protection.
I notice your bottle is smooth if mine is somewhat bumpy like a yeti will it still work
Hey Shaleese, yes, it should work. You may notice a bit of the texture through the vinyl but it won’t look odd as the whole bottle is textured. Hope you like the results!
Do u put the transfer under the vinyl before the machine cuts the design out??
Hi Kayia, no the transfer paper does not go through the cutting machine. That is placed on top of the vinyl after the design has been cut and weeded. It is used to pull the design off the backing paper, and to transfer it as one onto it’s final location.
Greetings! So I have been struggling with “pure” Stainless Steel water bottles nothing with color, some of the exact same ones that you link to Amazon, and vinyl is not sticking! I tried 5 different bottles, 20 rolls of different vinyl (631, 651 etc.) and nothing will stick! I haven even tried roughing up the bottle and no luck, any recommendations?
regards
Hey Gregg, that’s weird! The bottles in this post are still going strong here after plenty of use and almost a year. I used the vinyl linked to in this post and I’m 99% sure the bottles are stainless steel (I got them from a local store though). The only other thing I can suggest is making sure it’s super clean (rub with alcohol) – but you’ve probably done that!
I tried permanent vinyl for my stove top dials (original settings scrubbed off). It did not work well because you can’t really wash the area (raised). I’m looking at heat transfer now.
Hey, these look awesome! But I want to know if you used a sealant or how long will these last? Thanks.
Hey Carla, I didn’t use a sealant and it’s not necessary. It’s permanent adhesive and it will last for years if you hand wash it.
That’s been my question in my head.
?? but can coffee mugs be top shelf washed in a dishwasher?
I think this would be a great Christmas idea for the firehouse with the firefighters numbers on them.
Thank you!!!
If you follow all the instructions, you should be fine. I never had a problem putting mugs with adhesive vinyl on them through the dishwasher. You can use Dishwasher Safe Mod Podge to seal the vinyl so that it lasts longer.
Hey I think these look really great – stunning in fact. The vinyl contrasts really nicely with the stainless steel. Well done & great photos working with all the reflections!
Thanks a lot Grace and totally agree. The adhesive vinyl does work well on these water bottles. And once you’ve done it once or twice before, you can do it again really quickly.