How To Convert JPEG Or PNG To SVG For Cricut Design Space
How do you convert JPG to SVG for cricut?
Knowing how to make an SVG from your own images is a must in order to get the most out of your Cricut machine!
Once you know how to upload JPGs or PNGs into Cricut Design Space, and convert them into SVGs, the world is your oyster. In this Design Space tutorial I will show you exactly how to do it, step-by-step.
How To Make Your Own Cut Files From Images
If you’ve used your Cricut a few times you will know what an SVG is, right?
But, did you know that you can not only upload SVGs, but ANY of your own basic images into Design Space too – even family photos! You can download any image from Google, Pinterest, or any website (check the license of the image), and upload them to Cricut Design Space.
In this post I’m going to show you how to upload the two most basic types of images – PNG and JPG images.
These image types will upload as only one layer in Design Space, while SVG’s usually upload with multiple layers. You can also find out how to turn a PNG or JPG image into a multi-layered cut file here.
PNG and JPG images upload into Design Space slightly differently, as you’ll see in this tutorial. These types of images can be uploaded and saved as a print-then-cut, or as a normal cut file, to be cut out of vinyl or card-stock (or any number of other materials!).
When searching for and saving an image from the web, you’ll want to find an image with the highest resolution possible. This will give a higher quality image in Design Space. If the image resolution is too low, it may appear pixelated once it is uploaded. This applies both to JPG and PNG images.
How To Convert A JPEG To SVG
Let’s start with how to upload and convert a JPG to SVG for Cricut. You’ll be able to distinguish a JPG image by the fact that it still has a white background, which we will be able to remove in Design Space. PNG images have the background already removed and they have a grid pattern in the background instead.
1. First, open a new project in Cricut Design Space and click ‘upload’.
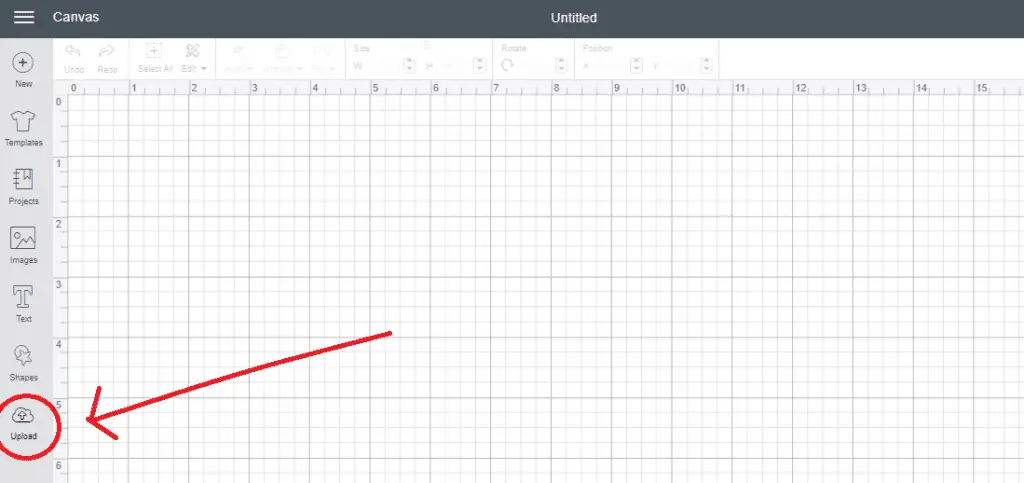
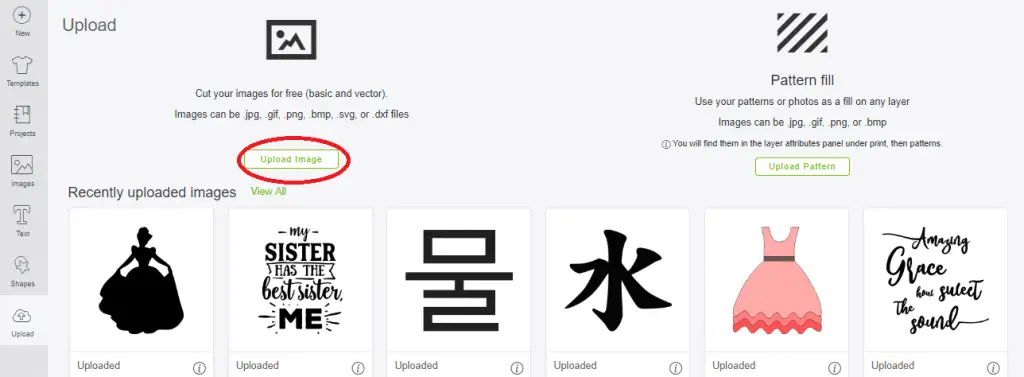
2. Click ‘upload image’.
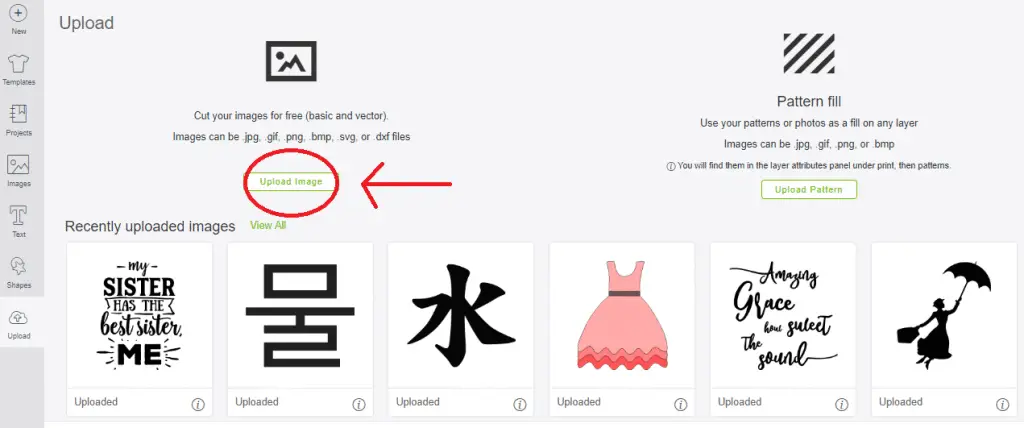
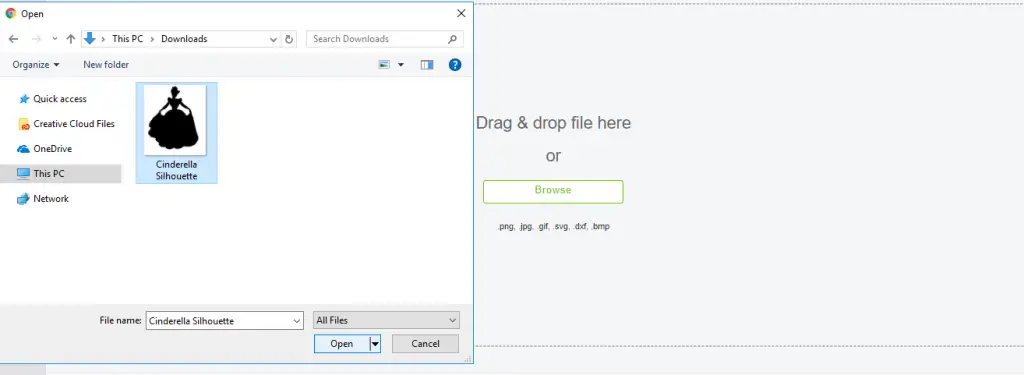
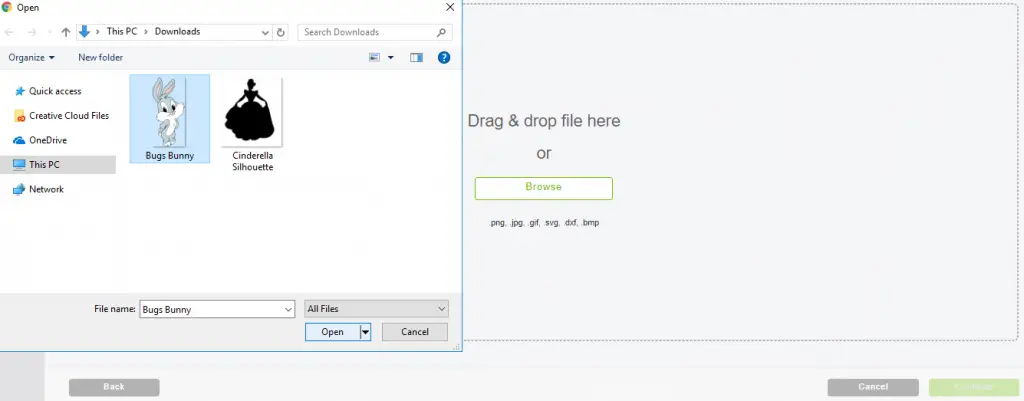
3. Click ‘browse’ and select the file you would like to upload. I found this JPG image on Google Images. There are heaps of free personal use and commercial use images available. Click ‘open’ and your file will upload.
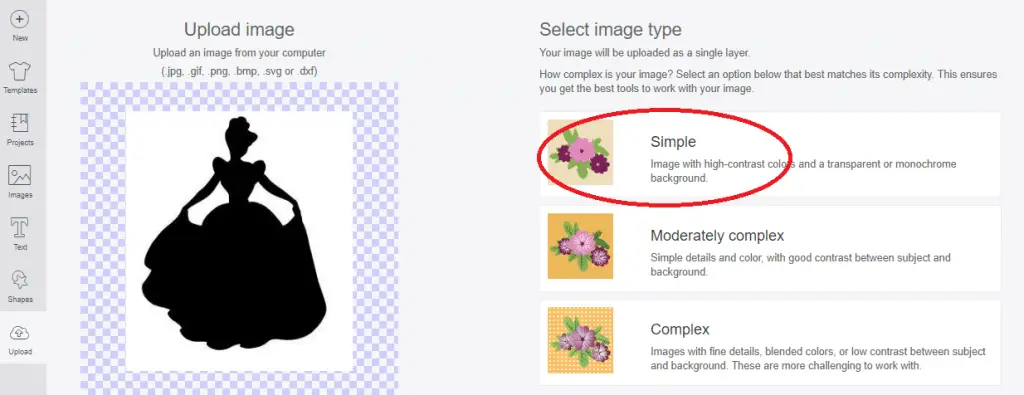
4. Select the image type. I’m selecting ‘simple’. As this image is black and white, and there isn’t any fine detail, I would consider this a simple image. I’ll show you what I consider complex when I upload a PNG image later on in this post.
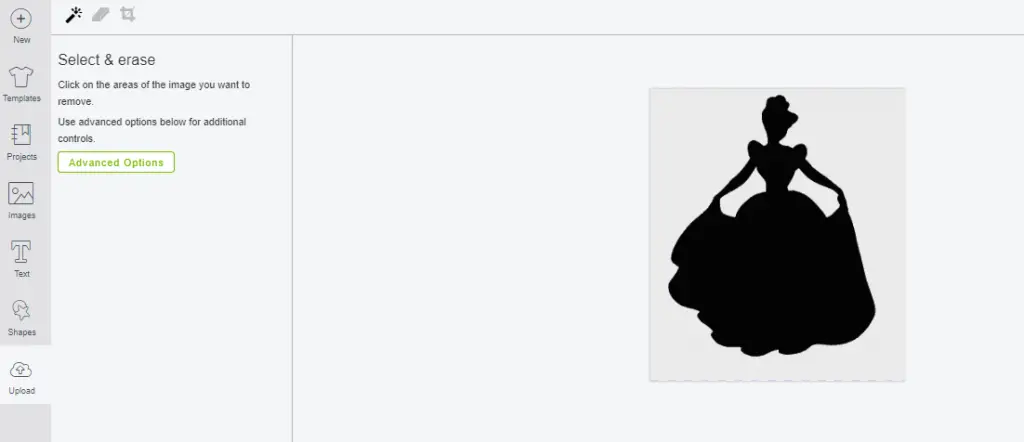
5. Remove the background. To do this, click on the wand tool and click on all the parts of the background that aren’t actually part of your image. The areas you click on will turn into a grid pattern.
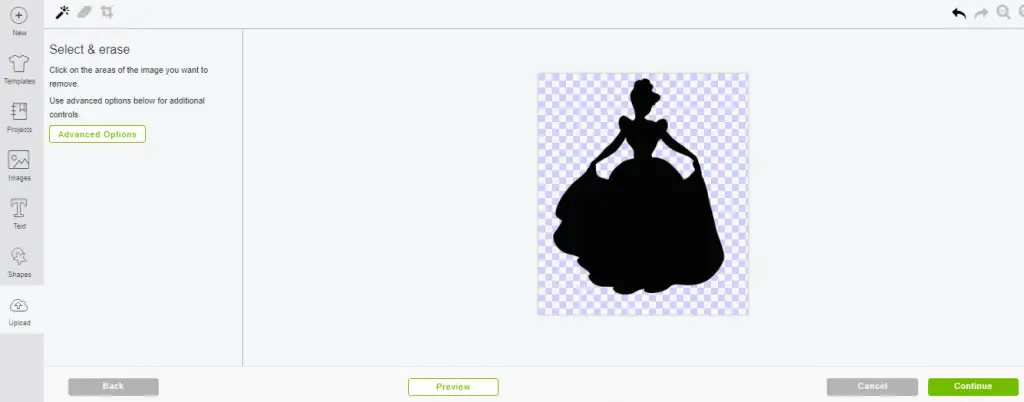
This step will turn your image into a cut file. Here you can zoom in and out, remove parts of your image that you don’t want, and clean up any random cut lines that may appear around your image. Click ‘preview’ to see what your cut image will look like before continuing on to the next step.
Once all of the background is erased, click ‘continue’.
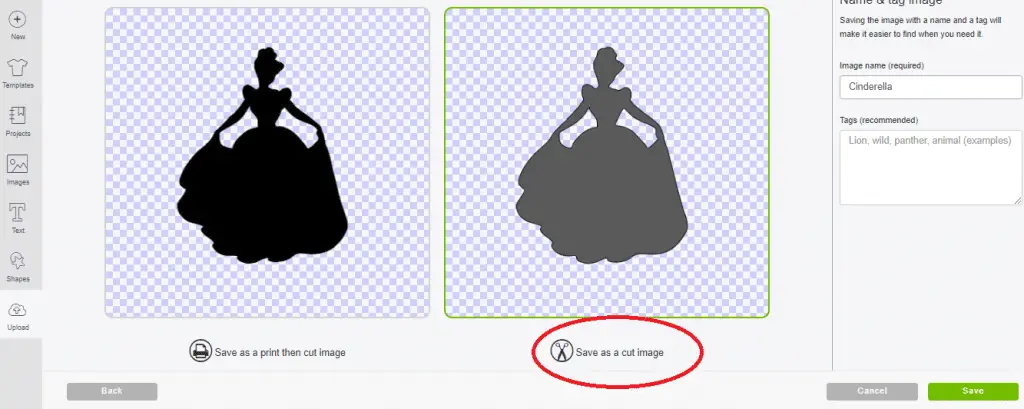
6. Select whether you would like to save your image as a ‘print then cut image’ or as a ‘cut image’. As I only have a silhouette of Cinderella here, I’m not going to be using the print then cut feature. But, if I did have the proper color image of Cinderella then I could make some awesome stickers using print then cut!
To cut this silhouette out of heat transfer vinyl, I would need to select ‘save as a cut image’. Another option, if you have a colored image, is to save it as a print then cut now, and you can always change it into a cut file later on! Here you can also write in some tags, so that you’ll easily be able to search for your image later on.
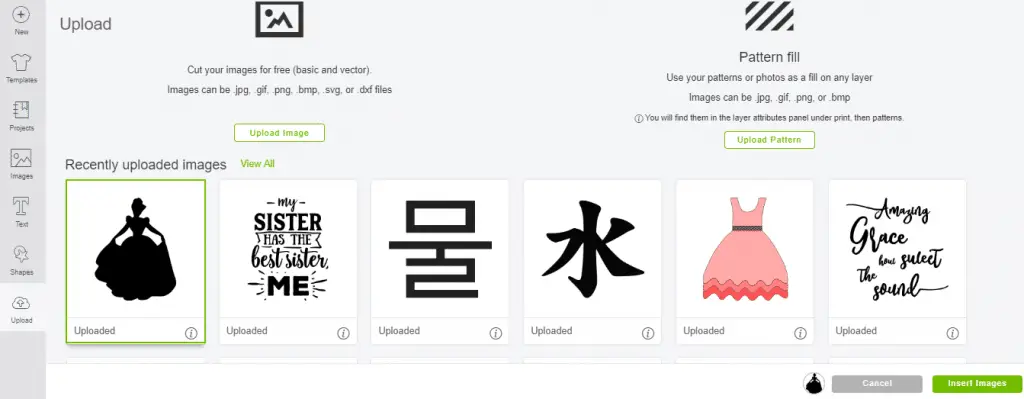
7. Click your uploaded image to select it, and then click ‘insert images’.
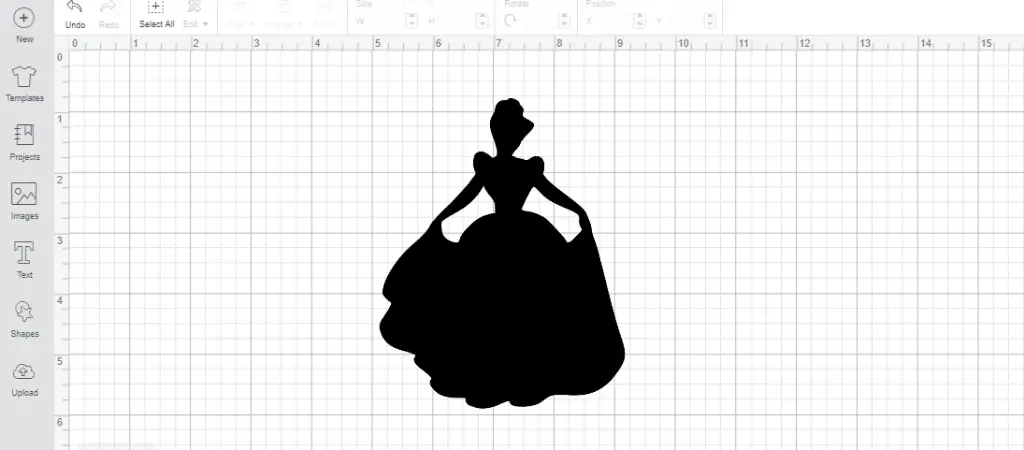
8. Voila! Your new cut file! This silhouette would look great on a toddler shirt in pink glitter HTV!
Convert PNG Image Into Cricut Design Space (Complex Image)
Now I’m going to show you how to upload a PNG image into Design Space. It’s much the same process, apart from the fact that PNG images already have the background removed and have a grid pattern instead. This is ideal because you don’t have to spend time cleaning up PNG images, like you usually do with JPG images!
1. Open a new project in Design Space and click ‘upload’.

2. Select ‘upload image’.
3. Click ‘browse’ and select your image. Click ‘open’ and click ‘continue’.
4. Select the image type. Here I’m selecting ‘complex’ because my image has multiple colors and fine detail.
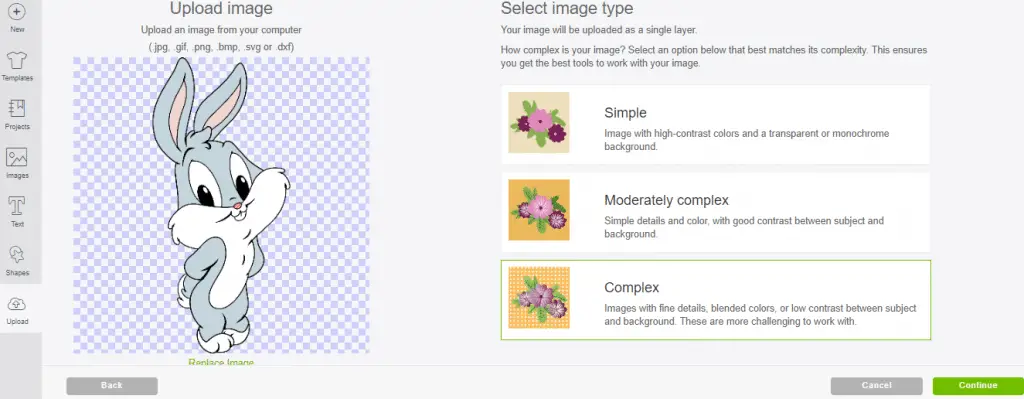
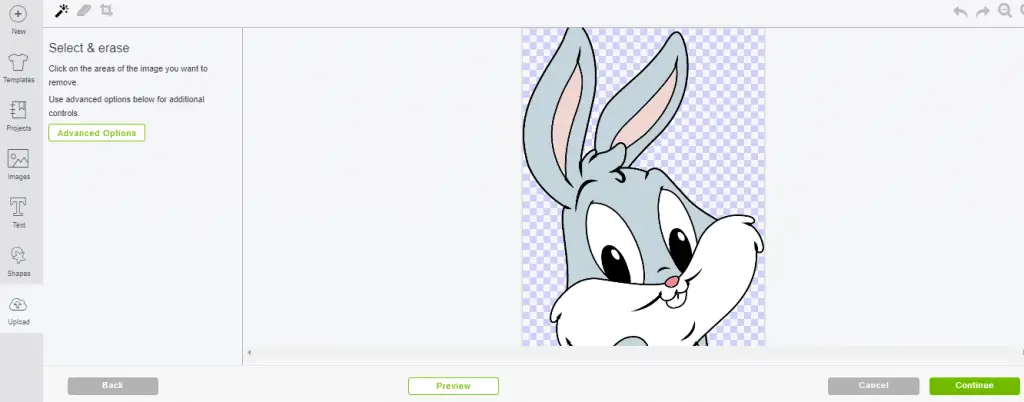
5. As this is a PNG image, I don’t need to remove the background. However, now is the time I can remove any other parts of the image that I don’t want saved. Click preview to see what your cut image will look like before clicking ‘continue’.
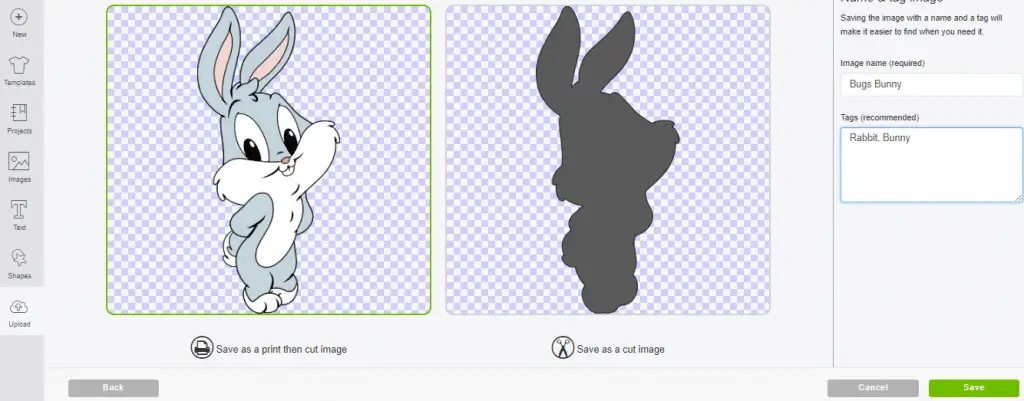
6. Select ‘save as a print then cut image’ or ‘save as a cut image’ depending on what you’re using the image for. Saving the image as a print then cut preserves the original image, while saving it as a cut image only saves the image silhouette. Write the image name and some tags so you can find the image later. Click ‘save’.
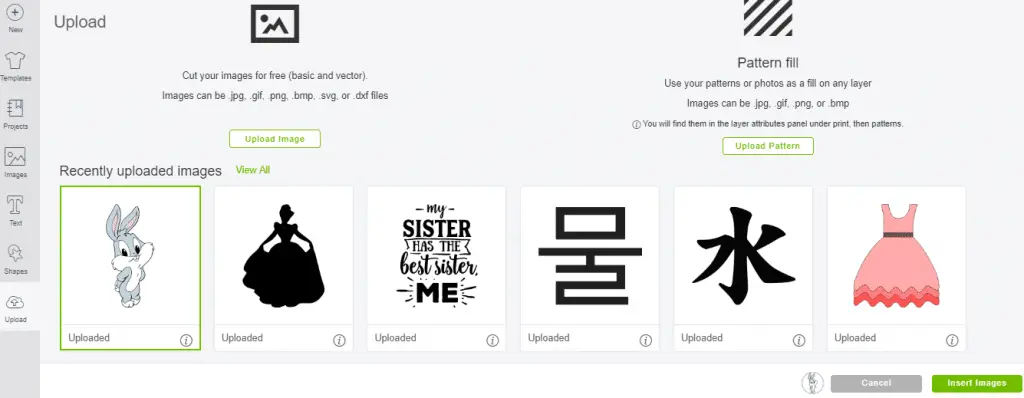
7. Select your uploaded image and click ‘insert images’.
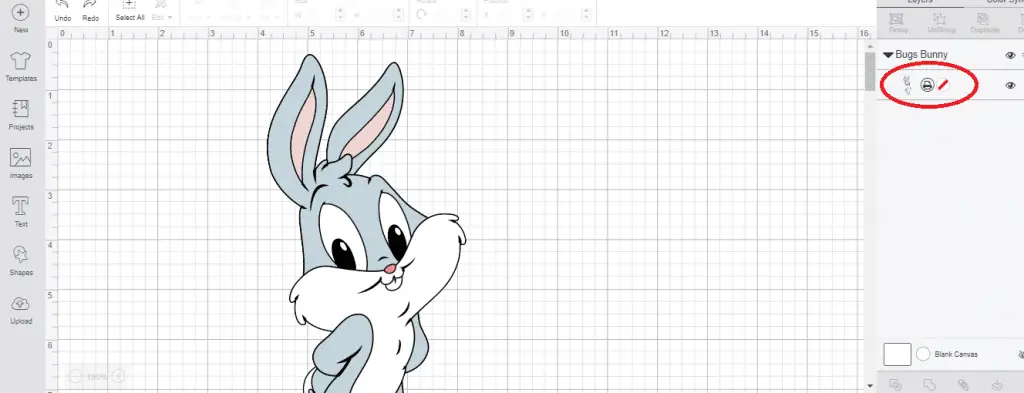
8. And we’re all done! Here’s my image on the canvas. You can see on the side that there’s a little printer symbol which means it’s a print then cut image.

If you decide later on that you want to use your print then cut image as a normal cut image, simply click the printer symbol on the right side of the canvas and change it to ‘cut’.
So there you go, that’s how to convert jpg to svg for cricut Cricut Design Space and convert them into Cricut cut files. The possibilities with this feature of Design Space are endless!
Any more questions? Ask away in the comment section below.
Pin this post!
(Please note: This post contains affiliate links. Read our full disclosure policy here.)


I’m not getting the printer icon on the right side of my screen in design space.
Hi Amy, I’m sorry I didn’t get back to you sooner as I was on vacation. If you want to use print then cut you can’t use an SVG. An SVG is only a cut file. If you upload your image as a JPEG then you’ll get the print then cut option to appear. Hope that’s helpful, please let me know if that doesn’t resolve the issue.
Hi. What if I just want the silhouette with no intriquet details? Thanks
Hey Lynette – Cricut now has the ‘offset’ tool that is a great way to create the silhouette or outline of an image. I’d upload your image to Design Space and then add an offset. The tool is at the top of DS. You’ll usually get better results with the rounded corners but play around with it!
Great info. I am very new and it can get very frustrating. Thanks for speaking plan english
Glad you found it helpful, Christine! It can feel like a steep learning curve at first, but stick with it! We’ve got a lot of Cricut tutorials here if you find yourself wondering about a feature or stuck on something.
Wow, this is good info. Thank you so much for sharing with us. Really appreciate it!
Thanks Bonnie 🙂
Using ‘print then cut’, what material do I print on?
Use Cricut Printable Vinyl or Sticker Paper 🙂
how do you get the layers so you can cut vinyl in the different colors
Hi Cheryl, check out this post on how to make multi layered SVGs in Design Space.
The image I am working with has text on top of a pig. How can I get to the Ungroup portion so that my image will print separately so that I can layer when I cut. Thanks
Hi Judy, you might be after this post on creating layers in Design Space.
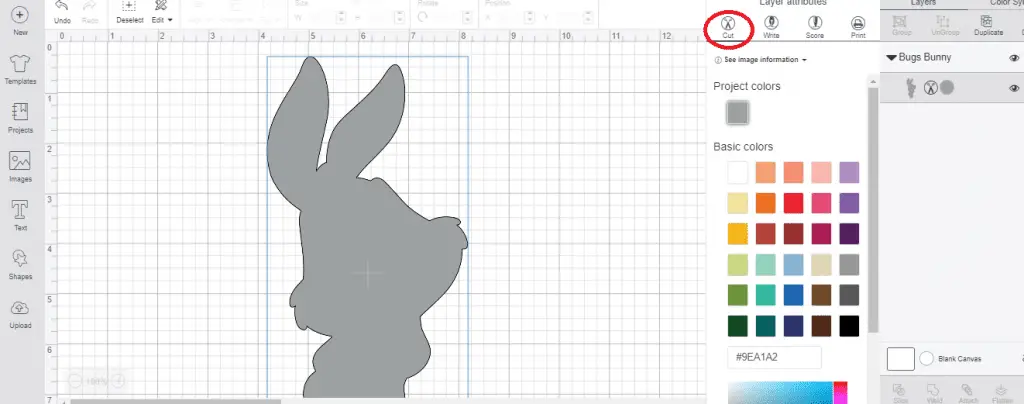
The. Bunny has colors. How do you get the colors back after you have the silhouette? Like if i wanted to make an off the mat image say 24inches tall. All i would have is the silhouette?
If you save it as a cut image you can’t get the colors back. You need to save it as a print and cut to keep the colors.
Followed you all the way until the very end of changing a print/cut to cut only. I have an Air 2 and it does not show a printer. Just the image then the words Cut|Print. I click on them and nothing happens??? I downloaded a unicorn and when I choose to print and then cut, it only comes up as a black image. I want the colors and thought when I hit ‘make it’, DS would sort the colors on different mats. HELP! Trying to make a tee for my granddaughter’s birthday in 2 days!
Hi Judi, don’t give up! I think you’re possibly on the wrong tutorial for what you’re trying to do? Here is our Print & Cut tutorial. It’s can be tricky answering questions like this without a few more details… please email [email protected] if you’re still having trouble and I’ll do my best to give you some further directions.
The bugs bunny pic is in color so when you print and cut say to put on a t shirt will u print or can you print on vinyl or does it have to be put on transfer paper? In other words I like the way vinyl looks on a shirt but don’t wanna have to layer anything.
Hi Charlene, you can use printable heat transfer vinyl for this kind of thing, or Avery transfer paper. Both options use an inkjet printer to print onto the iron-on or transfer paper, and it can then be applied with an iron (or heat press).Otherwise, layering HTV on a t-shirt is very simple and you shouldn’t be worried about trying it out! 🙂