HTV Knee Patches For Kids Pants & Leggings
I’ve been wanting to make cute HTV knee patches for ages. I recently picked up some blank pants for my daughter, so now I’ve got the chance!
We’re making knee patches from heat transfer vinyl, and they can be applied to pants or leggings.
Knee Patch For Leggings
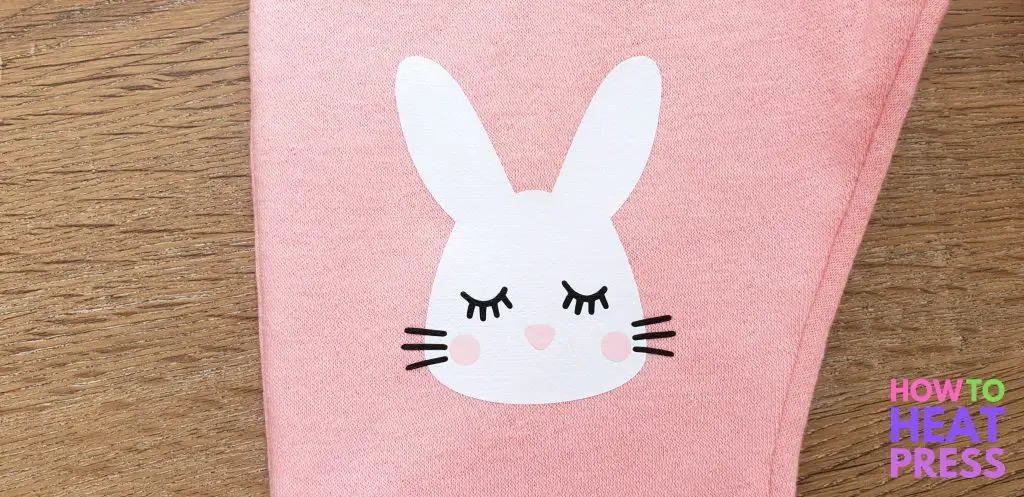
I’ll get into all the step-by-step details down below, but first, here is what I used and how to cut and press Siser EasyWeed.
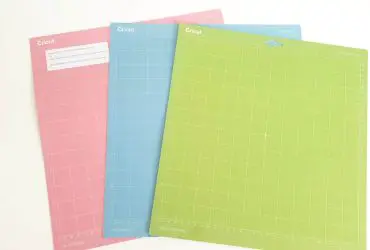
Materials used for this project:
How to cut EasyWeed:
- Mirror the design in Design Space
- Set dial on Explore machine to Iron-On, or if you have a Maker, choose Iron-On in your material settings.
- Place material shiny side down (with the carrier sheet facing down) on your standard grip mat.
- Load mat into your machine and press go
- Once the design is cut out, weed away the excess HTV from your design
How to press Siser EasyWeed with a heat press:
- Set heat press to 305°F
- Pre-press clothing for a few seconds (while pre-pressing you can check and adjust the pressure if need be)
- Press design for 10-15 seconds with medium pressure
- Peel carrier sheet either hot or cold
How I layered the HTV:
Siser EasyWeed can be pressed for 10-15 seconds. Here’s how I pressed my design.
- Base layer (white color) – one second tack
- Second layer (black color) – one second tack
- Third layer (pink color) – 13 seconds
This way the base layer has had no more than 15 seconds total.
Customize Your Design
I grabbed this free rabbit SVG from Love SVG (one of my favorite places to get free SVGs!). To customize this design for my project, first I decided how big I wanted it to be. I decided to make the width 2.5 inches, which made the height 3.2 inches.
Next, I ungrouped the layers in the image so that I can deal with each color separately.
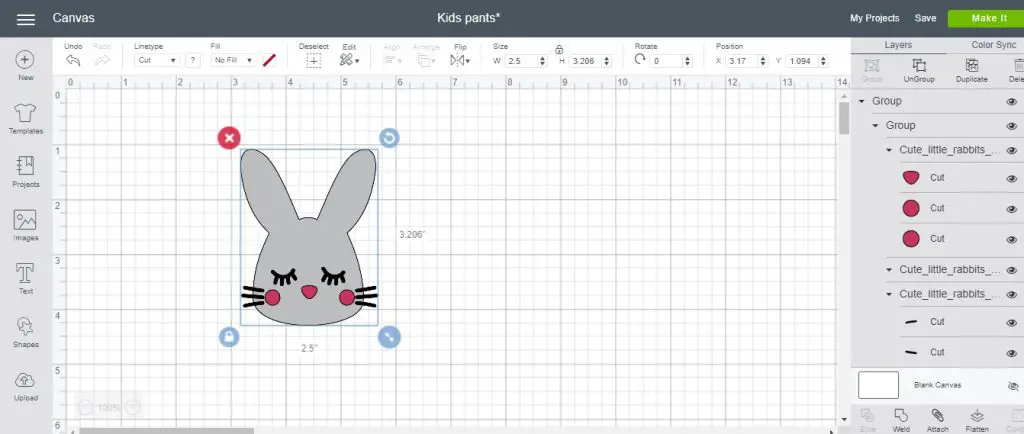
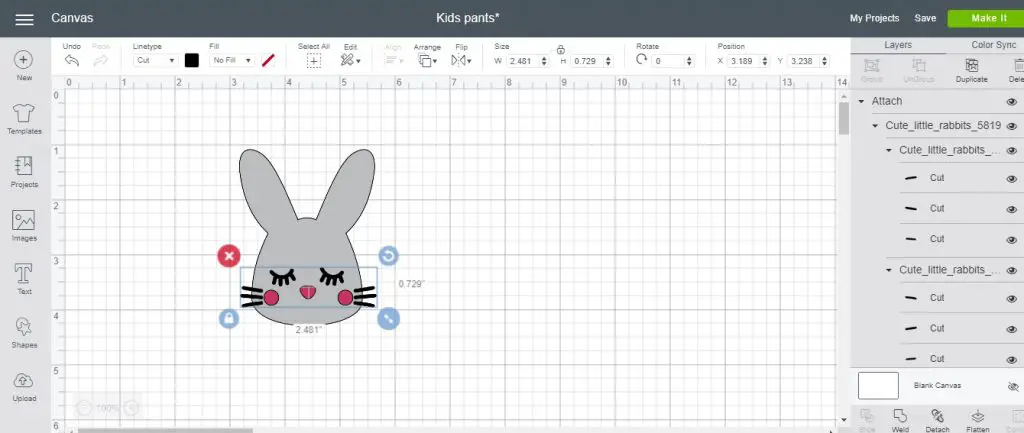
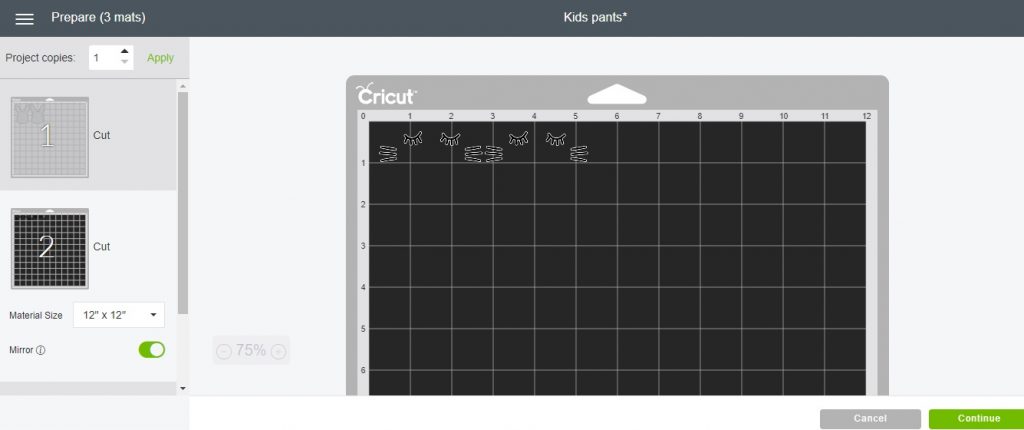
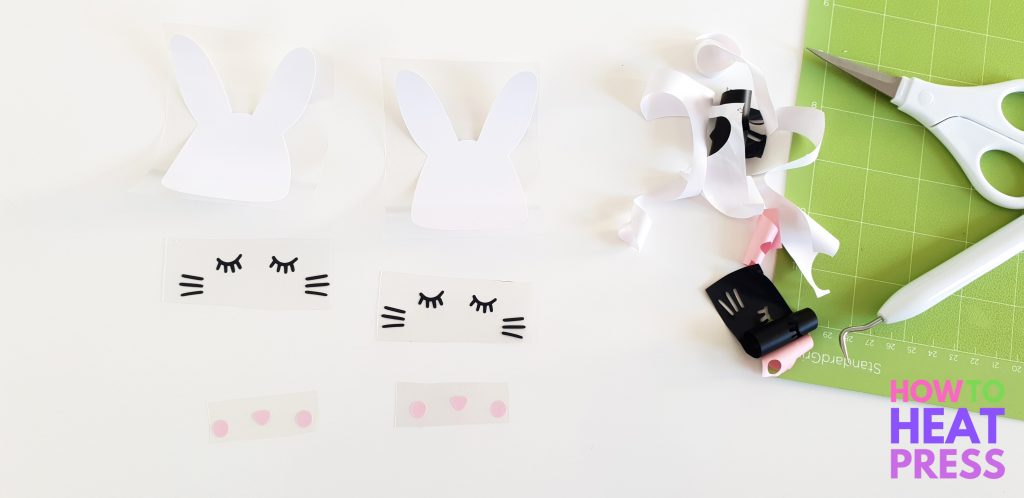
I want my cutting machine to cut the black and pink layers in this design exactly how they are shown below. This makes them easier to place onto the clothing and press (instead of placing everything separately).
So to do that, I’m going to select the black layer and click attach. All the pieces of the black layer must be grouped together first for you to do this.
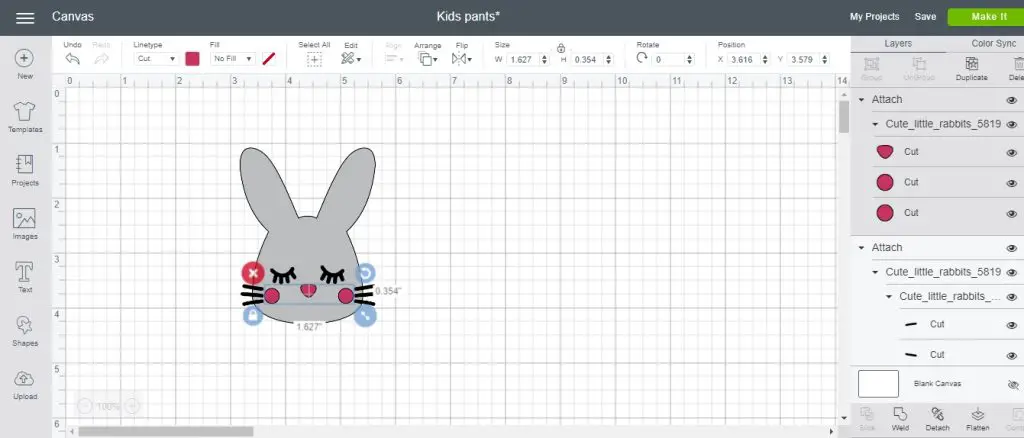
Next I selected the pink layer and clicked attach.
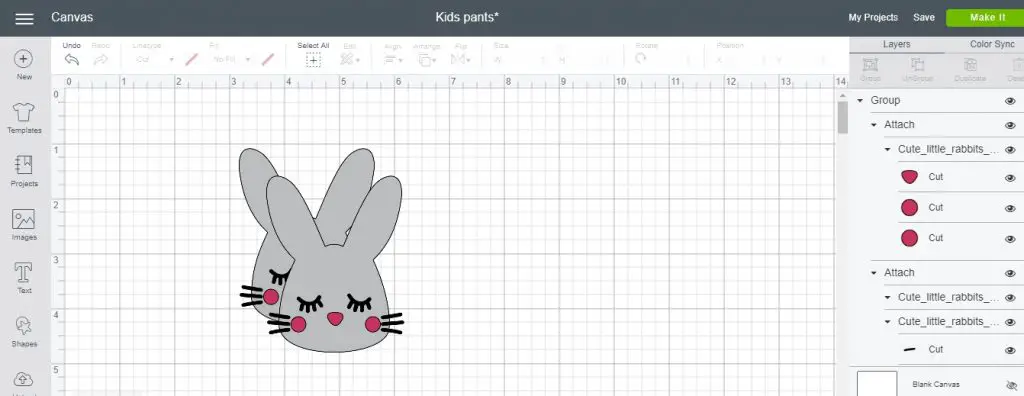
Once I’ve got the design exactly how I want it and I’ve attached the layers, I’m going to duplicate it so that I’ve got one for each pant leg. Now I’m ready to click ‘Make It’.
Mirror All Your Mats
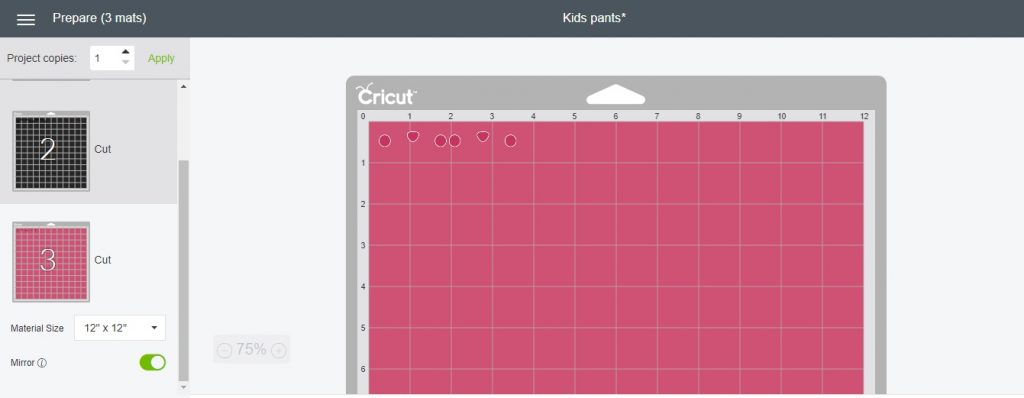
As I’m using heat transfer vinyl (iron on), I’ve got to mirror all my mats.
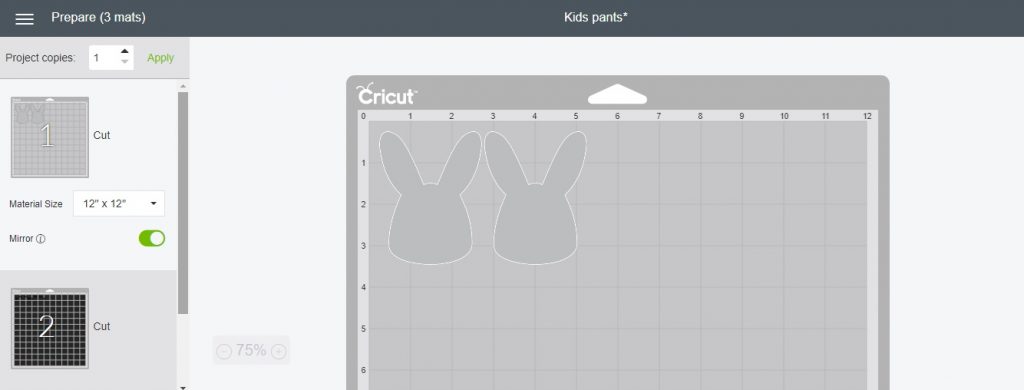
This is how the black layer will cut out, exactly as it was on the canvas, because I used the attach feature in Design Space. This is a great hack for lots of small and intricate pieces!
And here’s my pink layer which I also attached to the canvas.
Choose Cut Settings
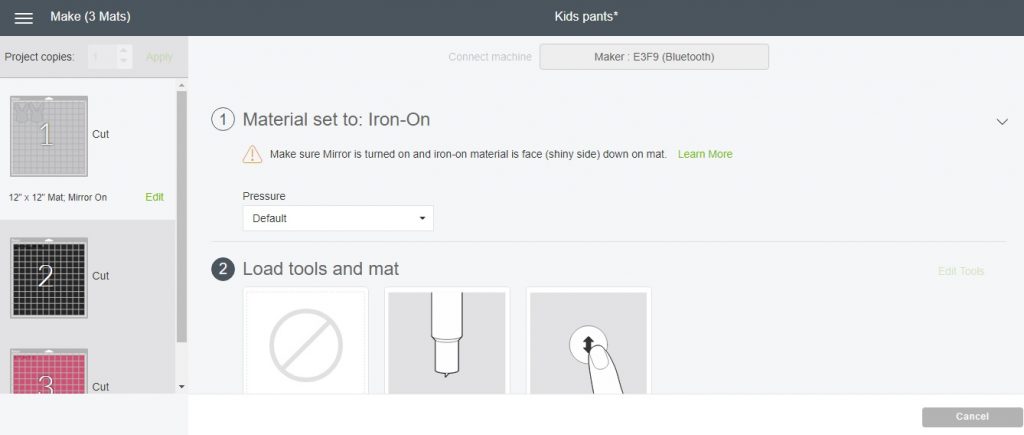
I’m using Siser EasyWeed HTV for this project (my favorite!), so I’ve set my material to ‘Iron-On’. If you have an Explore Air 2, you just need to turn your dial to Iron-On!
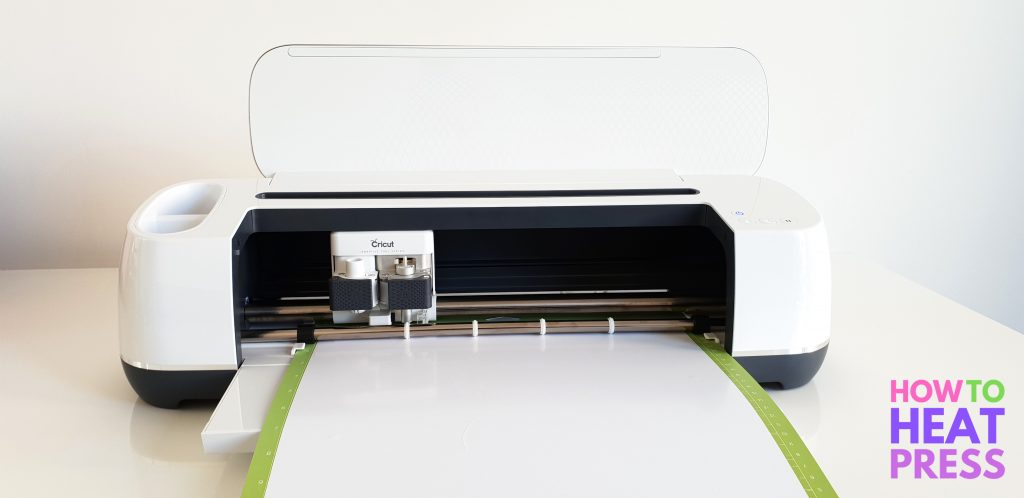
Here’s the Cricut Maker cutting out my design. Iron-On should be placed with the carrier sheet (shiny/colored) side down onto the mat, and the vinyl facing up! I know that seems obvious to say, but when you’re an absolute beginner, it’s really hard to tell which side is which!
Weed Design
Once the design was cut, I removed it from the mat and then cut the layers into separate pieces. Then it was time to weed – anyone else love weeding vinyl as much as me?!
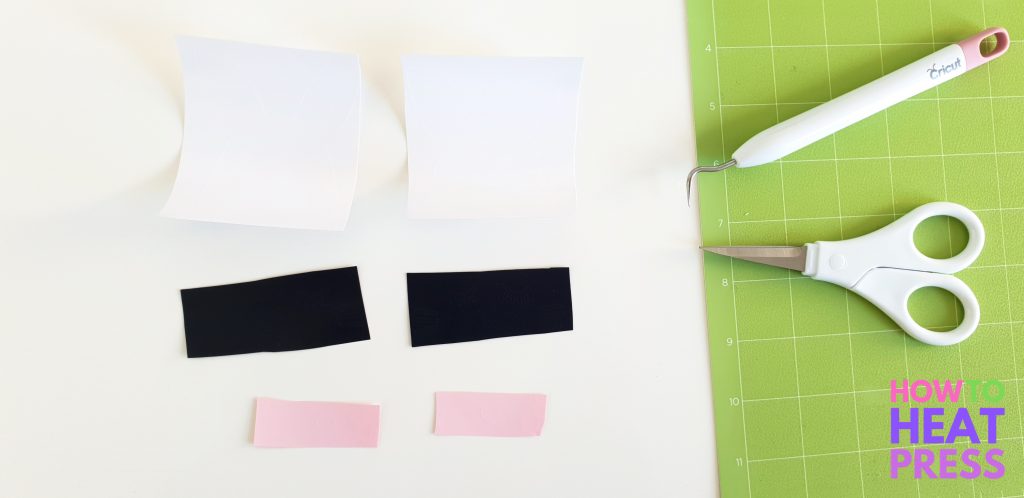
The designs are all weeded and ready to press!
How To Heat Press Your Design
I turned the heat press on and set the temperature to 305°F. I let it heat up for about ten minutes.
I much prefer using a heat press than an EasyPress for layering HTV. A heat press gives much better pressure. As I’m using EasyWeed I can use the one second tack for each layer, and it makes it really easy and simple to press!
When my press had reached temperature, I pre-pressed the area of the pant leg that I would be transferring onto. This is very important as it removes any moisture and creases in the clothing.
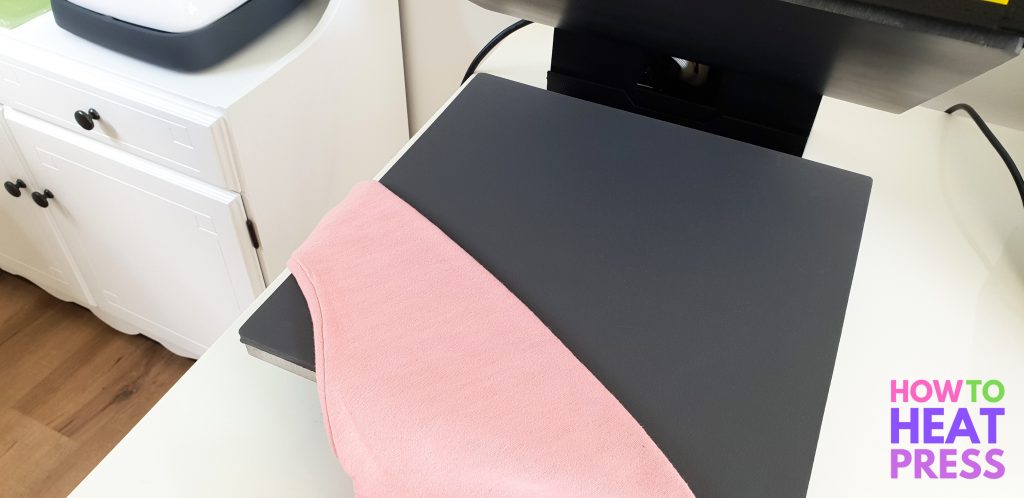
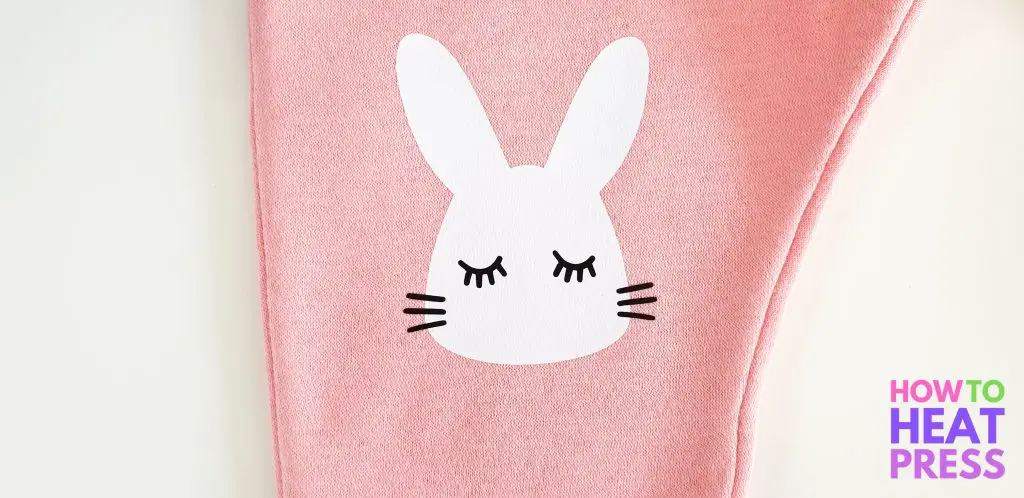
I placed the first layer of my design ( the white color of the rabbit) onto the pants and pressed it for one second with the PowerPress.
I always use a Teflon sheet over my garment to protect the HTV from melting.
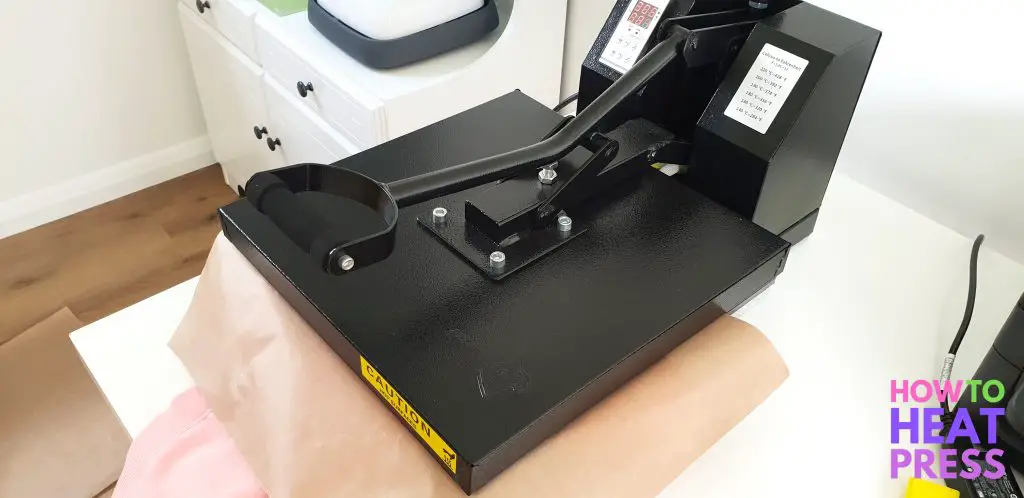
Siser EasyWeed is a hot or cold peel, so I peeled the carrier sheet off the white layer while it was still hot. Next I placed the black layer down, covered it with a Teflon sheet, and pressed that also for one second.
I peeled the carrier sheet off the second layer while hot. Two layers done now!
Now onto the pink HTV, which is the last layer of my design. Since it is the last layer, I will need to press it for the full remaining time.
As Siser recommends 10-15 seconds total for EasyWeed, I can press this remaining layer for between 10 and 13 seconds. This gives the white layer (which has had 2 seconds by now), no more than 15 seconds of pressing time, which is the max time!
I placed the pink layer on, covered it with the Teflon sheet, and pressed it for 13 seconds. You’ll see in the photo below how I positioned the pant leg in my heat press – this was to avoid pressing any seams, which can negatively affect the pressure when pressing.
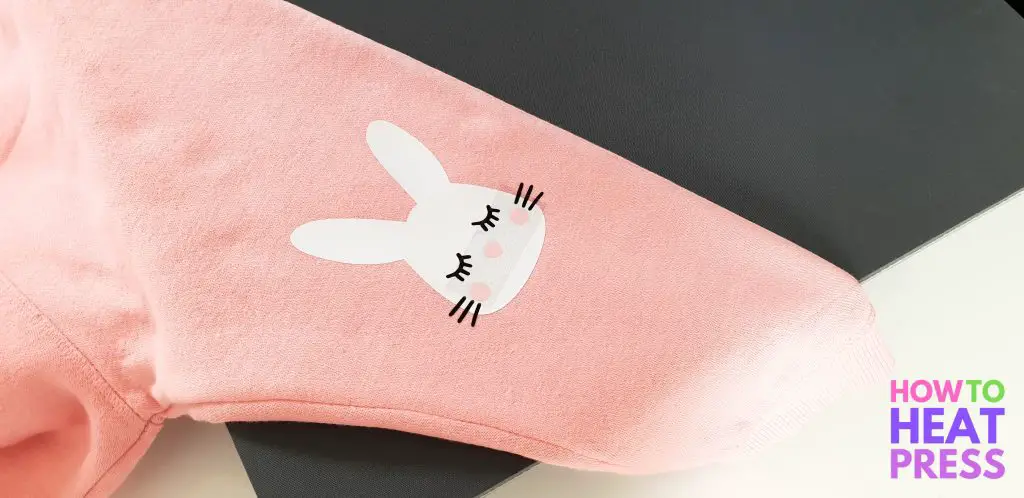
Didn’t they turn out cute!
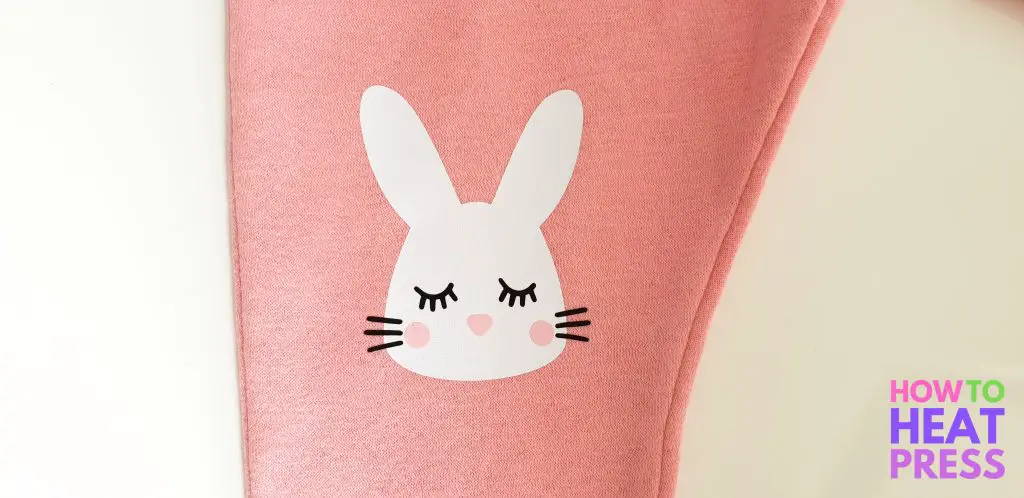
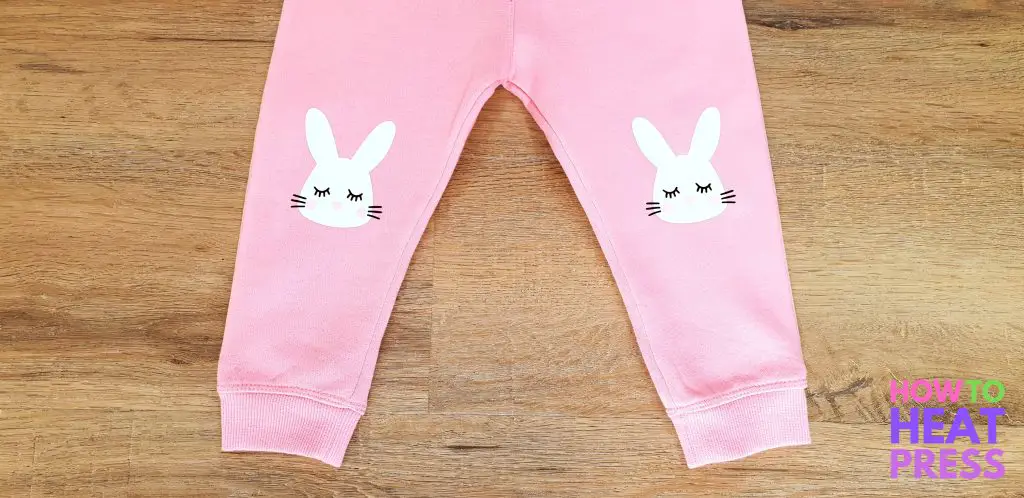
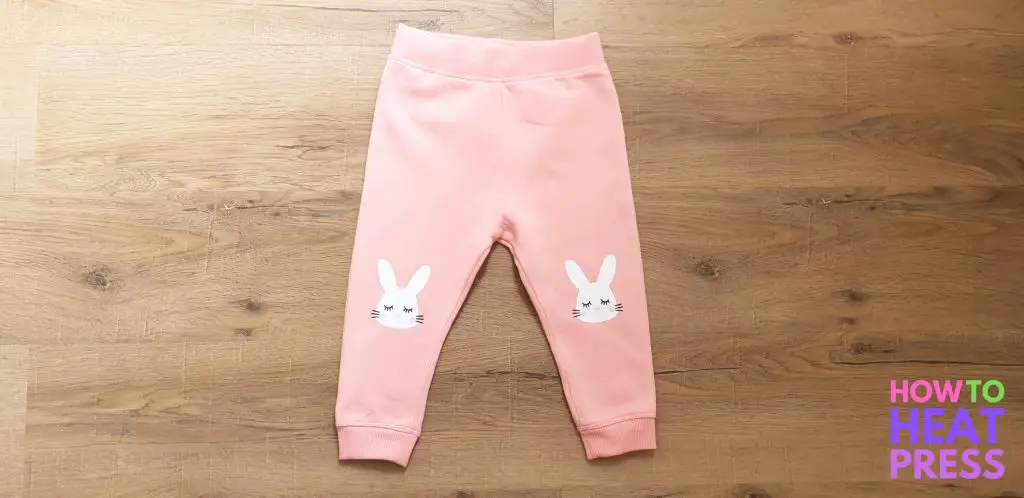
And so that’s all there is to it!
As already mentioned, these knee patches go great on leggings and sweatpants. They are lots of fun to make and press, and turn a plain pair of pants into something really nice!
Here are some other SVGs that could be used as knee patches:
Let me know what SVG you would use for a knee patch in the comments below!
(Please note: This post contains affiliate links. Read our full disclosure policy here.)

