How to Remove Embroidery
Removal of embroidery always seems like it could be near enough impossible, especially if you are new to sewing, embroidery, or DIY with fabric. Embroidery is awesome. It looks beautiful and intricate, and it is a joy to create either by hand or with a machine. But if you no longer want it there – how do you remove embroidery?
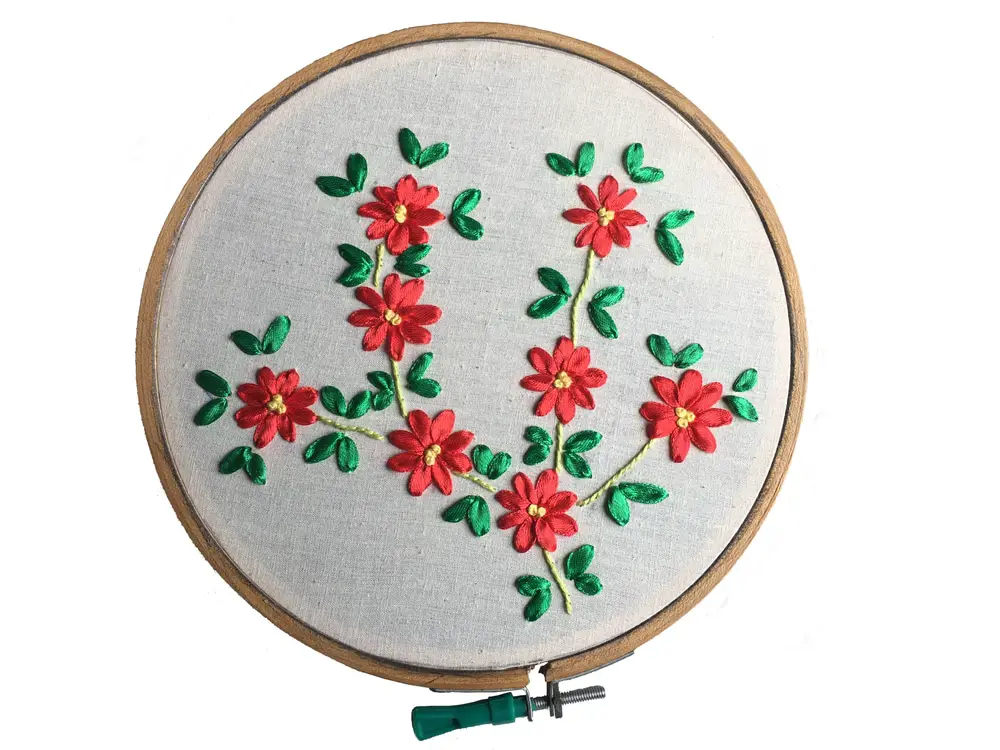
However, there comes a time where sometimes embroidery just has to go! Maybe you want to change the look of some jeans or a jumper, or perhaps you’ve picked up some cool fabric on sale or a great t-shirt with a monogram that’s not yours at Goodwill and you want to get rid of the embroidery and start afresh.
As tough as it seems, there are definitely ways that you can go about removing the embroidery. The good thing about embroidery is that it has been manually (or machine) stitched in. This means that these stitches can be unpicked.
Keep on reading to find out our top methods for how to remove embroidery – both hand embroidery and machine embroidery.
How To Remove Embroidery
The first thing you’ll need to do is to stabilize your work area no matter what method of removal you choose for your unwanted embroidery designs. You’ll want the fabric to be taught so you can isolate just the threads of embroidering, monogramming, or lettering you plan to remove.
An embroidery hoop is a great stabilizer. We really like these silicone embroidery hoops because they really grip the fabric and keep it in place. Remember you can move your fabric around, so we always suggest using a smaller hoop and focusing on each small section one at a time.
Once you’ve got your fabric stabilized it’s time to pick your method of stitch removal. Find out which is right for you based on the size of your project.
Stitch Eraser

To look at, they resemble a shaver or trimmer. You know, the electric sort with the little metal teeth for beard trimmers? The difference is, the length on these is much shorter, an ideal size for unpicking intricately embroidered patterns.
We recommend Peggy’s Stitch Eraser for this as it is the perfect size for all your embroidery erasing needs.
Simply use the tool at the back of the garment or piece of clothing, so as not to potentially ruin anything that can be seen on the front of the garment when wearing or when in use. What it does is maneuver under the stitches, cutting them so you can gently buff them away.
Seam Unpicker/Ripper

The next method for removing embroidery is to use a seam unpicker/stitch remover/seam ripper – whatever you call it in your neck of the woods. These little tools are usually used for (you guessed it) unpicking seams on garments and fabric items. They are usually small tools with plastic handles and a fork-like metal top that is used to unpick threads.
Simply run it over the thread, remembering to do so at the back of the garment, or take your time to gently unpick each of the threads. These little unpickers are often referred to as seam rippers – but resist the temptation to yank and tug. Be gentle and take it slow so you preserve the quality of the fabric beneath.
You can then go in with a set of tweezers or a lint roller to remove all of the loose threads. This method is a little more time-consuming but is a great choice if you don’t have a stitch eraser.
We especially like the Seam Ripper from CampTek as it comes in a set with other tools that you can make use of when removing the embroidery from your garments. It includes different sized rippers which should make removing any embroider just a matter of time.
Shaver/ Trimmer
This method for removing embroidery works similarly to the stitch eraser. The tools almost look identical, but the main thing to remember is that on a trimmer or shaver that is designed for hair, the metal teeth may be a little longer and more powerful. We recommend using Wahl’s beard or mustache trimmer instead of a full set of clippers because the stitches are delicate.
For this reason, you should do this as gently as possible. You can use this method in the exact same way as the stitch eraser, taking the trimmer or shaver across the back of the embroidery and gently letting the power run over it to remove the stitches.
Another option is to try using a disposable razor. Like other methods, always work with the inside out – cutting away the bobbin thread and not damaging the right-side of the fabric. Gently run the razor over the threads to slice them away.
Any loose threads can be taken out with a pair of tweezers.
Things to Remember for All Embroidery Removal Methods
With all of the methods above, there are extra steps that you can undertake to ensure the smooth and swift removal of embroidery stitches. The first thing to bear in mind is that all of the methods should be undertaken with as gentle pressure as possible.
The garments that you are unstitching the embroidery from may be very fragile and could easily be damaged by some of these methods, particularly with the powered tools such as the shaver, trimmer, or stitch eraser.
As well as this, even if they are sturdy garments, all of the methods could potentially cause damage to occur to the garment or material if due care is not taken to remove the stitches carefully.
Another consideration to keep in mind when you are removing embroidery from garments is that threads are at their weakest when they are wet.
We highly recommend that you dampen the area on the garment that you plan to remove the embroidery from before you go ahead and remove it. You don’t want a sopping wet garment, especially if using a powered tool, but just a little dampness is a great little hack to make the stitches come out a bit easier.
Do this with a damp cloth, running it over the embroidery thread or a water spray bottle to thoroughly dampen it. If the embroidery is particularly big, you may need to keep dampening it throughout the process.
Other tools that you will need for all of the methods are tweezers, a lint brush or even some duct tape, and lastly, a magnifying glass can really come in handy. The tweezers will help you to pull out any threads completely so you are not left with frayed stitches in your garment.
The lint roller and the tape will both help to get tiny bits of thread up from the garment. There is likely to be at least a small amount of lint on your garment, especially if using the trimmer, shaver, or stitch eraser removal method.
Simply run the lint roller or tape over the lint to remove it all. The magnifying glass will, of course, allow you to see smaller details of embroidery much more easily to ensure that no damage is caused to the garment itself.
Anyone who struggles with seeing things up close will appreciate the magnifying glass as the removal of embroidery can be quite a fiddly process.
If you notice any stitch marks after successfully removing the unwanted embroidery don’t fret. First, massage the fabric a bit to try to get the threads to come back together. Next, run it through the wash at the warmest setting the fabric will allow and dry it. You’ll notice it looks like there was never anything there!
Final Word
As you can see, removing embroidery from garments and fabric is super easy when you know exactly what tools to use.
It is likely that you have at least the stitch unpicker, trimmer, or shaver already in your home so you can do this without having to splurge on any fancy tools. Honestly, the most important tool you’ll need is patience. You must go slow and be cautious, especially when there are layers of stitches on delicate fabric.
That being said, if you find yourself needing to remove embroidery a lot, whether for work or a hobby, it is well worth investing in a Stitch Eraser in our opinion to make your life that little bit easier.
Remember, whatever method you use, please do it gently so as not to cause damage to your garments or fabric! And if you’re interested in the opposite, check out our embroidery machine reviews to find the best stitchers on the market.
(Please note: This post contains affiliate links. Read our full disclosure policy here.)
