Easy Christmas Gift Tags With The Cricut Explore Air 2
How to make Christmas gift tags with Cricut!
Here are two gift tag ideas you can make to add that personal touch this holiday season! Both of these projects are easily customizable, so simply change the colors or SVG files and make it exactly how you like!
Cricut Christmas Gift Tags
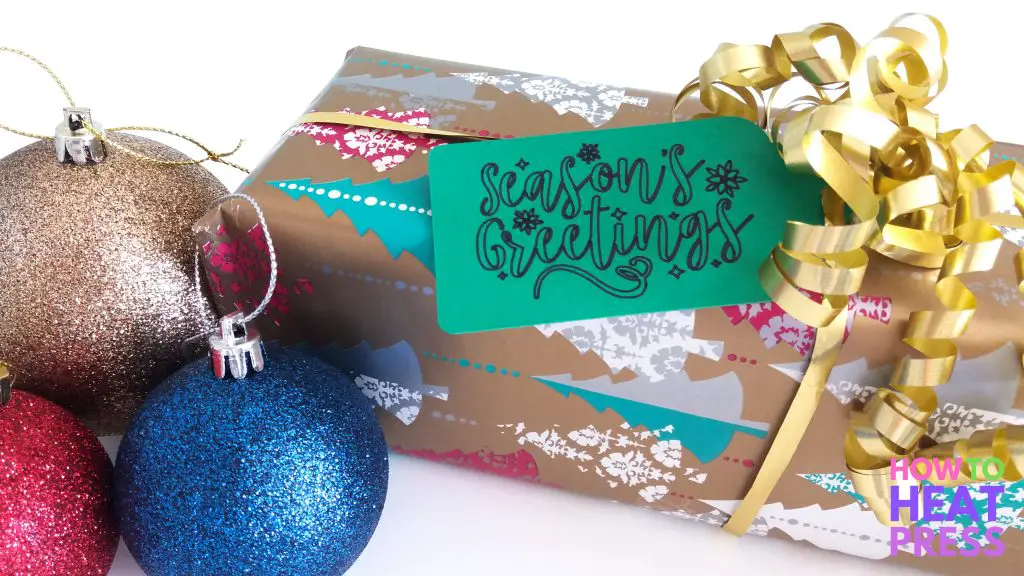
For these projects you will need:
- Free curvy tags SVG file
- Free Merry Christmas SVG file
- Free Season’s Greetings SVG file
- Free snowflakes SVG file
- A Cricut cutting machine
- Cricut pen
- 2 or 3 different colors of cardstock
- Glue
- Ribbon or twine
1. Hand-Written Christmas Gift Tags
These first gift tags are VERY easy and they give an awesome hand-written look!
To start you will need to download the curvy tags SVG file that I linked to above. Also download the Merry Christmas and Season’s Greetings SVGs.
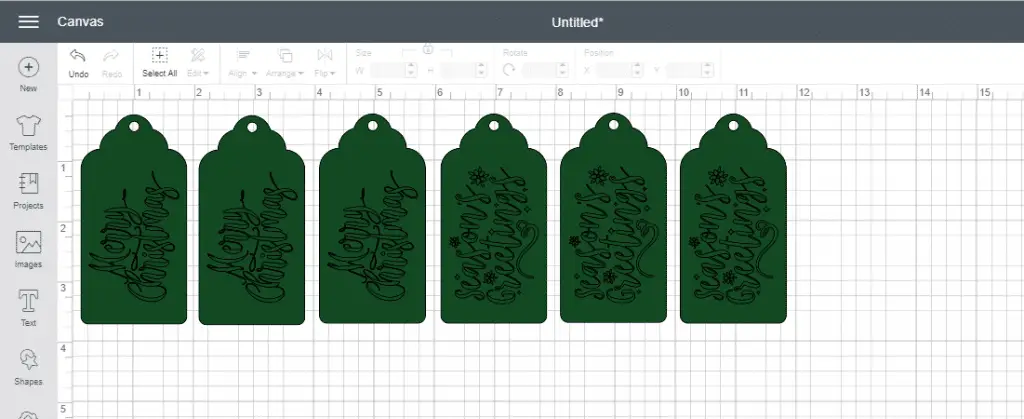
I opened a new project in Cricut Design Space, uploaded my SVG files and inserted them into my project.
You will see that there are two size options for the tags, for this project I opted to go with the skinnier one, so I ungrouped them and deleted the larger one.
Then I arranged my Merry Christmas text, bringing it to the front, so that it would appear in front of the tag. I changed the Merry Christmas file to be drawn instead of cut. I changed the color of the tag to green to show what it would look like. I grouped the text and tag together.
I simply duplicated my first tag two more times. I repeated this process making three more tags, this time using the Season’s Greetings SVG. Lastly I attached everything before sending it to cut.
Here is a look at my project in Cricut Design Space:
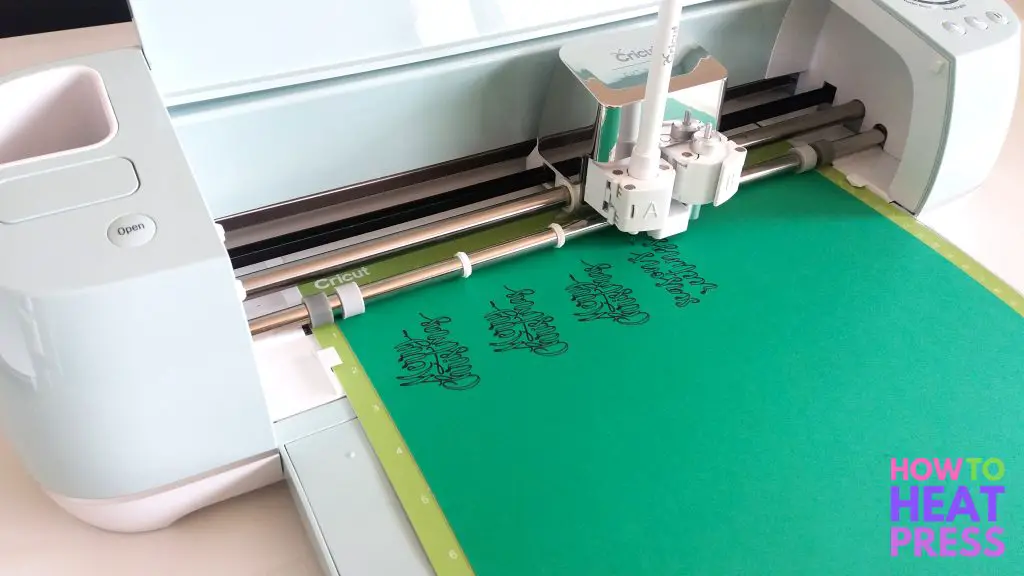
And here’s the Cricut writing the text! I love watching it write intricate designs, it’s so amazing!
I find it’s easier to remove the cardstock from the mat by turning it upside down and bending one corner.
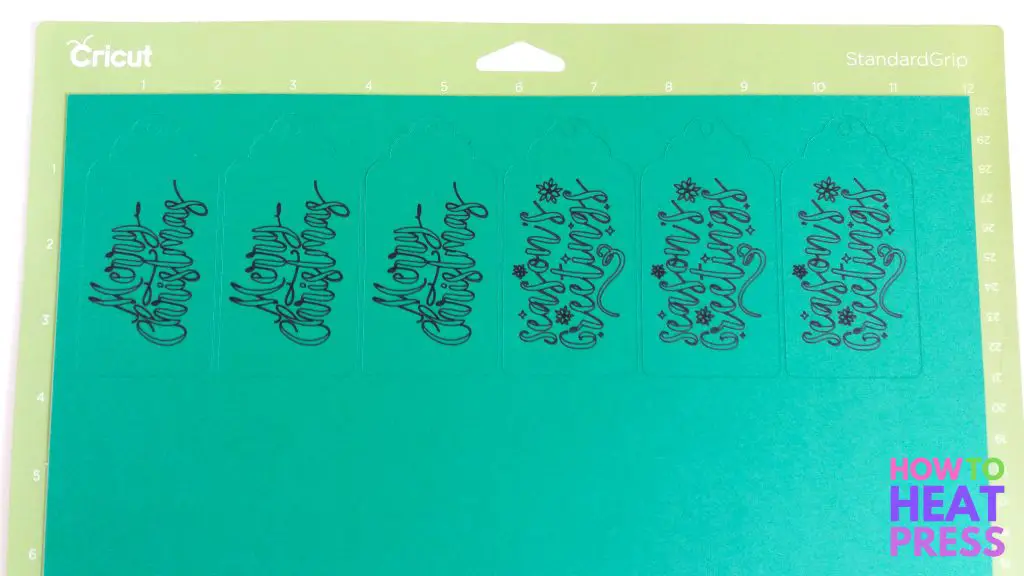
These turned out great!
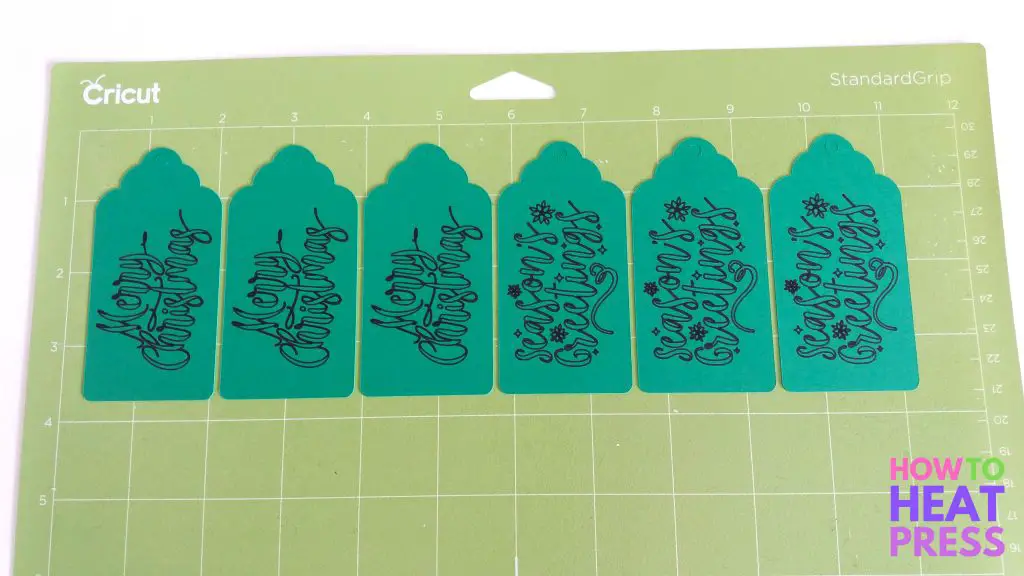
The finished product – it looks hand-written! I absolutely love the Season’s Greetings design.

2. Snowflake Christmas Gift Tags
For this second project I used the same curvy tags SVG file linked to at the start of this post, this time opting to use the bigger size. As with the first project, I simply ungrouped them to be able to delete the size tag I didn’t want.
I inserted the snowflake SVG file into my new project, which is also linked to above. I only wanted to use two snowflakes so I ungrouped them all and deleted one.
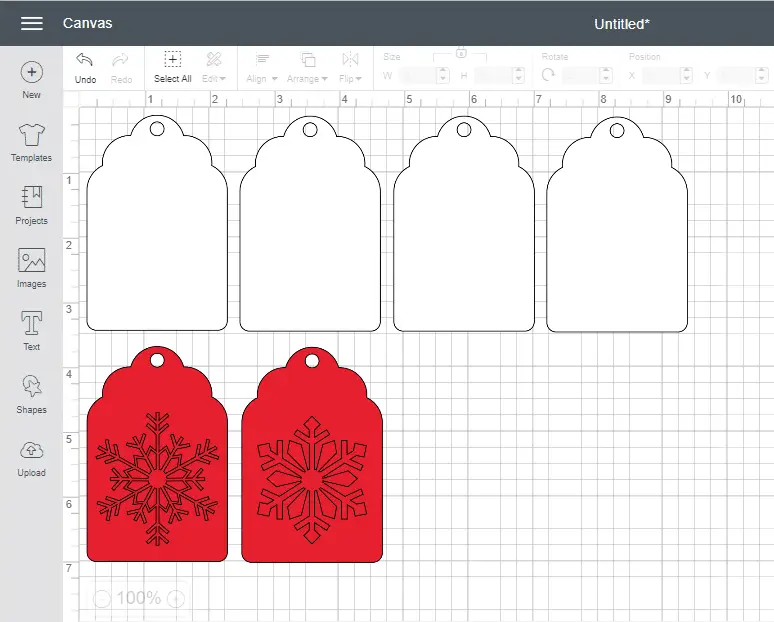
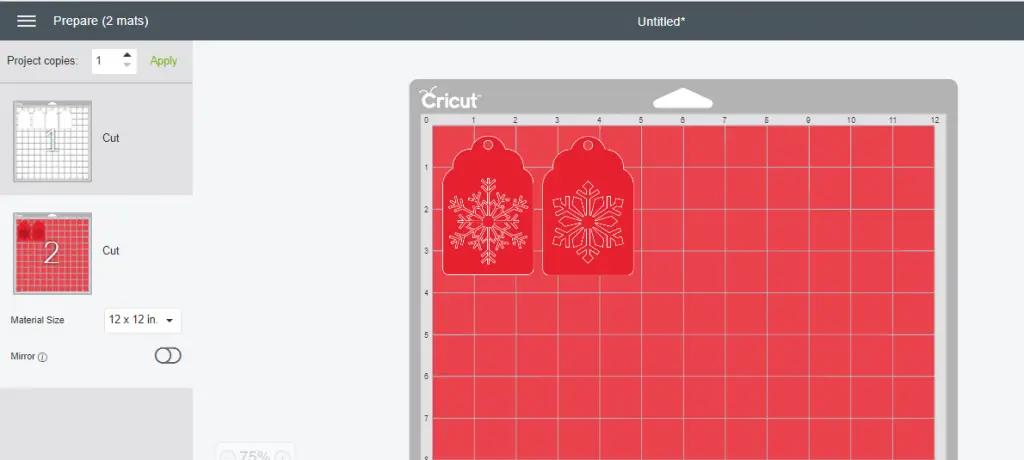
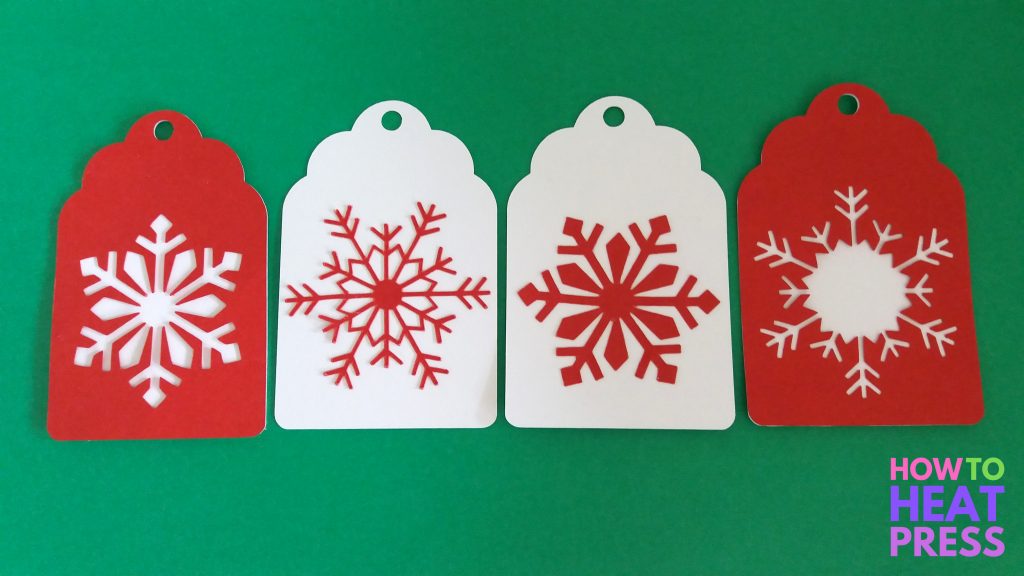
I thought it would be cool to make two different types of snowflake tags and see how they turned out. I created four plain white labels and two red snowflake labels. This way I could make two tags just using the red snowflakes, and two tags with the snowflakes cut out (the reverse).
I grouped my four white labels together and then my two red labels together. I attached everything and sent it to cut.
Here’s a look at the project in Cricut Design Space:
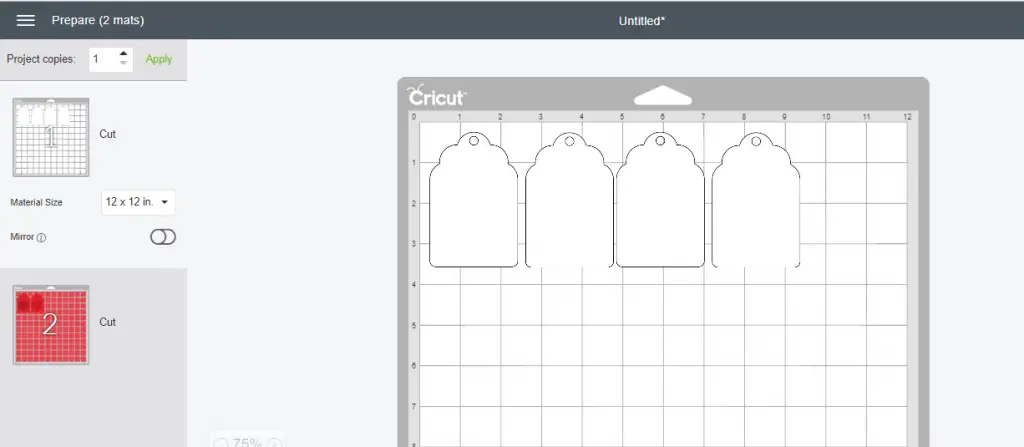
Here’s what the first cut looks like:
And here’s the second cut:
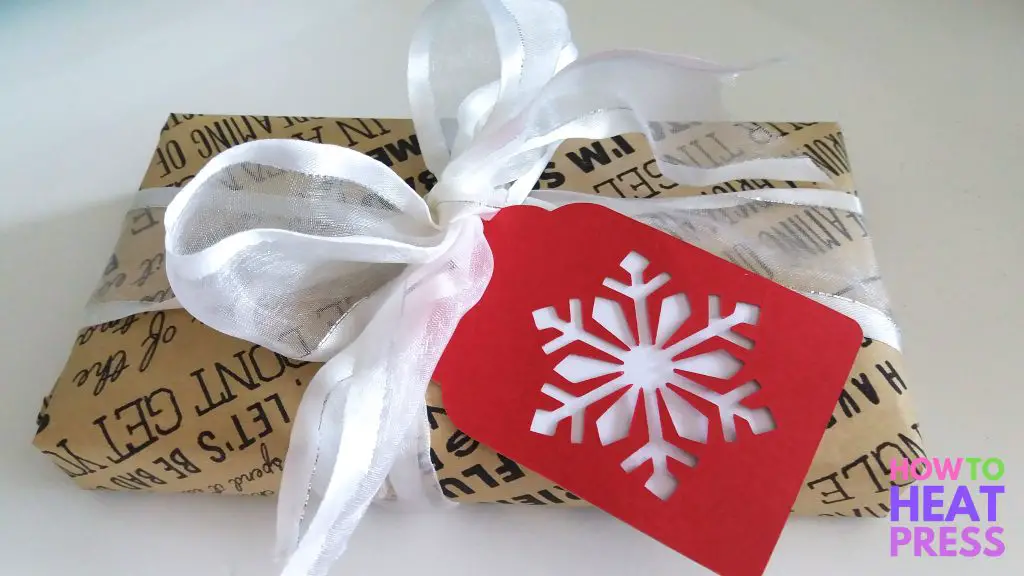
The finished product – which type do you like better? I think they’re both pretty cool! Leave a comment down below!
If you haven’t got one of these amazing machines yet, you can read our review of the Cricut Explore Air 2, or view it on Amazon here.
Thanks for reading – Merry Christmas!
(Please note: This post contains affiliate links. Read our full disclosure policy here.)


I literally clicked on this link in hopes of completing my first cricut project. This is not a beginner project. This gives no information on how to group or attach anything. Very frustrating. I think you left out way too many steps if you are looking at this being an easy beginner project.
Hi Shelly, thank you for the comment, and I’m sorry it wasn’t clearer. We’ll work at updating it when we get the chance!