Cutting Felt With Cricut – DIY Preschool Montessori Activity!
For this project I’m cutting felt with Cricut!
I’m making a fun Montessori activity, which you can also make with your Cricut Explore or Cricut Maker machine.
This Cricut Felt Project is super easy to do, and will keep your toddler entertained for… at least 5 minutes!
How To Cut Felt With Cricut
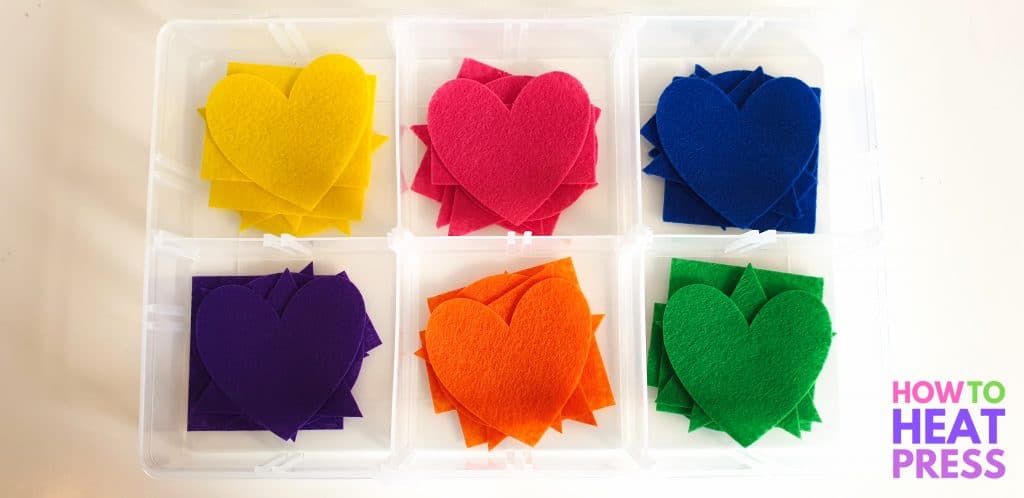
If you’ve got little ones around then they are going to love trying out this hands-on educational activity!
And the best part is that this Cricut project is very quick and easy to make! This is a fun interactive way to teach colors and shapes.
Can Cricut Cut Felt?
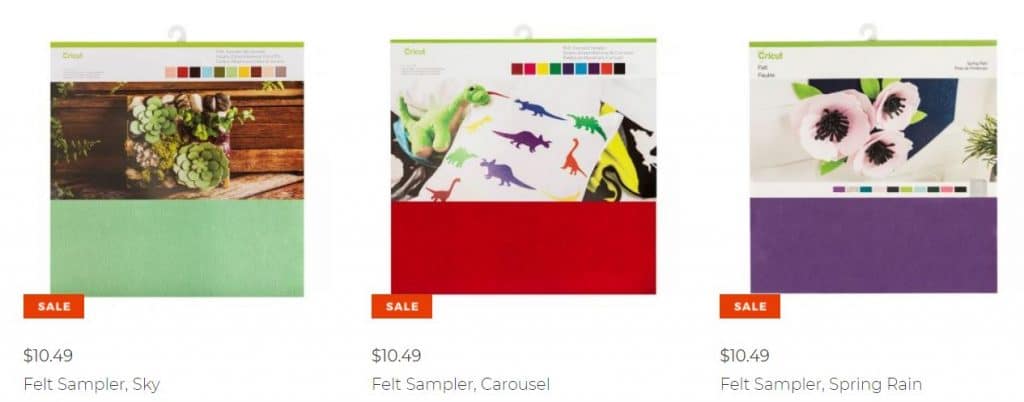
Yes, Cricut cuts felt, and that’s why there’s a Cricut brand of the material.
At the time of writing, Cricut Felt is on sale.
The Carousel Felt Sampler is the set that I’ve picked up. I think it’s the best sampler for this project- toddlers prefer bold primary colors over something like the Spring Rain Sampler!
Besides an organizer container which divides into six compartments (or more), you’ll need the following:
If you have the Cricut Maker:
- The Rotary Blade (comes included with the Maker)
- Fabric Grip Mat
If you have the Explore Air 2:
- Fine point blade (comes included with the Air 2)
- Standard Grip Mat
Cricut Felt Sheets
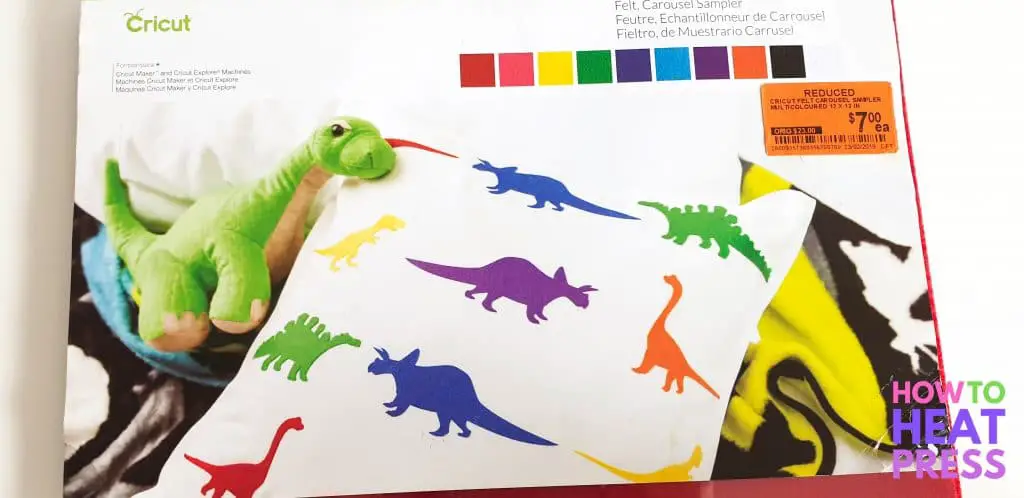
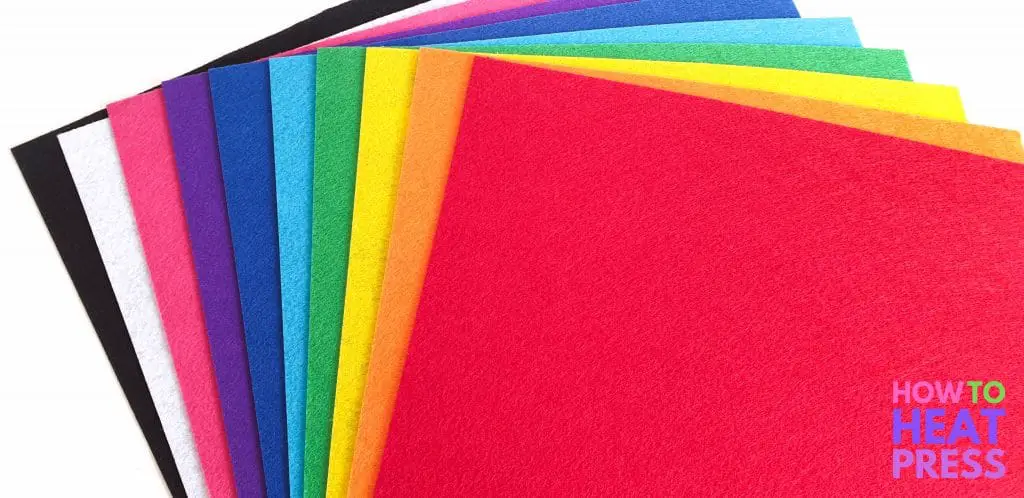
Here are the felt sheets that come with the Carousel Felt Sampler.
These Cricut felt sheets are definitely better quality than other types I’ve tried in the past!
Cut Felt With Cricut
Here are the steps I took to complete this project using Cricut Design Space!
Create Shapes
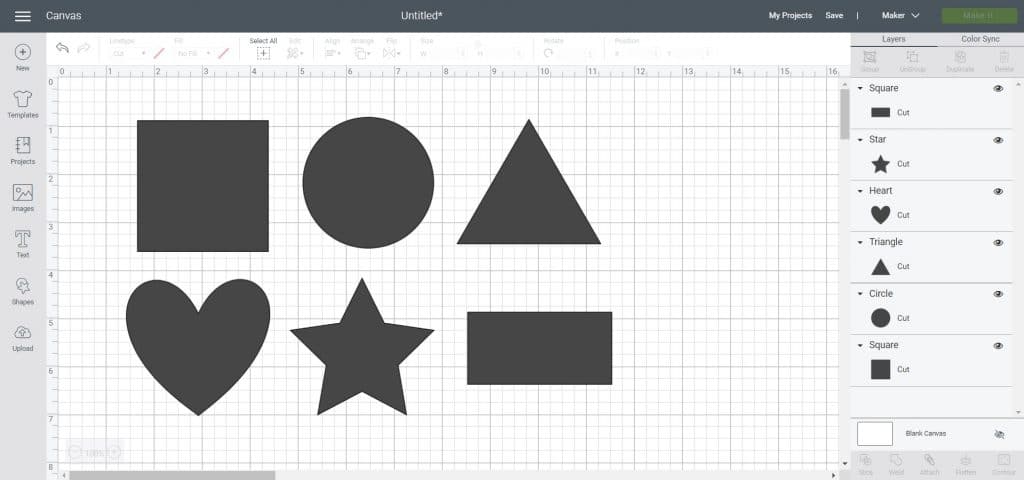
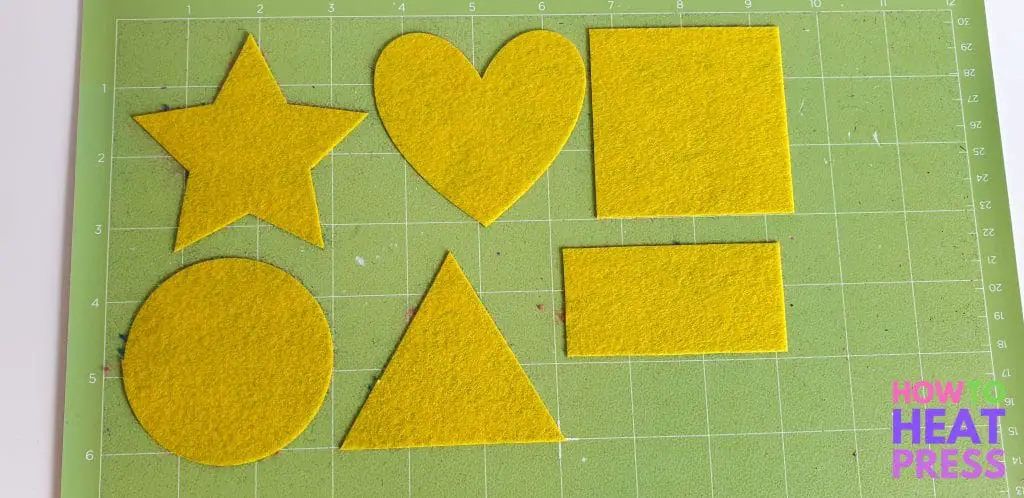
I used the shape tool (left side bar) to create these 6 shapes. Each compartment in my organizer container is about 4 inches wide, so I’m going to make each shape roughly 3 inches wide.
To make a rectangle, first make a square, click to unlock it (bottom left corner of shape) and that will allow you to change the proportions of the square into a rectangle.
Next I clicked ‘Make It’ to continue to the mat preview.
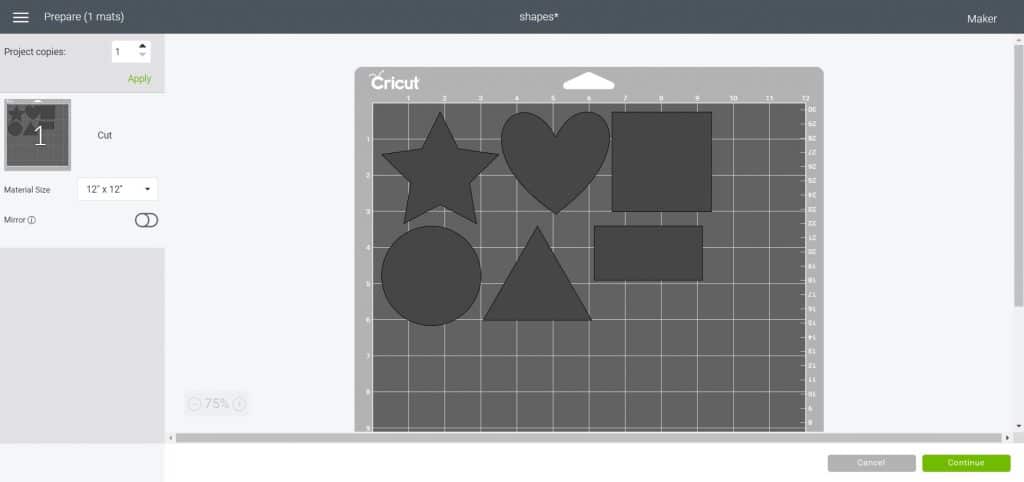
I didn’t need to change anything on this screen so I clicked ‘continue’.
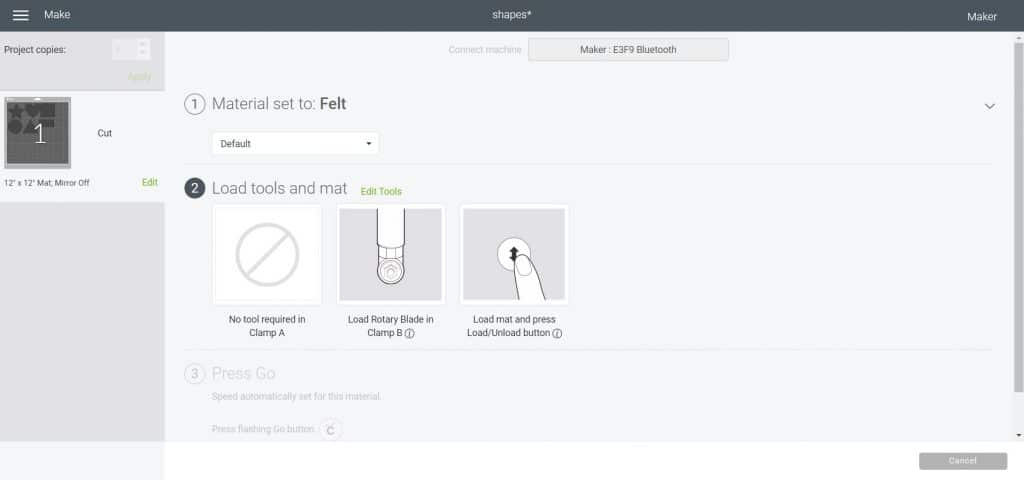
How To Cut Felt With Cricut
The Cricut Maker is definitely the better machine for cutting materials like felt. The Rotary Blade is especially designed for cutting this type of thing.
Cricut Maker:
- Select ‘browse all materials’
- Search for & select ‘felt’.
- Click ‘edit tools’
- Select ‘Rotary Blade’
You can use the fine point blade, but the Rotary Blade is by far the best tool for the job. It’s also best to use the FabricGrip Mat with the rotary blade. I actually used my StandardGrip mat not realizing that it’s not ideal with the rotary blade!
Cricut Explore Air 2:
- Set the dial to custom & click browse all materials
- Search for and select ‘felt’
You can use the fine point blade, but you may need to change the default pressure to ‘more’. The Air 2 will make all the cuts twice, but you may still have to send it to cut a second time. Some people like to iron on HeatnBond to the back of their felt when cutting felt with the Air 2.
*Please note: Your cut settings will entirely depend on the brand of felt that you are using! These settings are for Cricut Felt, which I used for this project. Some brands of felt are thicker than others, so if you’re in doubt, it’s always good to do a test cut first!
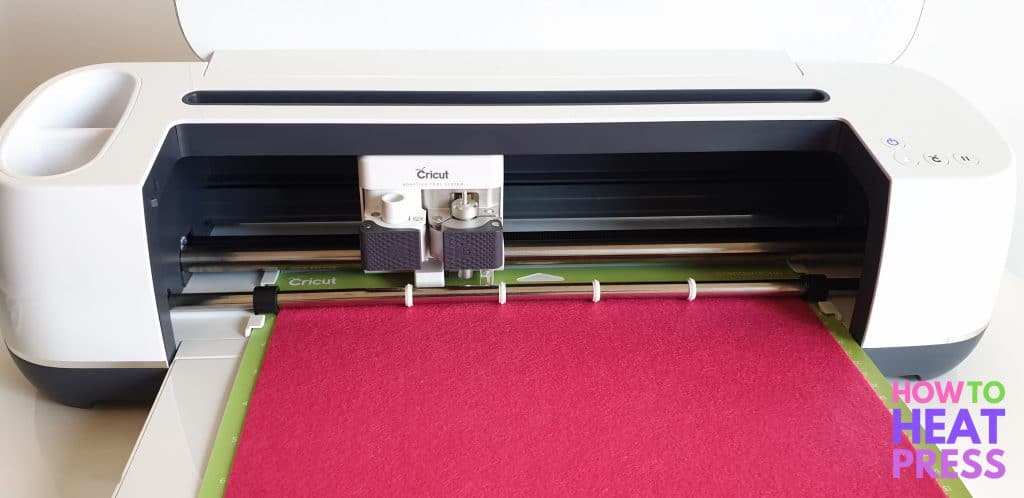
Always make sure there is plenty of room behind your machine before you begin cutting. If the felt isn’t sticking well to your mat then you may need to give it a good clean first.
Here is a look at the Cricut rotary blade, which is only compatible with the Cricut Maker (more about Cricut Blades).
The rotary blade comes with a plastic cover on top of the housing, which needs to remain in place.
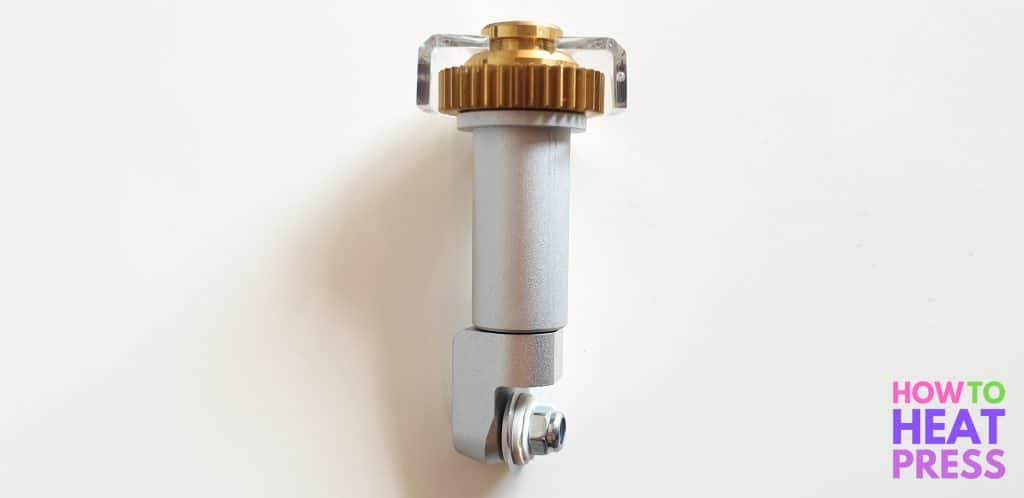
The rotary blade works like magic with Cricut Felt… absolutely perfect cuts, and so quick & easy!
I’ll definitely need to clean my mat after this though because of all the felt residue!
Different Felt Colors
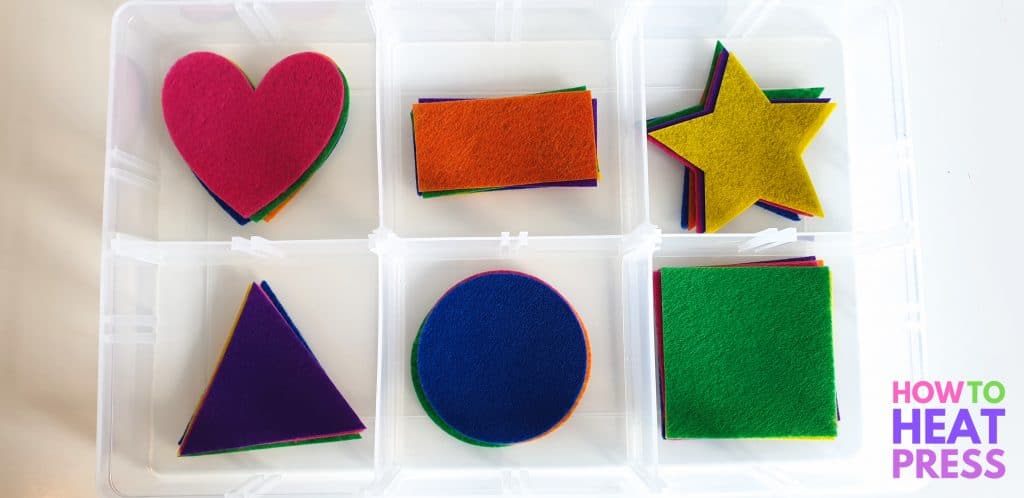
I repeated this process, and cut out this same set of shapes with 6 different felt colors.
Then I put them into an inexpensive plastic organizer, and they can now be sorted by color…

…or sorted by shape!
Montessori Crafts
What a fun Montessori toy for a 1+ year old. Its really effective at teaching colors and shapes. And, when you make it yourself, it’s much more satisfying! For children under 1, you have to see the Lovevery Play Gym!
Your little one is going to love doing this Montessori activity over and over again, just like my 20 month old. 🙂
Before you go, check out this other fun felt craft idea by Sweet Red Poppy!
(Please note: This post contains affiliate links. Read our full disclosure policy here.)




No Comment