Cricut Machine Storage Project – Painting An Old Cabinet
We recently moved into a new house, and are now thankfully able to have a dedicated craft room. And what’s more, check out our sweet new Cricut Machine Storage!
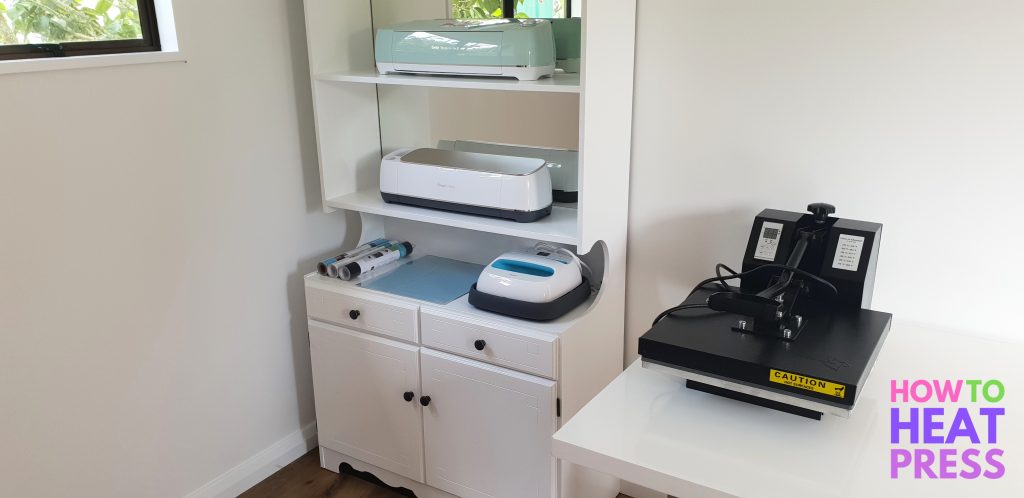
DIY Cricut Storage
We painted the cabinet ourselves, and so I’ll share a few before and after photos. Unfortunately, I didn’t take more ‘before’ photos, as I wasn’t planning on posting about it!
The previous owners of the new house left an cabinet behind. We thought it would work perfectly for storing and displaying the Cricut Machines. Because it has the upper shelves with glass at the back, it’s fantastic for displaying (and it guess that’s what it was made for)!
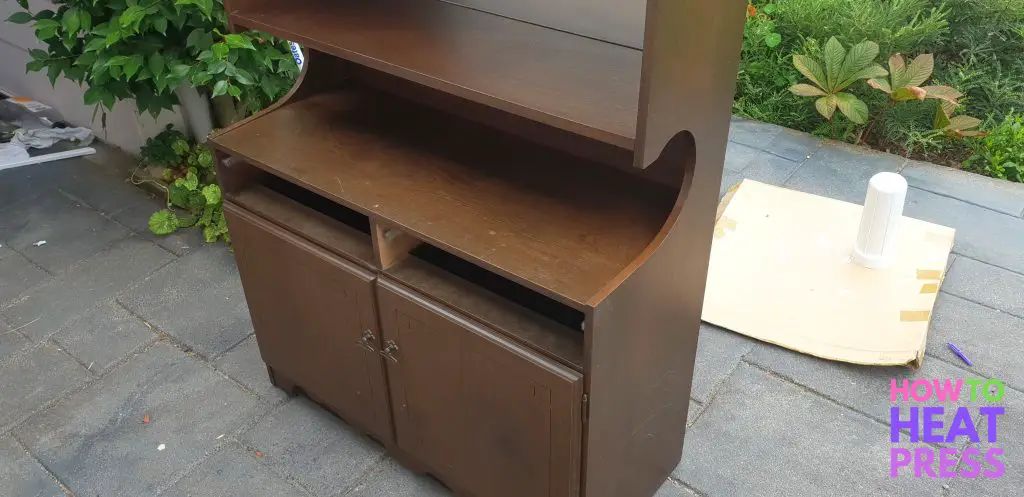
Here are the before photos:
The drawers are removed in this picture, but you can see that it’s a tired old piece of furniture! Very dated and worn.
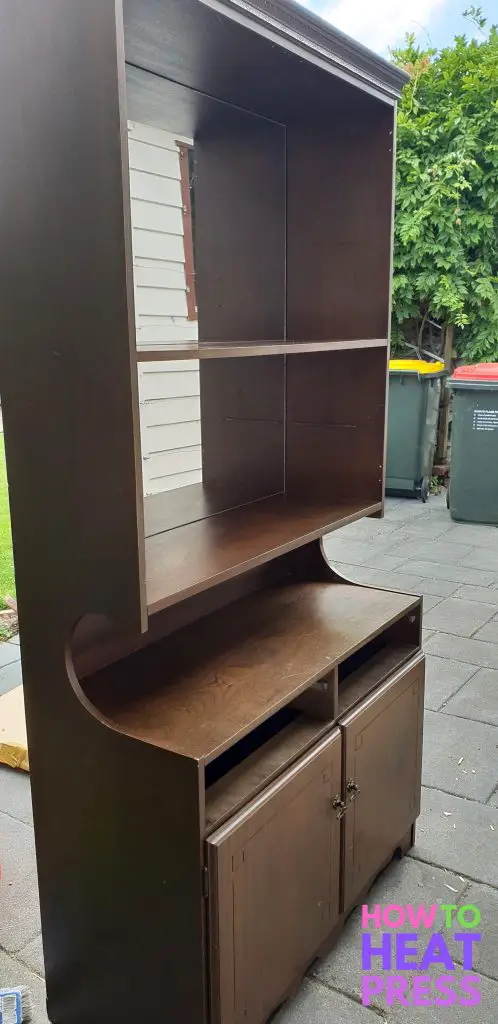
Here you can see the great shelving and mirrors, perfect for storing Cricut machines and craft supplies.
And here it is afterwards:
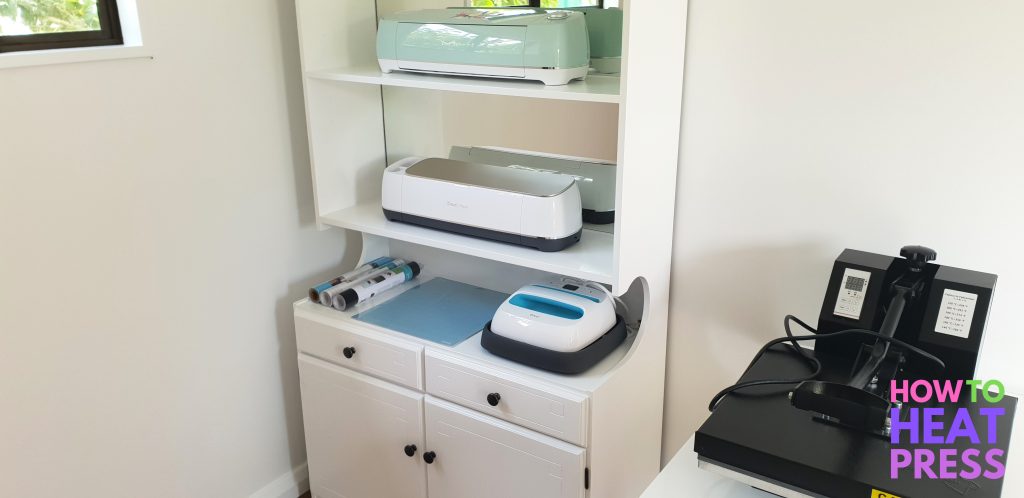
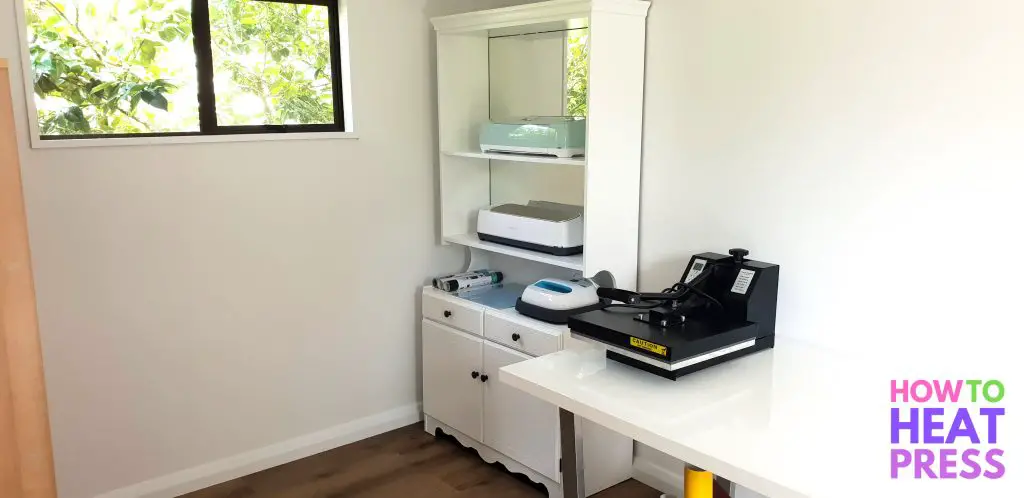
On the top shelf is the Cricut Explore Air 2, the lower shelf is the Cricut Maker, and then below that is the Cricut EasyPress.
I’m also able to store my Cricut tools and accessories in the drawers, and vinyl & iron-on in the lower cupboard.
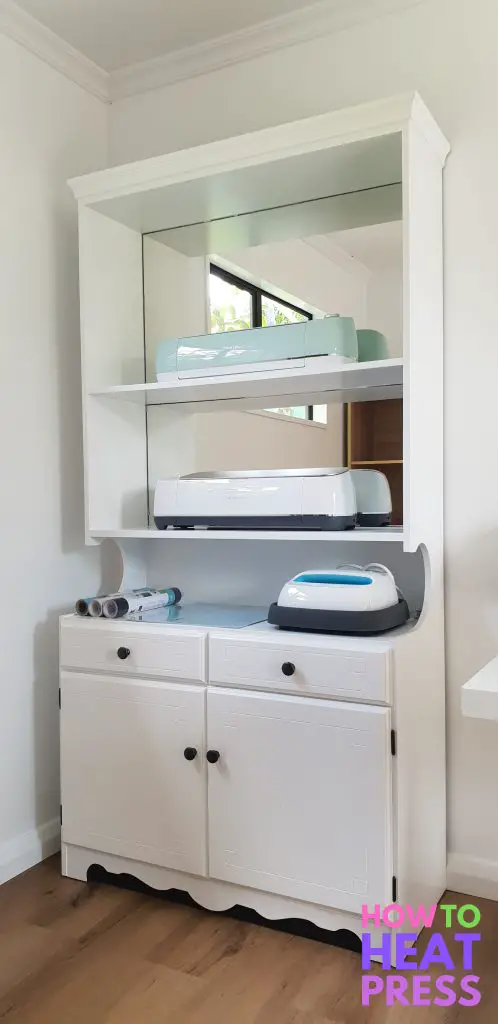
It worked out better than I imagined, and here’s how I did it:
- I removed all the drawers, doors, and hardware. There were doors covering the top shelving as well originally.
- I gave the whole thing a light sand with a low grit sandpaper.
- I primed everything with a pigmented sealer. This is an oil-based product that primes and seals the cabinet. It’s important to use a product like this as it stops any yellowing coming through from the wood oils.
- Fill any holes and dents with a good wood filler, and sand it back once it has hardened.
- I put 2 coats of a semi-gloss water-based enamel on top. It’s much faster and easier working with water based products, but if you make sure you’re using an enamel it will create a hard shell-like surface that stands up to wear and tear.
- After leaving everything to dry well for 3 or 4 days, I put it back together and added new handles.

Here are some tips for painting old furniture like this:
- Work very systematically and do one surface at a time and work your way round – water based enamels dry quickly and you only have a short amount of time to get it laying flat once it’s applied
- Use a quality paint brush – a more expensive paint brush produces far better results
- Apply paint and allow to dry in the direction of the length, rather than the width – this is important for each coat you put on
- Getting a bit of paint on mirrors isn’t a big deal – it’s easily removed with a razor blade at the end
- Try not to apply much paint to areas with intricate details – you will end up with paint dripping out
- Keep looking back over areas you’ve just finished to catch any paint runs – it’s usually alright for about 5 minutes after to gently run your brush back across to get rid of any drips
- Wait a decent amount of time afterwards to put things back together – paint remains very soft for many days after it’s applied
Cricut Craft Room
And here are a couple of before and after shots of the new craft room.
This room was built and decorated in the late 80’s, and hadn’t been touched since! It had the old carpet and wallpaper (I’m not sure why Dan is wearing gumboots inside though…).
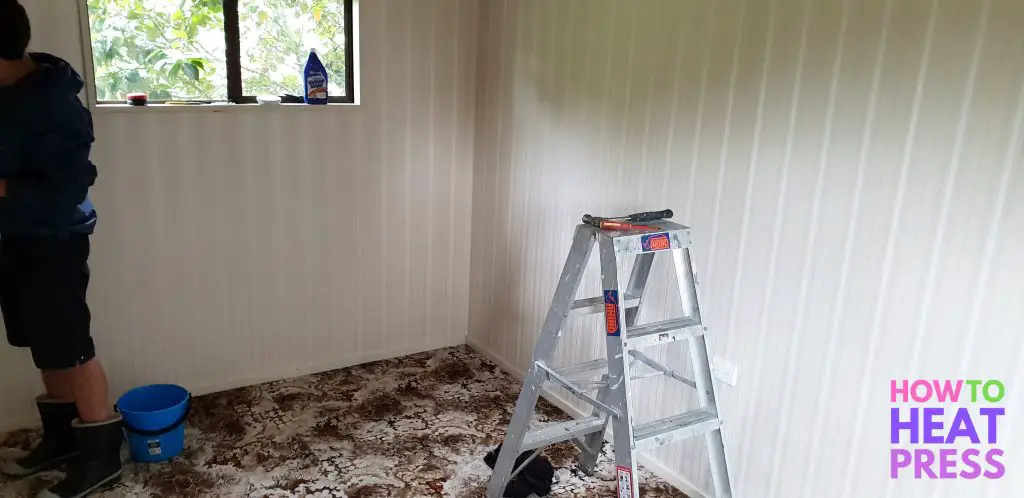
We stripped the wallpaper and painted the room, and lifted the carpet and put down vinyl planks.
Here it is all finished (minus the new baseboards which were not yet painted). If you’re wondering ‘where are all the windows?!’, the entire side of the room you can’t see is one large window (a set of sliding doors).
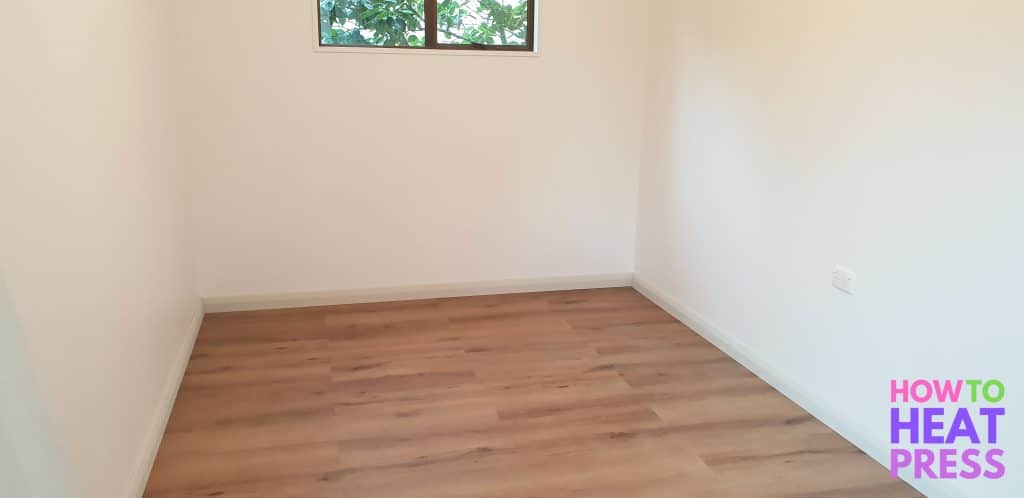
And this is it with some furniture in it. Curtains are still to come, and perhaps some wall decorations and shelving… though I do like a minimalist white room!
Thanks for taking a look, and let me know if you have any questions in the comment section below.
Here are a few other related articles:
Pin this post! 🙂

