Custom Kids T-Shirt With Siser HTV & The Cricut Easy Press
How to cut Siser heat transfer vinyl with Cricut!
One of the reasons I love the Cricut Explore Air 2, is that I can make special customized gifts with it. And the gifts I love making most are custom kids t shirts!
How To Use The EasyPress
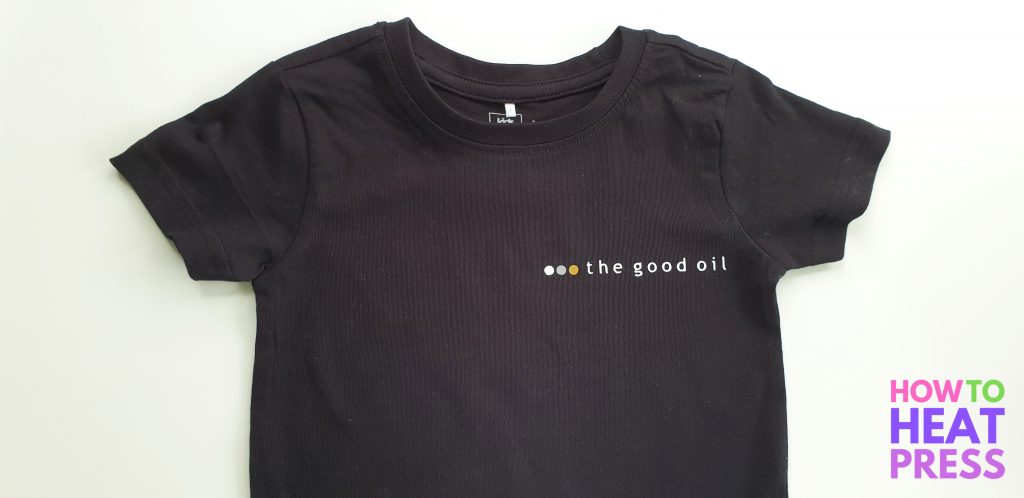
Today I’m going to be making a custom t-shirt for my new nephew. His parents both manage a popular cafe called The Good Oil, so I know they’ll love a kid’s t-shirt with the cafe logo on it.
Here’s what their company logo looks like which I’m going to put on a baby shirt:

In case you’re not familiar with the rules, always check the license of any images you download from the internet. Check whether they are free for you to use personally, commercially, or both.
In this case, I have permission to put this logo on a t shirt and to write this post, but you can’t just take any logo or brand and do this. That could be copyright infringement.
Make A T Shirt With The EasyPress
In this post I’m going to show you how I made this custom baby tee, and how you can customize clothing like this for yourself.
For this project I’m using Siser EasyWeed HTV, because that’s my preferred HTV.
1. Get the t-shirt design
Where can you get t shirt designs from?
- make your own in Design Space
- download a cut file from a free SVG website
- save an image from the internet and upload it to Design Space as a SVG cut file.
You can also take an image from Google Images and make a multi-layered cut file in Design Space so that you can use multiple colors of HTV.
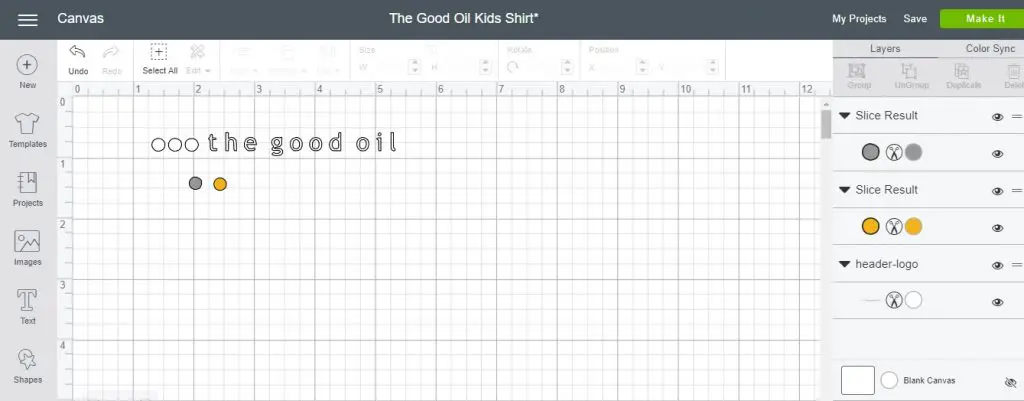
To make my design I uploaded a PNG image of ‘The Good Oil’ logo to Cricut Design Space.
Because it was a PNG, and not a SVG, my cut file only had one layer. I just used the slice tool to separate two of the circles out of my design and change them into different colors. I kept a copy of my original layer because I will cut that out and use it as a guide for where to put my colored circles.
2. Mirror mats for HTV
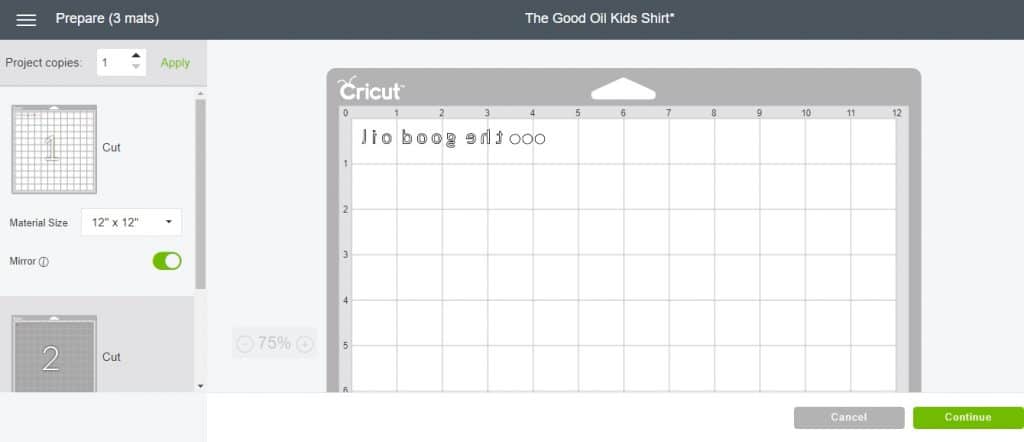
Now that my design is all done I clicked ‘Make It’ in the top right corner of my canvas.
Now I’m looking at the mat preview. I’m going to select ‘mirror’ for EVERY mat because I’m using heat transfer vinyl. This will reverse my design and my Cricut will cut it out backwards.
3. Cricut cut settings for Siser EasyWeed
Time to send the design to be cut.
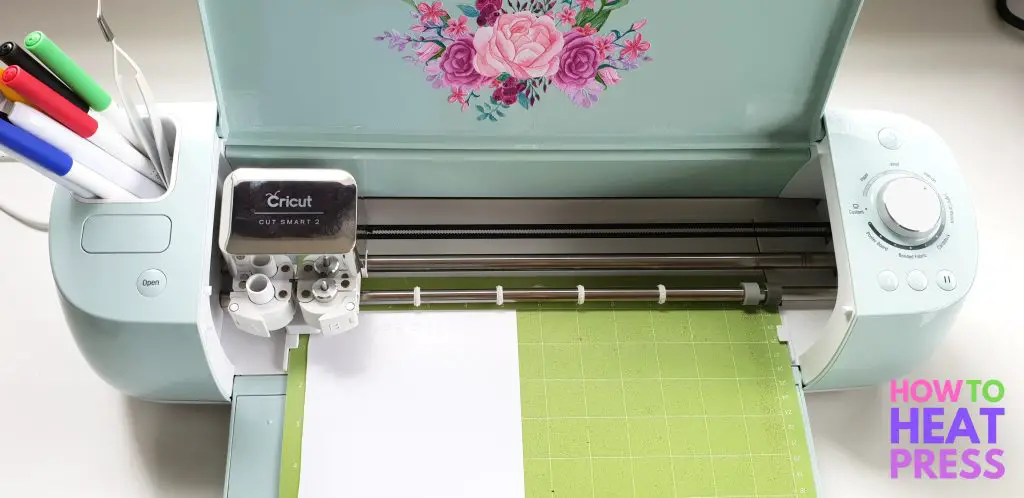
I changed the dial on my Cricut Explore Air 2 to ‘Iron On’. I placed my HTV shiny side down on my standard green Cricut mat, loaded it into the machine, and pressed go.
4. Weed away the excess HTV
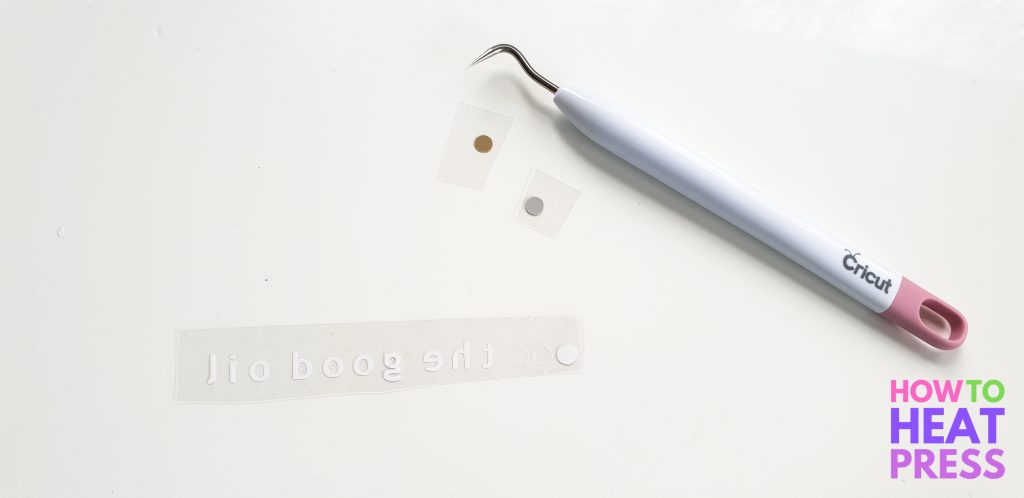
Use a weeding tool to weed out all of the extra HTV from the carrier sheet. Only your design should remain.
If weeding is a hassle to you, check out these tips to make it faster and easier.
5. EasyPress settings for Siser EasyWeed
Since I’m using Siser EasyWeed HTV for this project, and not Cricut Iron On, I’m going to follow Siser’s application instructions regarding temperature, time and pressure.
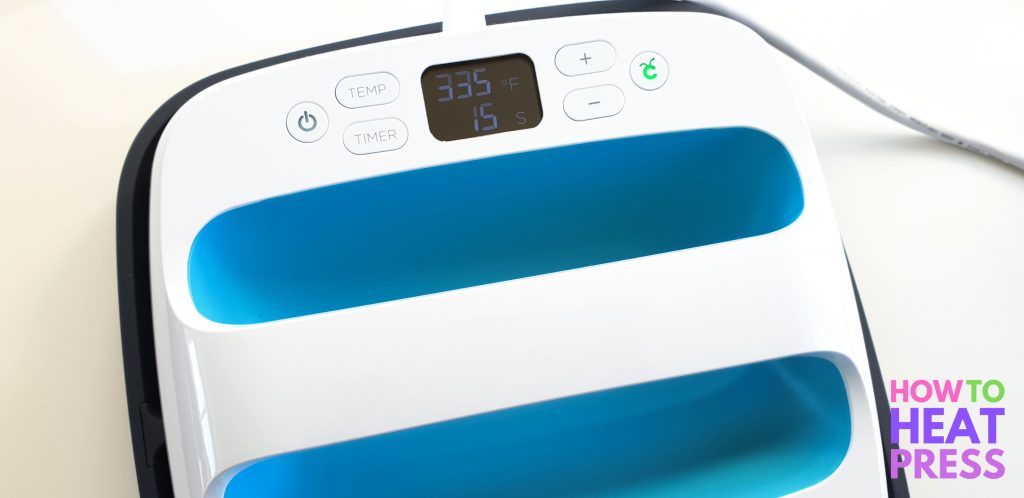
I set the temperature on the EasyPress to 335°F and let it heat up. The Cricut go button will turn green once it has reached temperature.
I pre-pressed my garment for 5 seconds (2-3 seconds with a heat press). It’s important to pre-press to remove any moisture and wrinkles. Your transfer will last longer if you do this. I set the timer on my EasyPress for 15 seconds.
6. How to press Siser EasyWeed with the EasyPress
Position the design where you would like it on the t-shirt, and you’re ready to press it!
- Set EasyPress to 335°F
- Press Siser EasyWeed for 15 seconds
- Apply plenty of pressure
Try to avoid pressing over seems, buttons, or pockets, because this can affect the pressure applied and will mess up your transfer. I used a Teflon sheet between my EasyPress and the HTV carrier sheet for extra protection.
For my design, I previously weeded two of the white circles from the logo, which left me with two kiss cut circles in the carrier sheet.
I cut closely around the colored circles and used the cuts in the carrier sheet to position them in the right place (though it wouldn’t have been a problem to eyeball it too!). I was able to press the design all at once. I peeled the carrier sheet hot, as the EasyWeed I’m using is a hot or cold peel.
I’m using standard EasyWeed – refer to the application instructions of your specific type of EasyWeed (Electric, Extra, Glitter, etc.). Each type has different temperature, time, and pressure application instructions, as well as whether to peel the carrier sheet hot, cold, or warm.
EasyPress Projects
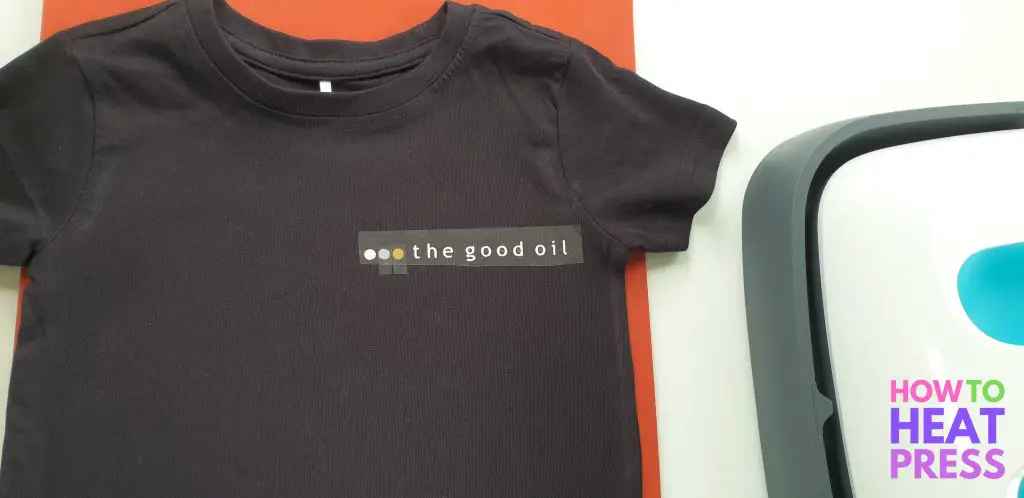
All finished! A cute custom baby tee!

What do you think? Do you have other unique ideas for baby and kids t-shirts? Let me know in the comment section below.
Pin this post! 🙂
(Please note: This post contains affiliate links. Read our full disclosure policy here.)

