Freezer Paper Shirt With Speedball Ink: Stencils With Cricut
Thanks so much to Jenny C for submitting these fun freezer paper stencil projects, made with her Cricut Maker!
Using Speedball Screen Printing Ink and freezer paper stencils is a great way to make custom DIY t-shirts. We’ve got a whole range to share with you in this post!
Cricut Freezer Paper Stencil
Materials needed:
Optional materials:
- Weeding tools
- Sponge brush (different texture)
- Hair dryer (for faster drying times)
The Method:
There are multiple ways of making t-shirts with freezer paper and screen printing ink. The following method was used for all the photo examples below. We’ll share another method after the video at the end of the post.
- Choose a design (free SVGs here) & reverse the image
- Place a sheet of freezer paper onto heat transfer tape with the shiny side up
- Place the freezer paper/heat transfer tape combo onto the mat with the transfer tape at the bottom
- Load into the machine and cut image – using the paper setting on a Cricut machine should work, but do some test cuts first (you only want to cut the freezer paper layer, without cutting the transfer tape)
- While still on the mat, weed out the parts of the image you want to appear on the shirt
- Place baking paper and/or a Teflon sheet inside the t-shirt to prevent ink going through onto the back of the tee
- Lift the transfer tape and freezer paper from the mat and position onto your pre-ironed t-shirt
- Iron the freezer paper into place
- Peel away the heat transfer tape
- Paint over stencil
- Allow to dry (make take 2-3 hours to air dry, or can be sped up with a hair dryer on warm)
- Peel away the freezer paper stencil
- Cover with baking paper and iron for a further 2 or 3 minutes to set the screen printing ink
Check out the video at the end of the post to see a very similar but alternative method. But for now, check out these awesome freezer paper stencil projects!
1. Disney T-Shirts
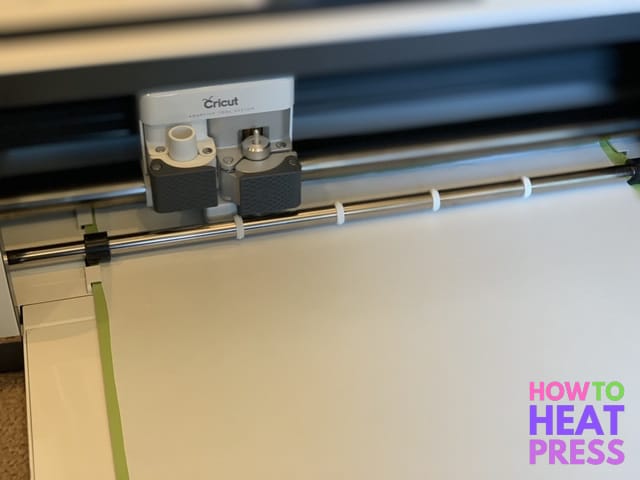
To start, the freezer paper and heat transfer tape are placed onto the mat, freezer paper on top. The design is cut out of the freezer paper (in reverse) with the Cricut Maker.
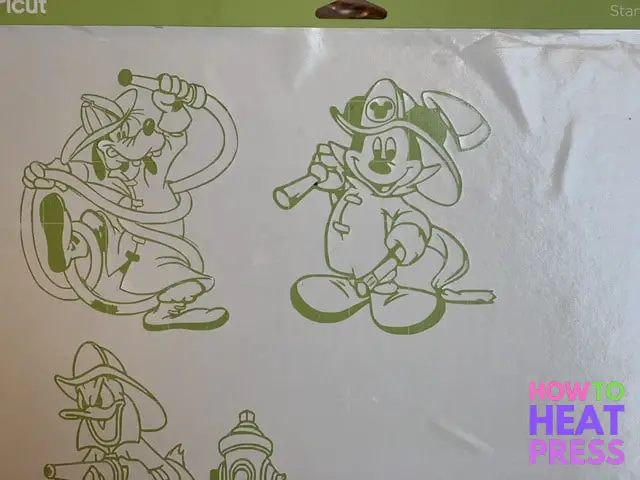
The parts of the design that will appear on the shirt are weeded away to reveal a Cricut Mickey Mouse, Goofy, & Daffy (Disney fonts & SVGs)!
The stencils are removed from the mat and placed down (freezer paper against the tee) and pressed onto the t-shirt.
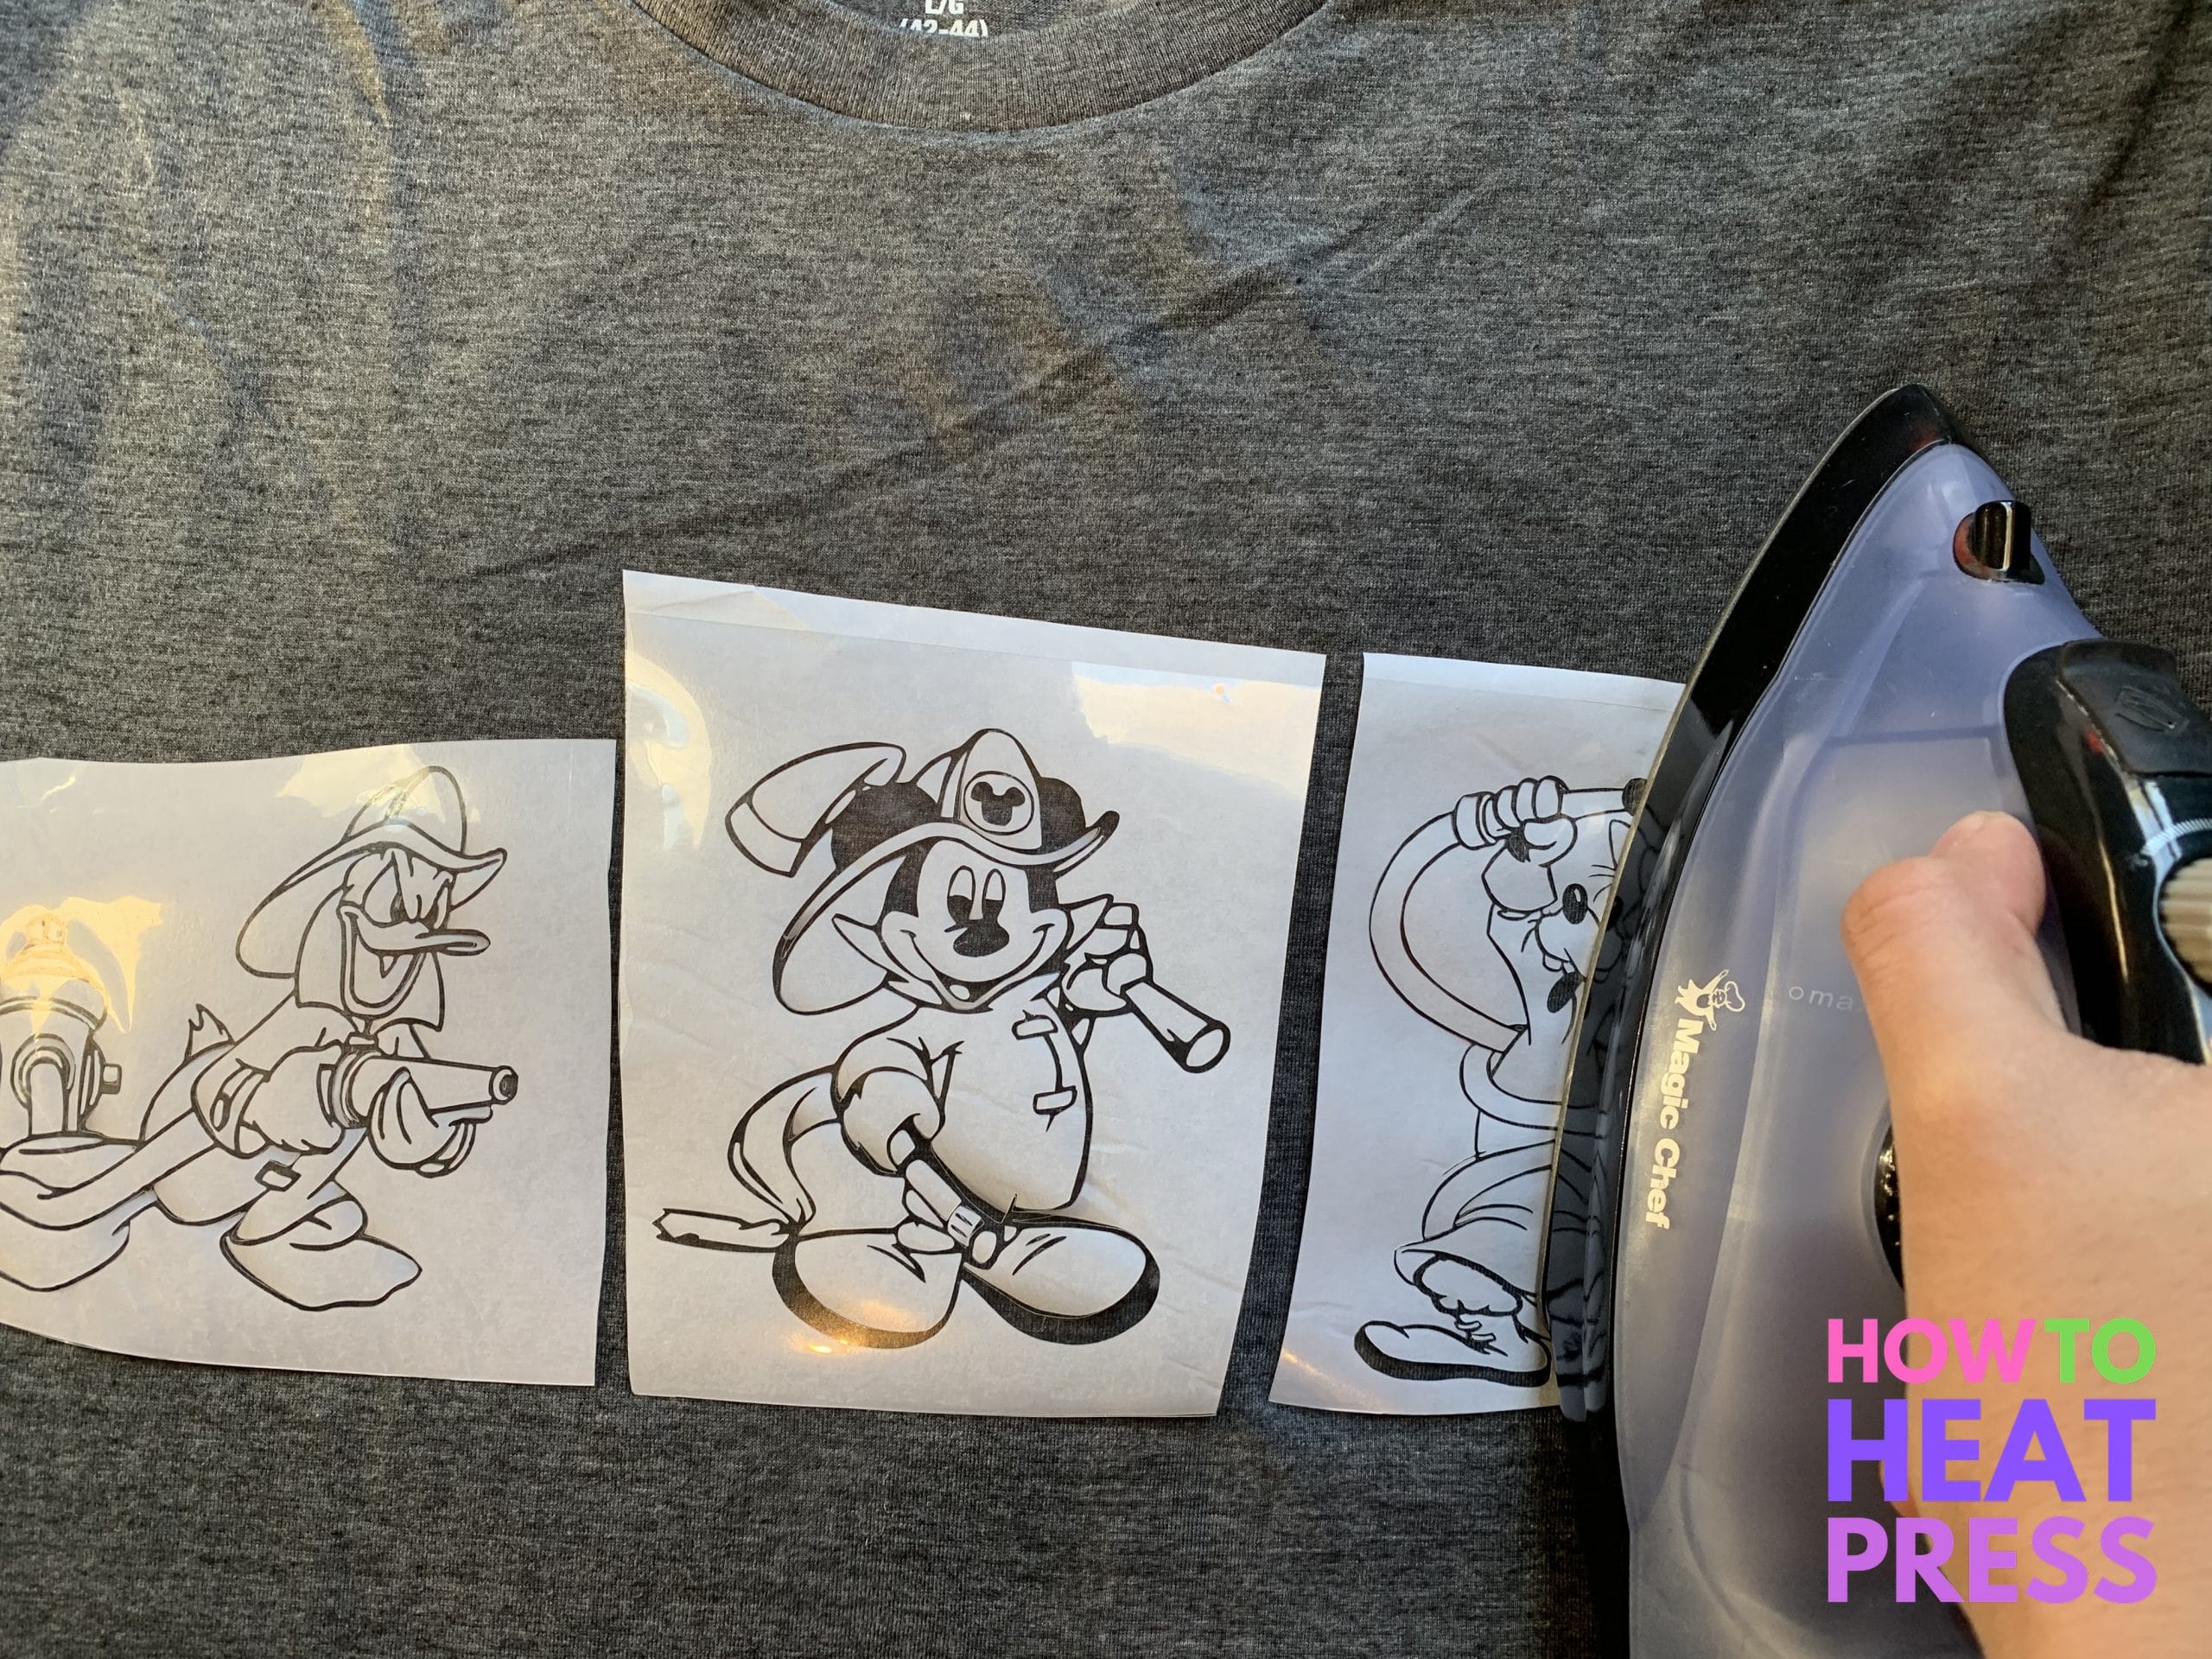
When the stencils are in place, the heat transfer tape can be peeled away. The stencil is then painted with Speedball screen printing ink.
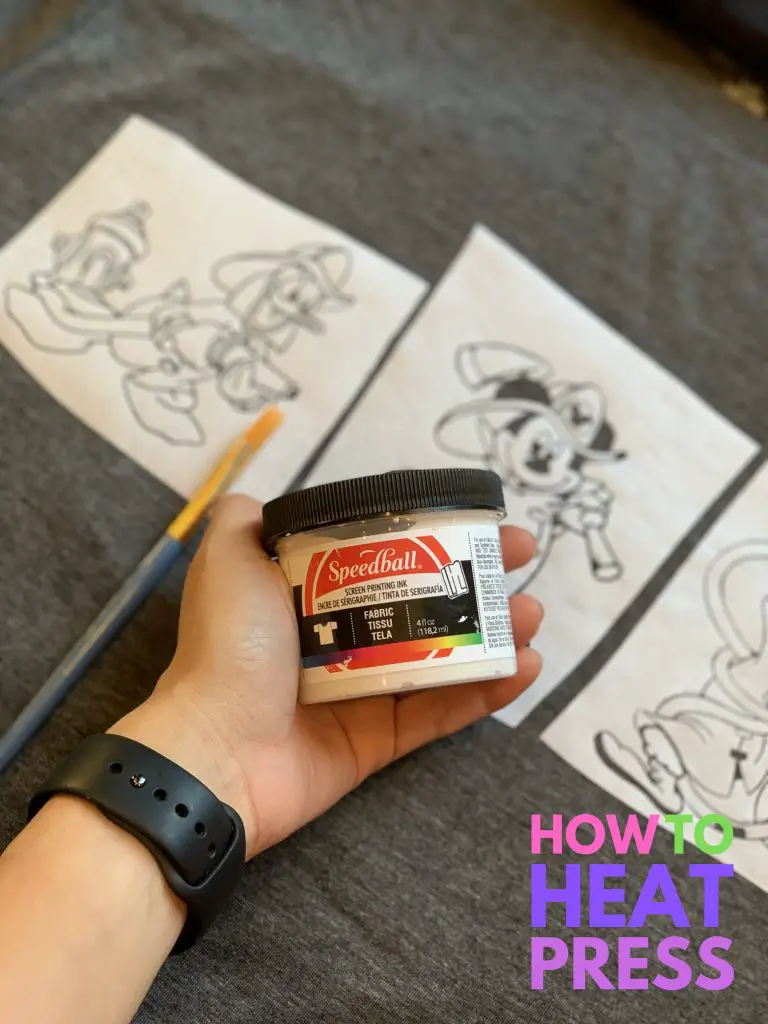
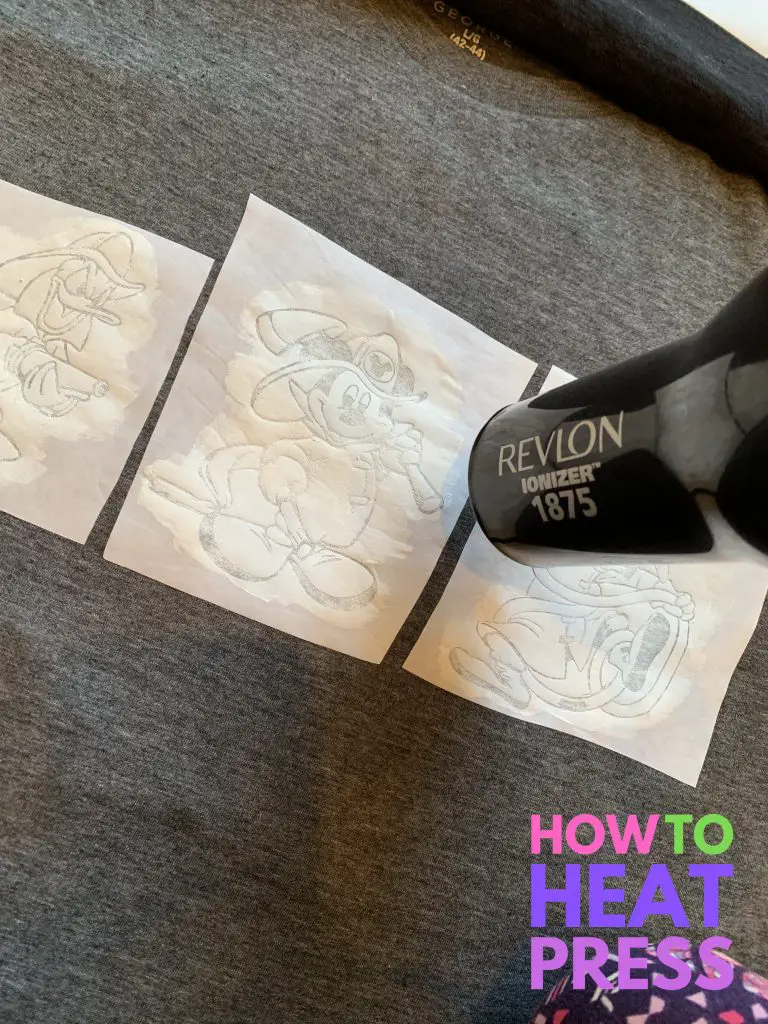
The painted stencils can be blow-dried to help them dry quicker.
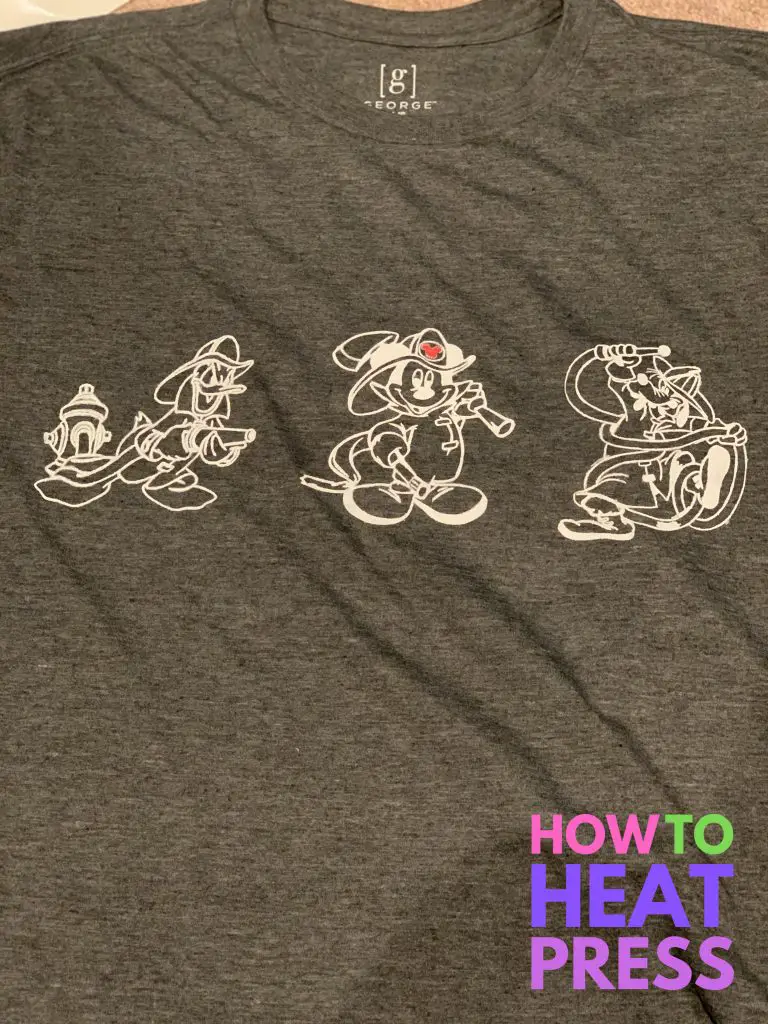
When the fabric ink is dry, the freezer paper is peeled away and the t-shirt is complete! Use a heat press machine or iron to set the ink.
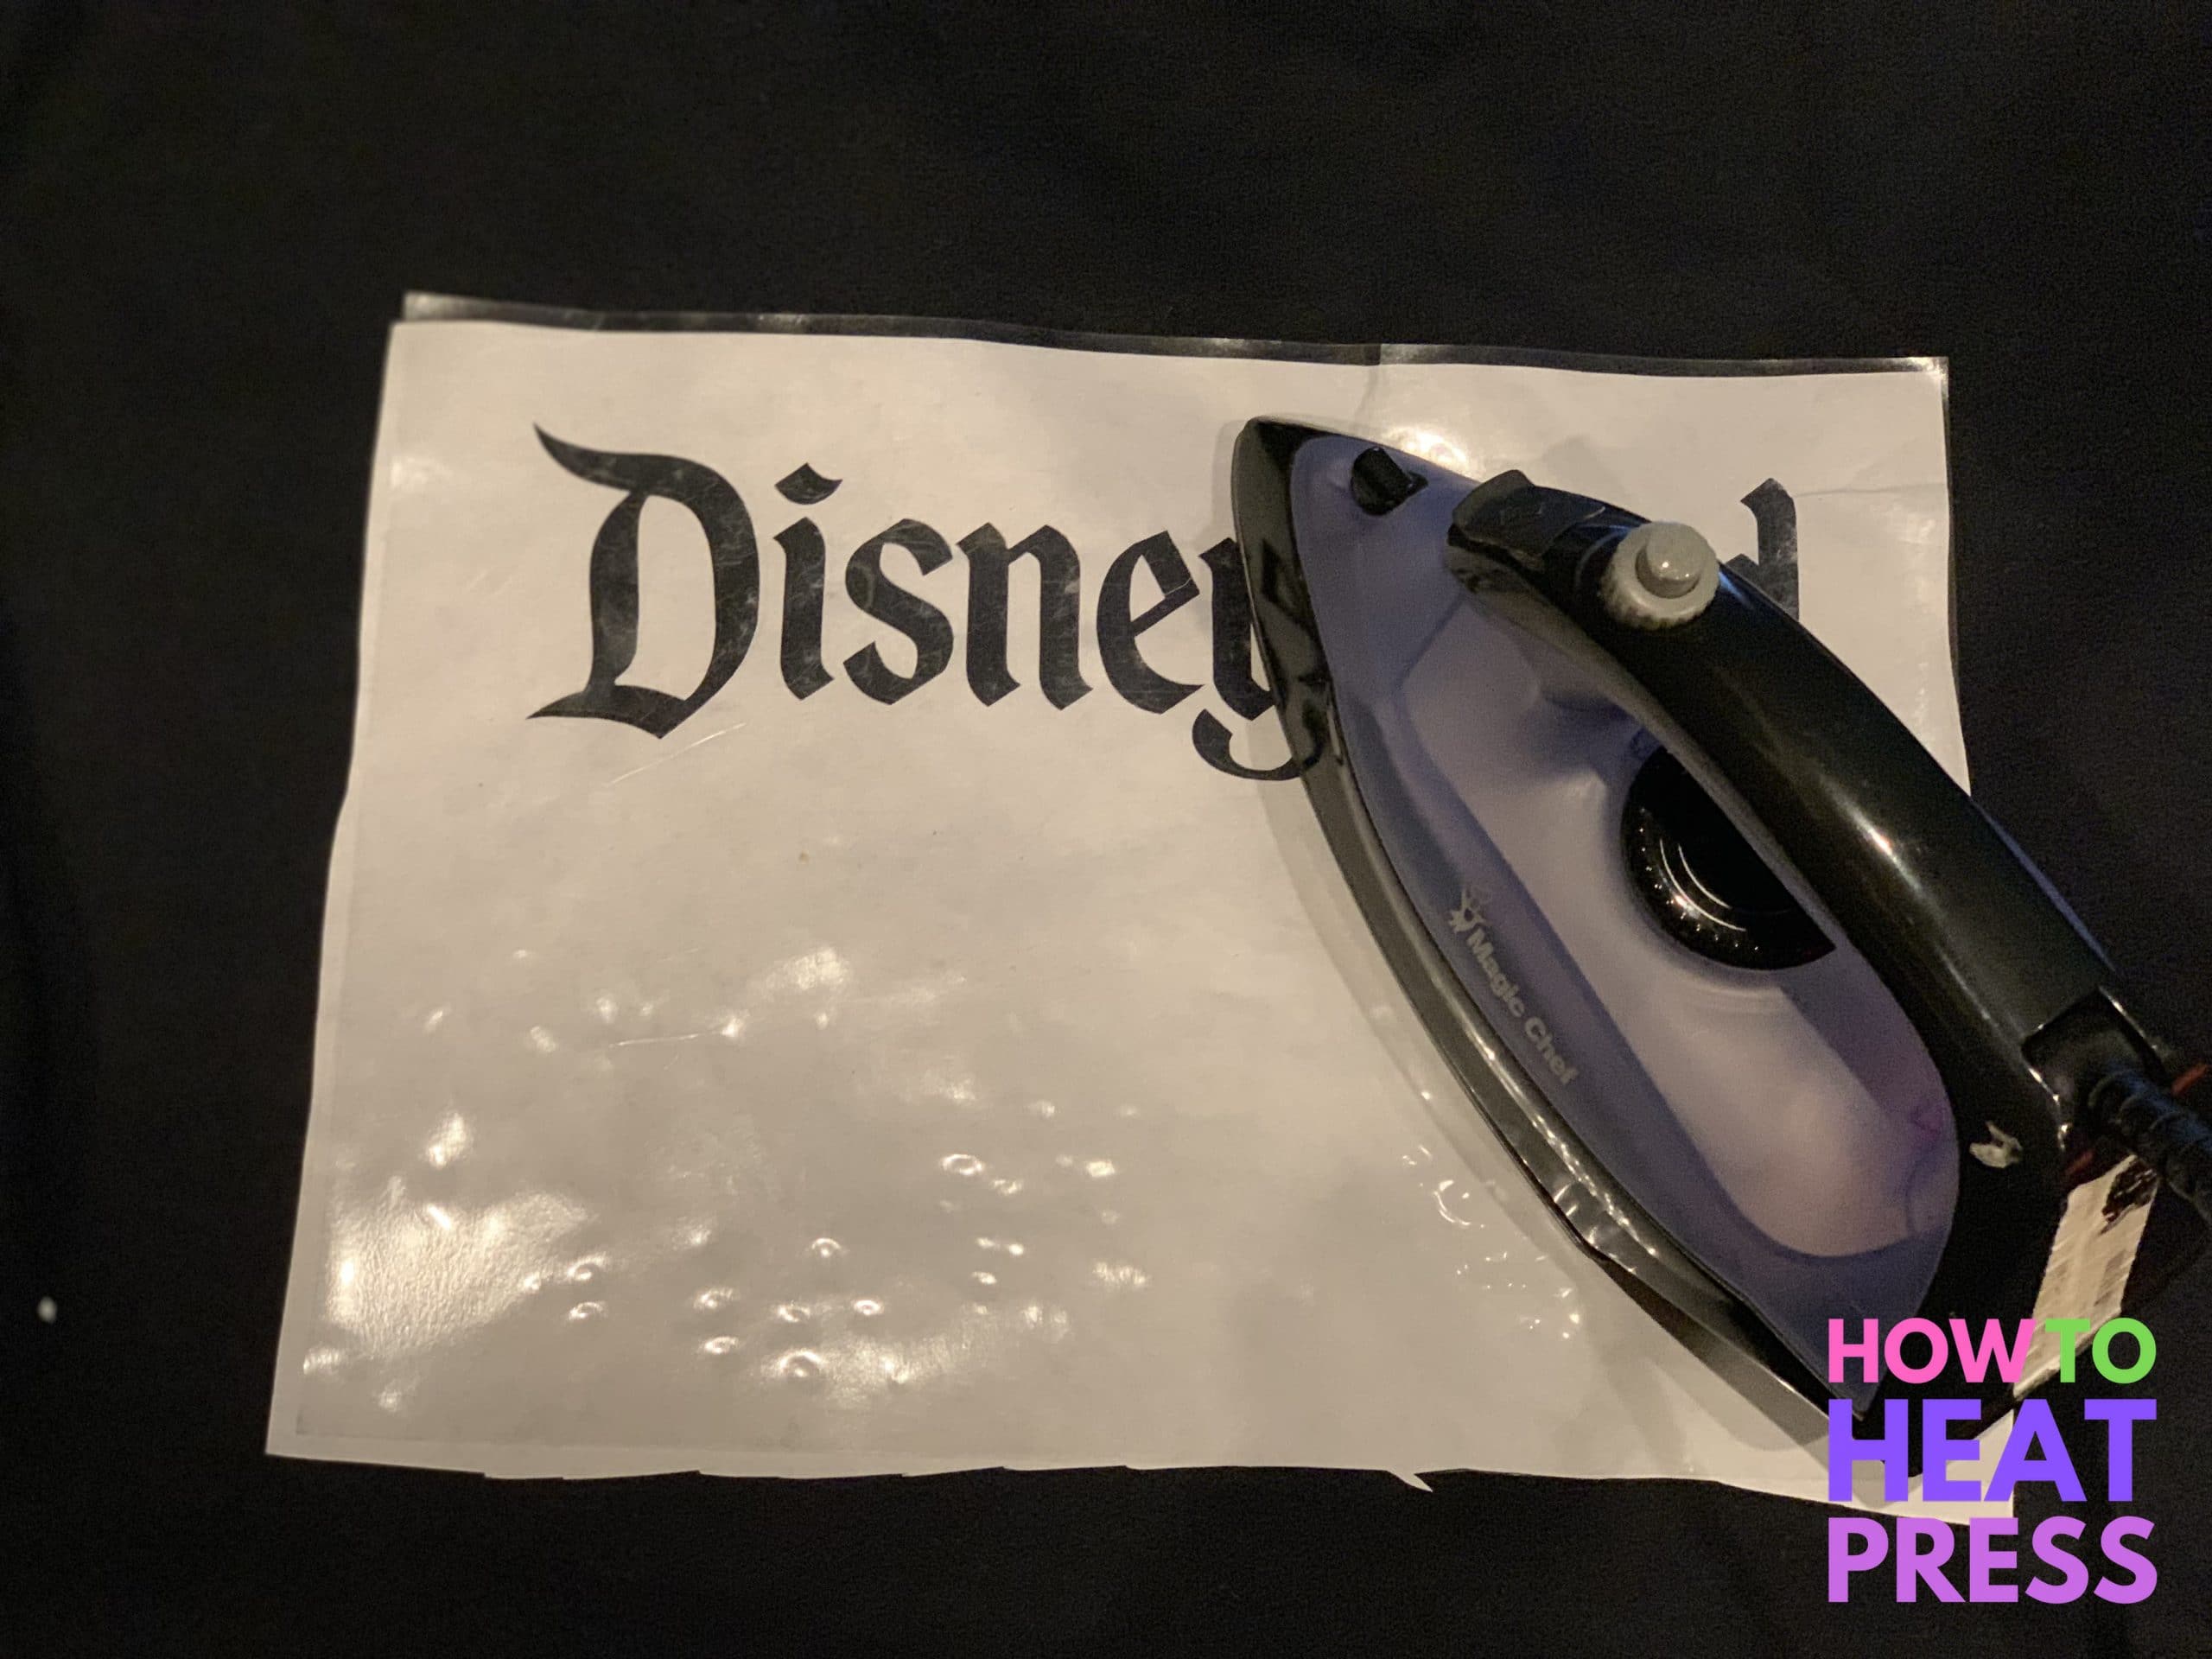
Here’s another Disney freezer paper shirt being made. You can see the heat transfer tape over top.
This is a great way to make colorful DIY Disney t-shirts for all the family.

And here is another very intricate freezer paper stencil, using multiple colors. How long did this take to weed?!

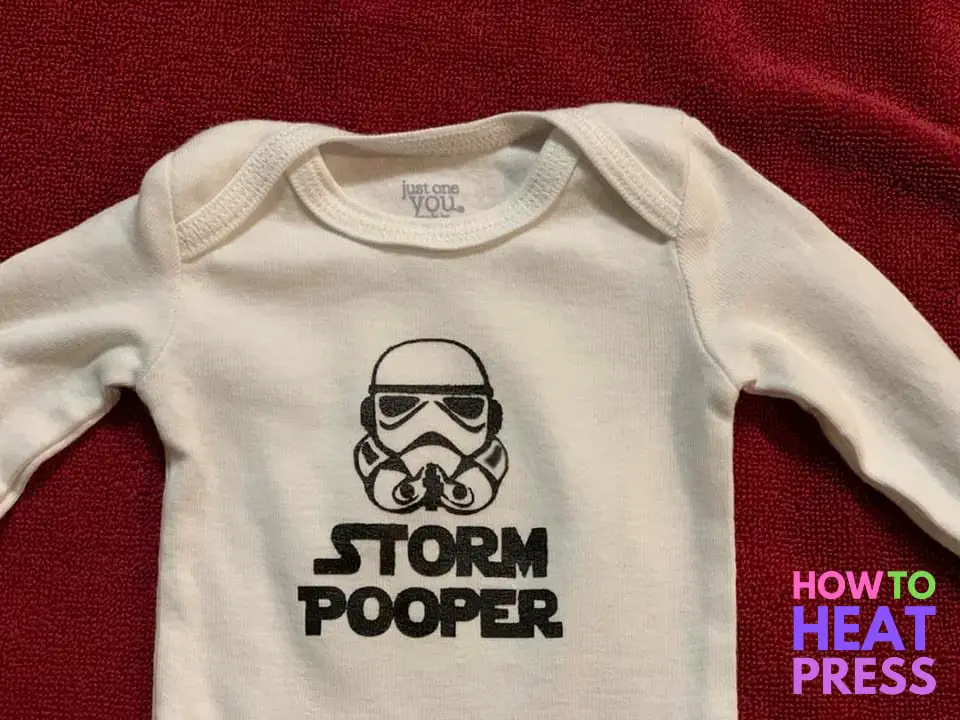
2: DIY Star Wars Baby Onesie
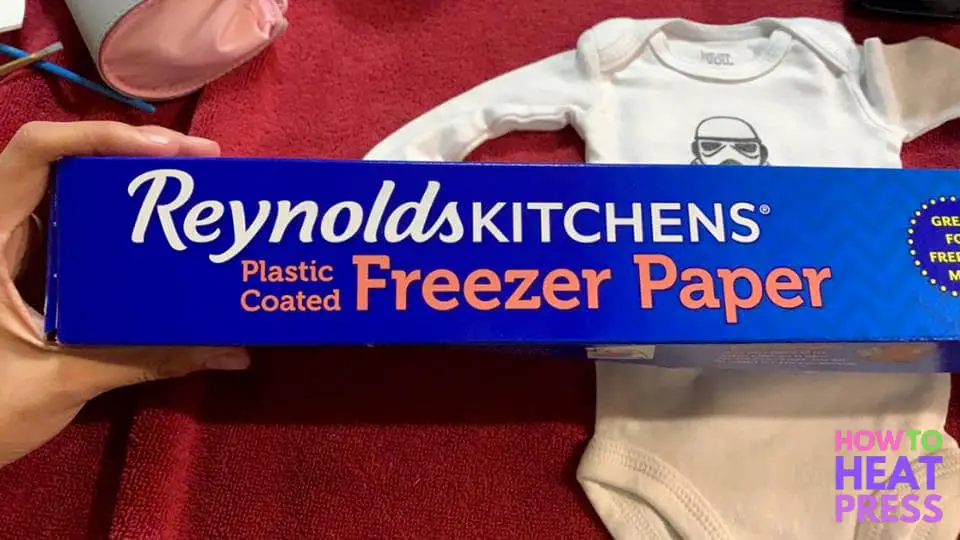
Reynolds freezer paper is used to make this Star Wars stencil.
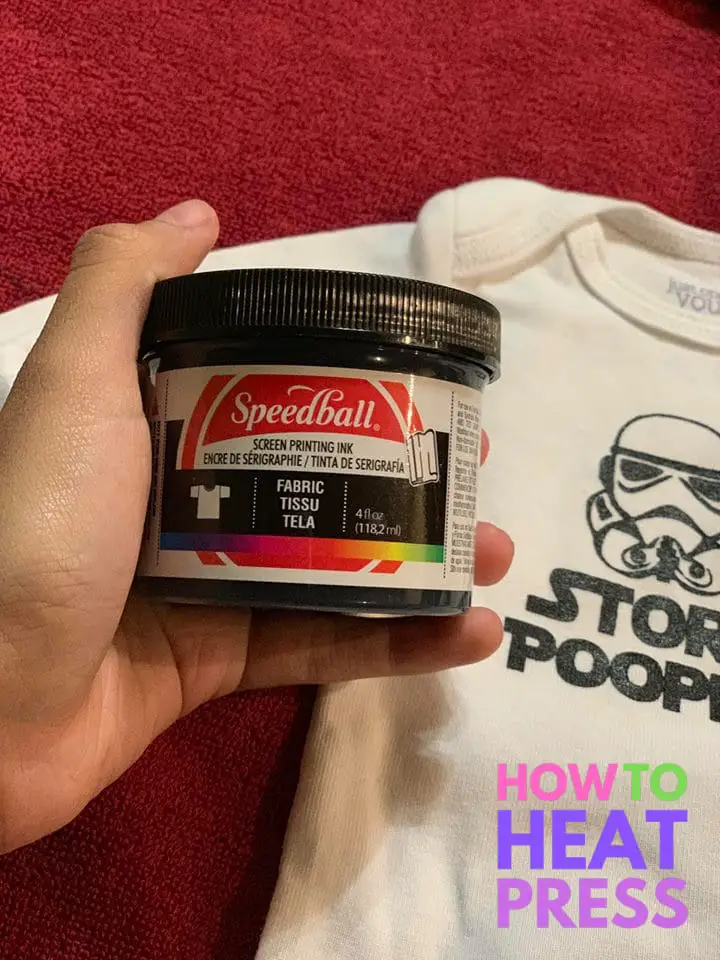
Speedball screen printing ink is awesome for t-shirt stencil projects, and is available in at least 14 different colors.
The image is cut out and weeded, and then painted with the fabric ink.
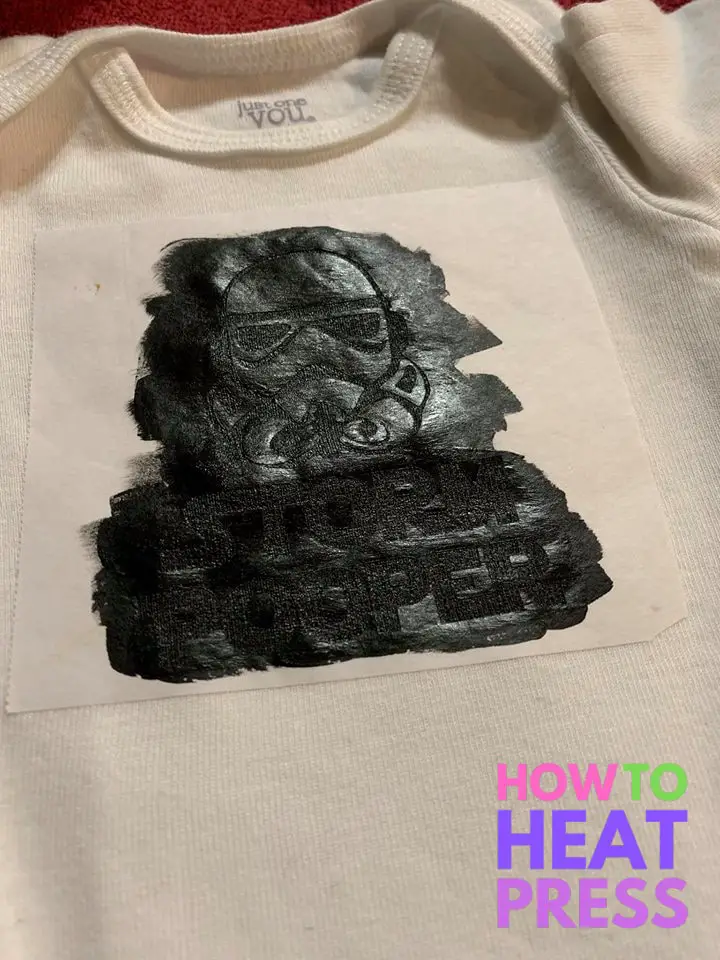
When the stencil is dry the freezer paper is peeled away… to reveal the coolest little baby bodysuit you could have! You can grab the Star Wars Storm Poopers SVG here.

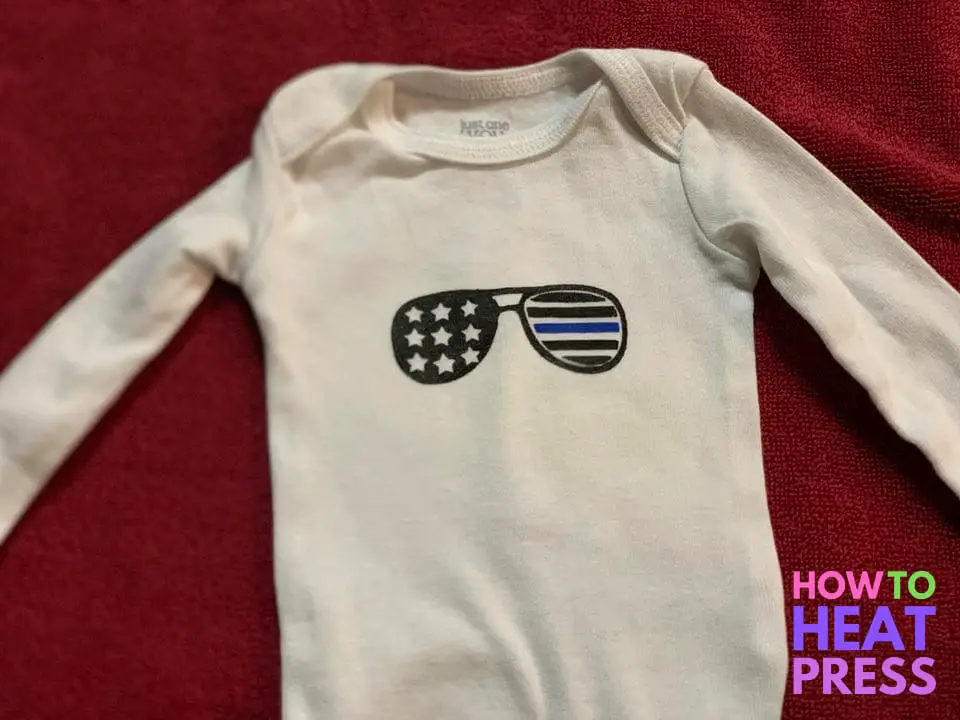
And another cute baby onesie with stars and stripes (SVG here).
3. Large Freezer Paper T-shirt Transfer
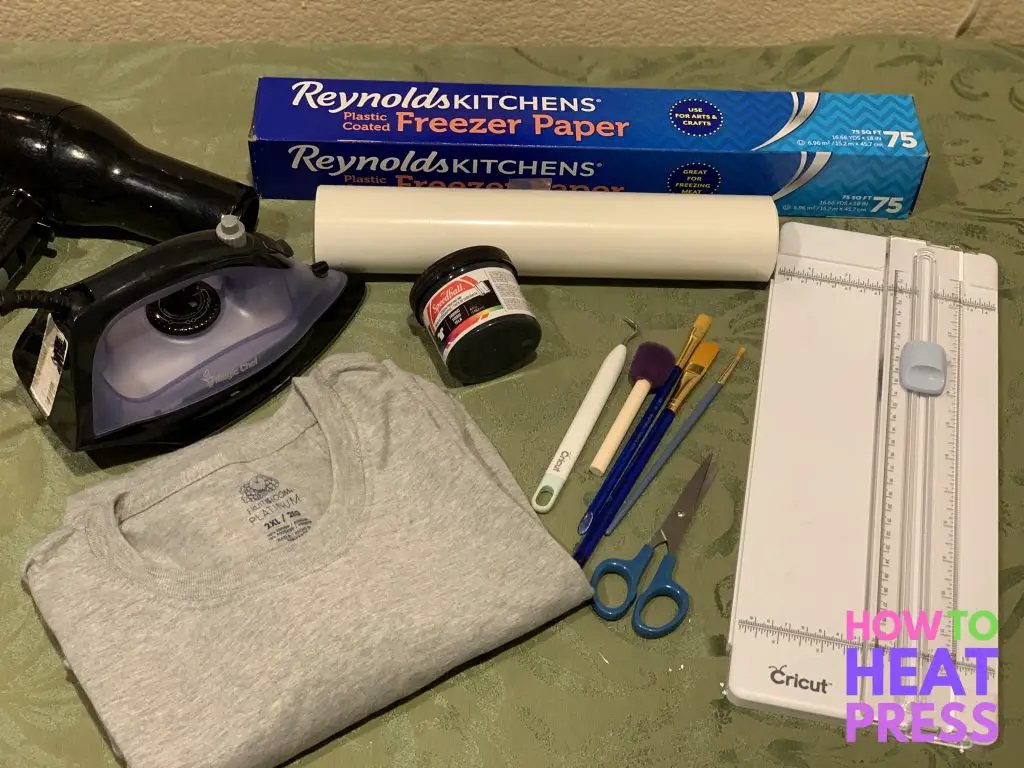
Here are all the materials used for this next t-shirt stencil project.
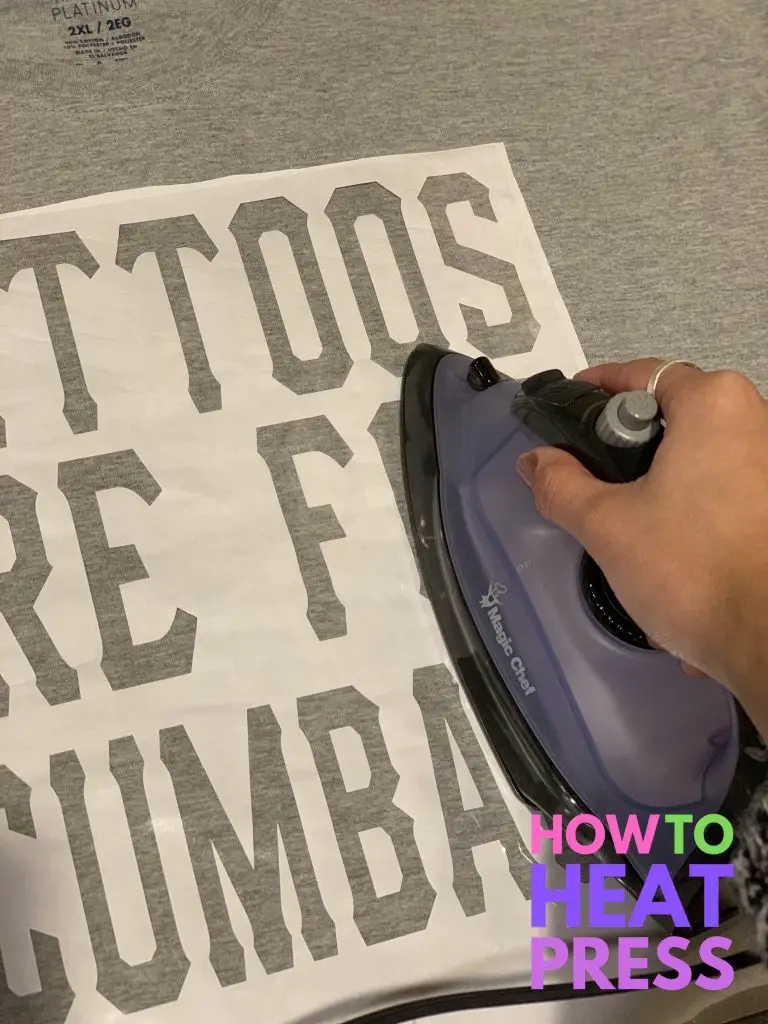
The design is cut out with the Cricut, weeded, and ironed onto the t-shirt.
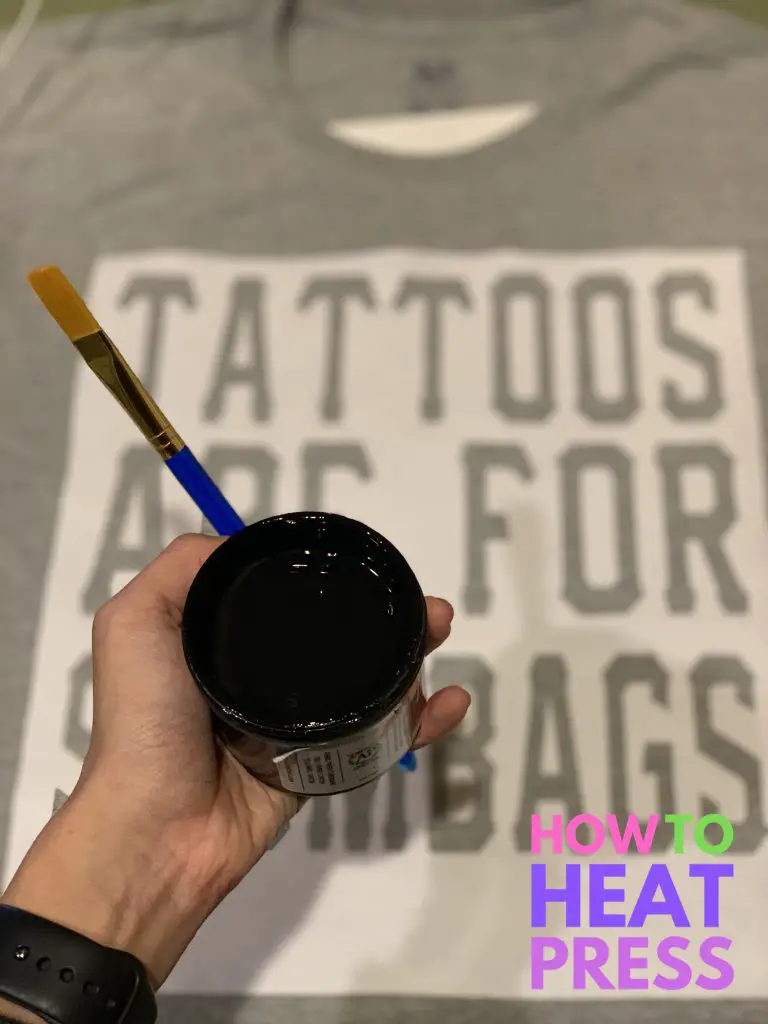
The stencil is securely in place and the heat transfer tape is peeled away. The stencil is painted over with Speedball fabric ink.
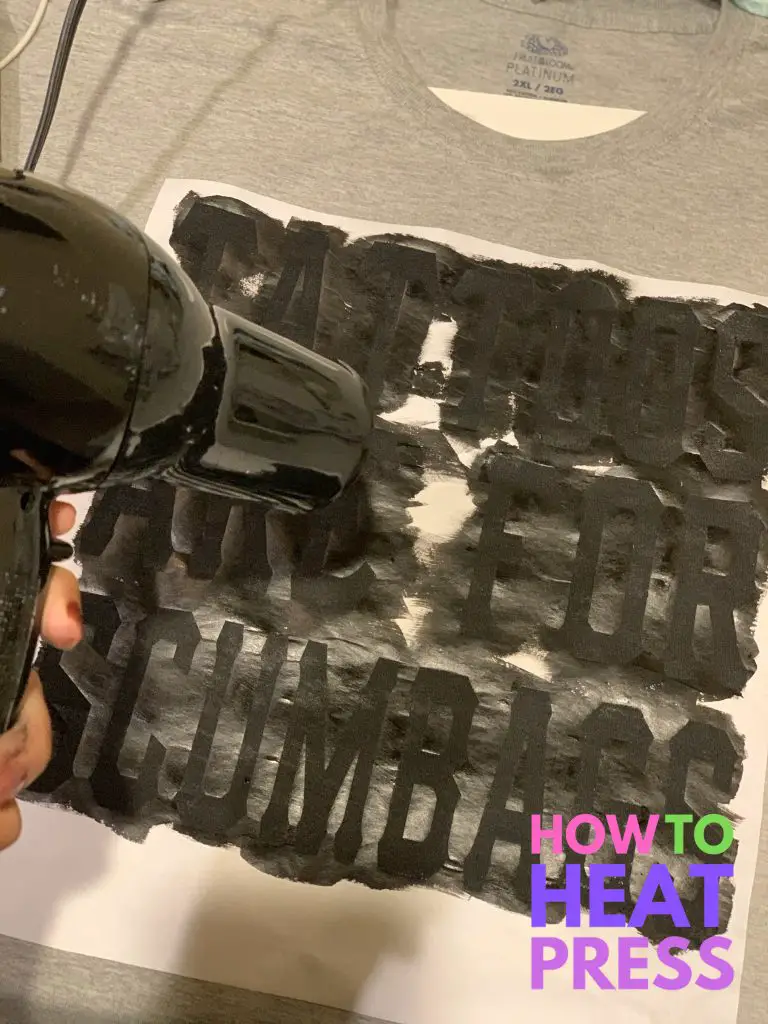
The stencil is dried with a blow-dryer to help it dry quicker.
Once the stencil is all dry, the freezer paper is peeled away. The t-shirt is finished. This method works great! (Water was accidentally dripped onto the ‘O’!).
Alternative Method Of Shirt Stenciling
The following video is excellent at showing how to make a t shirt with freezer paper, with all the instructions captioned throughout the process. I’ll outline the slight differences from the previous method below.
The differences:
- only the freezer paper is applied to the cutting mat, the design is weeded, then the heat transfer tape is used to transfer and apply the design to the t-shirt
- you do not have to mirror your design if doing it this way
- the benefit of this method is that you don’t have to worry about cutting through the transfer tape underneath the freezer paper
- the benefit of the other method is that it’s easier to move an intricate design (such as the large Disneyland transfer) off the cutting mat and onto the tee
Another great use for freezer paper stencils is to make custom doormats! Leave us a comment down below and let us know if you’ve tried these methods, or if you have any questions. How do you do DIY T shirt painting? Thanks for reading!
(Please note: This post contains affiliate links. Read our full disclosure policy here.)



What brand of Heat Transfer tape do you use. I can only find ‘normal transfer tape’. I cannot find “Heat” transfer tape anywhere
Hi Hannah, you don’t need a specific transfer tape for HTV as the vinyl comes with a carrier sheet that you’ll press your design with. It’s wise to use a Teflon sheet or parchment paper on top of the carrier sheet to protect your heat press. Hope that makes sense, let me know if you have any other questions : )
Wow that’s a lot of work! Why not just skip all that and create a stencil using vinyl? That’s what I do and it works great and so much faster. Cut up your design on a sheet of sticky vinyl paper, transfer to tshirt, paint and once dry (using blow dryer) you peel off the vinyl. Simple. The paint doesn’t leak through vinyl but you still want to put something in between the shirt like suggested of course.
Hi Ang, that is a great way to create stencils! Adhesive vinyl is definitely an awesome option for stenciling onto fabric or wood. One of the main reasons freezer paper is great is because it’s so cheap compared to using adhesive vinyl.
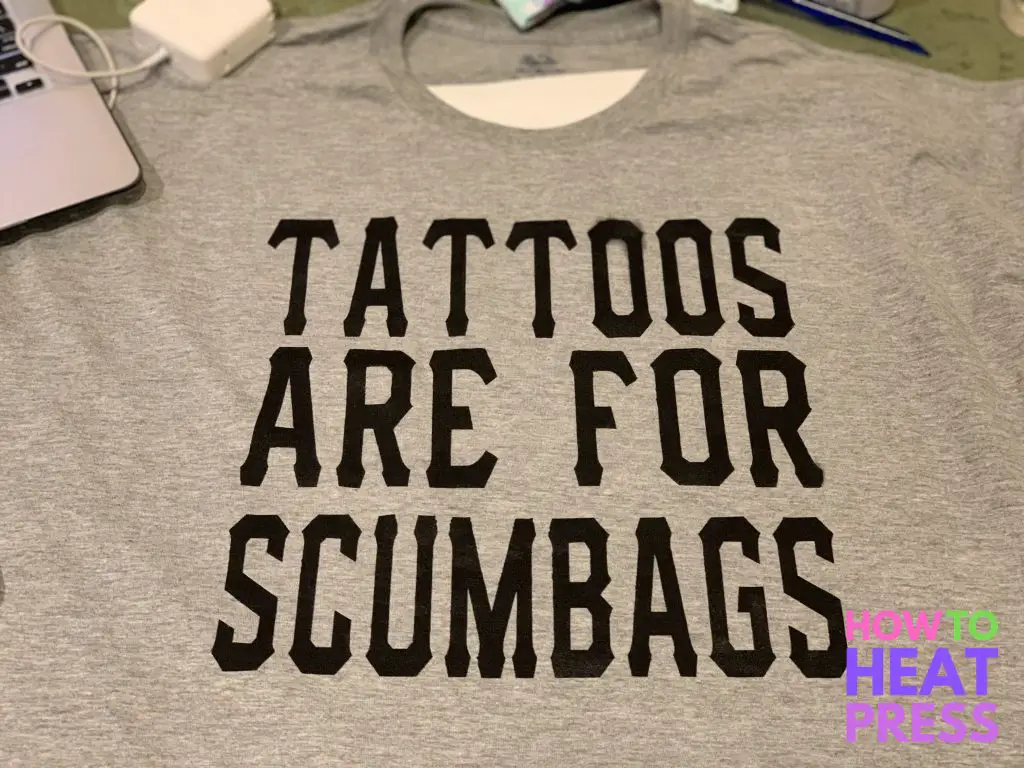
Tattoos are for scumbags wth.
Oh no, sorry to hear we offended you with our ‘tattoos are for scumbags’ shirt! It was meant to be sarcastic and funny. We actually made it for a heavily tattooed friend who loved it.
Thanks so much… but I am confused it says to put on heat transfer tape… with shiny side up but then in the video it says shiny down and I don’t see any heat transfer tape?
Hi Katie, I get how that’s confusing! The tape step is in there to help the stencil stay in place before you iron/heat press it. It’s not totally necessary though as you might be able to get it to lay flat and in place without the tape. The shiny side of the freezer paper will adhere just a bit to your garment when the heat is applied. That’s why you need to make sure the shiny side is up when cutting and the image is mirrored. Hope that helps a bit!
After it’s ironed, does it hold up well? Or will it wash out quickly?
Hey Melissa, ironing it cures the screenprint ink and it should last as long as any other t shirt transfer, usually outliving the shirt fabric.
Love this tutorial!!! But how many layers of white ink did it take to show so bright?
Hi Maira, It only took one layer but if your project isn’t as vivid as you’d like I would just add another layer once the first has dried.