Adorable, Easy DIY Cricut Pumpkins
Learn how to use your cutting machine to make adorable, easy DIY Cricut pumpkins for some fast Halloween decoration.
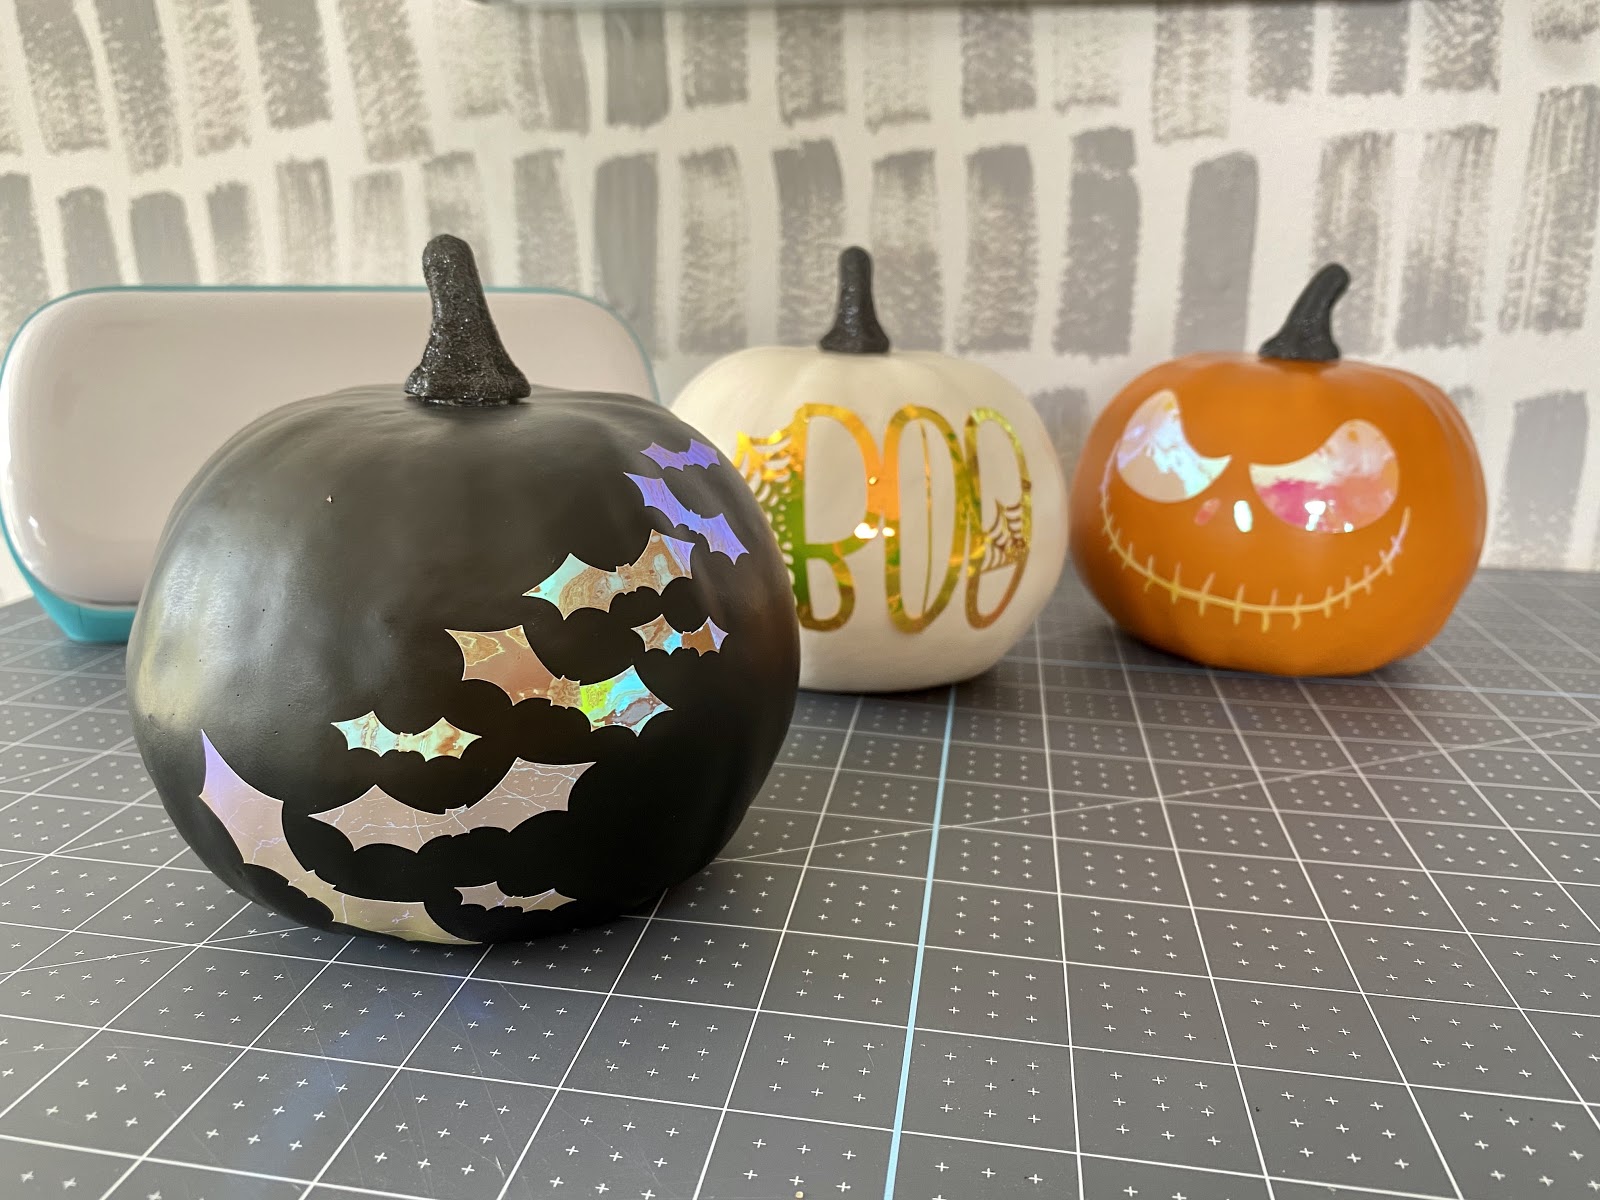
I love a good handmade jack-o-lantern or other Halloween pumpkin design! Plus pumpkin carving is a favorite family tradition. But realistically when it comes to Halloween decor I want something I can enjoy from the first day of fall through the end of October. Between the eventual rotting pumpkin flesh and the squirrels who love to nibble pumpkins, I needed an alternative.
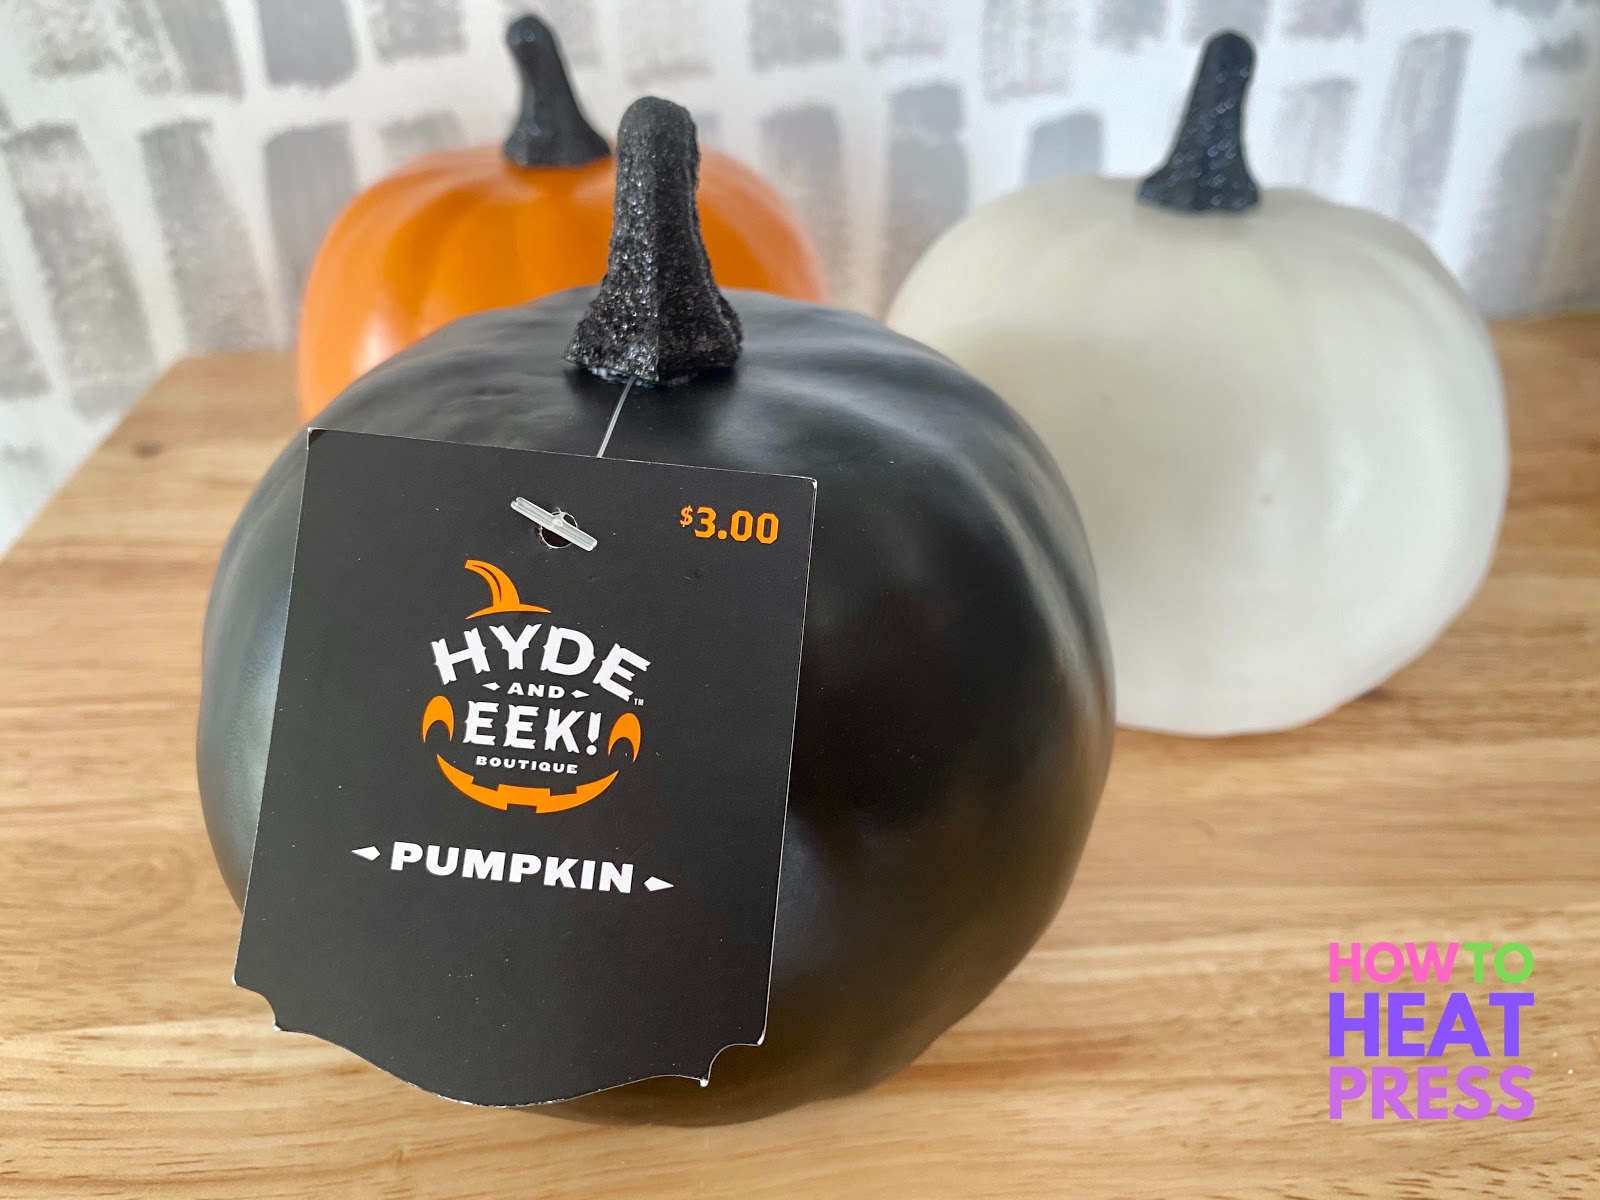
Thankfully Target and Michaels have adorable fake pumpkins for fall decor! While they’re cute on their own, especially with the glitter stems, I wanted to spice them up a bit with some designs in holographic vinyl. While I’m excited to keep these and bring them out year after year you could absolutely do this project on real pumpkins!
Take a quick (it’s only 30 seconds long!) look at the time-lapse video I took of this DIY project to get a general idea. Follow along below for all the details.
Materials for DIY Cricut Pumpkins
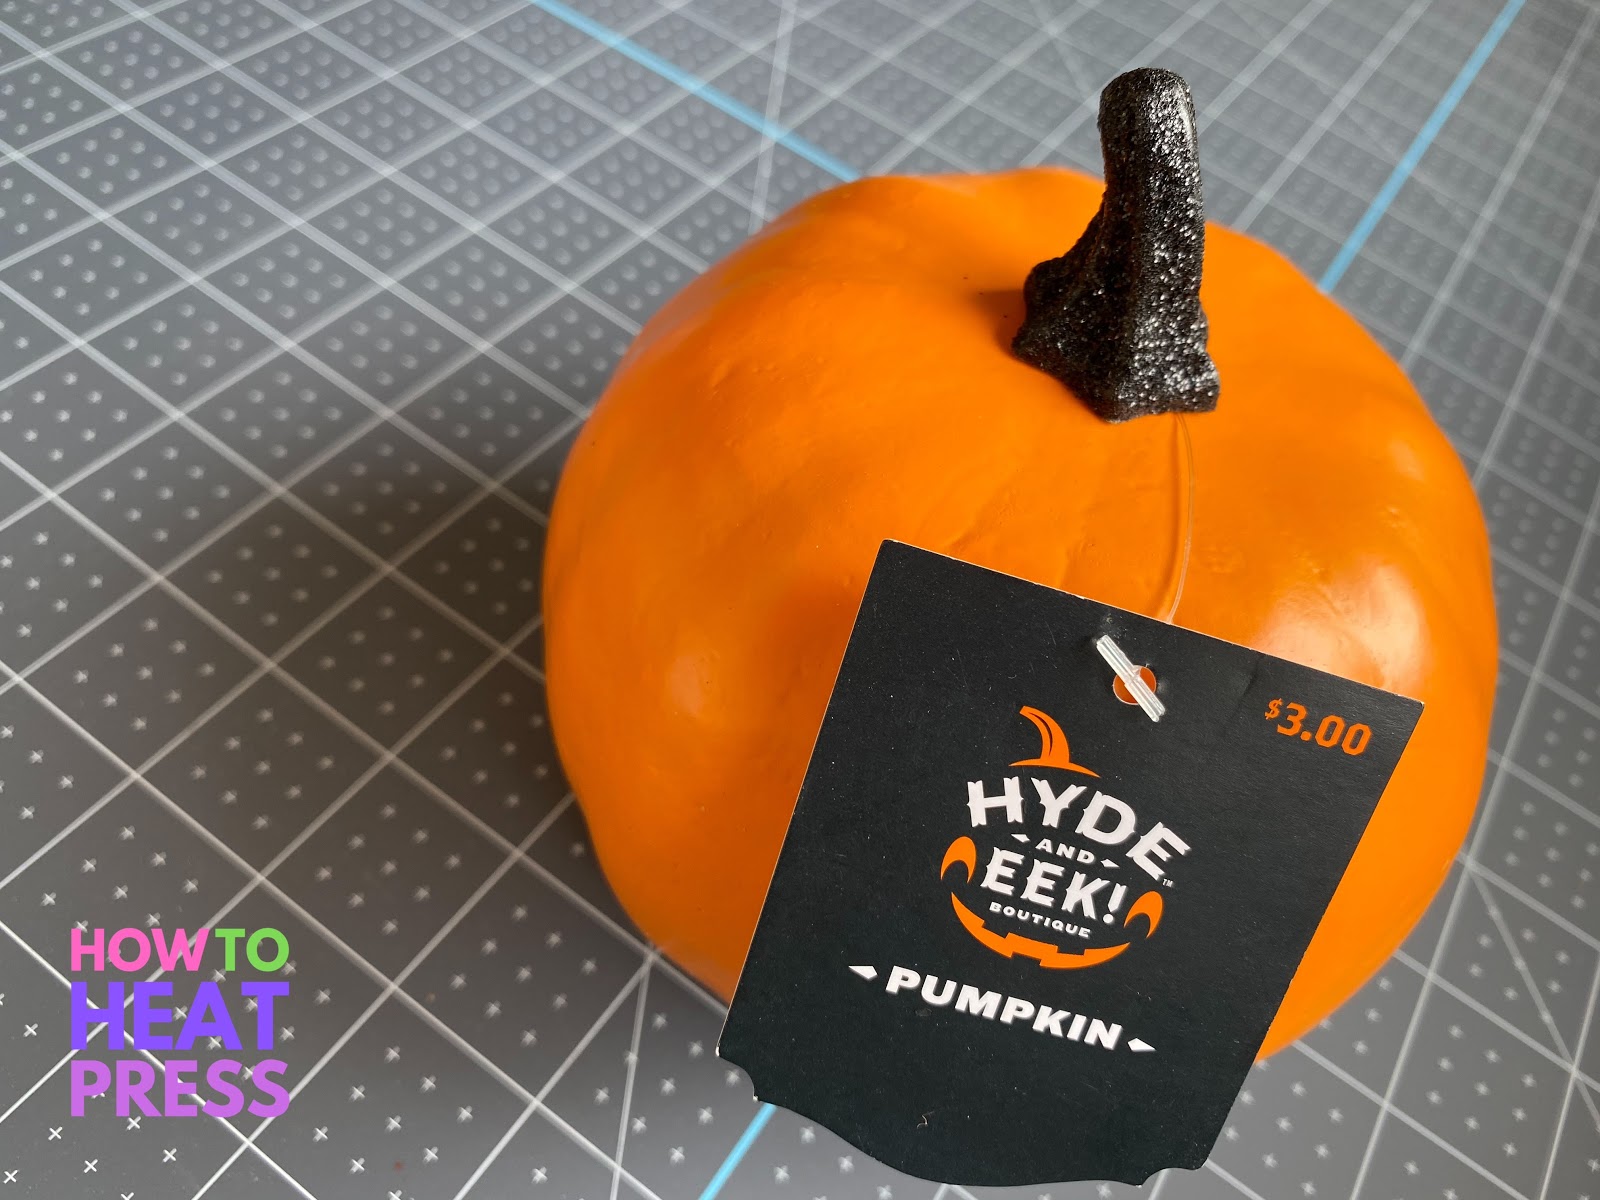
- Pumpkin – either fake or real
- Rubbing alcohol
- Cricut Holographic adhesive vinyl
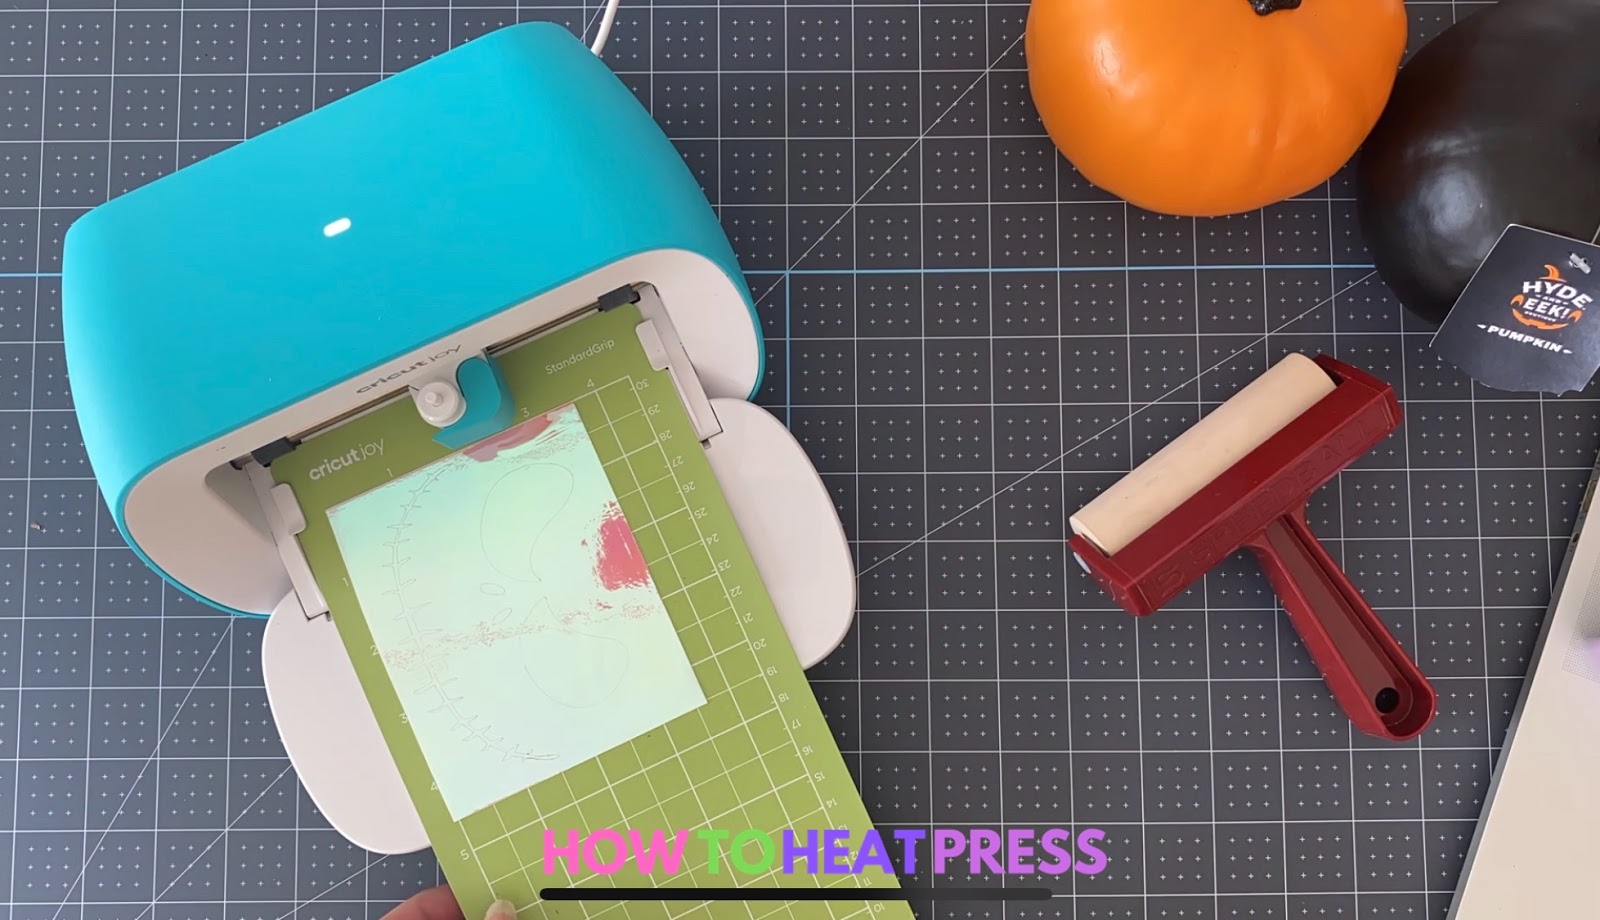
- Cutting machine – I used the Cricut Joy
- Cutting mat
- Transfer tape
- Brayer
- Weeding tools and scraper
I’ve been pretty obsessed with Cricut’s holographic vinyl for awhile now. The depth of colors you see in each different design is amazing! I think it makes projects look super fancy which is great especially when it was a quick craft. I’ve found that the holographic HTV has lasted through many washes and still looks flawless and the adhesive version has lasted on cups for months.
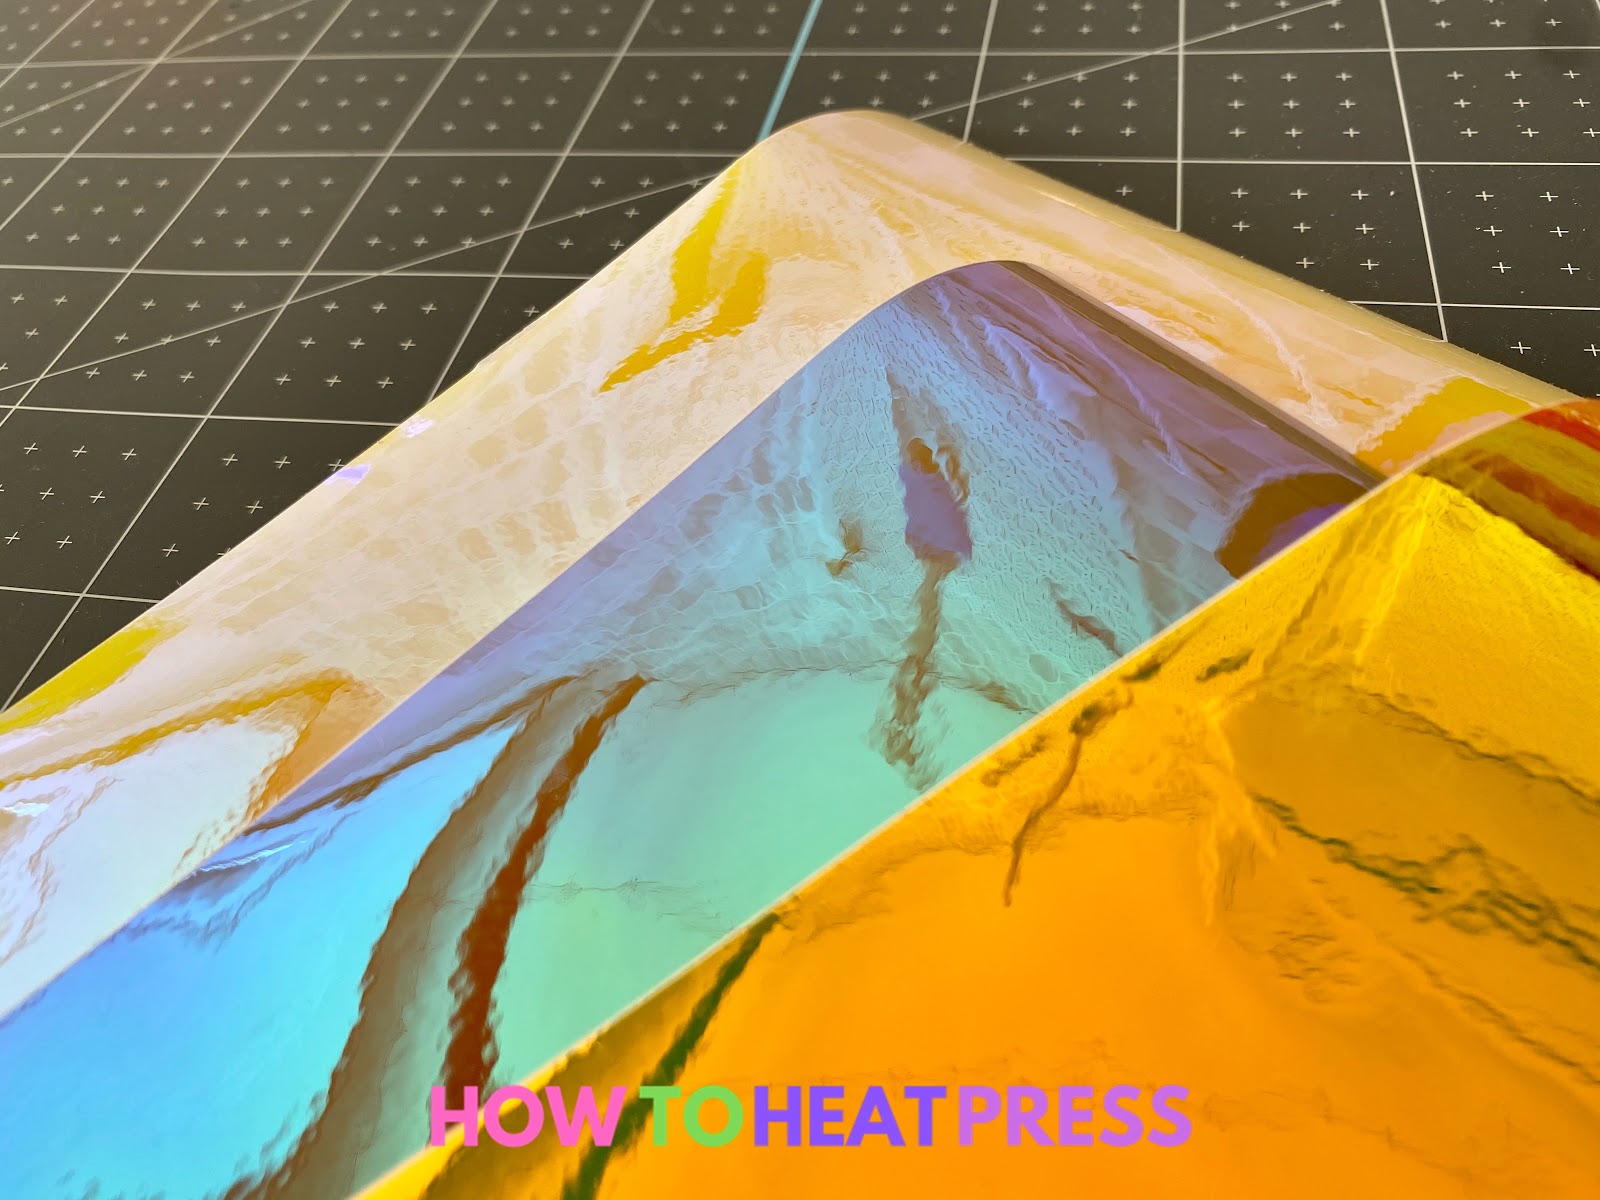
For these Cricut pumpkins I actually used 3 different shades of holographic vinyl. They each have their own undertone which I coordinated with the pumpkin color I was applying it to.
You can use any cutting machine for this project. I chose my Cricut Joy because I love that it doesn’t take up much space so I don’t have to spend time clearing off a spot for it. It seems like the list of craft ideas for Cricut projects with the Joy is endless! This would also work with the Cricut Maker, Cricut Explore Air 2, or Silhouette Cameo.
Choose Fun SVGs

Source: Cricut Access
It was important to me to make one Cricut pumpkin into a classic jack-o-lantern, one to have writing and one to feature bats. I have little kids so I wanted them to lean towards playful and not scary. There are many sites full of SVG freebies out there if you’re ready for the hunt!
For the pumpkin face I went with an SVG cut file from this Nightmare Before Christmas bundle on Etsy. I love Jack Skellington and let’s be honest – it’s way easier to DIY vinyl this design than it would be to actually carve it!
The ‘BOO’ SVG with spiderwebs came from Design Bundles. Right now their Halloween designs are pretty much all 50% off!

Source: Design Bundles
There are tons of free bat SVGs out there that I could have easily used to make the design for the black pumpkin. I happened to check Cricut Access and found this cute bat t-shirt design and just shrank it down to the size I wanted for my Cricut pumpkin.
Here are some other pumpkin decorating ideas for seasonal home decor:
- Family name
- Monogram
- Pumpkin spice quote
- Trick or treat vinyl decal
- Thanksgiving SVG
- Printable stickers applied by kids
I also think these would look great if the cutting files were made into stencils. Maybe other crafters can make that vision into reality!
Cut Designs with your Cricut Machine
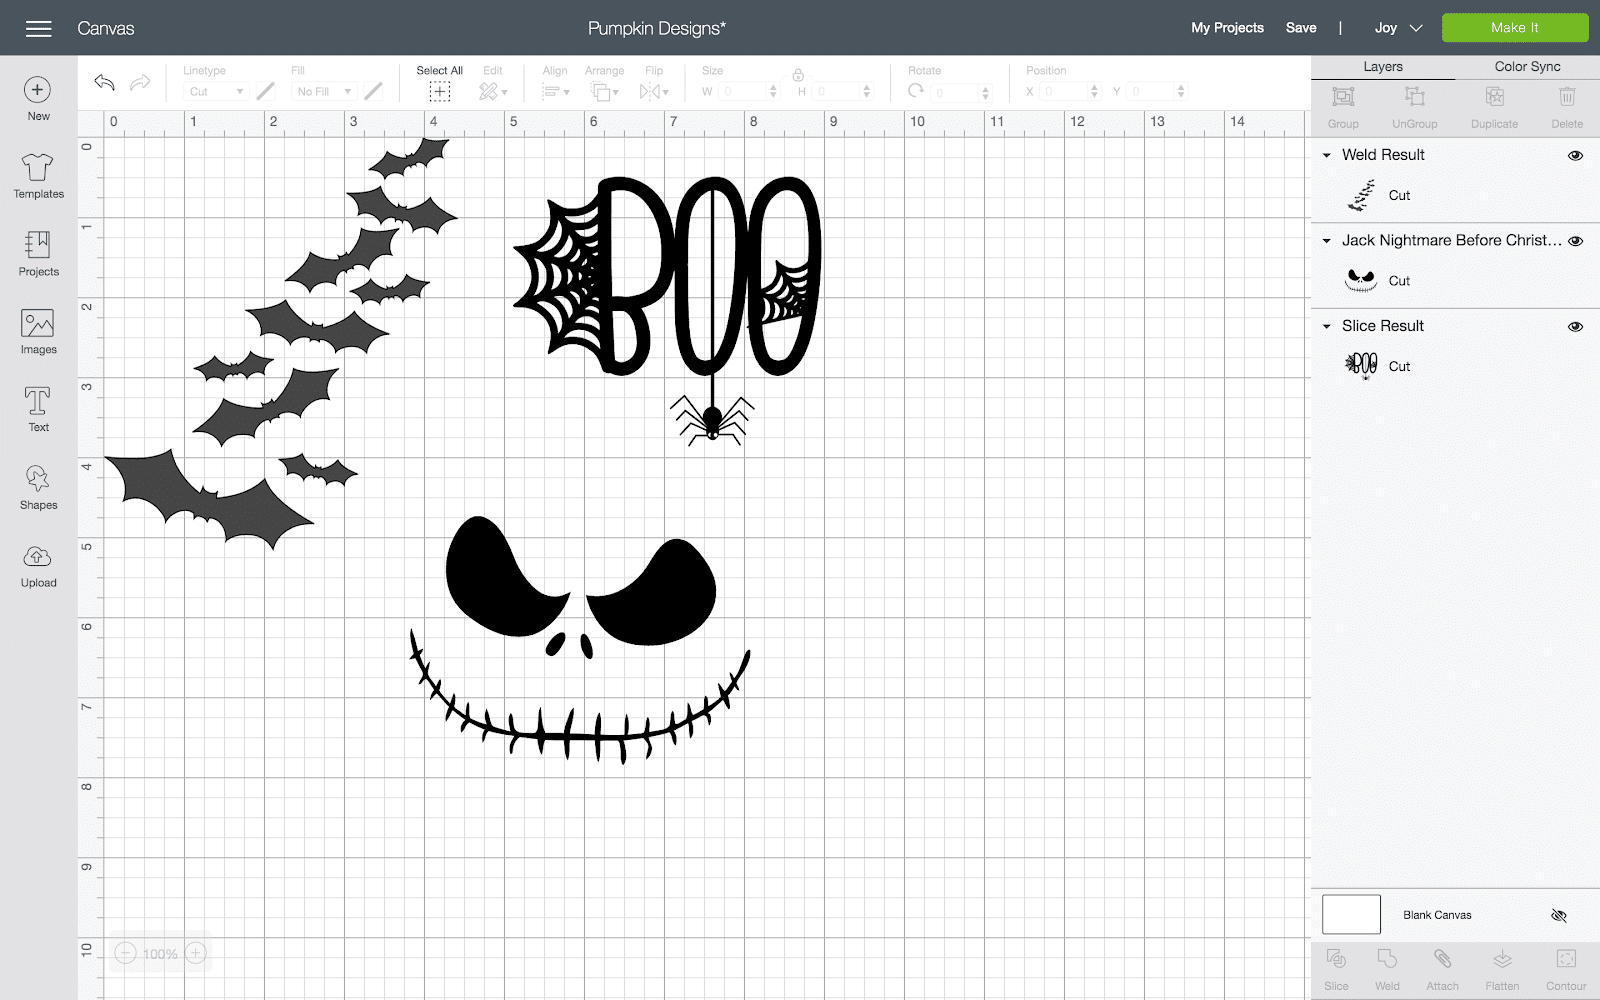
First, you need to upload all of your SVG files to Cricut Design Space. Once you’ve done this you can either size them all on one canvas like I did or use multiple projects. Because I knew I’d be cutting this with the Cricut Joy I knew each design would require its own mat so I could easily change the adhesive vinyl color for each mat.
I just used the measurements on the Cricut self-healing mat you can see in the timelapse video to get a rough idea of how big I wanted each design to be. It’s nice to do a project like this that is very forgiving!
To make sure my bats all stayed in place when I cut them I selected them all and welded them together. Same for the Jack Skellington design.

Now I’m ready to cut! You can see when I clicked ‘Make It’ and connected my Cricut Joy DS automatically separated each of my three designs into three different mats. This is perfect because I want to use three different shades of holographic vinyl.

Again, take a look at the time-lapse if you want to see more details on the cuts. I selected “Premium Vinyl – Holographic” as the material from the drop-down menu. Then I loaded the vinyl onto my mat using my brayer. Because this is an adhesive vinyl project the shiny side of the viny faces up and there’s no need to mirror the image.

I clicked ‘go’ and my Joy completed the cut for my first design. When prompted I removed the mat and repeated the process for the next two designs.
Weed Designs and Prep for Transfer
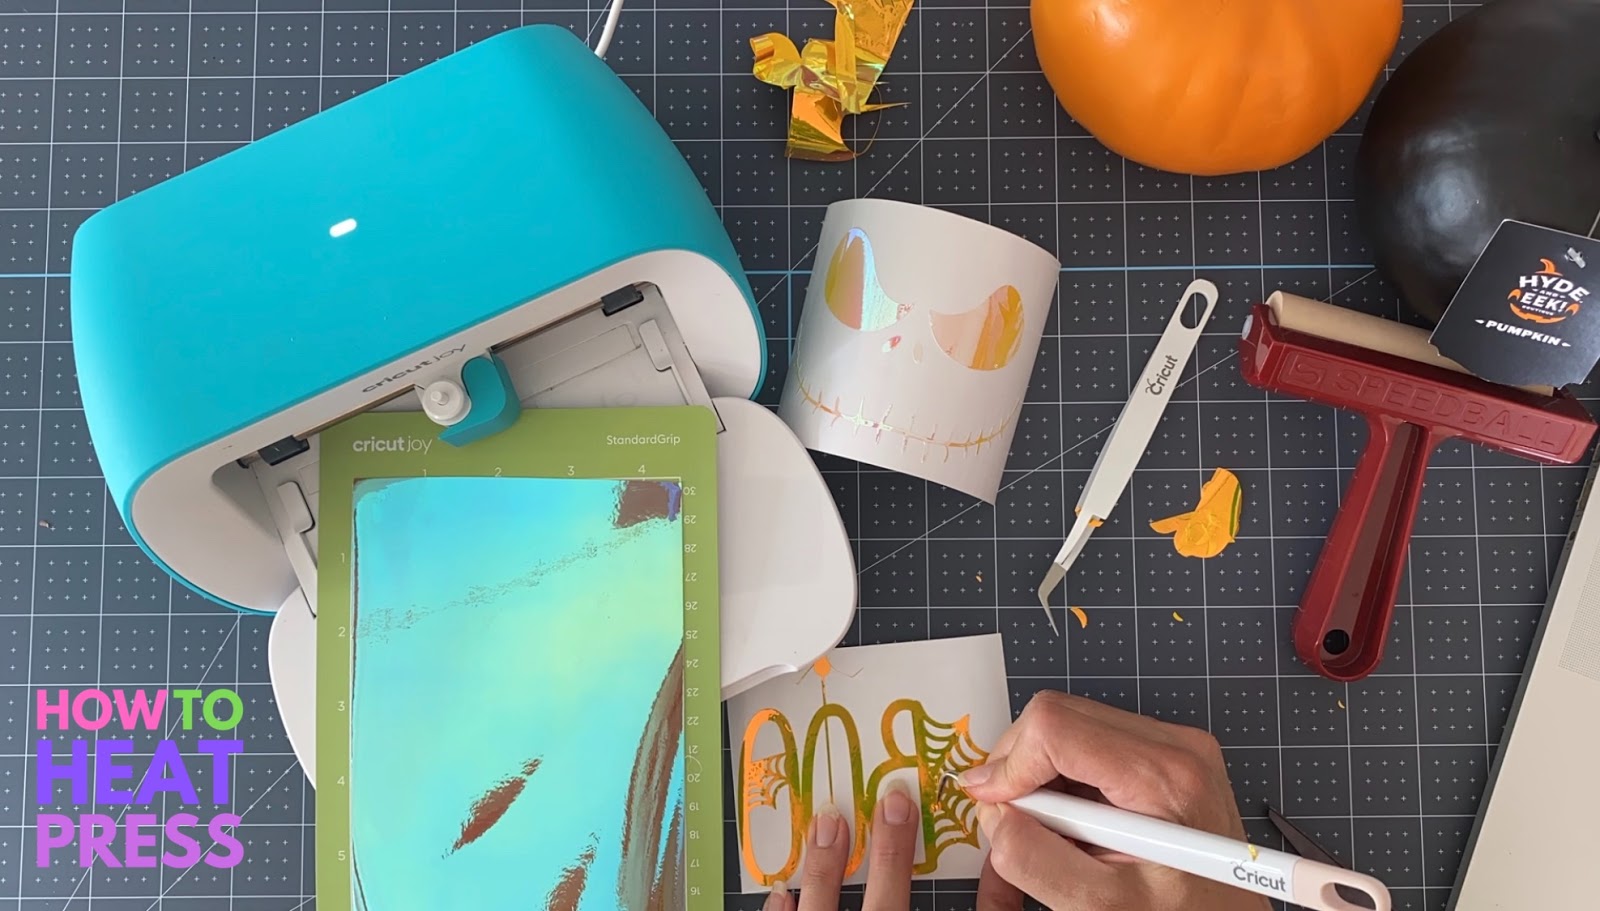
While the Joy was doing its’ thing cutting my second and third design I used my weeding tool to weed the Jack Skellington design. It was super easy as were the bats but the ‘BOO’ was a bit of a doozy because of all the detail on the spider webs. The little spider dangling from the O honestly lost a few legs so I just decided to cut it off.
As always I used my scraper to burnish the holographic vinyl to the transfer tape. This is the only step where I’ve had a little trouble with Cricut’s holographic vinyl – it occasionally sticks to the backing a bit too much. It’s easy to overcome with some extra pressure on the scraper and paying attention to burnish in multiple directions.
Apply Vinyl to Cricut Pumpkins
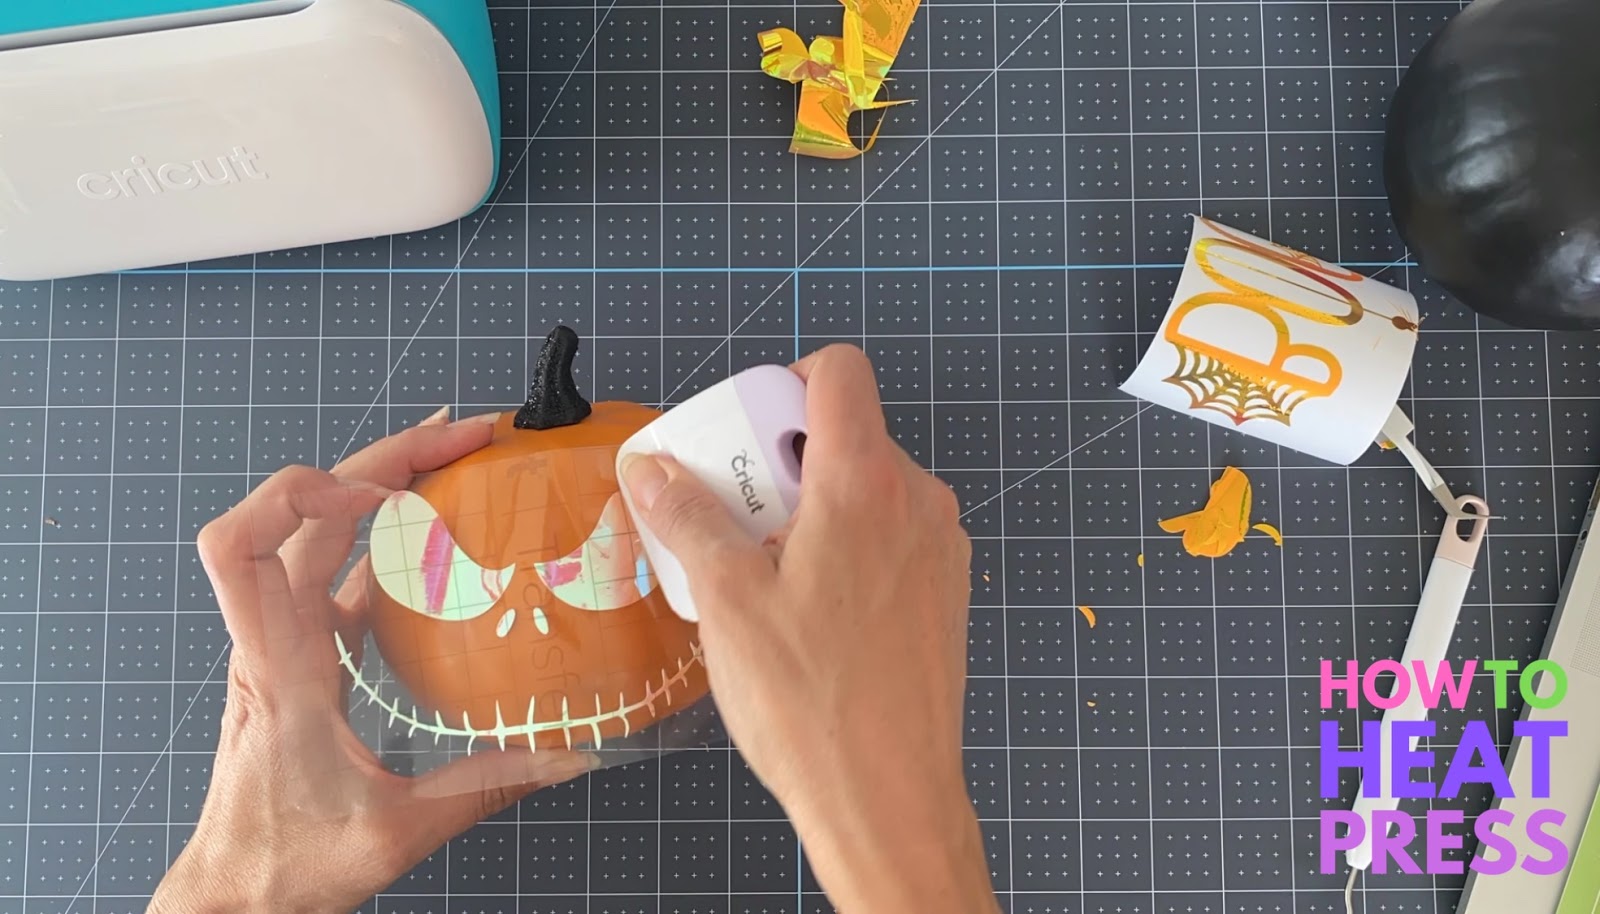
Before you even think about putting adhesive vinyl on anything you must give it a good clean with rubbing alcohol. There are often oils from manufacturing in addition to the natural oils from our hands and the adhesive will struggle if the oils haven’t been removed.
Pumpkins are round and the ones I was using also had some grooves that made applying each of the different designs a bit of a challenge. The key is to think of the designs and a bunch of individual pieces, not a complete design.
With the jack-o-lantern on the orange pumpkin, for example, I started by using my scraper tool to adhere one eye, then the nostrils, and finally the other eye. I cut the mouth off and applied it last.
When I applied the bats to the black pumpkin I used the hinge method and started in the middle of the design. I slowly applied one bat at a time using my scraper working up to the top of the pumpkin. Finally, I went back to the middle and worked my way to the bottom of the design.
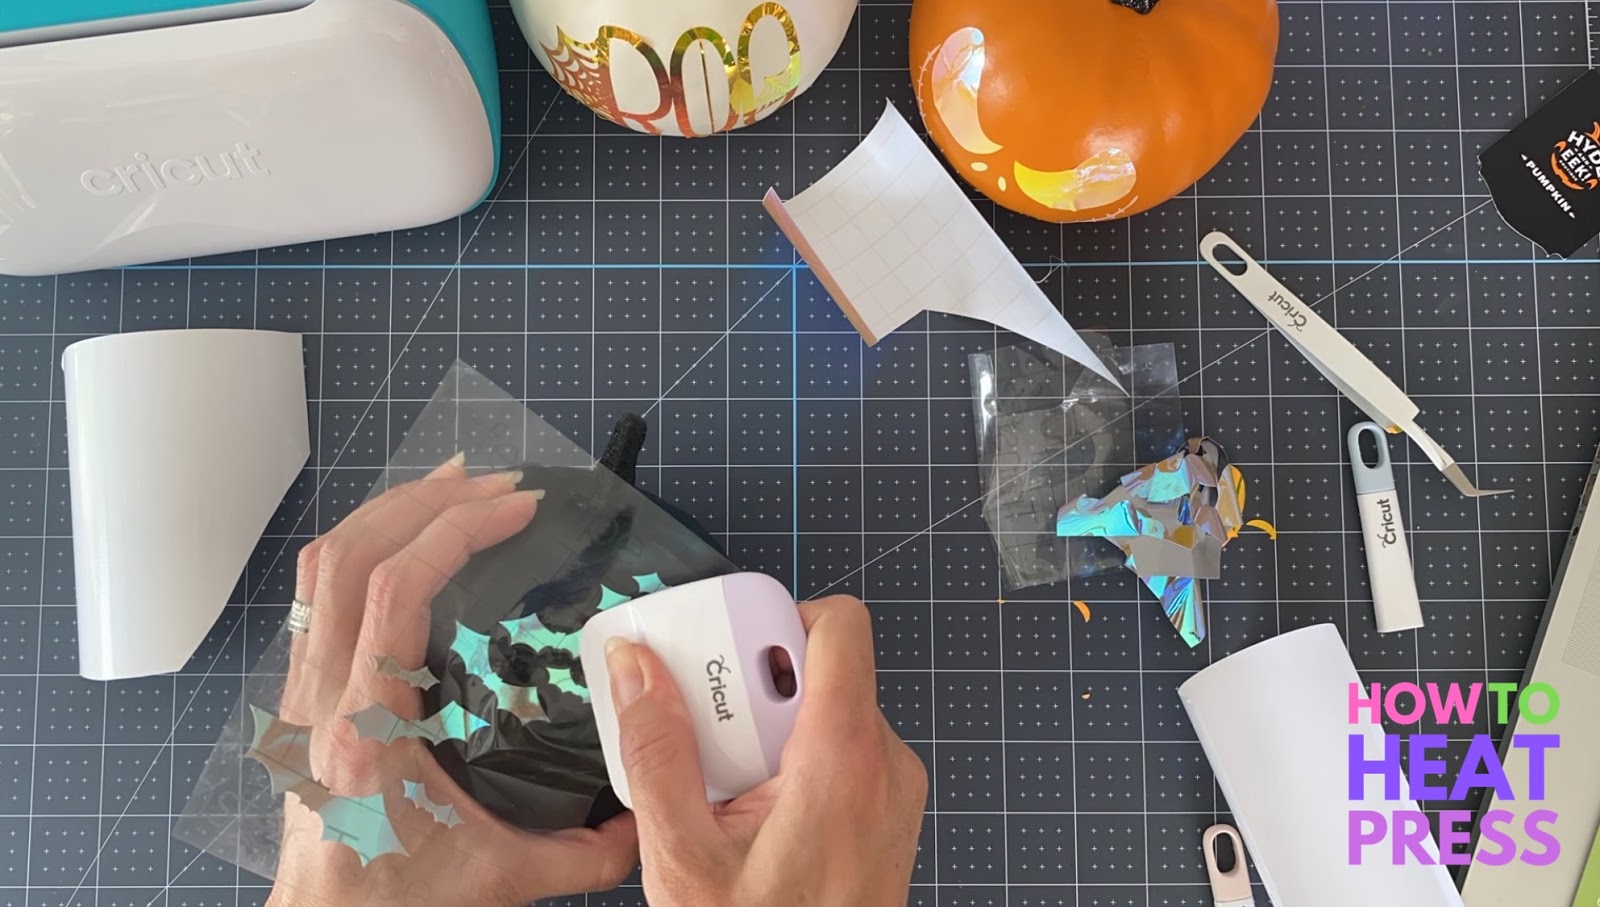
There’s no reason to seal this project because I used permanent vinyl and these Cricut pumpkins won’t see a lot of wear and tear.
Take Cute Pics of your Crafty DIY Cricut Pumpkins
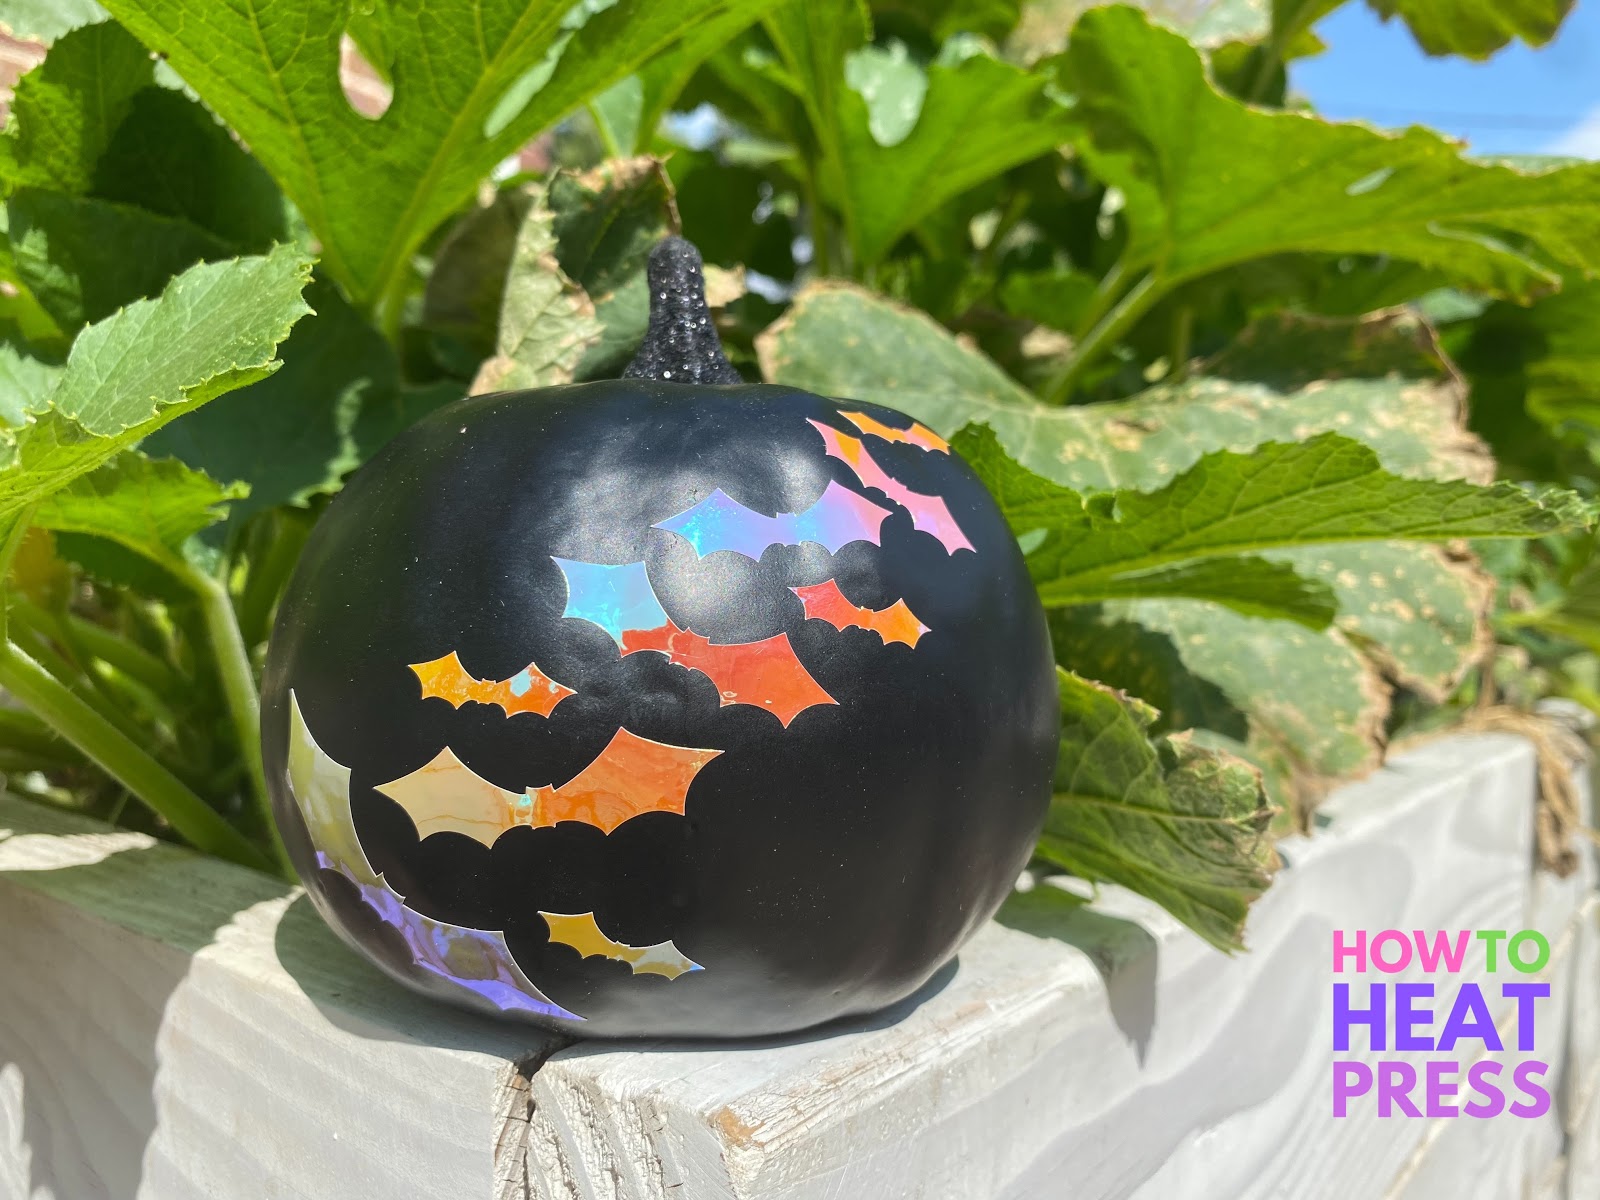
I can’t decide if these should live on my front porch or on the mantle. Maybe I’ll have to rotate them so I really get to enjoy the fruits of my crafting labor. I’d love to see what designs you come up with for DIY Cricut pumpkins!
(Please note: This post contains affiliate links. Read our full disclosure policy here.)
