How To Cut Everything On One Mat With Cricut
How to cut multiple colors on one mat at the same time!
In this post I’ll show you how to cut multiple colors on one Cricut mat so that you can save yourself time when creating future projects.
This is not how to cut a multi-color HTV design with different layers, but rather how to set up different colors on a single mat for cutting.
Especially if you’ve got a whole bunch of colors in your design, this should save you a bit of time over cutting each color out separately. And this method is a great way to use up your vinyl scraps as well!
Cut Multiple Colors On One Cricut Mat
First off, if you’d like to cut multiple colors on one mat, it’s essential that you’re only using different colors of the same material.
I know this is a no brainer, but don’t try to cut glitter, foil and regular HTV on the same mat because they all have different cut settings!
Also, be aware that cut settings can vary depending on the brand of HTV (or any other material – cardstock, etc.) you’re using. For example, some brands of glitter HTV are thicker than others! You can only cut different colors of the SAME material at once.
Today I’m cutting out multiple colors of Iron On from ImPRESSED Vinyl.
Single Layered Designs
If you have a single layered design that you’d like to cut out in multiple colors, you can use the Cricut contour tool to separate the design into different colors (which is what I did for this project).
Otherwise, you can cut your design exactly how it is as a welded image, and just position your material colors in the right spot on the mat (though this involves a little more precision getting everything right, and will only work for simple designs).
Multi-Layered Designs
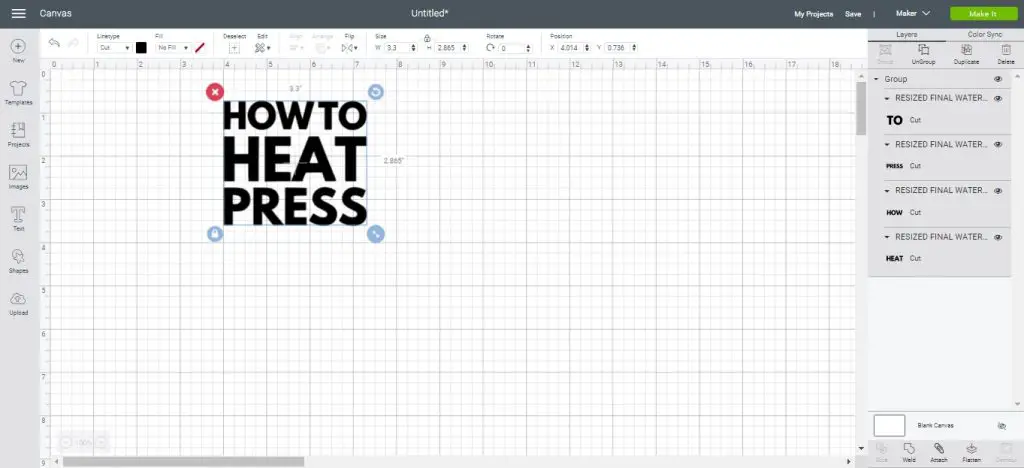
If you have a multi-layered design you will need to select each color in your design and either weld it together, or attach it to the canvas. Otherwise the words or pieces of the design will get jumbled up on the mat.
The elements that you’d like to be cut on the same mat must be set to the same color (which happens automatically when welding or attaching), otherwise Design Space will arrange them onto different mats by default.
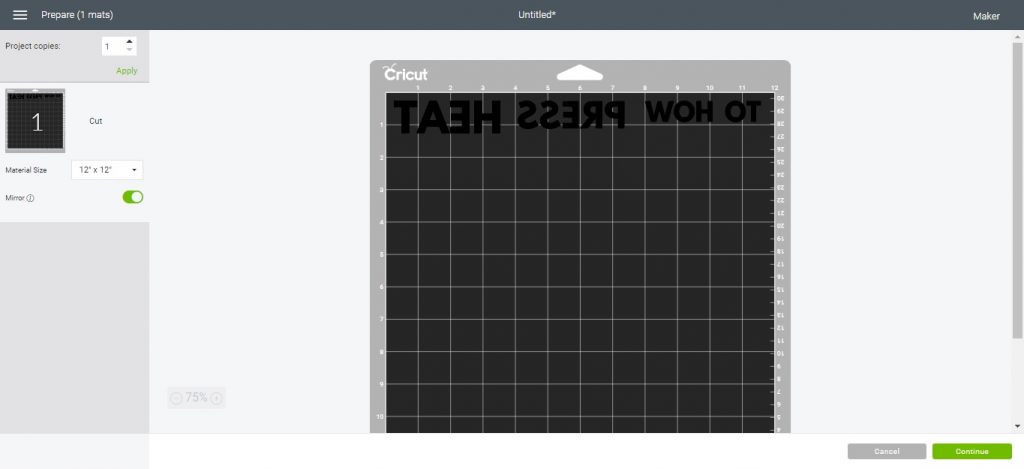
In the mat preview you can edit the placement of your design on the mat. Just click any part of your design to manually move it around on the mat. Make sure to mirror your mat if you’re using HTV/iron on.
For my design, I used the contour tool to separate my design into four separate words so that I could manually arrange them later. My words are already welded into one image (from using the contour tool). Each word will stay together, but Design Space will automatically position everything to save as much space as possible on the mat.
In the mat preview, I clicked to edit my mat and manually spaced everything just a little further apart so that they would be cut in the right color.
Cutting Out Multiple Colors At Once
I’ve put all my colors of HTV onto my Cricut mat. The iron-on comes from this HTV bundle from ImPRESSED Vinyl, and I’m cutting with the Cricut Maker.
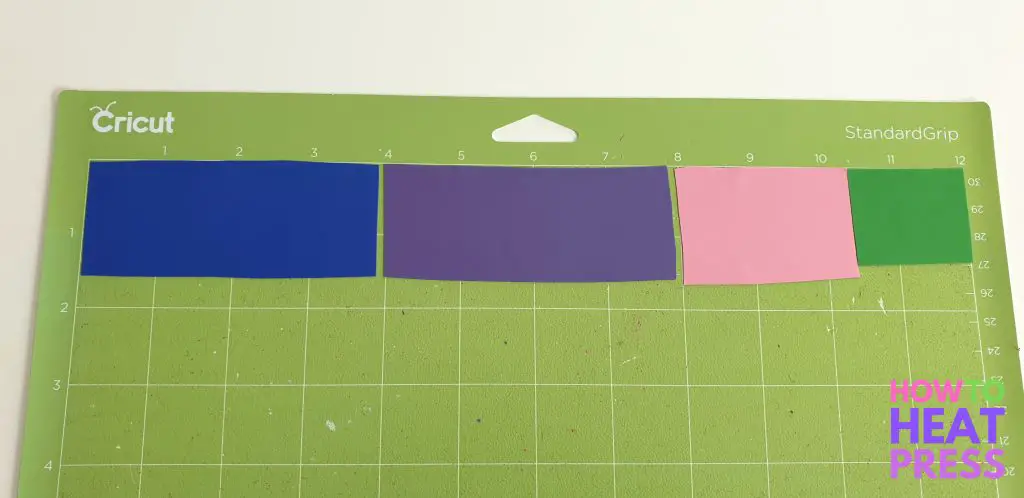
I set my material to Iron On in Design Space, and now I’m ready to cut all my colors at once (and it looks like I need to clean my mat)!
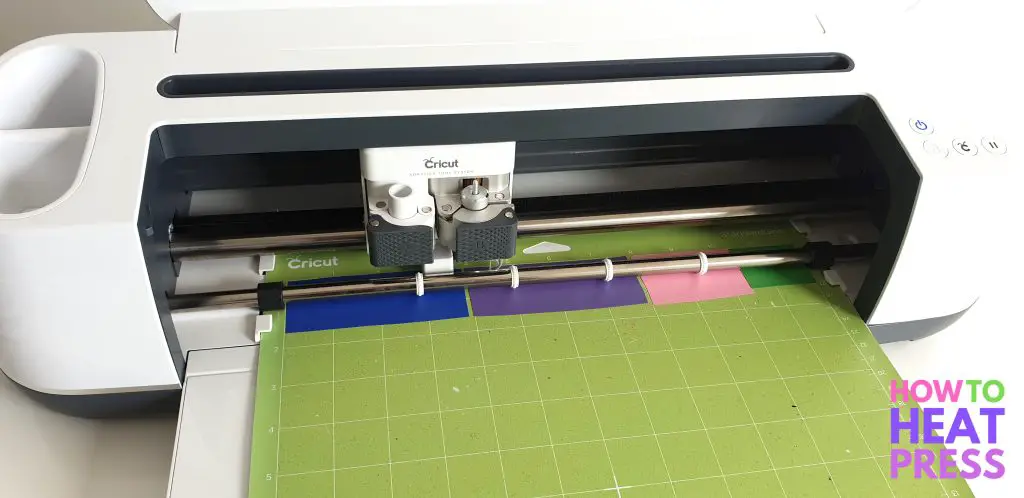
Everything is cut out, and that saved a lot of time reloading and cutting each different layer on a new mat.
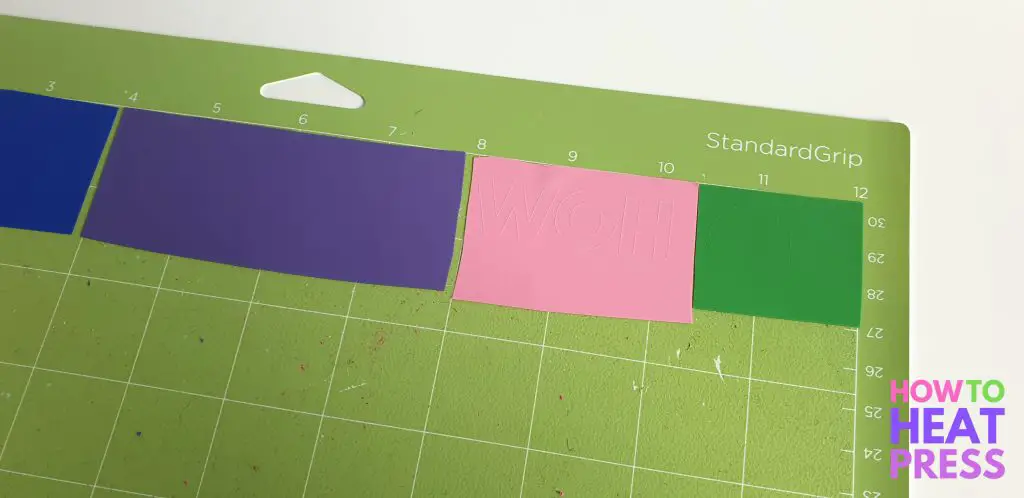
Next I weeded all the colors of my design with my Cricut weeding tool.
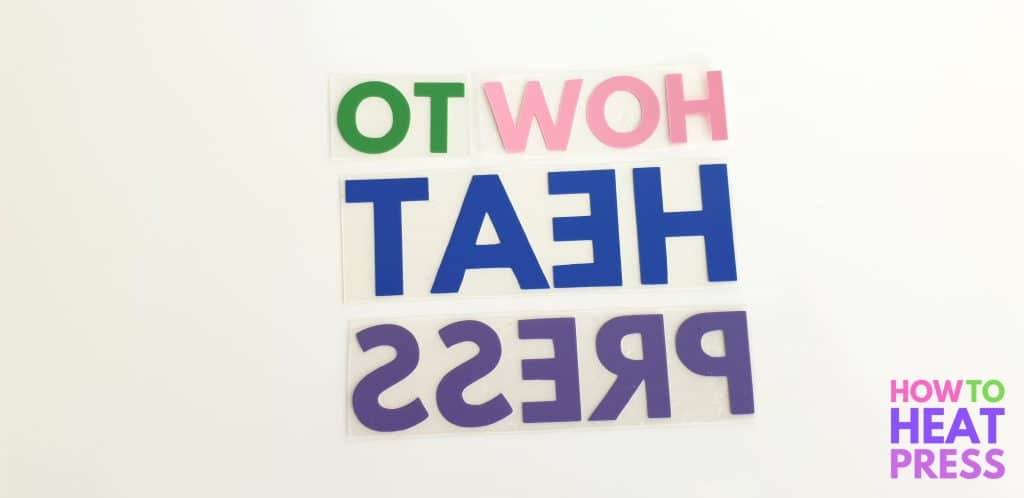
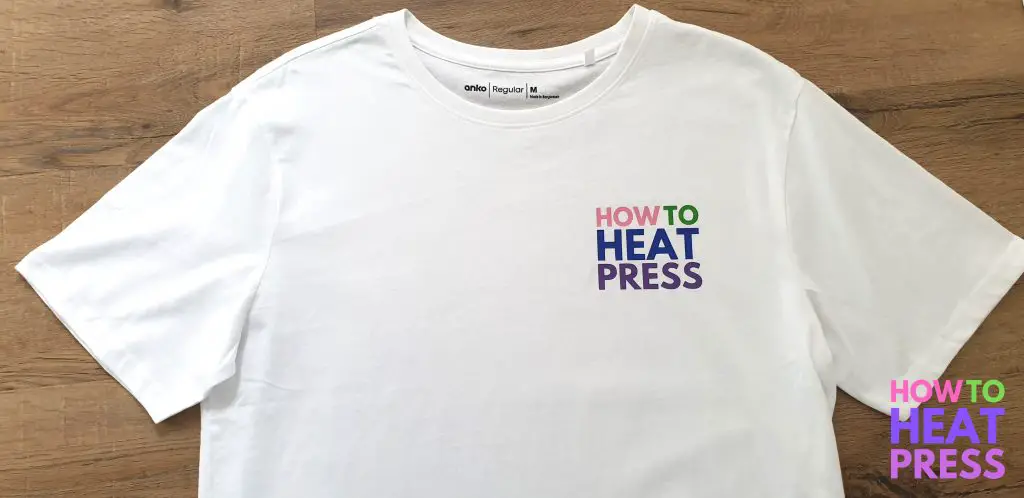
I turned on my heat press and set the temperature to 310°F. It took about 10 minutes to heat up. I pre-pressed the t-shirt for a few seconds to remove moisture and wrinkles.
Then I pressed the design for about 15 seconds. ImPRESSED Vinyl HTV should be pressed with a heat press between 300-320°F and pressed for 10-15 seconds.
When pressing, try to avoid buttons or seams as much as possible and these things can affect the pressure applied to your transfer.
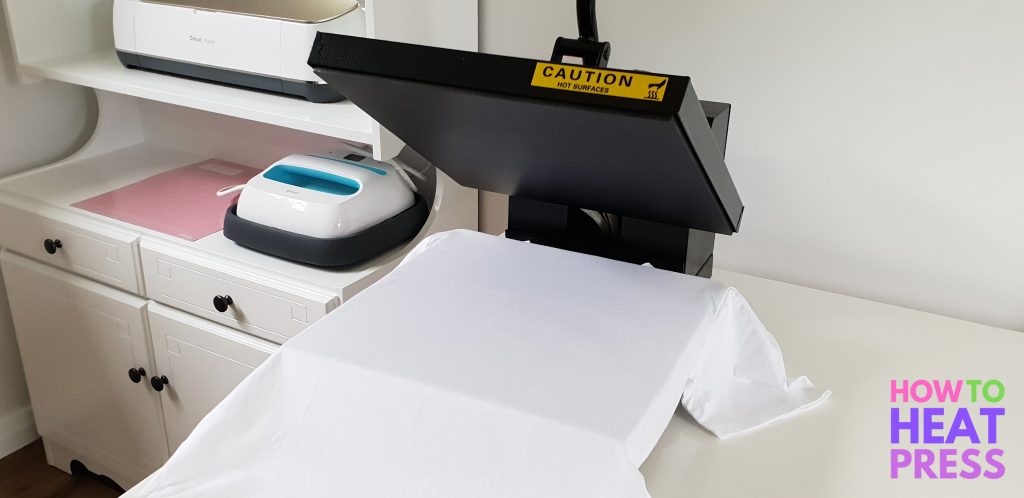
I waited for the carrier sheet to cool before peeling it away.
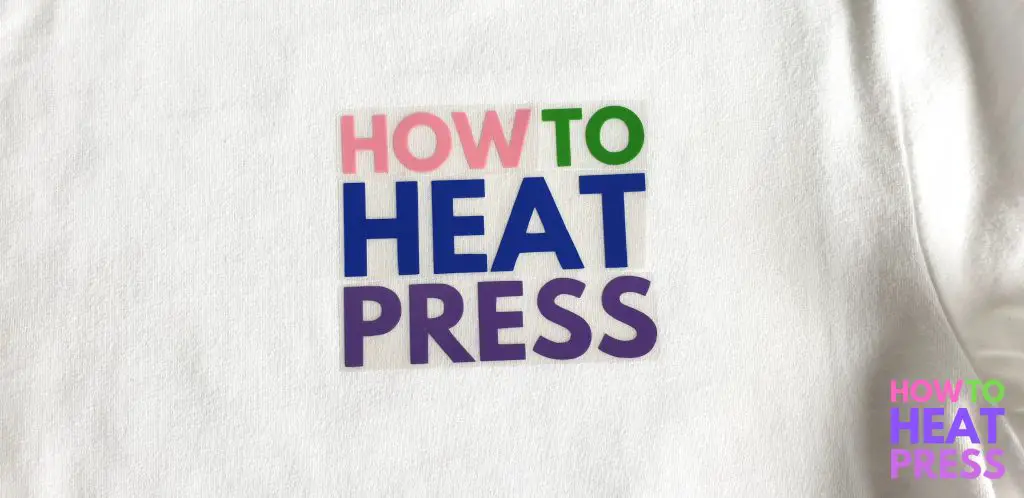
All done – looks good!
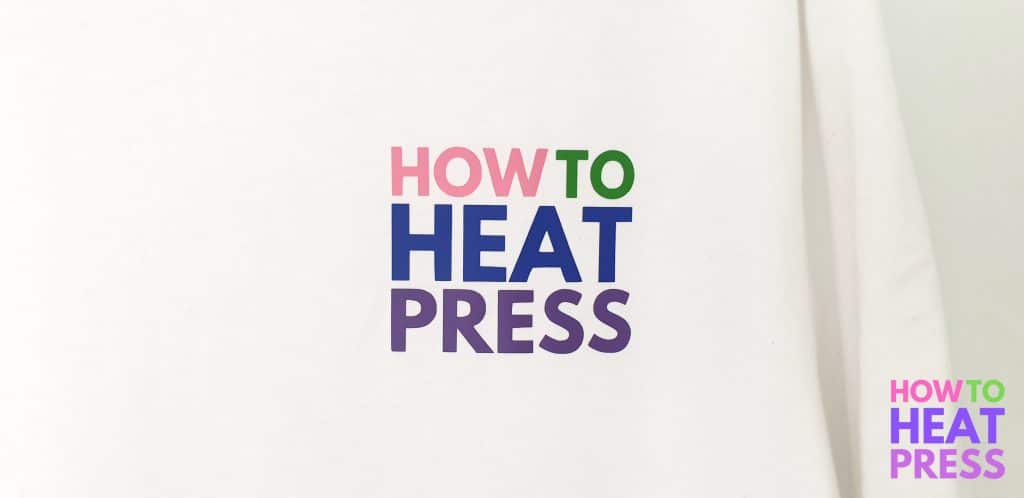
And that’s how to save a lot of time when doing little projects like this!
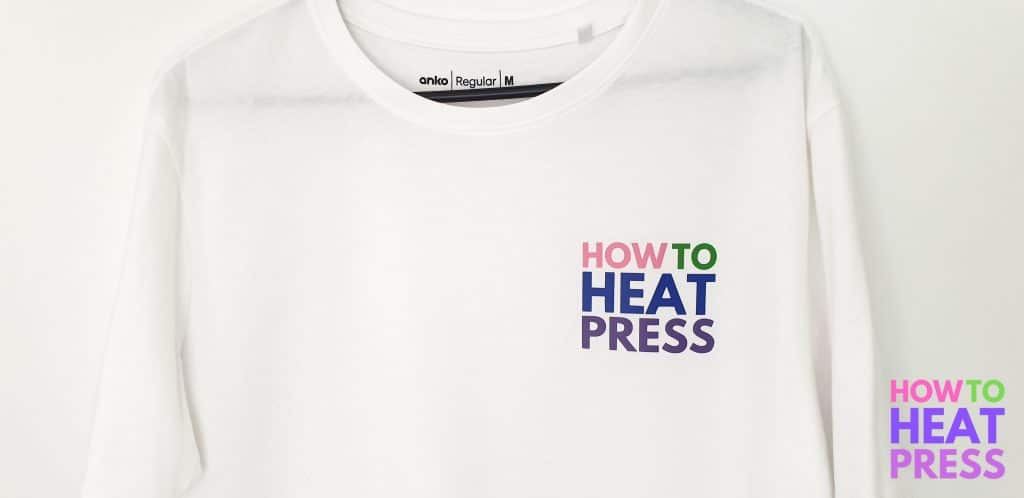
I think I’ll want to make more of these 😀

Cricut Cut On One Mat
And so that’s all there is to it.
You can use this method for not only cutting HTV, but also:
- cardstock
- adhesive vinyl
- paper
Just make sure the materials you use are the same brand and type, not different weights, thicknesses, and textures!
(Please note: This post contains affiliate links. Read our full disclosure policy here.)


