Farmhouse Laundry Sign: How To Apply Vinyl On Wood!
Want to know how to put vinyl on wood?
In this post we’re using adhesive vinyl to decorate this farmhouse style wood sign. We’ve got a bunch of tips and tricks on how to get vinyl to stick to wood, so take a look and find out to get the best result!
Vinyl On Wood
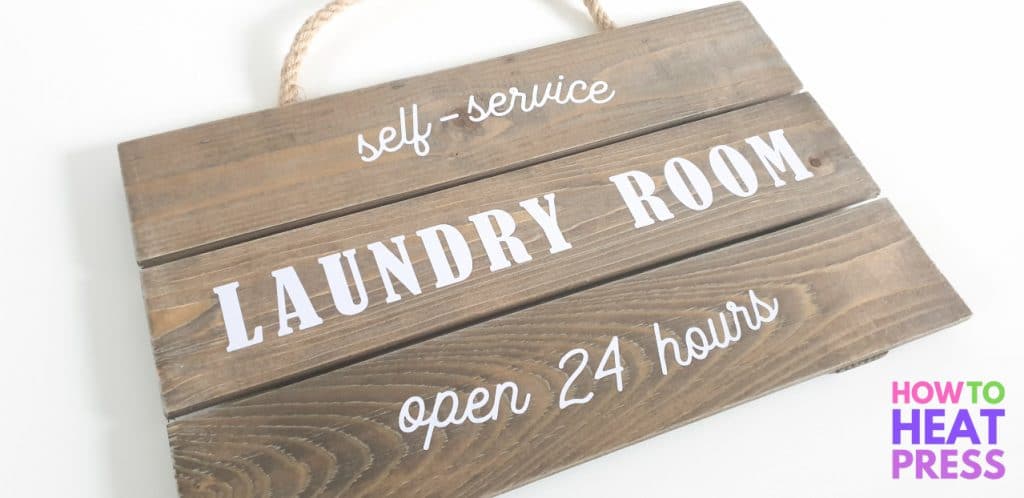
There are a few different ways you can decorate wood signs using vinyl:
- Use stencil vinyl – create a stencil and then paint the design on wood
- With HTV/iron on – heat apply a design onto wood
- Permanent adhesive vinyl – today’s project!
If you were interested in that first option, check out our Cricut Stencil Vinyl project. Adhesive vinyl and HTV are similar, but you can learn more about the important differences here.
Putting Vinyl On Wood
If you’re making a wood sign, you are going to need some wood blanks!
We have a post dedicated to where you can find the best blank wooden signs for this type of project, but if you want something similar to what we’re using, see these options on Michaels.
Finding a smooth wood blank is the best option when applying permanent adhesive vinyl. Getting vinyl to stick to rough unfinished wood can be quite tricky!
Some tips if you have a rough piece of wood:
- lightly sand the areas where vinyl will be applied
- prime the wood for better adhesion
- make sure you’re using a quality vinyl
- make sure to use the correct transfer tape for best release
- seal the finished vinyl design
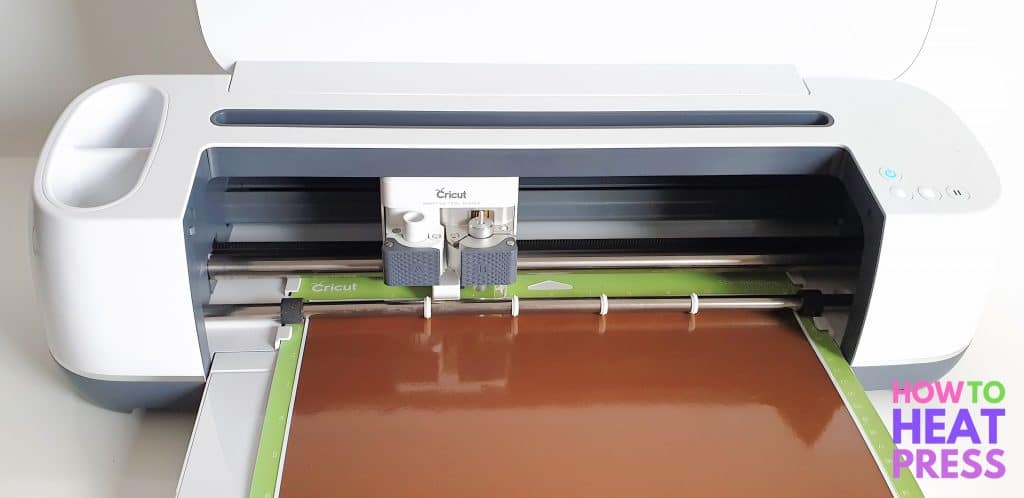
We’ll be using the Cricut Explore Air 2 to cut the vinyl for this project, but you can also use the Maker (pictured above).
There are also a ton of good adhesive vinyl brands out there, but we are going to be trying out EZ Craft USA permanent vinyl, which can be found here on Amazon. They have a great vinyl bundle with a huge variety of colors.
DIY Laundry Sign Design
I’ve made a design in Cricut Design Space using the fonts ‘Bernard MT Condensed’ and ‘Romantic’. For more font choices, check out this post all about where you can find the best free fonts.
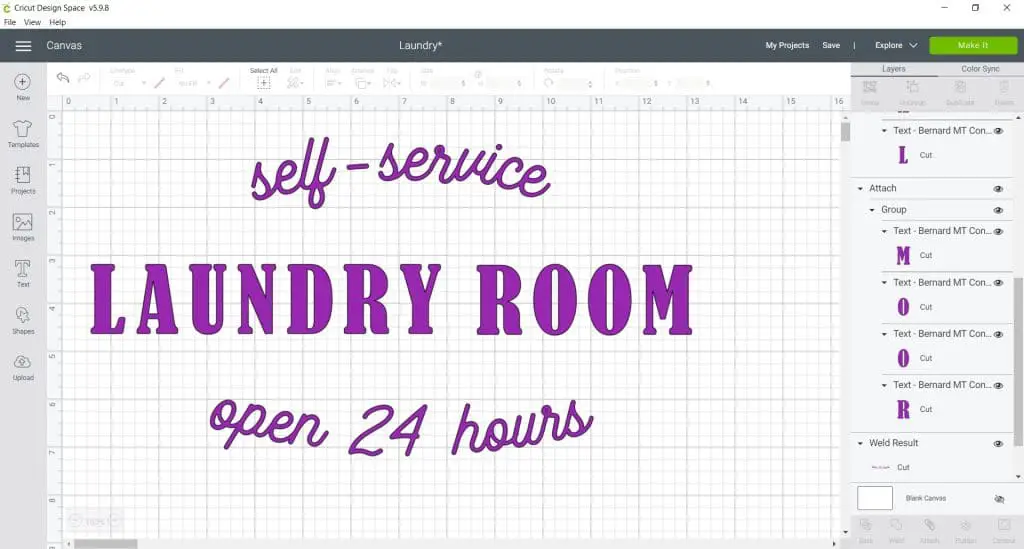
I used the curve text feature in Design Space to curve the top and bottom lines of text.
Anytime you are using script or cursive fonts you can reduce the letter spacing so that all of the letters are touching. If reducing the letter spacing doesn’t position the letters nicely, you can ‘ungroup to letters’ and manually move the letters together.
When all of the letters are touching, you can weld the entire word together. This will make the word into one image, so that it will cut as one piece. See how to weld for more info.
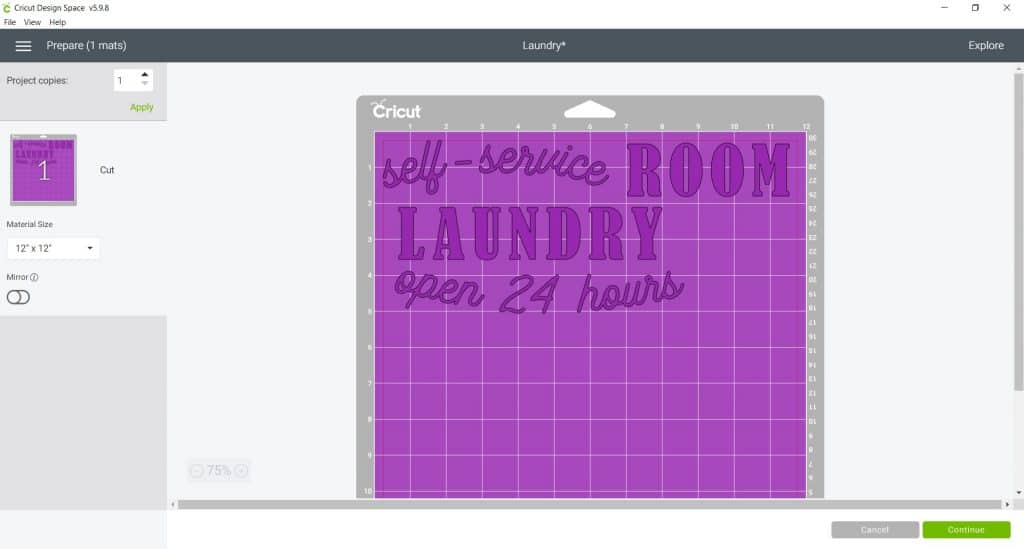
With the top and bottom lines of text welded together, I just attached the words ‘Laundry’ and ‘Room’ to the canvas so that the words cut as one piece. Another option would have been to weld these words also, which would have had the same effect. I decided to leave the words ‘laundry’ and ‘room’ separate, so that they would fit onto my cutting mat better.
Once I was happy with the design, I measured the sign and resized my design to fit.
In the mat preview you can check that everything looks good, and that none of the words are jumbled! You don’t need to mirror your design for adhesive vinyl, so continue onto the next screen.
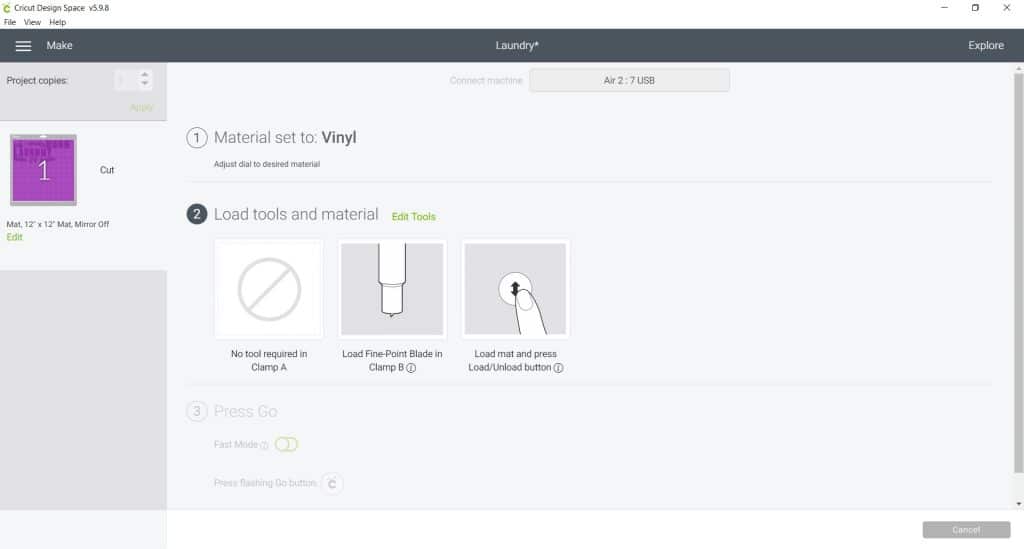
Set your material to vinyl if using a Maker, or turn your dial to Vinyl if using an Explore Air 2.
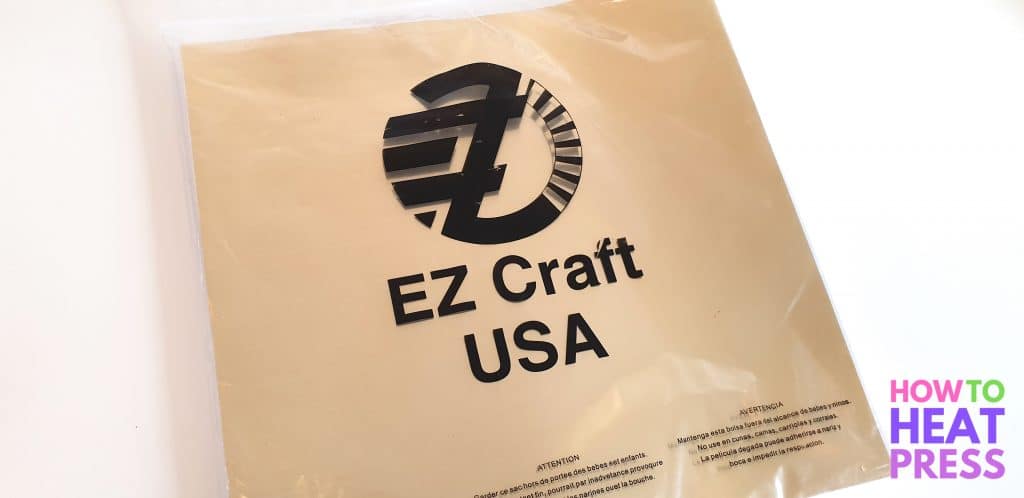
EZ Craft USA Vinyl
Here’s the brand of adhesive vinyl I’m using to make my sign. We got this huge pack from Amazon. It comes with so many different colors and the quality is not bad. I’ll just be using a sheet of white vinyl, which will work well on the wood!
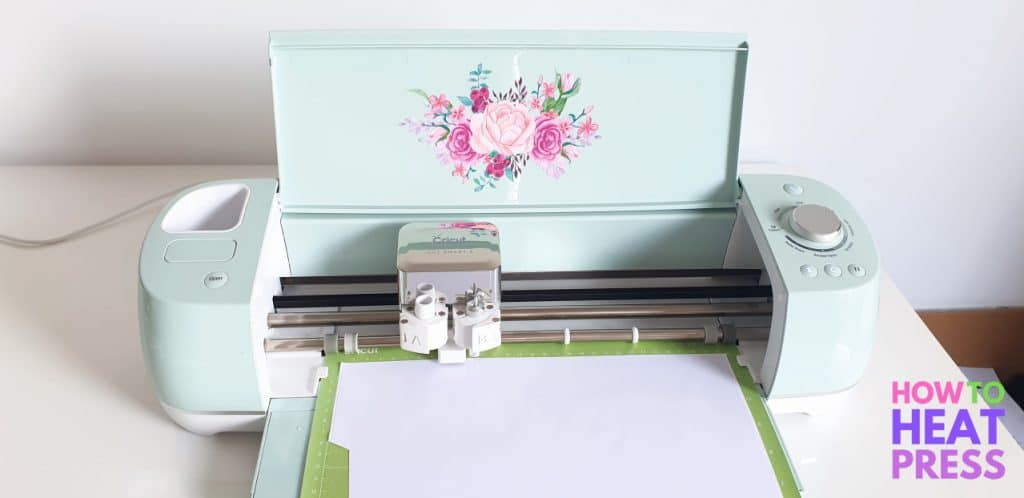
Place the adhesive vinyl facing upwards onto your cutting mat, with the backing paper underneath. Load the mat into your machine and click go.
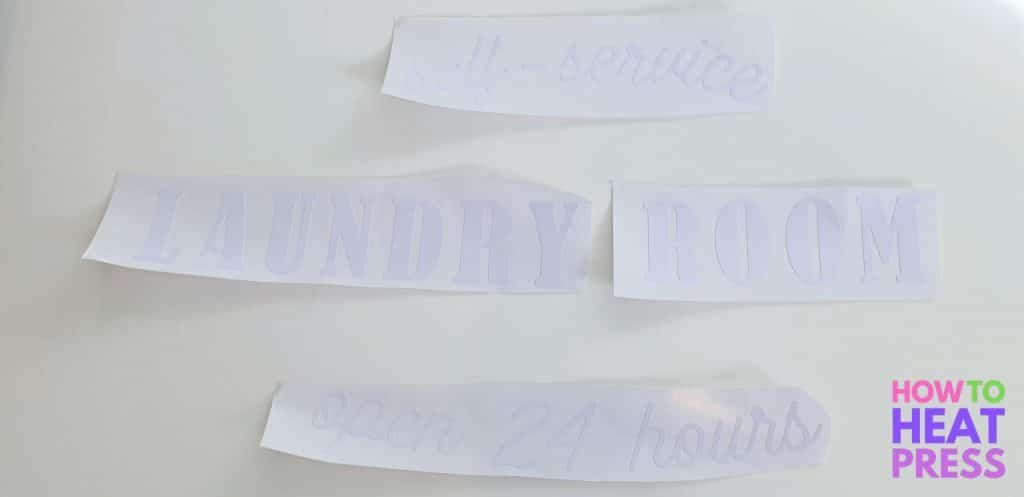
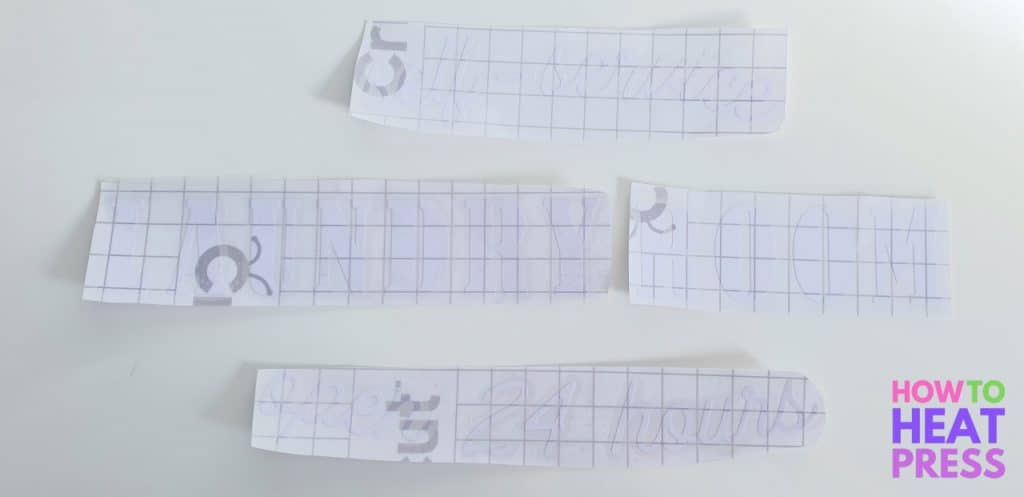
Weed away the excess adhesive vinyl from the backing paper. Cut the words out so that each part of the design is separate.
The vinyl is a little hard to see in this photo, since it is white!
Now you can apply transfer tape over top of all the pieces in your design. You want to use a regular grip transfer tape for this type of application, not a strong grip tape.
I usually start pressing the tape down in the middle, and then outwards to each side. This avoids any chance of bubbles. Use a Cricut scraper or a squeegee to burnish the transfer tape over the vinyl.
How To Apply Vinyl On Wood
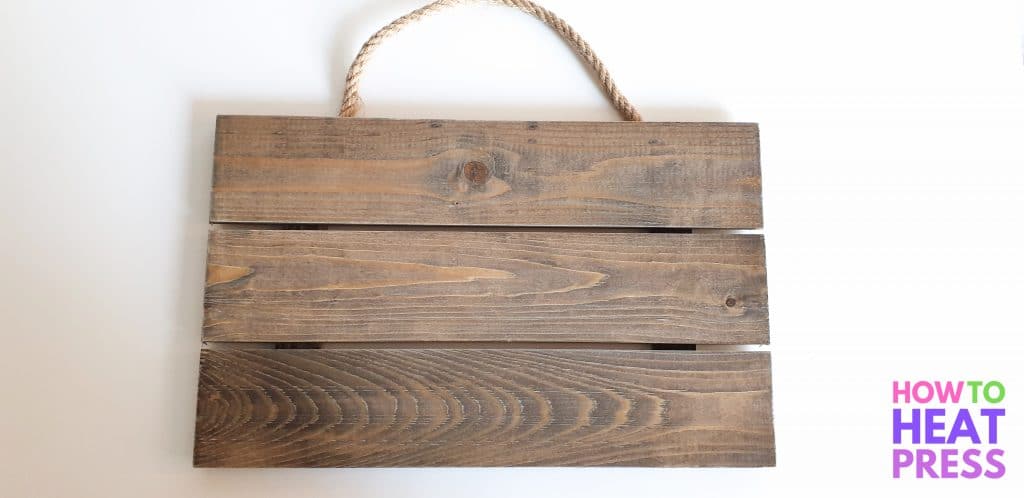
Here’s the blank farmhouse sign we picked up from our local craft store.
Before applying vinyl to a wood sign like this, it can be wiped down with rubbing alcohol to remove any dirt, dust, or other debris. It’s important to apply the vinyl to a clean surface to ensure it adheres well.
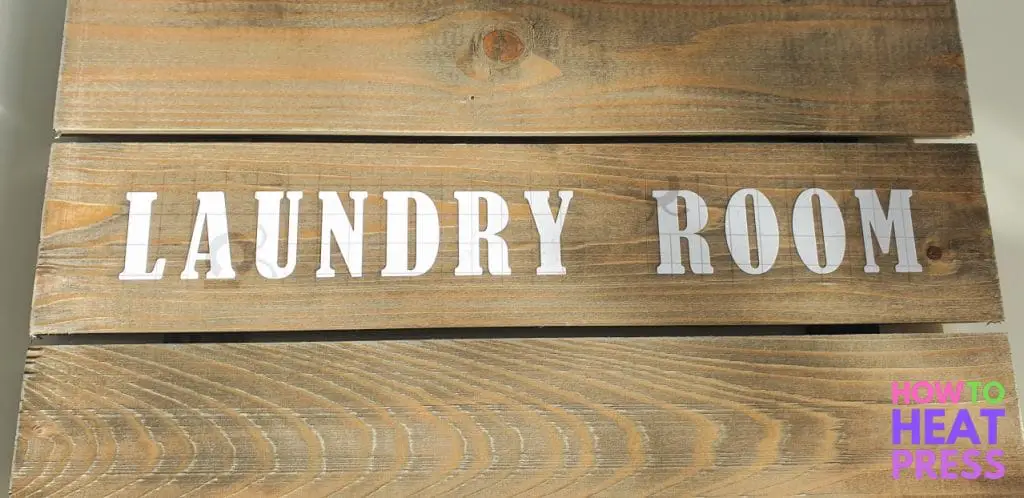
I started by applying the word ‘LAUNDRY’ first. I used a ruler to find the middle of the sign and was able to center everything nicely.
Because this wood blank is so smooth and well finished, it makes applying the vinyl on wood so easy! It’s not much different from applying vinyl on a tumbler.
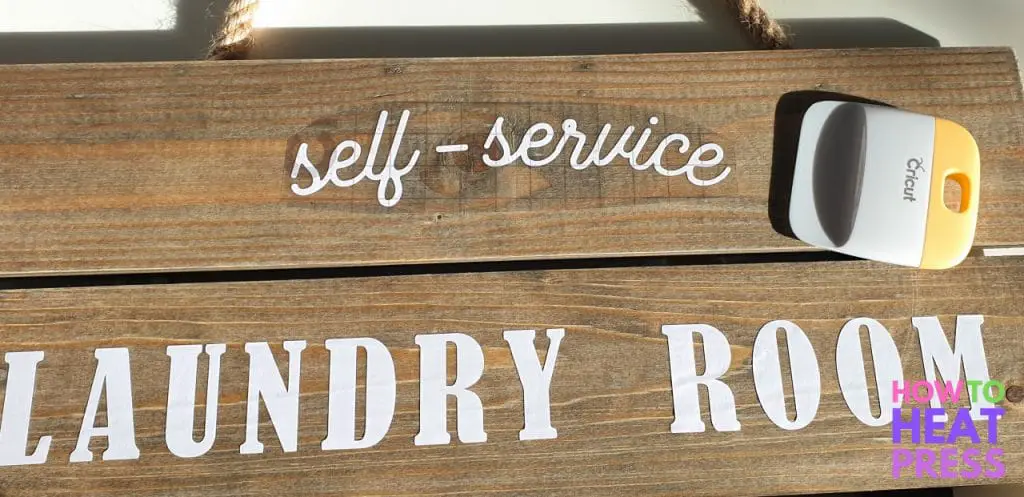
I removed the backing paper from the transfer tape, and then pressed the design down in sections. I burnished it onto the wood with my Cricut scraper tool – another important step in how to make vinyl letters stick to wood.
Next I applied the ‘self-service’ part of the design.
And lastly, I applied the ‘open 24 hours’.
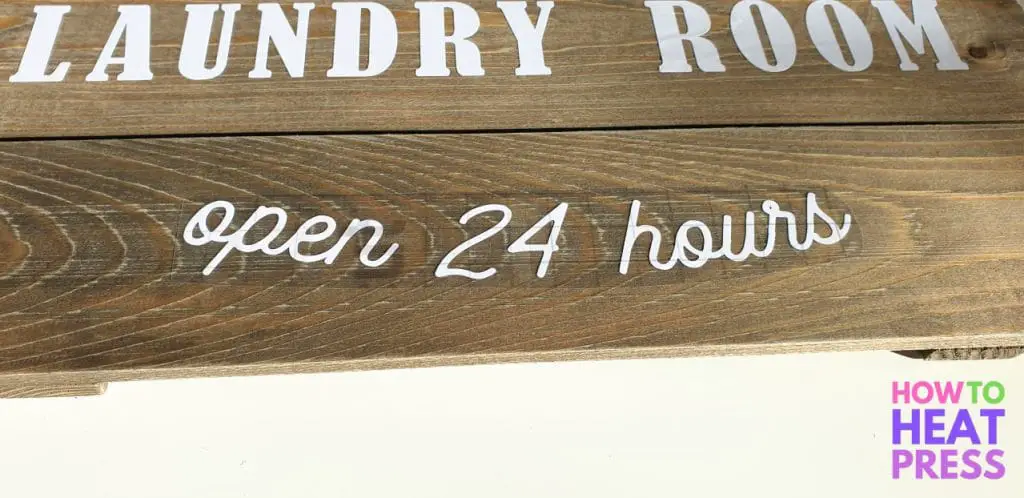
To easily remove the transfer tape, lift it up at one corner and roll it back onto itself. If you just try to pull it up, the adhesive vinyl will come up with it. Rolling the tape back onto itself will give the least amount of resistance.
Roll it back slowly, just in case any letter lifts up. If a letter does lift up, just replace the tape back over it and burnish it down again.
How To Get Vinyl To Stick To Wood
Here is the finished project!
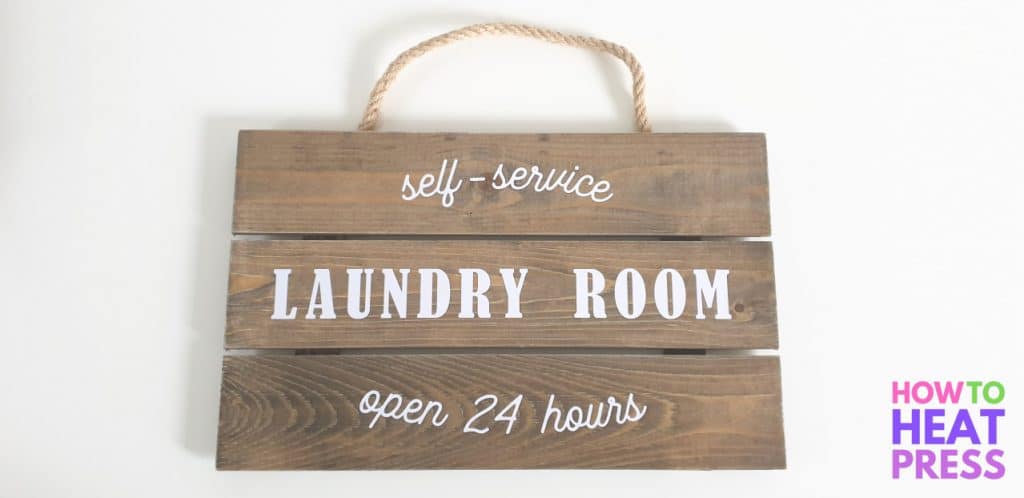
This will look great in our laundry room!

So do you need to seal vinyl on wood?
Most of the time it won’t be necessary because indoor signs like this aren’t getting any wear or tear – they just hang on the wall! Using a good permanent vinyl should be sufficient.
If you were making an outdoor sign, using Stencil vinyl and paint could be the better option.
However, if you want to use vinyl and seal it, there are few different ways to go about it:
- Dishwasher Safe Mod Podge – easiest but not suitable for all projects
- Polyurethane Sealant – a spray on sealer
- Amazing Clear Cast – an epoxy resin
If you need to seal vinyl on wood, check the Amazon Q&A’s and reviews on those product listings to ensure it’s going to be the correct solution for you. There are so many different types of wood surfaces and vinyls, and some won’t be compatible with these products.
Let us know if you have any comments or questions in the comments below!
(Please note: This post contains affiliate links. Read our full disclosure policy here.)


