Stahls’ Vinyl Review: Is It Better Than Siser EasyWeed?
Thinking about using Stahls’ vinyl?
I’ve been making 70 t-shirts for a friend’s family reunion. I ordered a 15-meter roll of Stahls’ HTV for the job. Usually, we use Siser HTV, but due to temporary stock shortages, I thought I would try out Stahls’ vinyl instead.
Stahls’ has a huge range of adhesive vinyl, sign vinyl, and printable craft vinyl. Here are a handful of their offerings:
–Glitter Flake – perfect when you need a little sparkle and shine
–UltraWeed – excellent for a wide variety of projects
–Thermo-FILM – super durable adhesive for jerseys and rough ‘n’ tough clothing
–Fashion-FILM – thin composition, soft touch, and matte finish
–Premium Plus – soft and stretchy, low temp application, low-tack or high-tack
If you don’t want to do the cutting yourself Stahls’ will actually cut your artwork for you!
Stahls’ Heat Transfer Vinyl
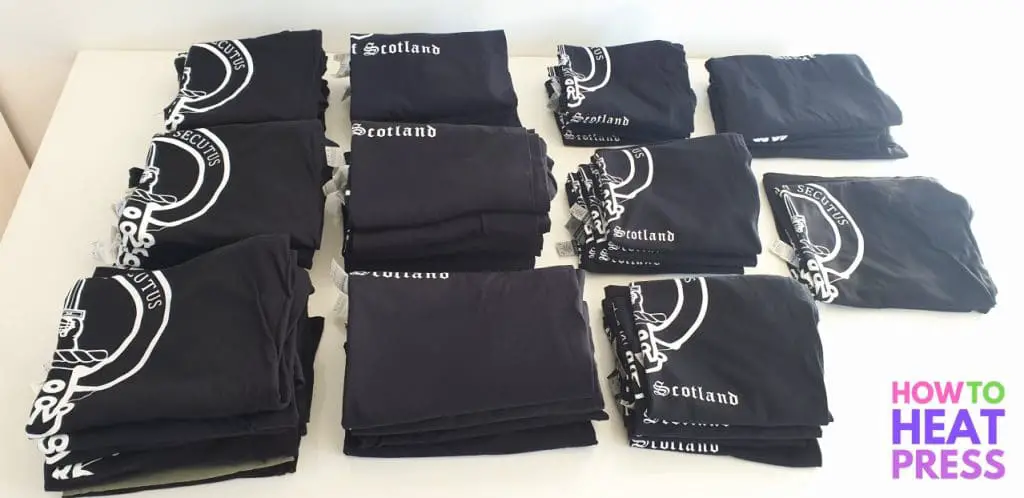
If you are ever printing 70 shirts, DIY heat printing with HTV isn’t the best way to go about it. It’s too time-consuming cutting, weeding, and pressing so many shirts in this way. The best way to print 20+ shirts (as a t-shirt business would) is by screen printing.
With screen printing, you only need to create the screen once, and then you can quickly apply the same design over and over again. However, if you have a range of shirt sizes, you may need to create multiple screens. Speedball Screen Printing Kits are a great way to get started.
We aren’t set up for screen printing at the moment, so that’s why we’re using Stahls’ HTV. If you wanted to learn more, see these different t-shirt printing methods to find out the best solution for you.
Stahls’ Heat Transfer Material
So now to the family reunion t-shirts!
My friend gave me the design printed on a piece of paper with exactly what he wanted. Luckily, I was able to find an image of the design online, which I downloaded and inserted into Inkscape (a free shirt design software). I used the Trace Bitmap feature within Inkscape to convert the image into an SVG file.
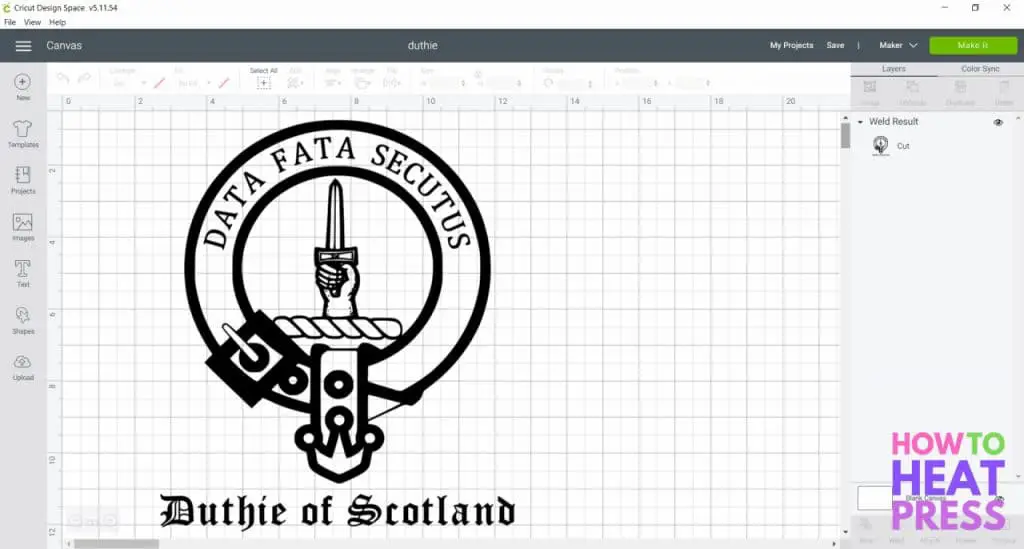
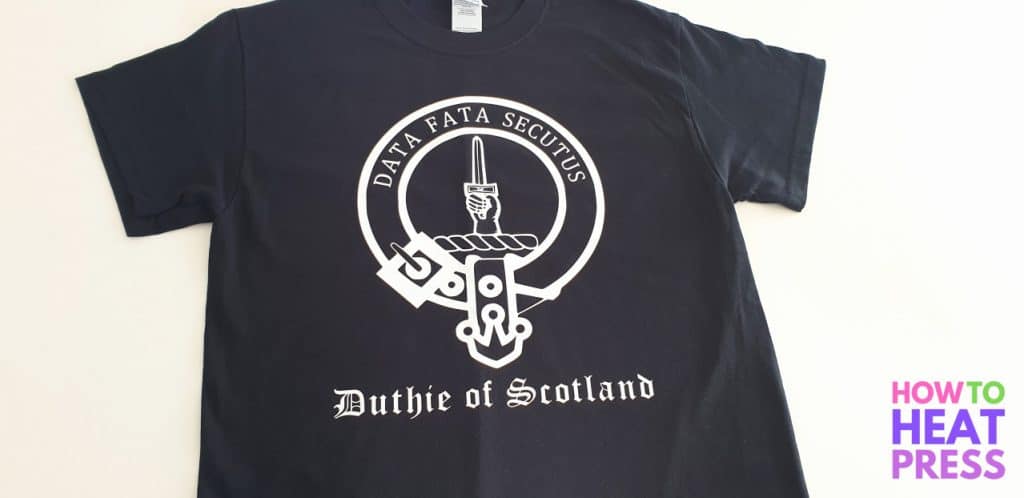
Next, I uploaded the SVG to Cricut Design Space as I’m going to cut the designs with my Cricut Maker. Any vinyl cutter such as a Silhouette Cameo will work though. In DS I added the text ‘DATA FATA SECUTUS’ inside the image, as well as ‘Duthie of Scotland’ below it. Lastly, I welded everything together into one image and then sized it to be 9.8 x 11.4 inches.
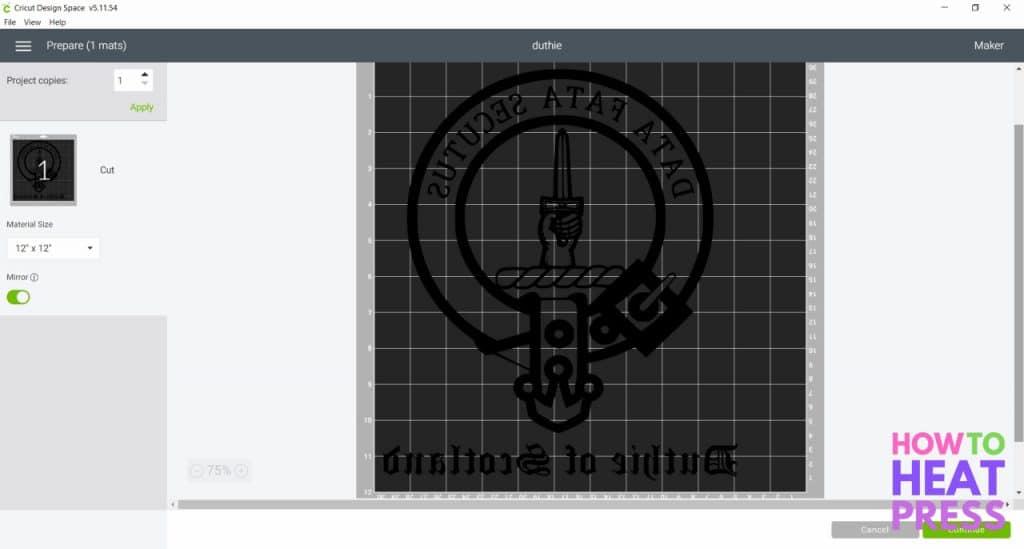
Next, I mirrored the image, as I am using heat transfer vinyl.
How To Cut Stahls’ HTV
Before cutting out the design, I did a small test cut first. I have never used Stahls’ Iron On before, so I wanted to make sure I have the right cut setting.
It cut perfectly on the first attempt using the Everyday Iron On material setting.

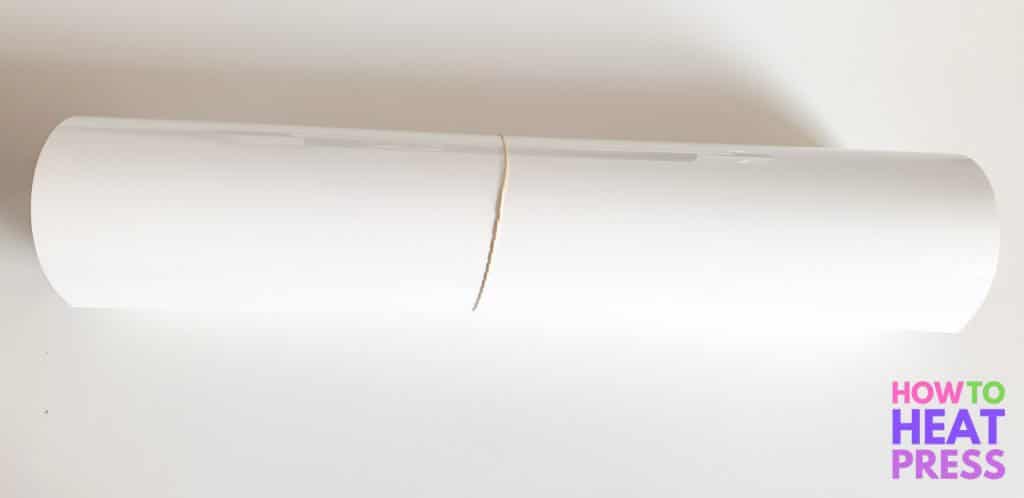
Below is a picture of the heat transfer vinyl I’m using today. It’s a big 15-meter long roll and is 20 inches wide. I had to cut it down to fit onto my 12×12 inch Cricut cutting mat, but this wasn’t a problem. Stahls’ didn’t have a 12-inch wide option, so now I’ve got lots of vinyl scraps to play with as well!
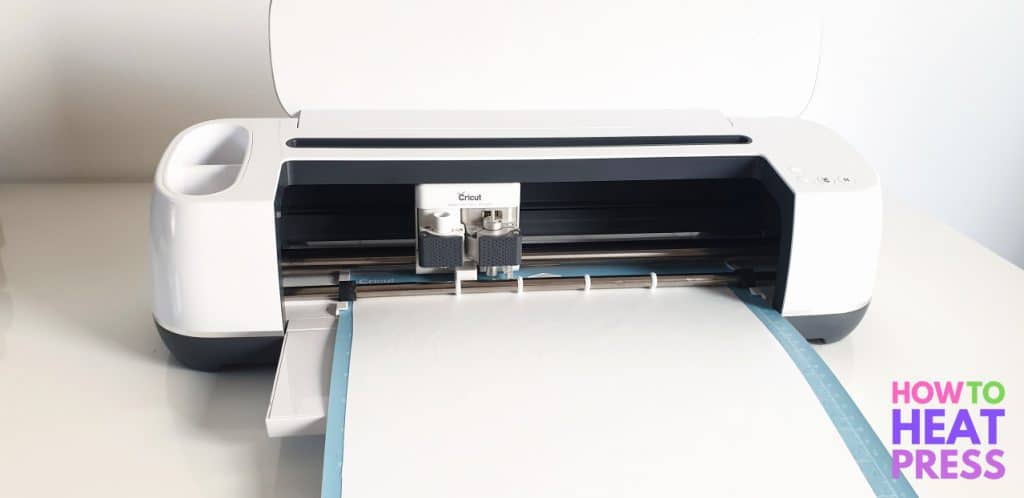
I placed the HTV shiny side down on my cutting mat (I’m using the Cricut LightGrip Mat because I need to clean my StandardGrip mat). I loaded it into the Cricut Maker, pressed go, and let the machine cut.
Weeding Stahls’ HTV
Next, I weeded the design. I started by removing the cavities inside the letters first and the smallest pieces of vinyl. If you start removing the big sections first, then your hand will keep getting stuck to the carrier sheet and it gets really annoying! I used the light on my phone, and few other vinyl weeding tricks, to help me see the cut lines.
I found Stahls’ HTV very easy to weed. So far it seems to be good quality vinyl which is a relief knowing how much work I have ahead of me!
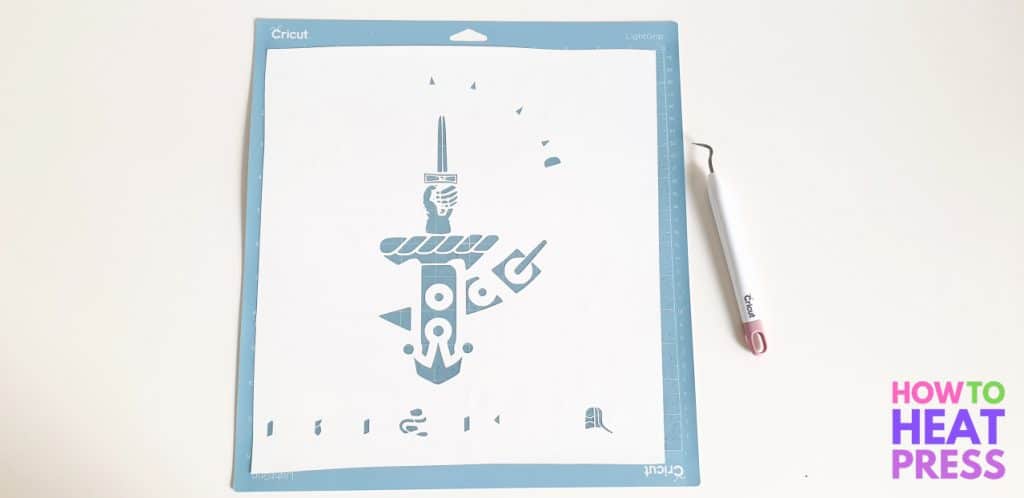
Here’s what the design looks like when weeded. I carefully looked over the design to make sure there were no stray bits of HTV on the carrier sheet, and to see if there was anything I had forgotten to weed out.
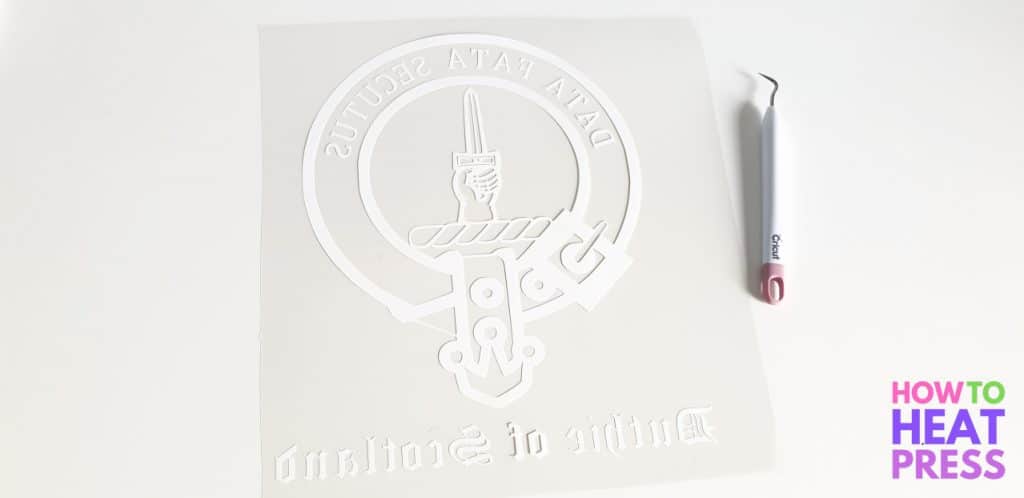
It was very satisfying to finally finish cutting and weeding the 70 designs!
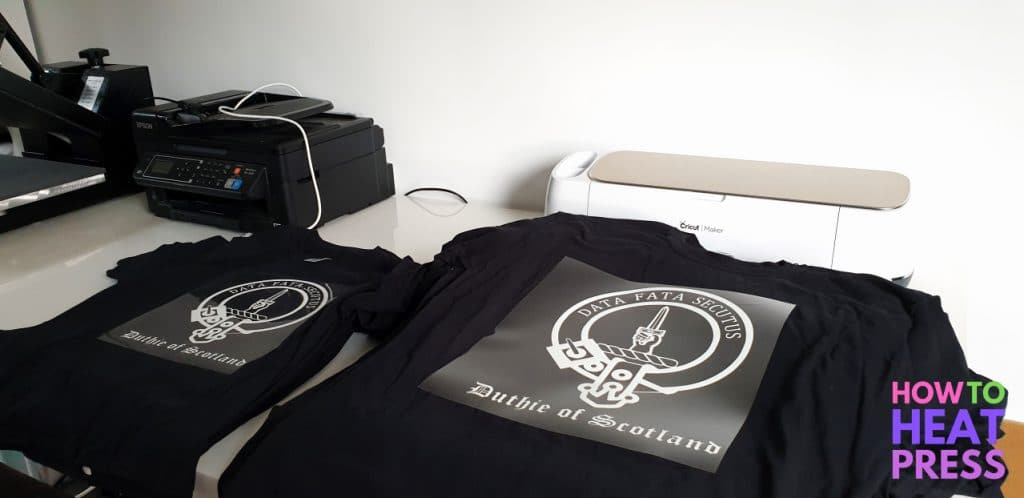
I’m pressing the HTV onto plain black Gildan cotton shirts. There were many different sizes, from S to XL, in both men’s and women’s, so they all have slightly different sized transfers.
How To Heat Press Stahls’ Vinyl
Here is how I pressed these shirts after getting application instructions from the supplier:
- Set the heat press to 165°C (329°F)
- Press for 4-5 seconds with only the carrier sheet
- Remove the carrier sheet
- Press for 4-5 seconds with a Teflon sheet
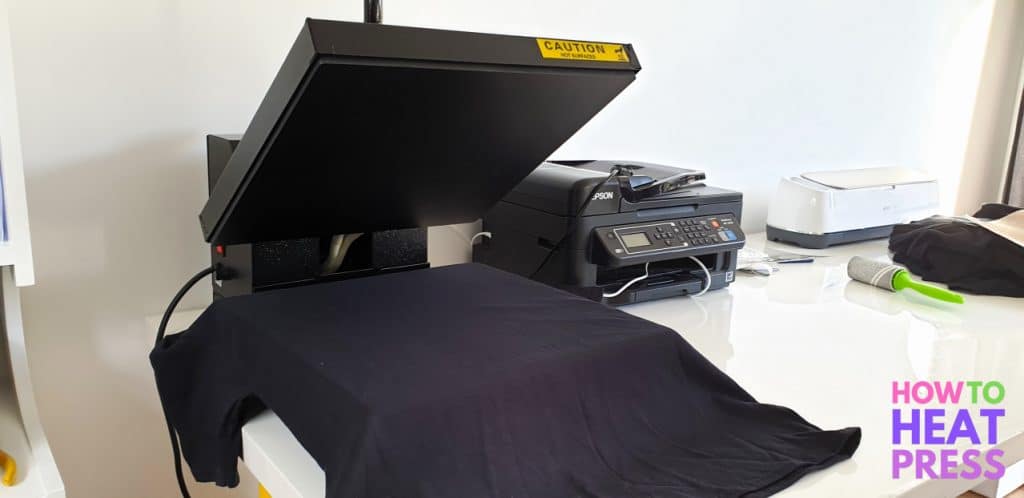
To prepare the t-shirt for pressing, I pre-pressed it for a few seconds to remove moisture and wrinkles. We don’t have a Stahls’ Hotronix Fusion, which is one of the best US made heat press machines, but are just using our clam PowerPress!
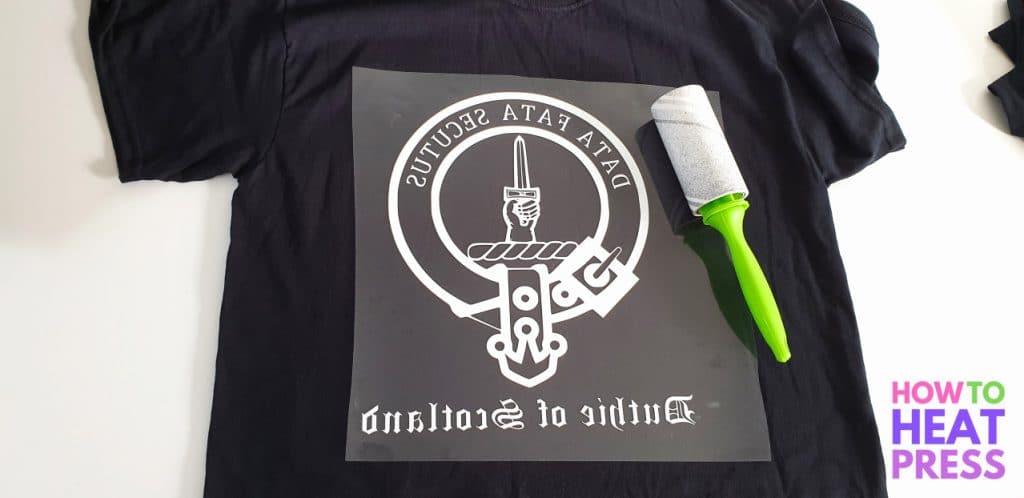
Next, I ran a lint roller over the t-shirt to remove any lint. I’m doing these t-shirts for a friend’s family reunion, so I want them to look flawless!
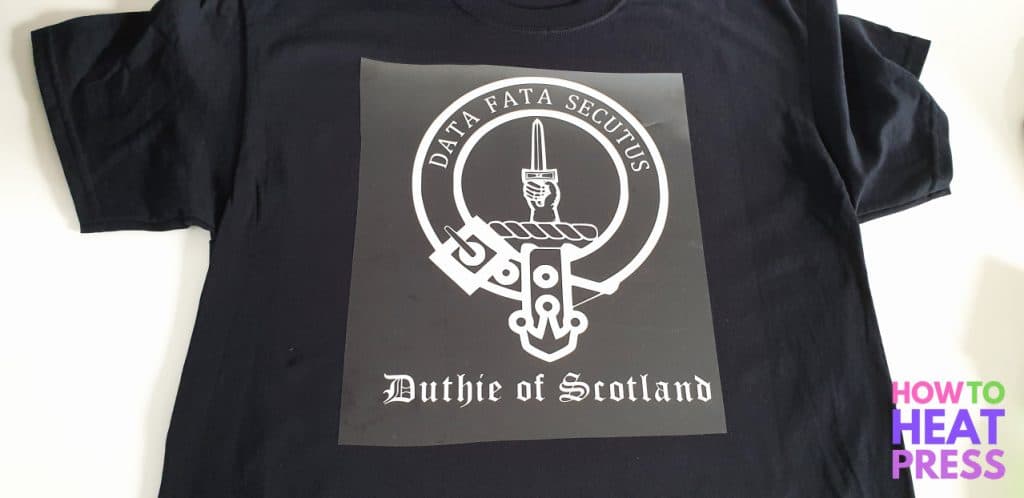
Then I positioned the design onto the t-shirt. I like to do this on my table, rather than on the heat press platen so that I can see better if it is straight or not.
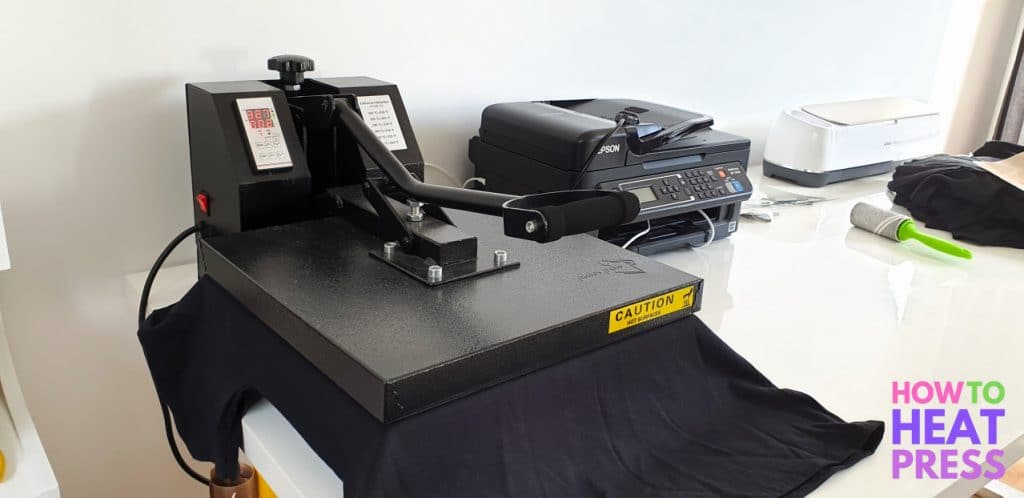
I pressed the design (without a Teflon sheet) for 5 seconds at 329°F.
Then I waited for it to cool down slightly, removed the carrier sheet, placed a Teflon sheet on top, and pressed it for another 5 seconds.
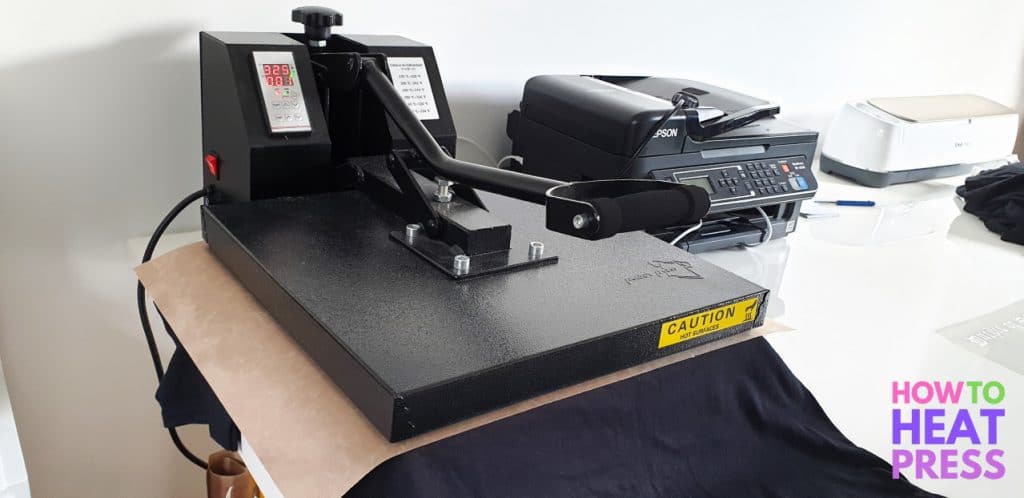
This particular vinyl doesn’t give as smooth a look as Siser (which I prefer). However, I’m still very impressed with the quality of Stahls’ HTV. It looks well adhered, and like it will out-last the shirt.
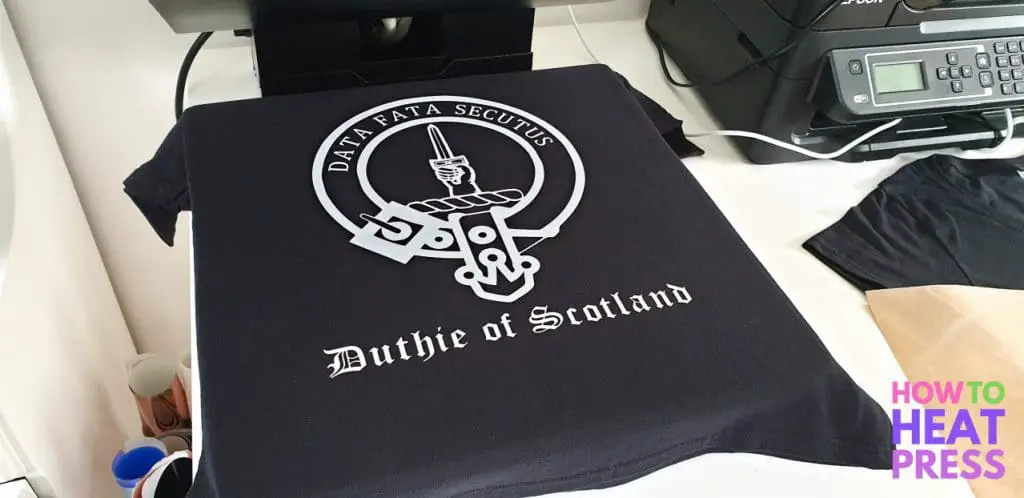
Here’s the finished product. Only 69 more to go…
Stahls’ Cad-Cut Vinyl
Pressing all of the t-shirts took a whole day on its own, but after the first few, I picked up speed and developed a good rhythm. While one transfer was cooling down, I was lint rolling the next shirt to prepare it for pressing. I had a great production line going!

We expected Stahls’ vinyl to be very high quality, and it definitely is. However, we prefer the look and feel of Siser EasyWeed. Maybe it’s just because it’s what we’re used to, but we think it’s just a little bit better! We’ll have to give some of Stahls’ other vinyl sheets a try for decals or stickers to see what we think.
Finally, please don’t try and do this many shirts with HTV – pick up a screen printing machine instead!
(Please note: This post contains affiliate links. Read our full disclosure policy here.)

![Top 5 Best Cricut Machines 2022 | Cricut Comparison [UPDATED]](https://www.howtoheatpress.com/wp-content/uploads/bfi_thumb/Cricut-Maker-Turns-One-Hero-1000x667-3a10z7xxxa36kyhxmsxv62.jpg)
For 70 pieces we usually would use the screen printed transfers from Stahls’ Transfer Express, they’d save a ton of time and get you the screen printed quality with just your heat press setup.
Yes! That’s a fantastic solution, Elliot! We really wanted to put the Stahls’ vinyl to the test with the review but you’re right, the Stahls’ Transer Express transfers would be the way to go.
Hi there,
Do you know if you can use the Cricut Easy Press on the Stahl’s and still have the same effect?
Thank you
Hi Jen – I’m not sure what effect you mean but the Easy Press should get the job done just fine. In my experience I sometimes need to add a few degrees to the suggested temperature when I use my Easy Press instead of the heat press. Good luck!
I like to know how it is better then siser????
Hey Christine – we’d say our experience with Stahls’ showed it to be a quality HTV that is definitely worth giving a shot. In the end, we do prefer the sheen of Siser but that could absolutely be a personal taste issue!