25 Tips & Tricks For Cricut Explore Air 2 & Cricut Maker Beginners
Tips and tricks for using the Cricut Explore Air 2 & Cricut Maker
The Maker & Air 2 are fantastic, aren’t they?! The project possibilities really are endless! However, “Where do I start!?” was often heard throughout my home on the day I got my first Cricut machine, the Explore Air 2.
Well, I survived those first days and want to share with you 25 tips and tricks for starting out with your new Cricut machine. These days I’m mostly using the Cricut Maker, but most of these tips are relevant to both models!
25 Tips & Tricks For Cricut Newbies
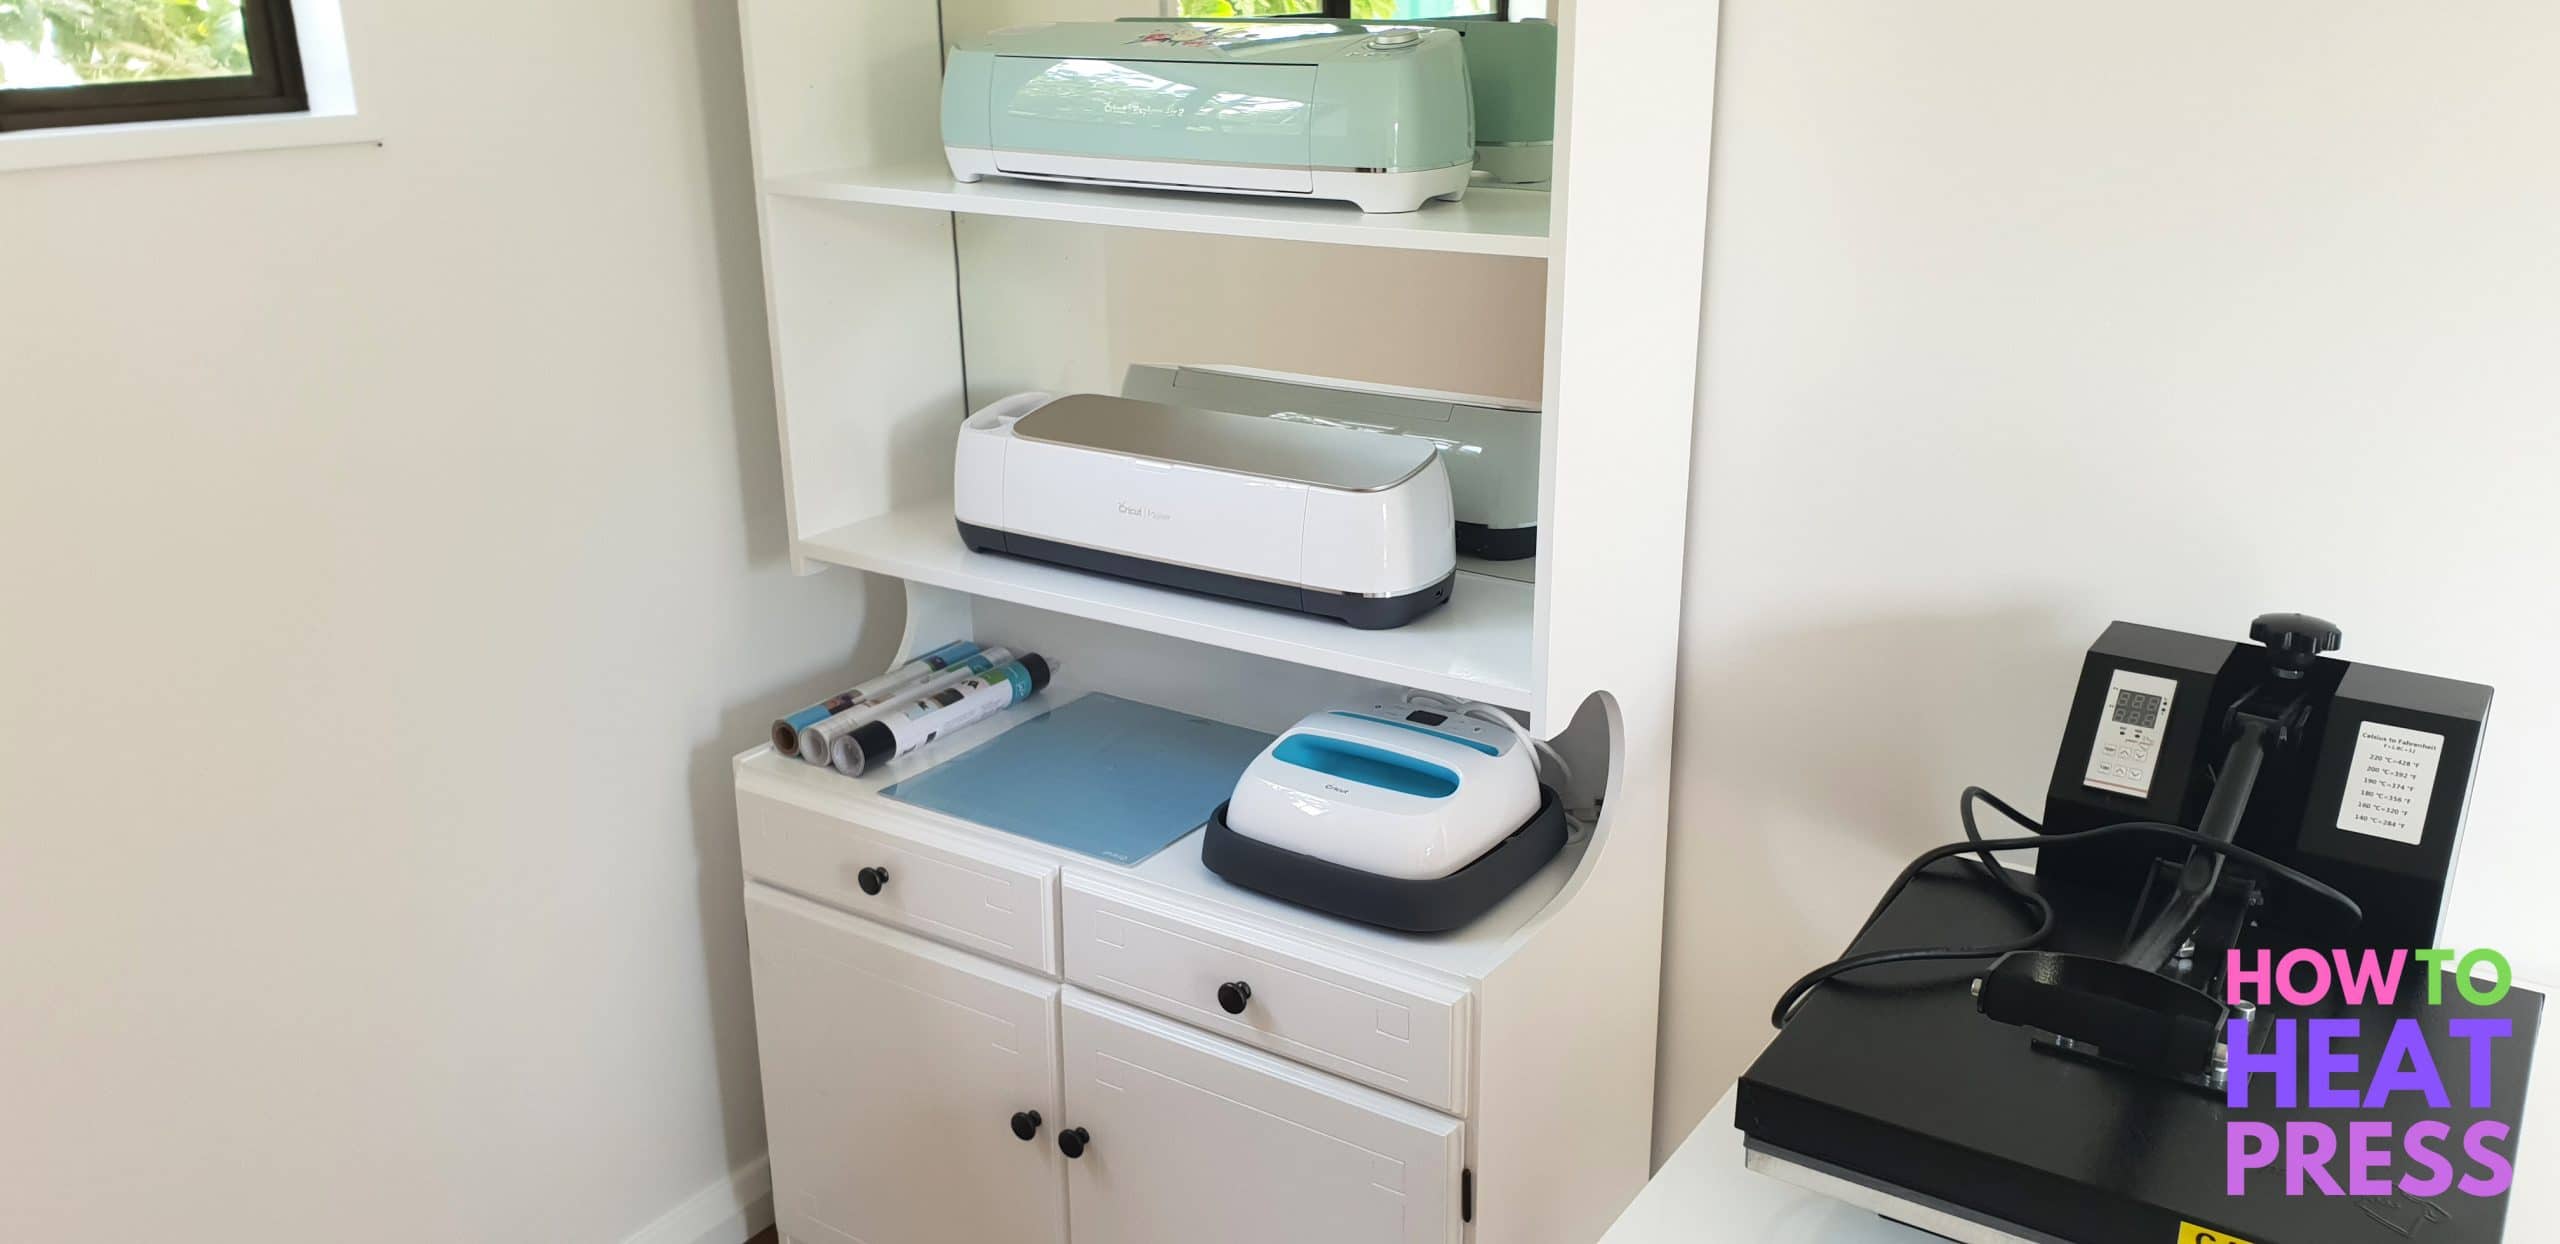
See more about our Cricut machine storage
Ok, so some of these tips and tricks are VERY basic, and are for the absolute beginner to Cricut machines. But make sure you scan through the whole list because we promise there’s a tip or trick with your name on it!
1. Subscribe To Cricut Access
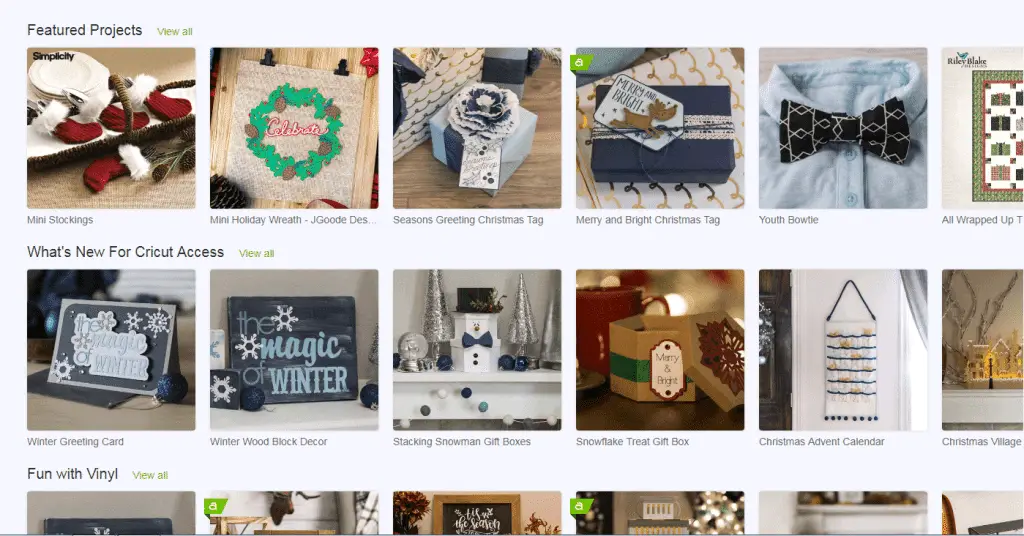
If you really want to get the most out of having a Cricut Explore Air 2, then we recommend subscribing to Cricut Access. You can pay a monthly fee of around $10, or a yearly fee which works out to be slightly cheaper per month.
Cricut Access gives you access to 30,000+ images, 1000’s of projects and over 370 fonts. If you are going to be using your Cricut a lot, then this will save you a lot of money than if you were to buy every project and image individually.
Plus it’s less of a hassle to pay a flat rate than to be worrying about how much money you’re actually spending on projects! It adds up! Get your money’s worth out of your Cricut by making the awesome Design Space projects. Learn more about Cricut Access here.
2. De-tack Your Cutting Mat
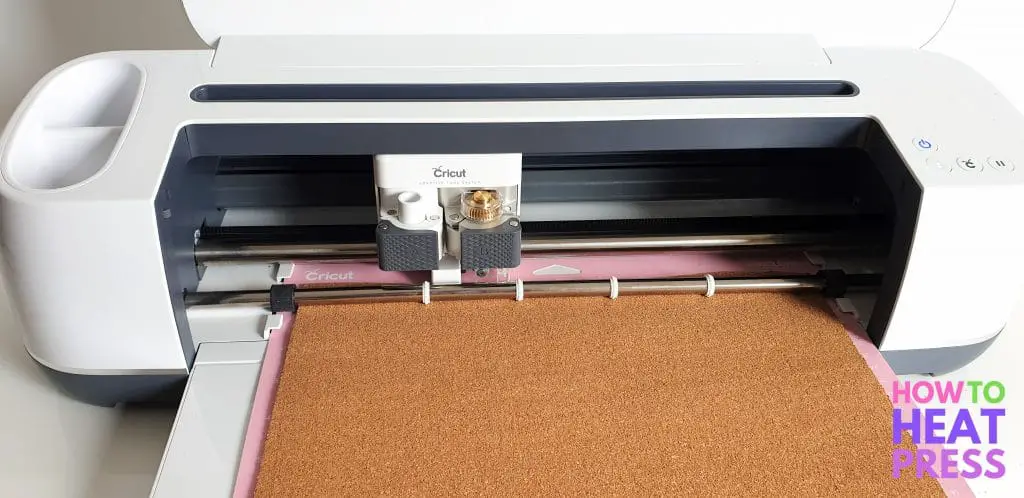
I used the Fabric Grip Mat for this Cricut Cork Project
De-tack your Cricut cutting mat a little!
The Explore Air 2 usually comes with the green standard cutting mat, while the Maker usually comes with the blue light grip mat. You place your materials onto the mat before putting it into the machine.
The green cutting mat is pretty sticky when brand new! After you peel the plastic cover off, you can place a clean, dry t-shirt over the mat in order to prime it for your first project. It’s really hard to get the cardstock off, even if you have all the tools, when it’s at its full stickiness! It’s easy to damage the project while trying to get it off.
You shouldn’t have this problem with the blue light grip mat, so you could also purchase that for your paper and card projects instead of de-tacking the green mat.
3. Keep Your Cutting Mat Covers
The cutting mats come with a plastic shield covering them. This can be pulled off and put back on easily.
We kept our cover and put it back on our mat when we are finished with it – it keeps the mat clean and sticky longer!
4. Cleaning The Cricut Cutting Mat
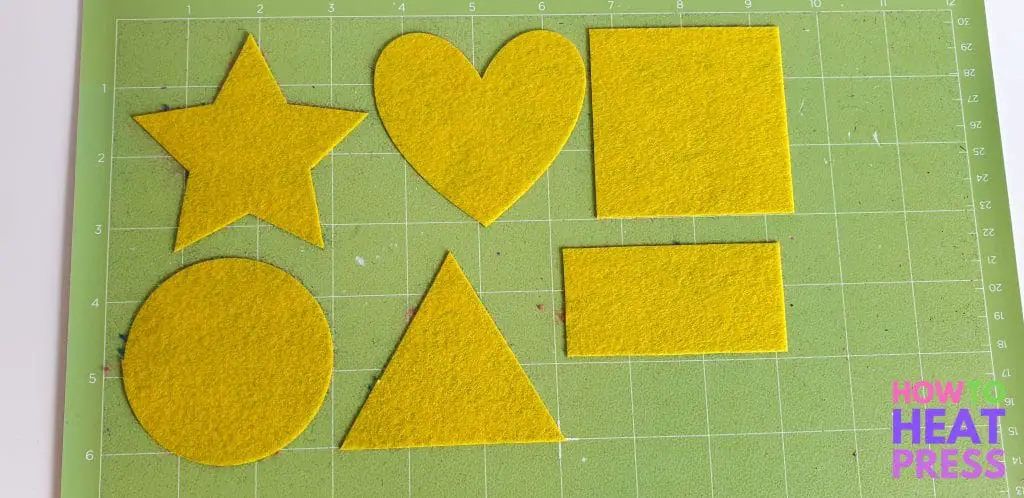
My mats got super dirty doing this Cricut Felt Project
Every once and a while (if not each time you use it), give your cutting mat a wipe over with some baby wipes.
The non-alcohol water wipes without fragrance are best. This will keep it free from building up with cardstock and vinyl residue from cutting, and all the regular household dust and lint floating about.
More info on how to clean Cricut mats here!
5. Get The Right Tools

It contains a weeding tool, a scraper, tweezers, a spatula and scissors. It is especially helpful to have the weeding tool if you are planning on cutting either adhesive vinyl or heat transfer vinyl.
6. The Cricut Scoring Stylus
So many of the card projects require you to have the scoring stylus. I didn’t order one with my machine at first, and so had a painful wait for it to arrive before I could go on to some better projects. If you bought your machine as part of a bundle, it may have the scoring stylus included, so double check that.
7. Begin With The Sample Project
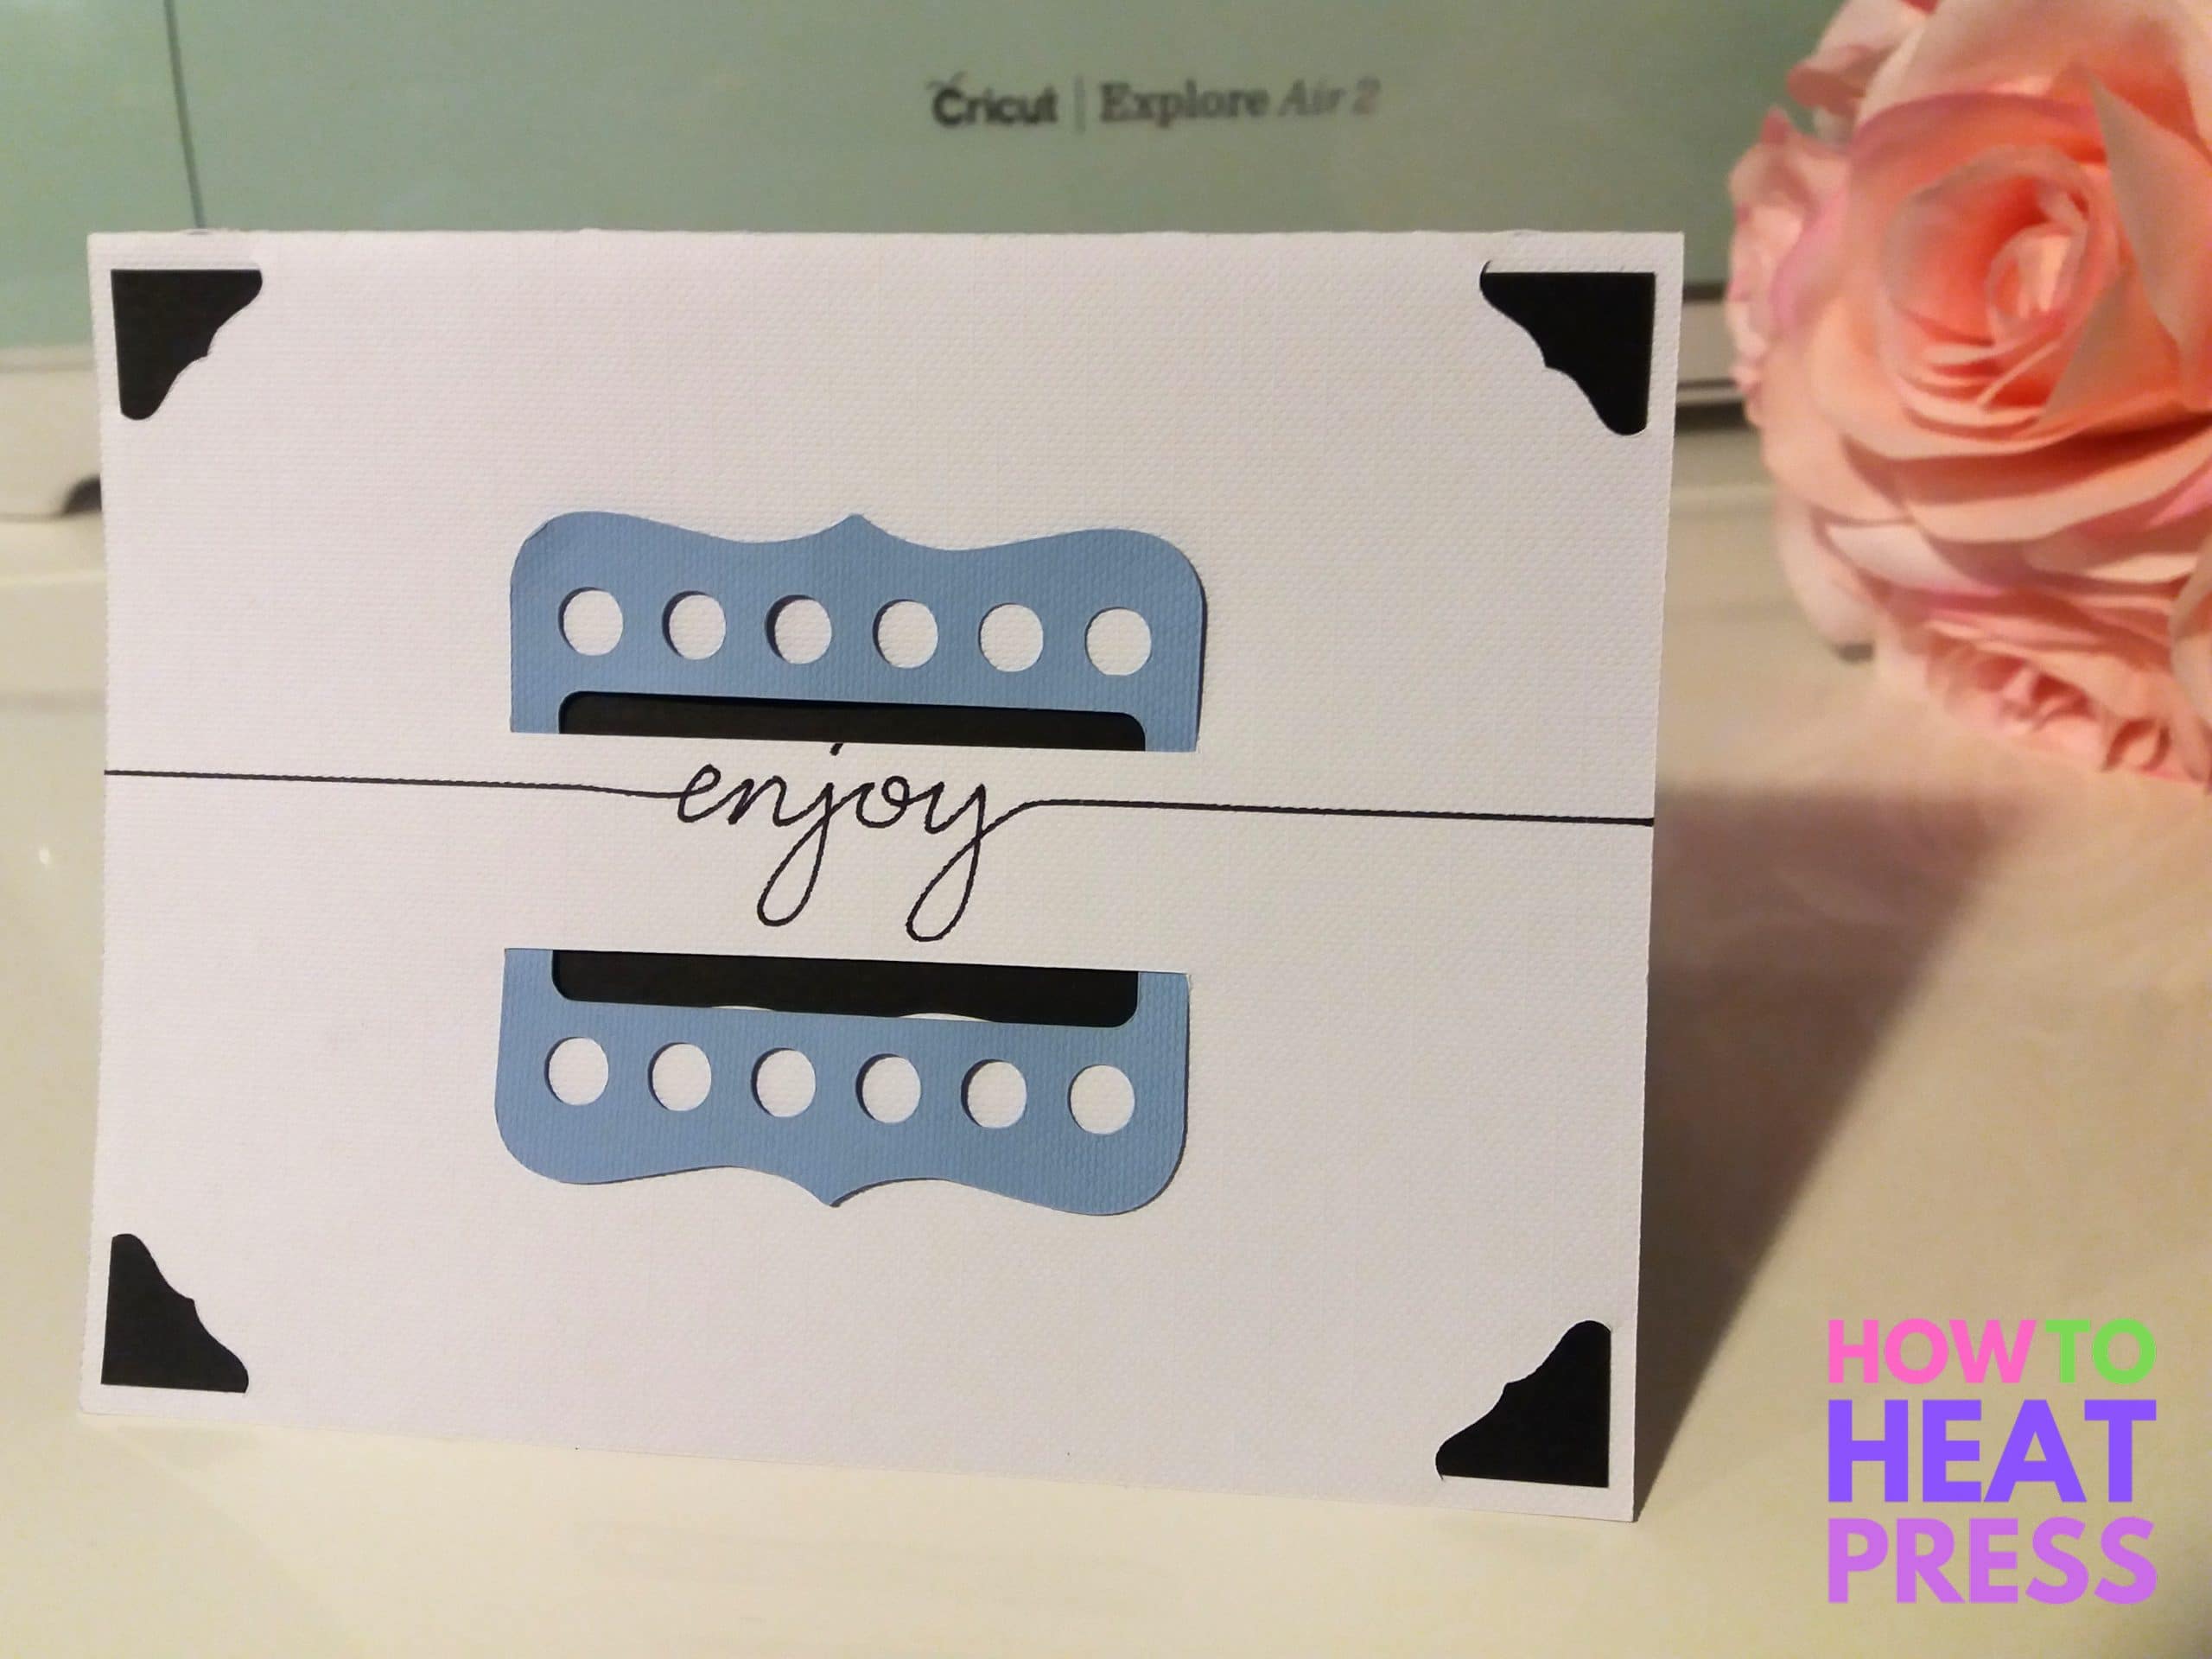
Once your machine arrives, start with the sample project.
The Explore Air 2 and Maker come with sample materials for a first project. Unless you order a Cricut Bundle, you receive the minimal amount of materials to do this one small thing, but it’s best to start easy!
Rather than trying to do something big and fancy, just start here to get a feel for how things work – software and hardware wise.
8. Test Cuts
When doing your own projects it can be wise to do a test cut before doing the whole thing. If the blade is set too low it will ruin your cutting mat. If it’s too high it may only cut slightly through your vinyl, cardstock, etc. and ruin your materials.
Doing a test cut might involve asking your machine to cut a small circle. Check that the setting is right and make changes if necessary.
9. Replace Pen Lids After Use

There is a huge range of Cricut Pens
It’s so easy to forget your pen is in the machine after you’ve finished a project. I always get caught up in what I’m doing and forget it’s hanging out in there!
It’s important to get the lid on it asap after you’ve finished using it so that it doesn’t dry out. They are too expensive to waste. The cool thing about the Design Space projects is that it often prompts you to put the lid back on!
10. Old Cricut Cartridges
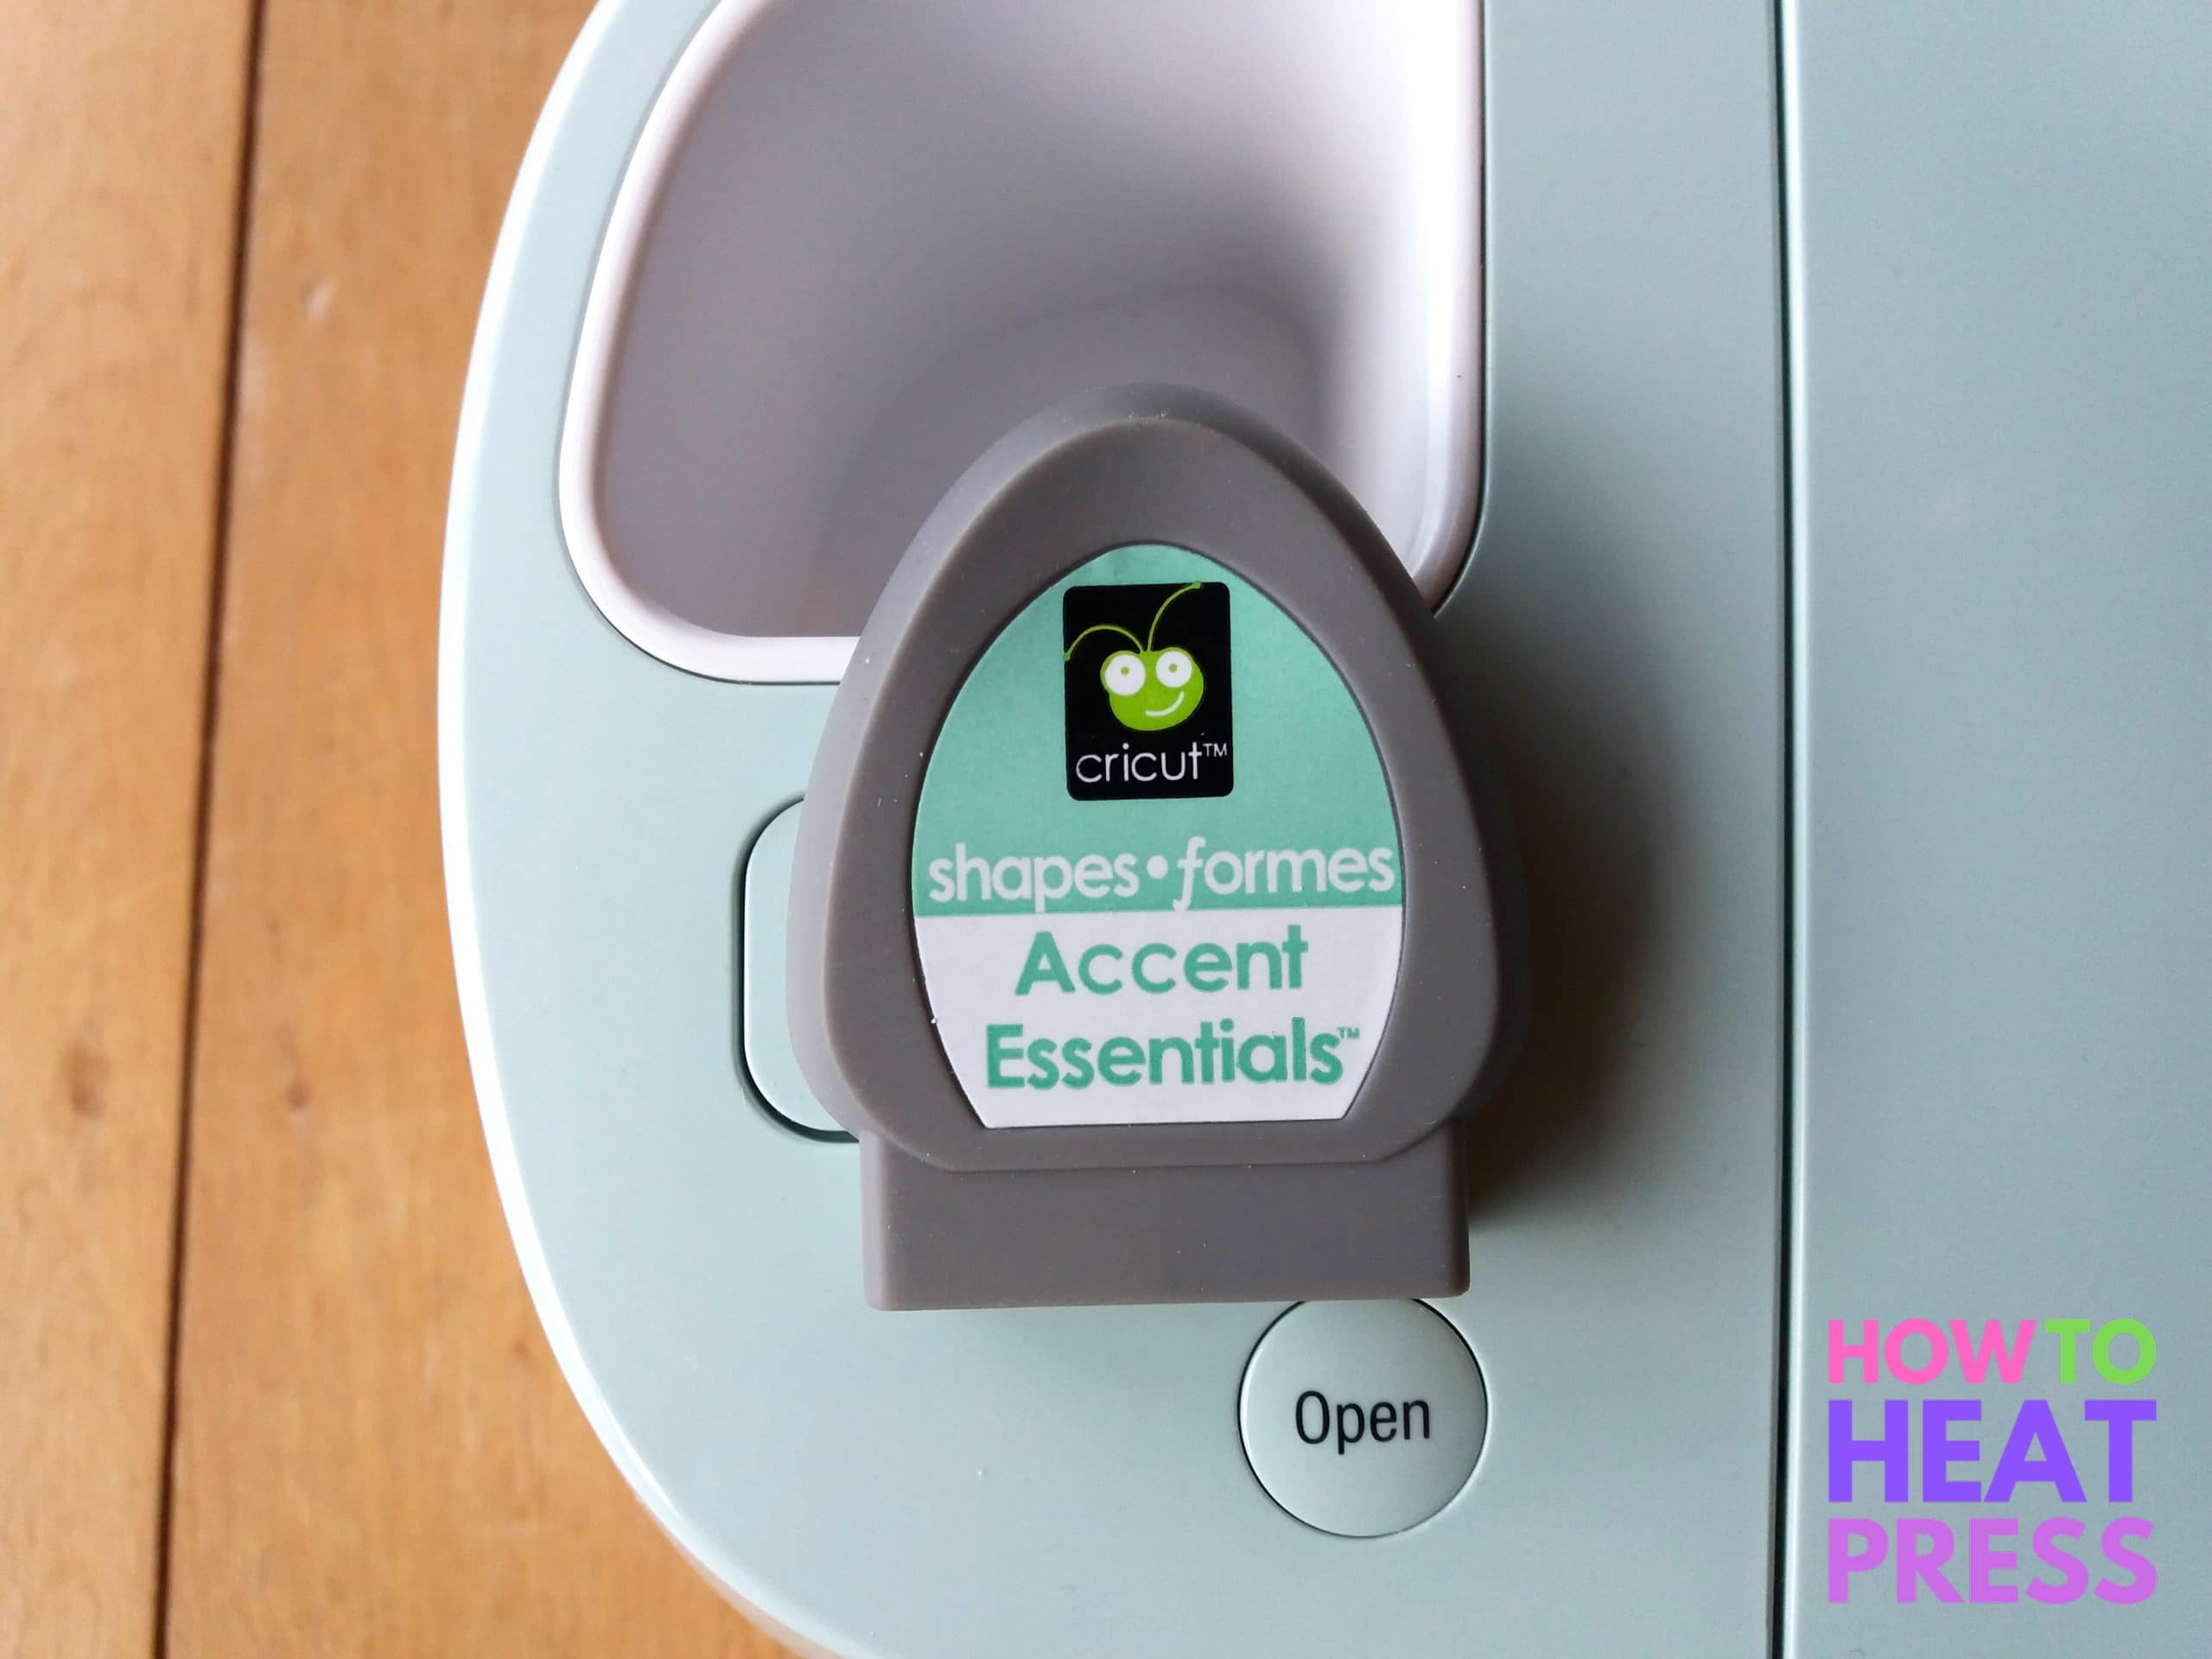
Don’t forget to hook up any old cartridges you may have had from a previous machine to your new account. This is a fairly simple procedure, as shown below.
Each cartridge can only be linked once, so if you’re looking at buying some second hand, confirm this hasn’t been done yet!
11. Getting Materials Off The Cutting Mat
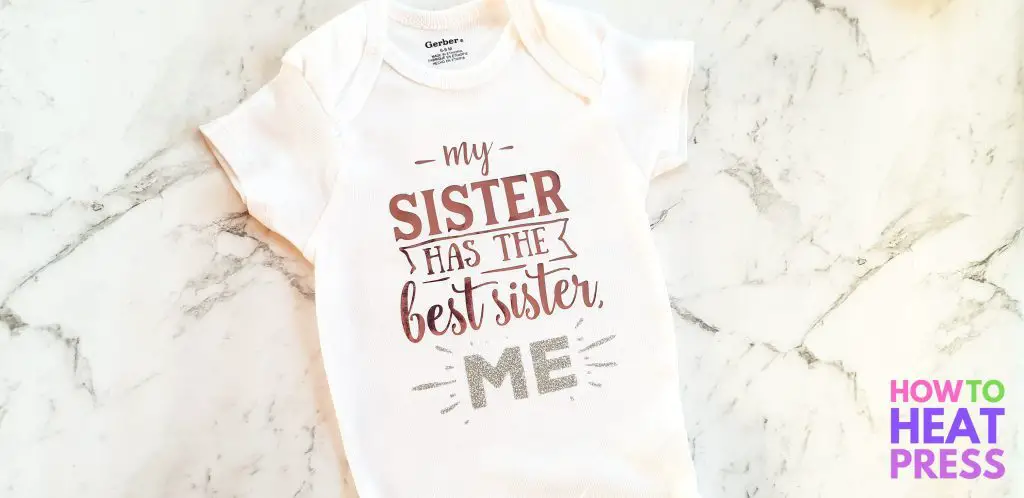
Some vinyls are especially delicate as used in this Cricut Foil Iron On Project
Besides using the appropriate tools to remove your cardstock or vinyl from the cutting mat, there is another trick to getting it off.
Instead of peeling your project from the mat, which can result in curling (or total mangling), peel the mat away from your project. Bend the mat away from the card rather than the other way around.
It may help to turn the mat upside down and bend one corner to lift the cardstock. You can then slip the spatula tool under to help to remove your project. Before I had the right tools I was using a credit card to get card off the mat, which I thought would be fine, but it damaged the adhesive on the mat.
12. Order The Deep Cut Blade
There’s nothing worse than setting your heart upon a project and then discovering you don’t have the right tools!
The deep cut blade allows you to cut through thicker card, leather, chipboard and more. This blade is compatible with the Explore Air 2. It is important to not only get the blade, but the blade housing as well.
Don’t wait till you need it, order it now!
13. Free SVG files

DesignBundles.net have a gigantic range of free cut files for Cricut
You don’t only have to use designs from the Design Space store. You can either create your own SVG files, or use other free SVG files which can be found all over the internet.
Check out these freebie pages:
14. Alternative Pens For Cricut
You aren’t stuck only using Cricut Pens in Cricut Machines!
You can use Cricut pen adapters (like this one) in order to use any pen with either the Maker or Air 2. Check out these Cricut Etsy Finds for more weird and wonderful creations for Cricut! 🙂
15. Load Mat Correctly
Make sure your mat is properly loaded before you start cutting. It needs to slip under the rollers. Your machine will likely just start cutting before the top of the grid on the mat or not at all if it hasn’t been loaded right.
16. Use Free Fonts

FontBundles.net have free fonts for every occasion!
There are so many free font sites for you to start using!
See here for a list of free fonts for Cricut. You simply download the font, install it to your computer and it will appear in your Cricut Design Space (see next tip).
Unfortunately, one of the best fonts ever, Samantha Font, is not available for free, but check that link to find out where you can get it for the best price!
17. Installing Fonts
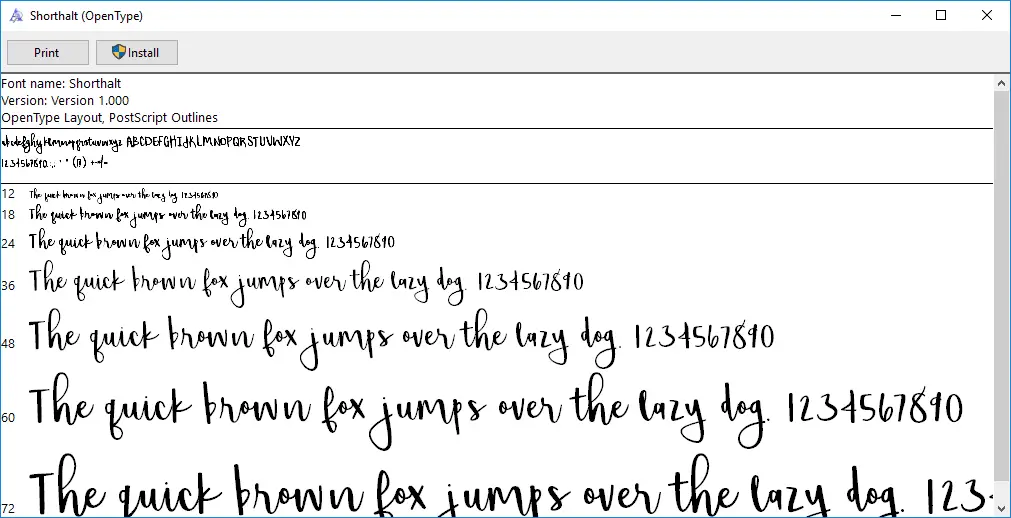
After installing a font to your computer, you may need to sign out and back into Cricut Design Space before your new font will show up there. You may even need to restart your computer for it to show up (mine wouldn’t show up without restarting my computer).
For more info read how to install fonts in Cricut Design Space.
18. Replacing Blades
Like everything, Cricut blades wear out. When the cuts are no longer so smooth and effective it’s time for a change. Other signs that you need a new blade include:
- tearing card or vinyl
- lifting or pulling vinyl off the backing sheet
- not cutting all the way through (make sure your cut setting is correct as well)
You can purchase new blades on Amazon or read this Cricut Blade Guide for more buying options.
Watch this video to see how simple it is to change the blades.
19. When Your Mat Looses Its Stick
Cleaning your mat is one way to help get a little bit more life out of your cutting mat. But if it’s beyond that, and you have not ordered a new cutting mat yet, you can tape down your card or vinyl to hold it in place.
Obviously, you don’t want to tape over an area that is needing to be cut, but down a couple of sides should do the job. A medium tack painters tape is well suited for this task, and should not damage your cardstock.
20. Cricut’s Custom Cut Settings
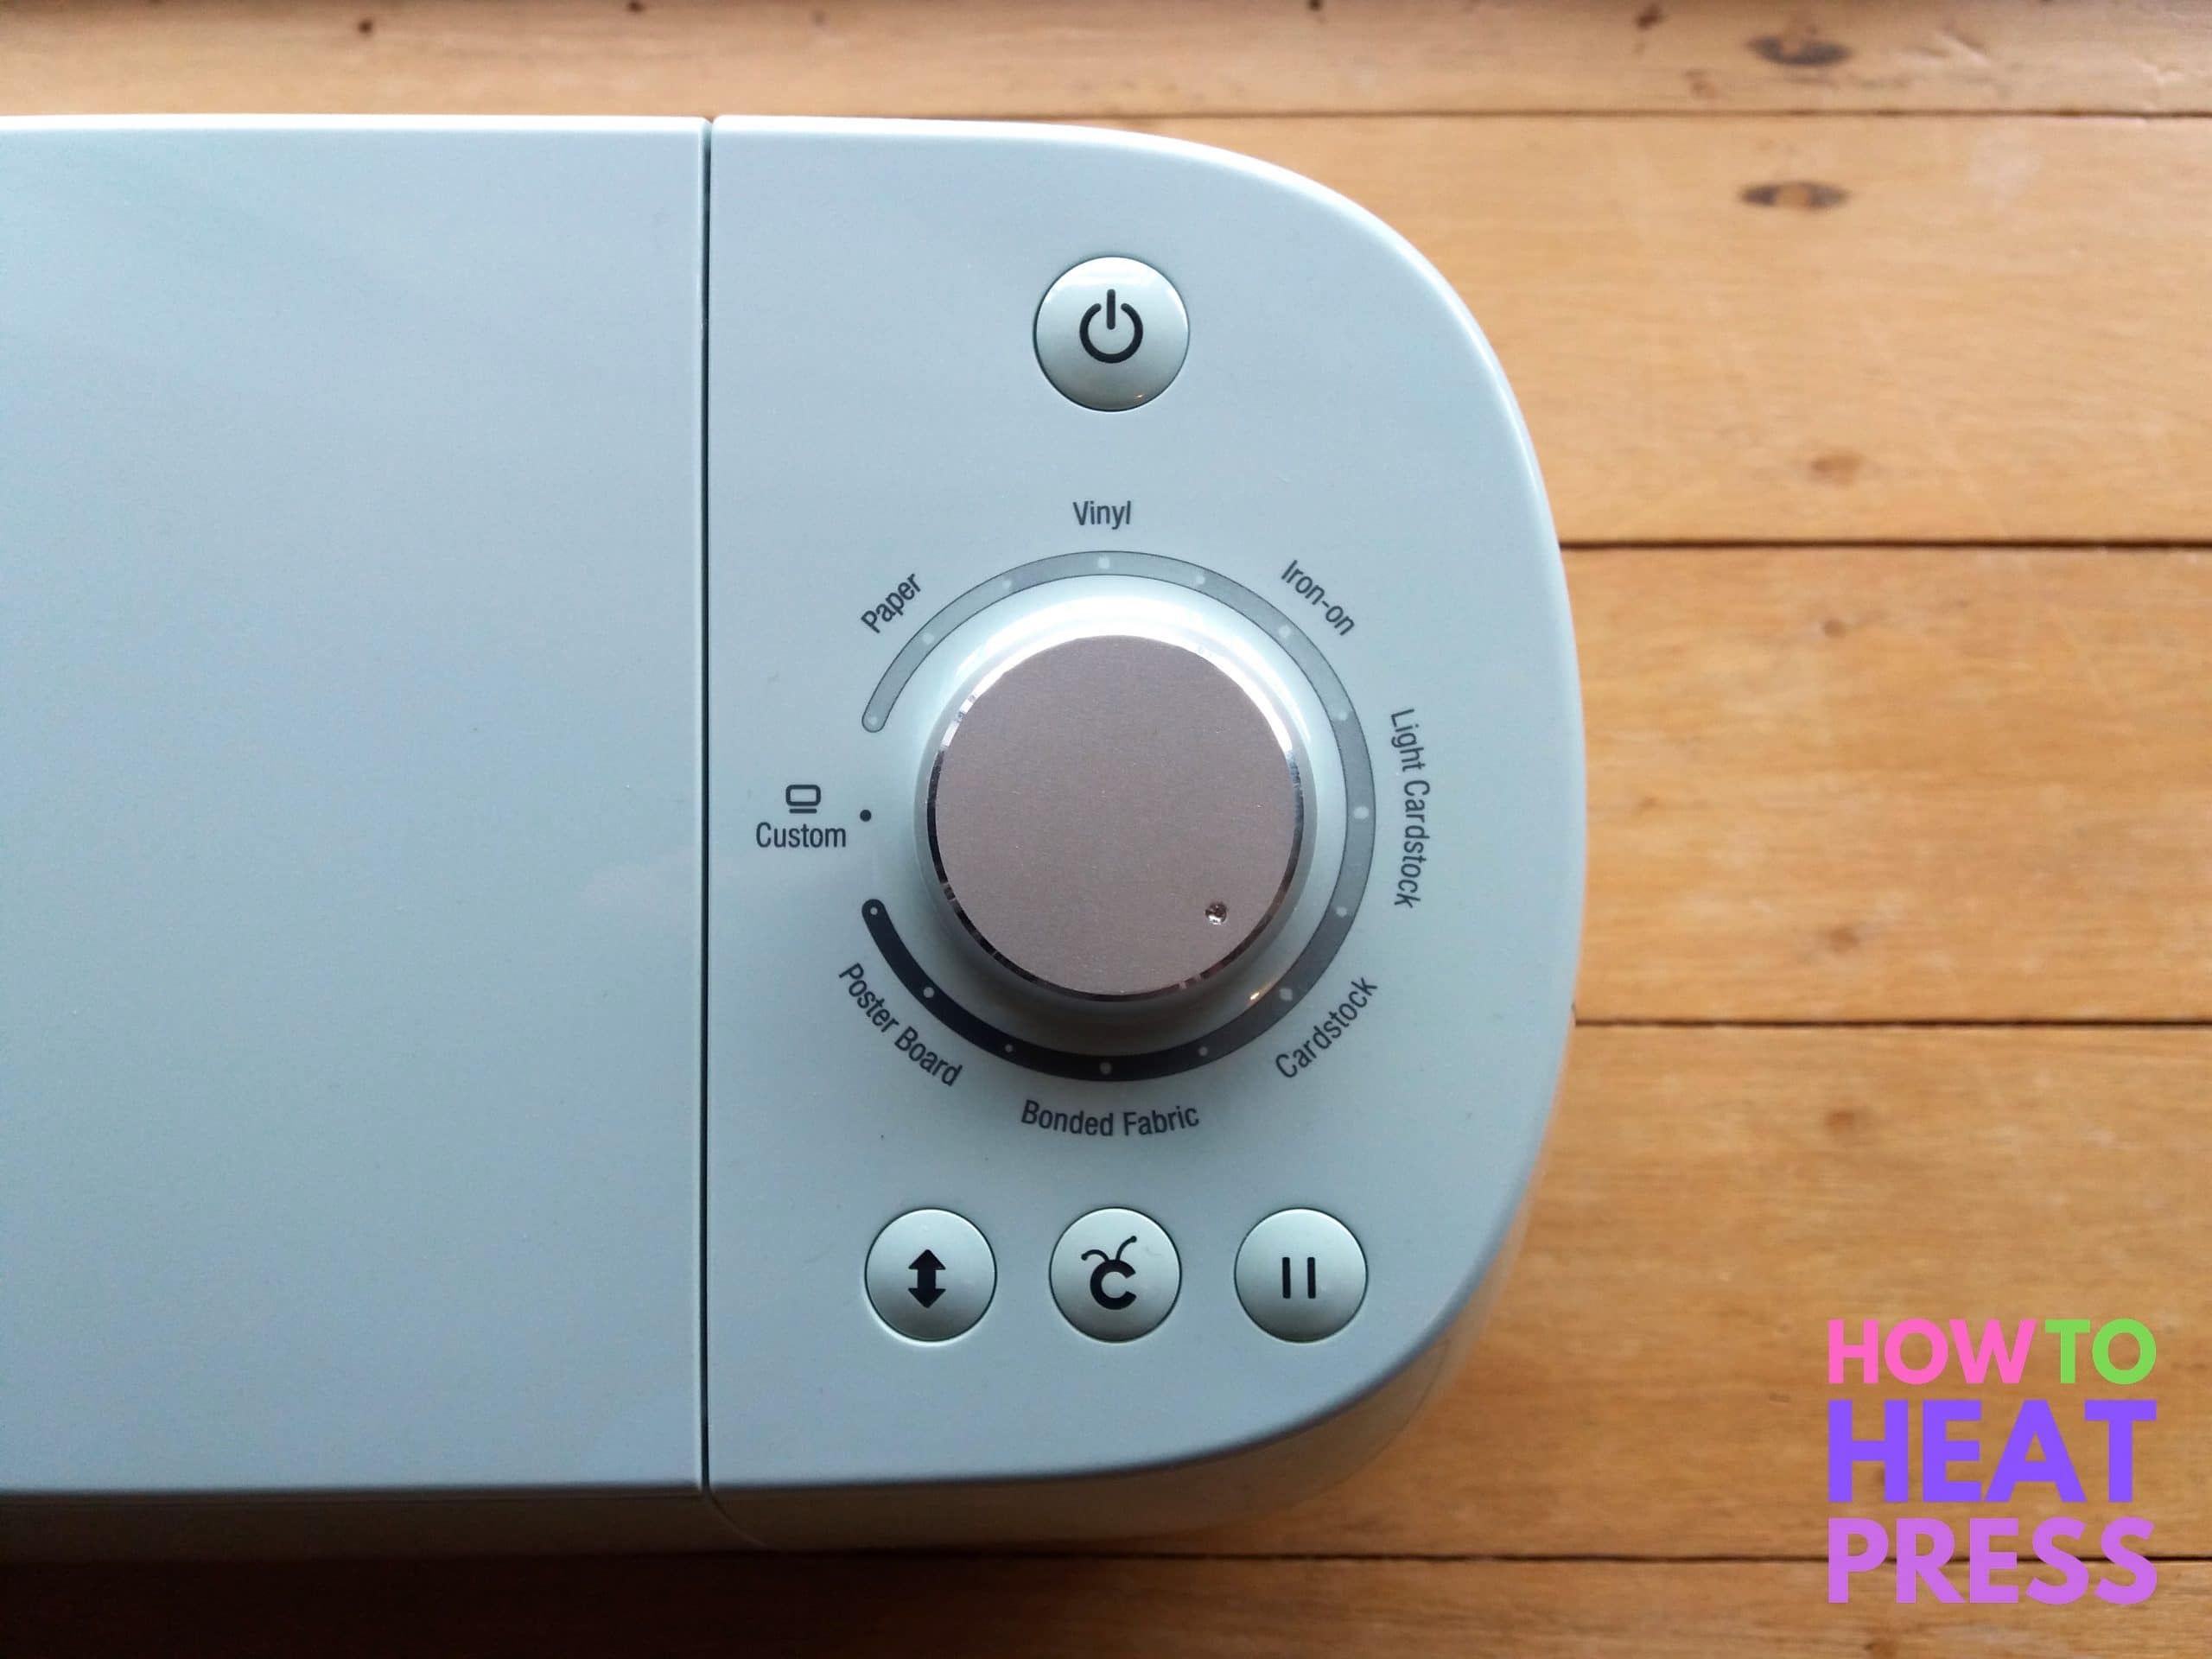
The Explore Air 2 comes with 7 preset options on the dial:
- Paper
- Vinyl
- Iron-on
- Light cardstock
- Cardstock
- Bonded fabric
- Poster board
If the material you are cutting is not on this list, there is a custom option which you can select on the dial. Go into Design Space, select your project and click ‘Make It’. You will then be able to select your material from a drop down menu.
Alternatively you can create a new custom material. You can find more information about this over at Cricut’s website.
21. Different Blades For Different Materials
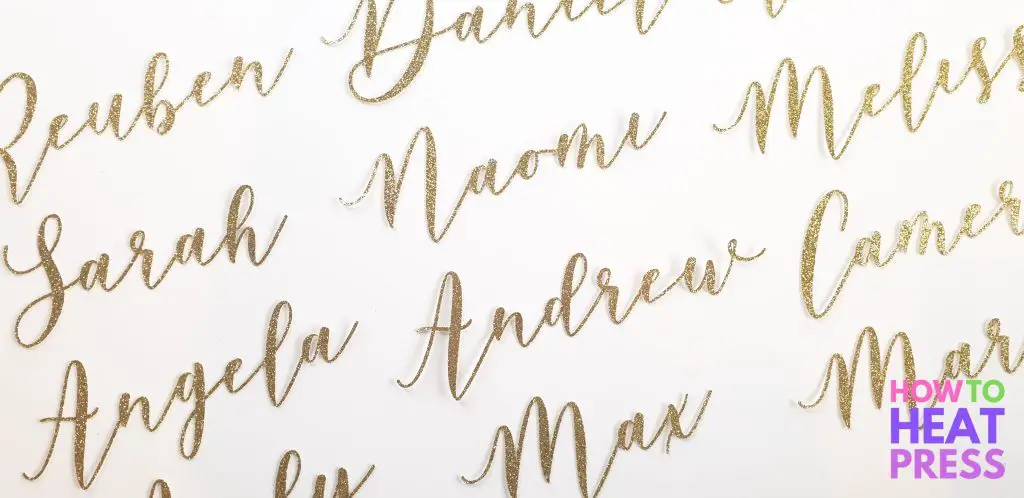
I used a lot of cardstock for this Cricut Wedding Project
Some people swear by using separate blades for cutting each material.
For example, having one blade that you only use for cardstock, and another that you only use for vinyl. This is because the various materials will wear differently on your blades. Cutting vinyl is easier on the blade than cutting through card.
Having a dedicated blade for vinyl means it will always be ready and sharp, rather than having one blade for everything that quickly goes blunt and then lifts up your precious vinyl!
22. Mirror Your Images For HTV
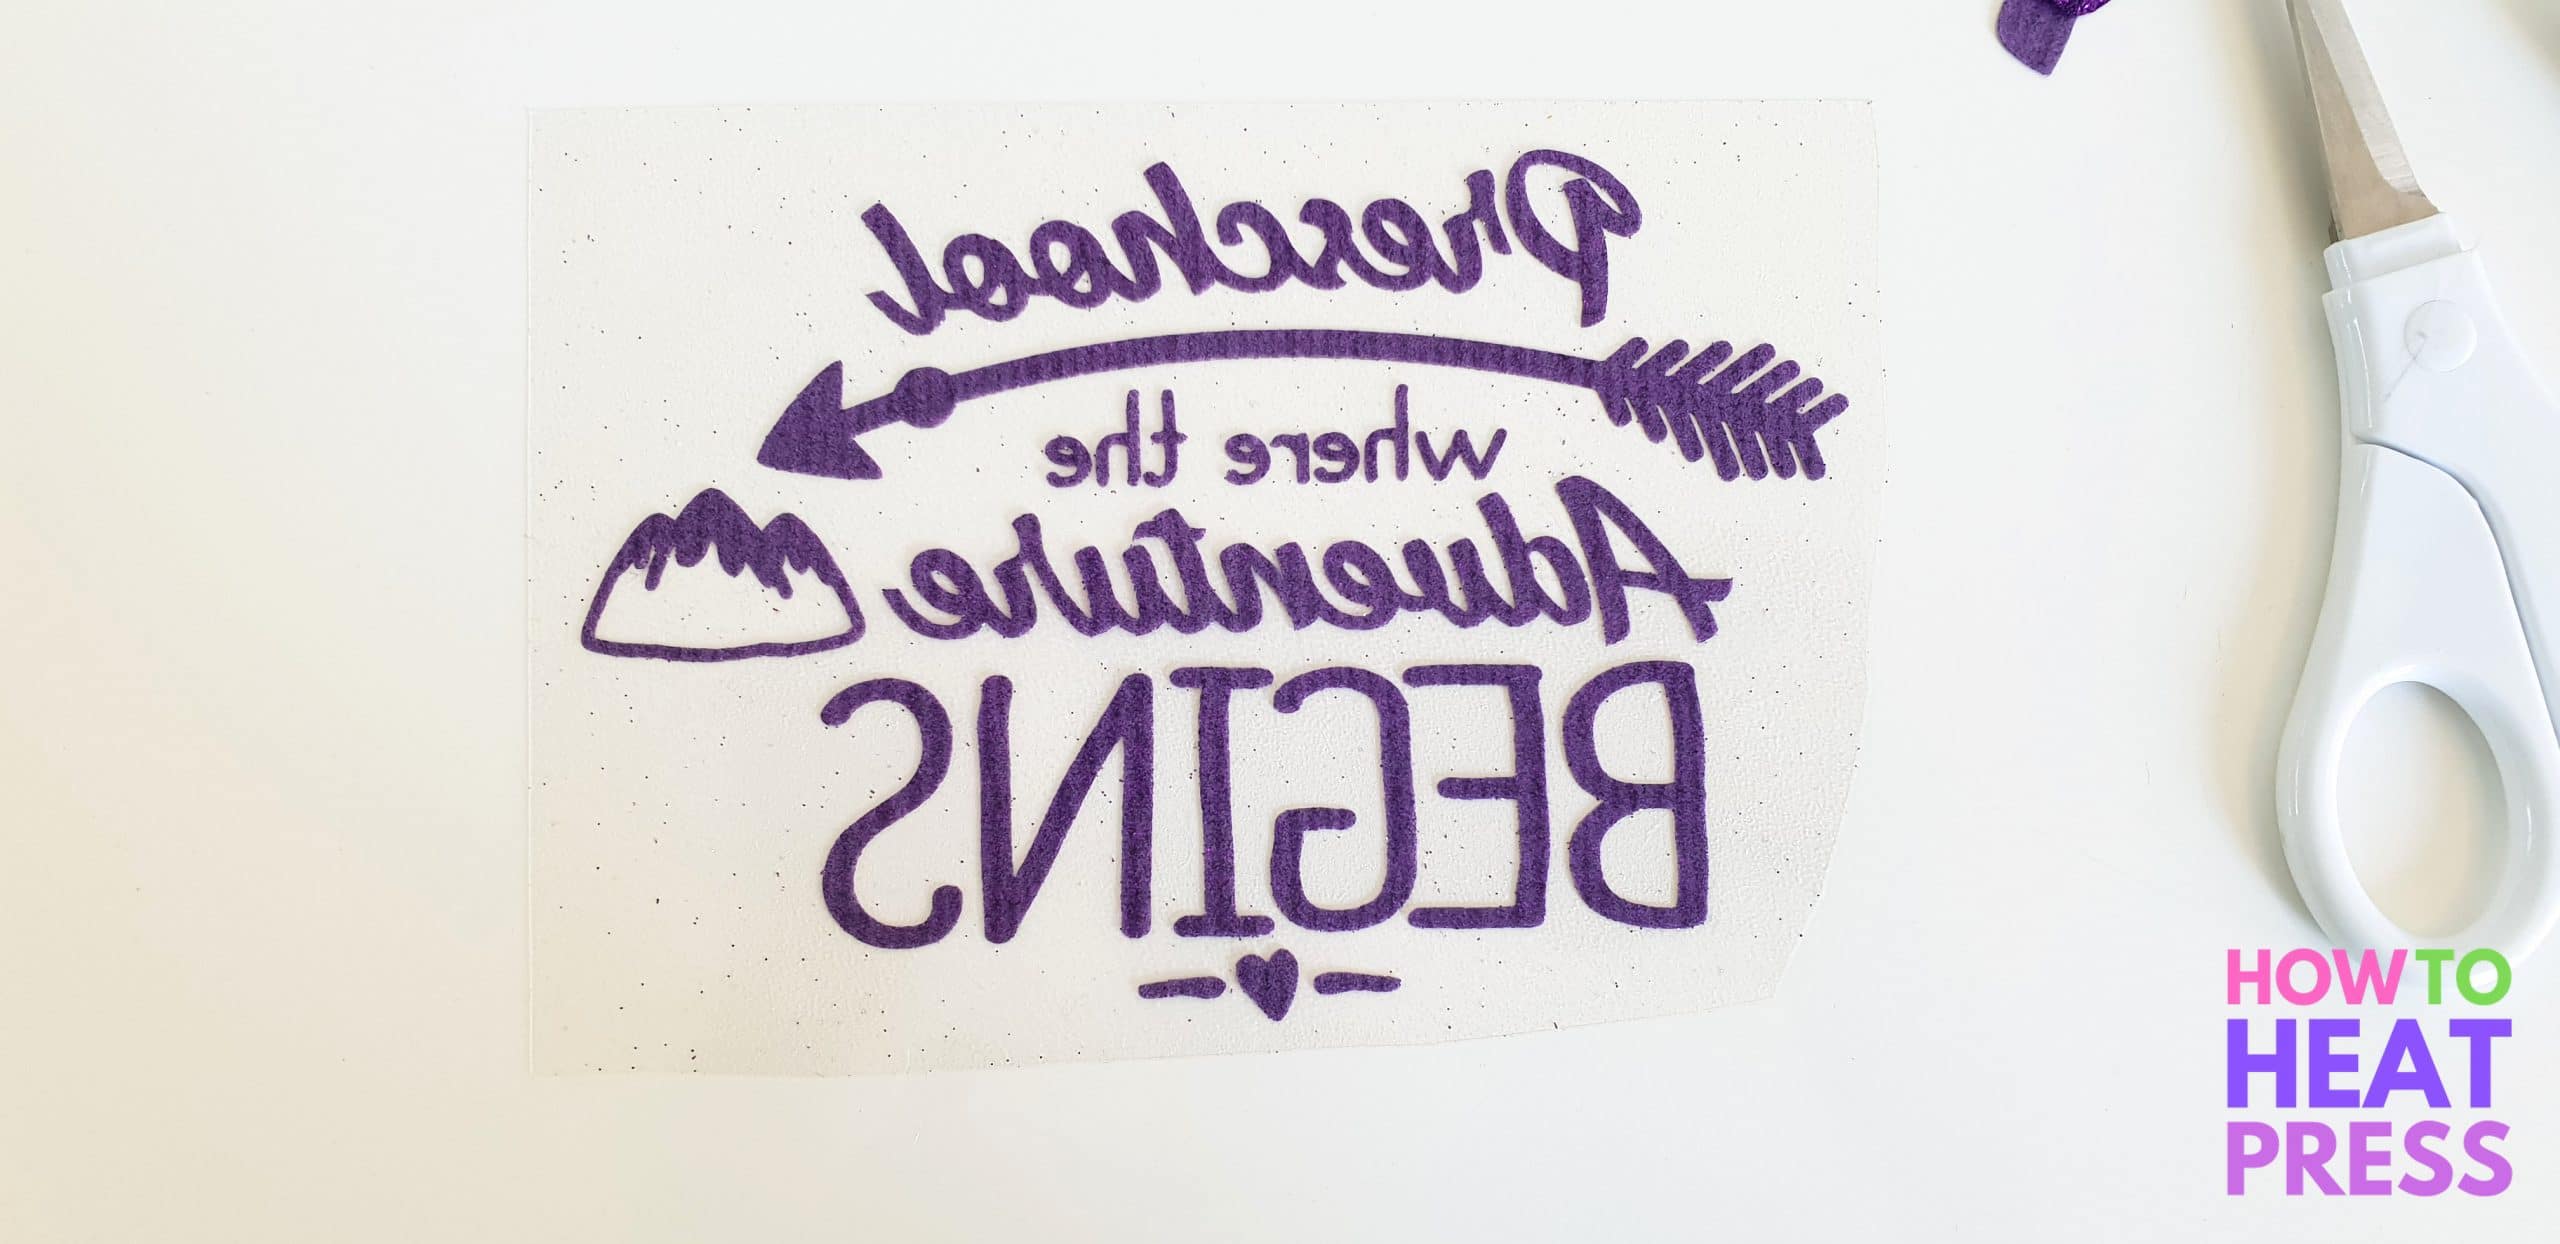
If you are cutting heat transfer vinyl with your Cricut, you will need to mirror your design!
After you select ‘Make It’ there is an option to mirror your design (as seen below), and you will have to select this option for each individual mat!
23. Place HTV The Right Way Up

DIY t shirt with Cricut
In order to cut heat transfer vinyl you will need to place your vinyl shiny side down on the cutting mat.
This way the carrier sheet is underneath and the dull vinyl side is on top. It’s hard to see which side the carrier sheet is on, so just remember shiny side down and you’ll be fine!
24. Weeding Boxes
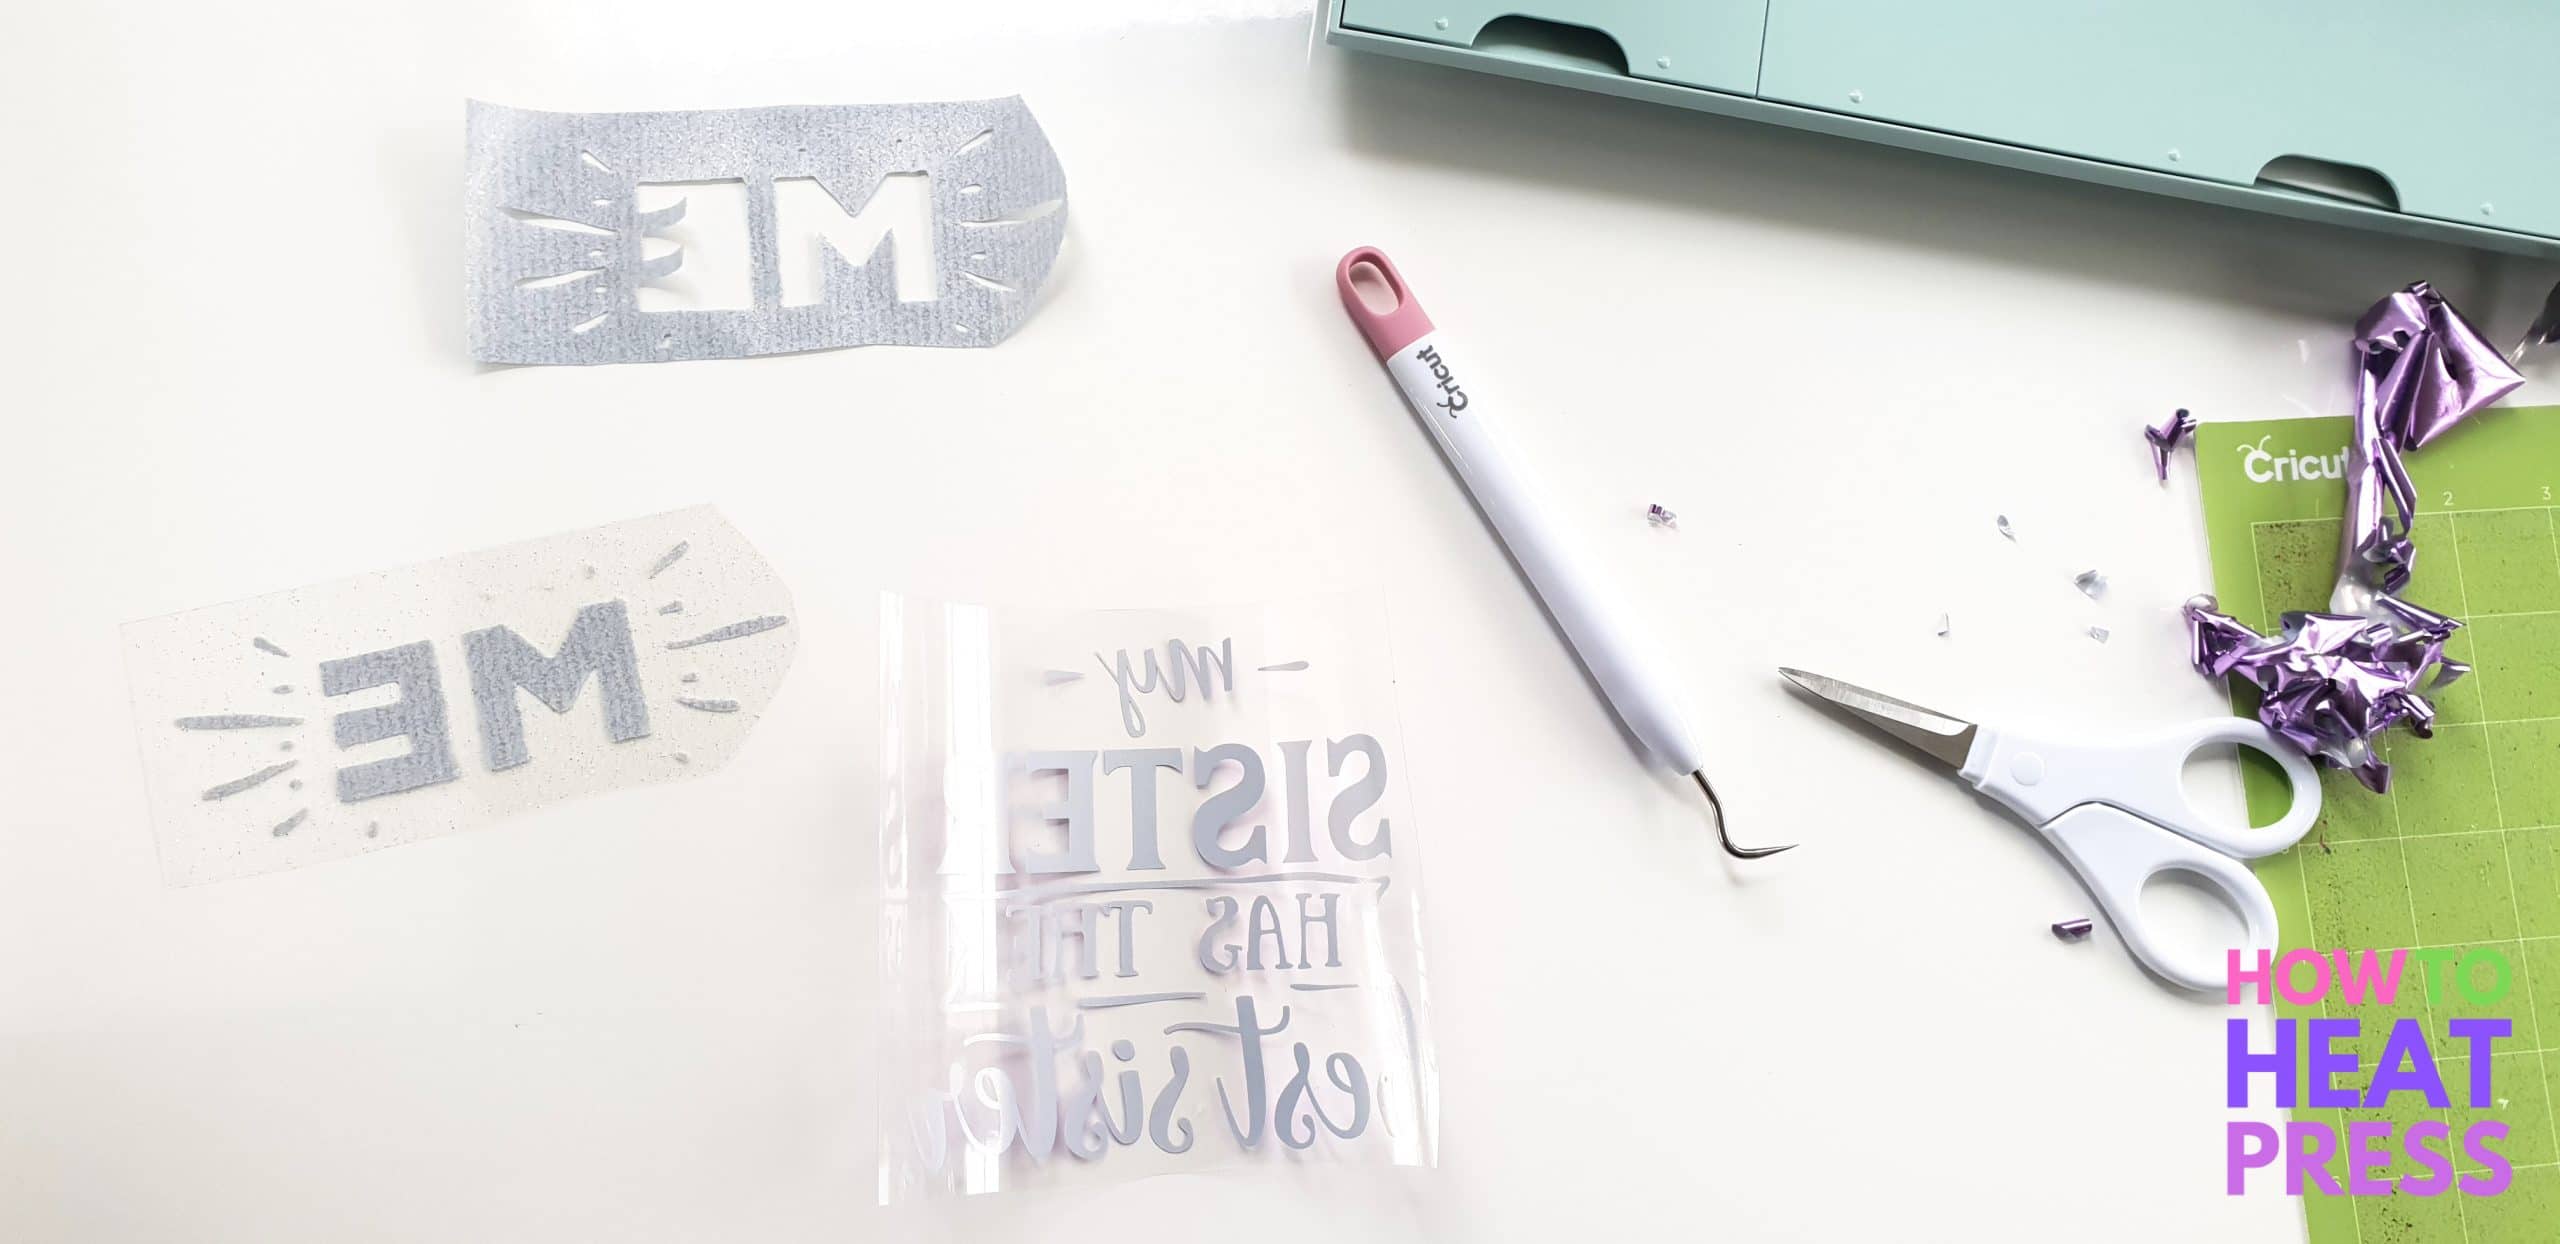
If you are cutting out a small or intricate design, or you are cutting out a lot of different designs on one sheet of vinyl, it can help to use weeding boxes.
Just use the square tool in Cricut Design Space to place a box around your design and group both elements together. Unlock the shape in the bottom left corner to manipulate it into a rectangle.
This makes weeding much easier than weeding several designs at once on the one sheet of vinyl, and much easier than trying to see where your designs are and cutting them out separately with scissors.
More vinyl weeding tips here, or consider reverse weeding really tricky designs!
25. Remember To Set The Dial
This tip seems like a no brainer, but how many times have I forgotten to change the material setting?!
It’s such an easy thing to forget – especially when you have finally finished your design and really want to get cutting! The funny thing is that Cricut Design Space actually tells you what material the dial is set to when you are about to cut out a design – but it is easy to overlook that too!
Save yourself the mistake of cutting right through to your cutting mat, or not totally through your cardstock – always check your dial!
… And now we have have a bonus tip!
26! Maintain A Supply Of Materials
As we mentioned earlier, it’s a pain when you want to start a project and you don’t have the right tools. For example, we’ve been in the position of being without the scoring stylus, without the right pen for a project, and without a deep cut blade. But the other hassle is when you want to do a project and you’ve run out of adhesive vinyl, HTV or cardstock!
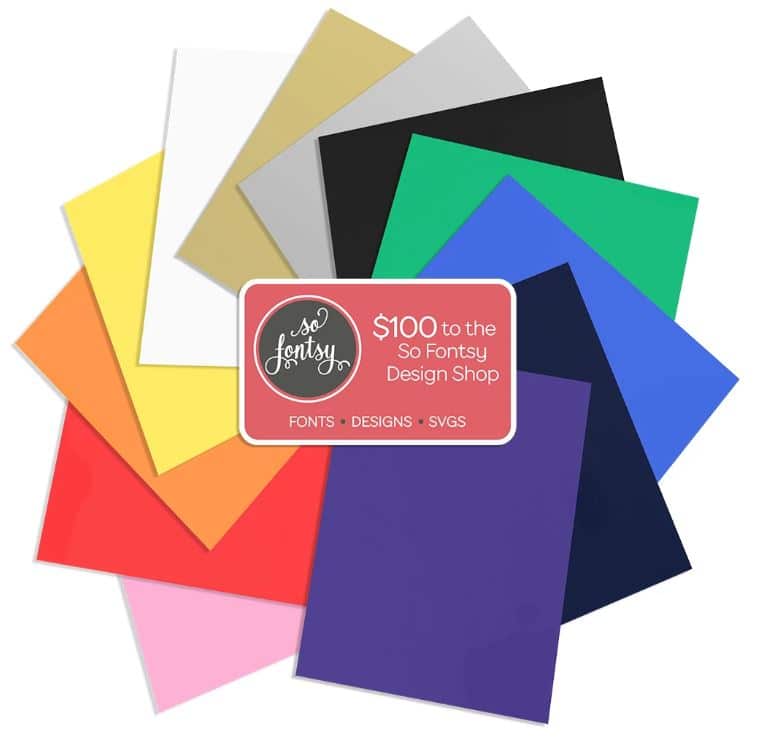
- a color bundle of Siser EasyWeed HTV or Cricut Iron On Vinyl
- a pad of multiple colors of cardstock
- and Cricut’s adhesive vinyl
You won’t be caught out and disappointed if you keep a bunch of these items on hand for whatever project comes next!
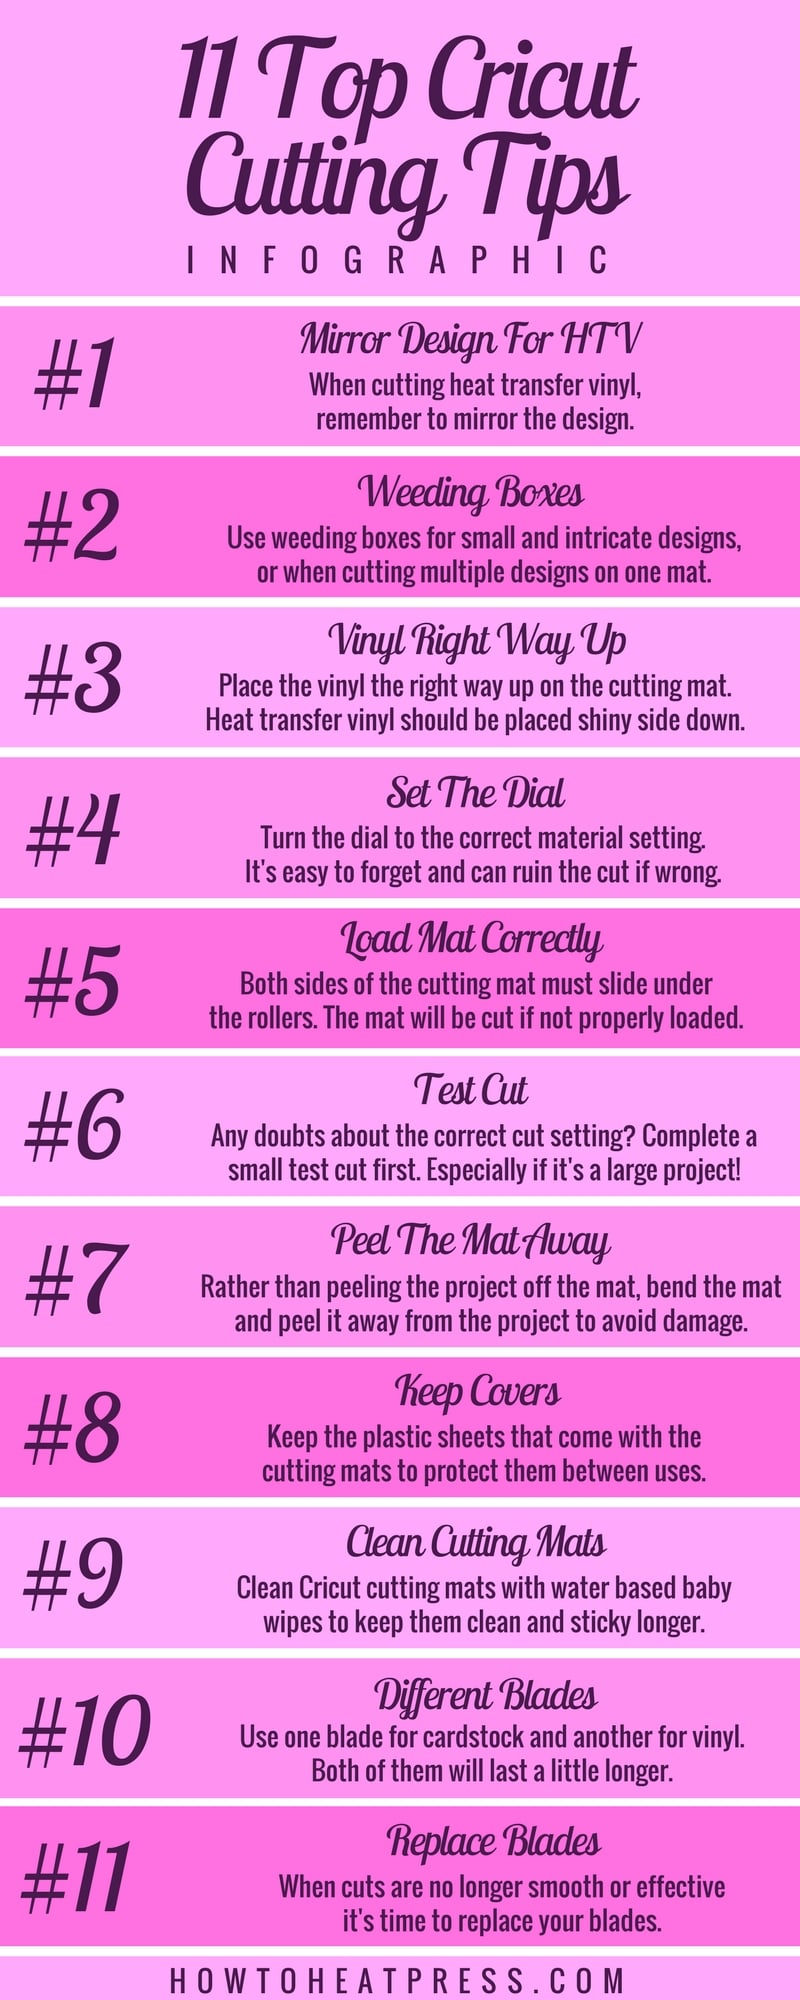
You are welcome to share this Cricut Infographic, but please link back to this page!
Cricut Hacks
So those are our tips and tricks for Cricut!
Please comment with your tips and tricks below, we’d love to hear what you have to say!
Pin this post for later! 🙂
(Please note: This post contains affiliate links. Read our full disclosure policy here.)




Hi Rebecca, I got my cricut for Christmas and I have not used it yet, scared to I guess. I’m ready now to try to make my nephew a sign he wants to put on his race car. He text me the picture to my phone. I have no clue how to do this. Please help me!
If you can get him to find an SVG or other digital file of the image/design online, then it will be a lot easier. Get something like Oracal 651 vinyl for car decals, and then check out this post on making vinyl decals with Cricut. Same process for whatever you’re doing!
How do I delete part of a project
It depends on the project… you can ungroup an SVG and then delete the piece, or if it’s part of a larger image you could play around with the slice tool.
I just ordered my Cricut Explore Air 2, I am a beginner at this, so please any help will be greatly appreciated
Congrats Brenda! You can see all our Cricut Projects here and we’ve got a few Design Space tutorials on our YouTube channel (with more being added all the time)!
When my mat has lost it’s sick, I wipe it down with rubbing alcohol to remove anything on it, and then spray the entire surface with spray adhesive. You can use the tshirt blotting if too sticky.
Good tip – thanks Lisa.
How do you join letter say for T-shirt or making a car decal?
Hi Audra, you might be talking about using weld in Design Space? I’ve sent you an email to ask some more details so I can better understand your question.
Love these! One more is the quick speed option. I didn’t realize for the LONGEST time that you have to actually select that option on the screen for it to cut/print faster. I was wondering why everything I read said this one was faster than the 1st edition. I’m a newbie but I saw my friends machine, an explore air, & mine seemed to be going the same speed. The quick option looked like it was already selected to me until one day I decided to ‘double check’ so i clicked it & what do you know, it actually highlighted all green. And woah! It cuts crazy fast when that is selected. But I learned the hard way…don’t use this option with the glitter vinyl. It won’t cut all the way thru, I guess because its going so fast. Anything intricate, I’ll so at regular speed too, but other than that, I’m using the fast option.
Thanks Andrea – great addition to the list! Yes I tend not to use quick speed on small designs or new designs, but on larger designs that I’ve made before. But I actually forget about it too. Thanks for the reminder 🙂
just ordered my cricut air 2 last night love the tips i will sure put them to use as a beginner Thank You !!
Awesome Marrianne, you’re going to love it!
If your blade gets dull you can wad up a piece of foil and push the point of the blade into it several times. Then put your blade back in and enjoy more projects ?
Nice! I’ll have to try that with my next dull blade – thanks!
I just bought my Cricut Explore Air 2 before Christmas son I can make shirts for my family. I LOVE this machine! I have found that the beat prices for vinyl are off e-bay. I wonder what brands of vinyl you have experience with and what the results were. Thank you for the tips! I look forward to trying out the wipes to clean the mat.
Yes it’s so cool, isn’t it?! We love ours as well. Even when it’s not in use it looks great just sitting on the craft table ? We tend to use Siser HTV and Oracle 651 adhesive vinyl from Amazon. I just prefer Amazon to eBay! But also, my step-dad is a sign writer so he gets us a heap of free sign vinyl off-cuts. Even though they’re off-cuts some pieces are huge! I’ve heard of people successfully going to local sign-writing shops and asking if they can grab any unwanted/scrap vinyl.
Great tips for the beginner. I especially like the tips on cleaning a mat, how to prepare a new mat, and the tips on the heat transfers. Maybe in the future you could add how to join letters together for heat transfers.
Thank you
Thanks Rebecca. We will certainly add a piece on joining letters for heat transfers. I’ll let you know when it’s up.
Rebecca i am new here but i have watched many tutorials and i Believe you have to attach or weld it